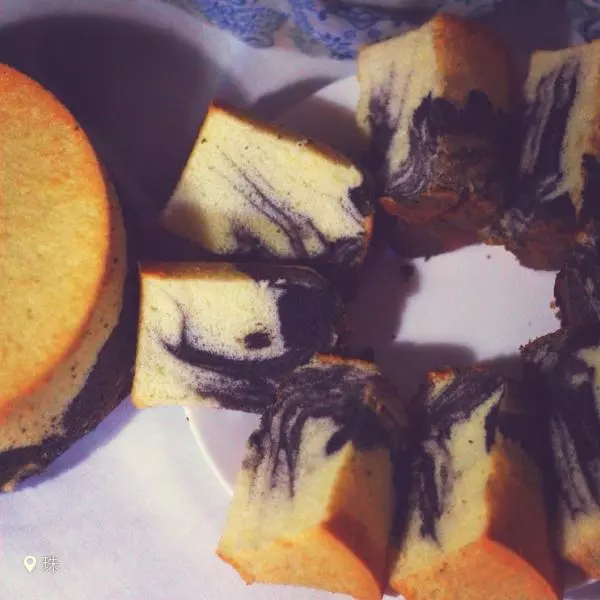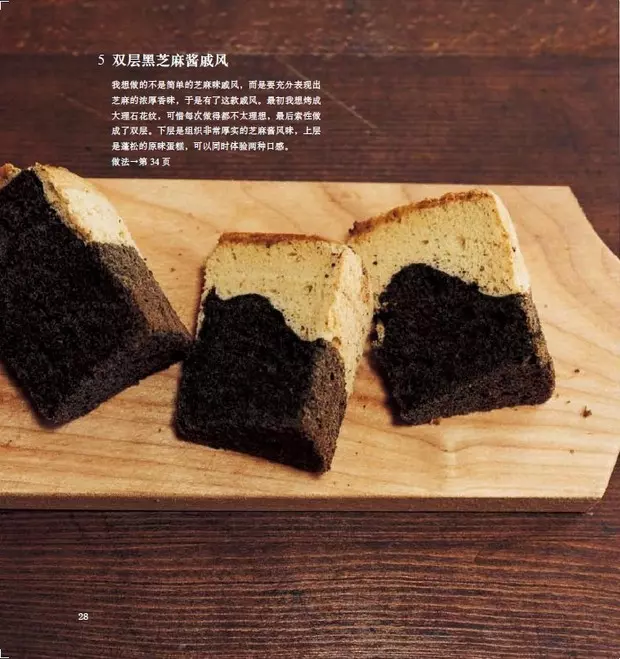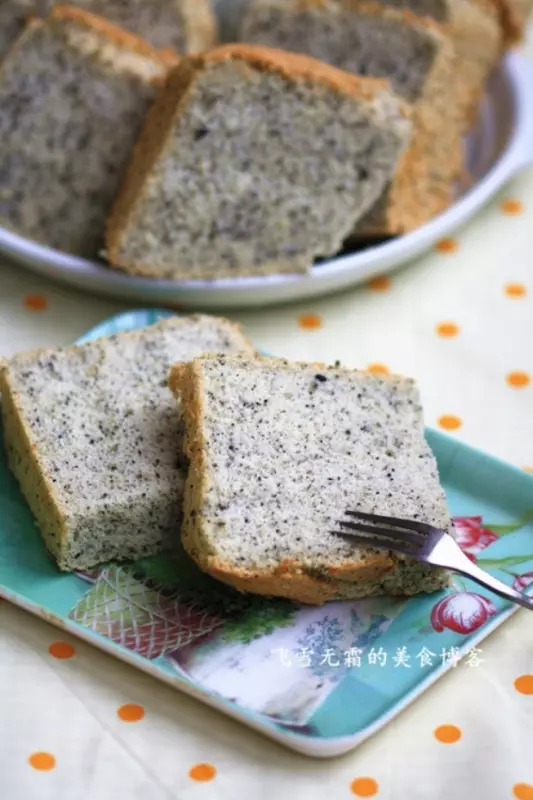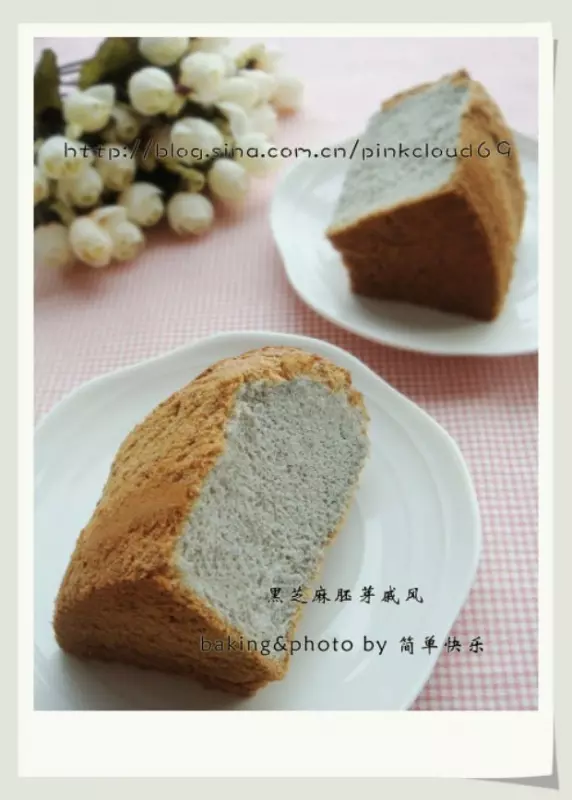
原料
蛋黄糊:: , 蛋黄: 4只, 黑糖: 30g, 牛奶: 30ml, 食用油: 30ml, 低筋面粉: 80g, 香草精: 几滴(没有可不加), 蛋白霜:: , 蛋清: 4只, 白砂糖: 40g, 柠檬汁(或白醋): 几滴
步骤
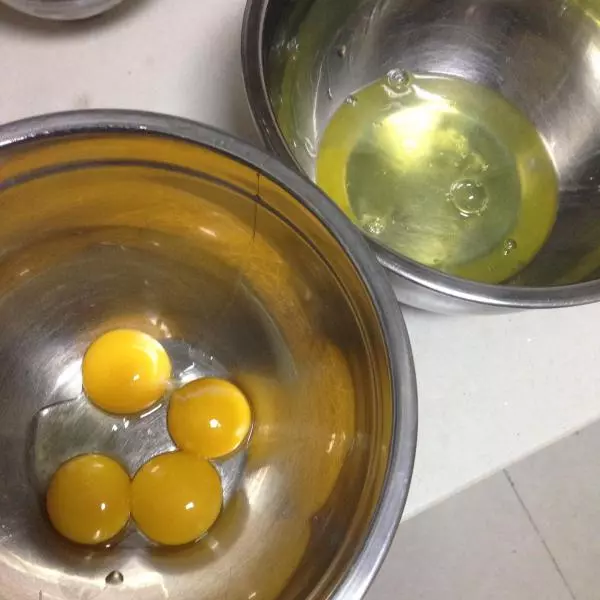
1分离蛋清蛋黄,分别装在两个无水无油的打蛋盆里。
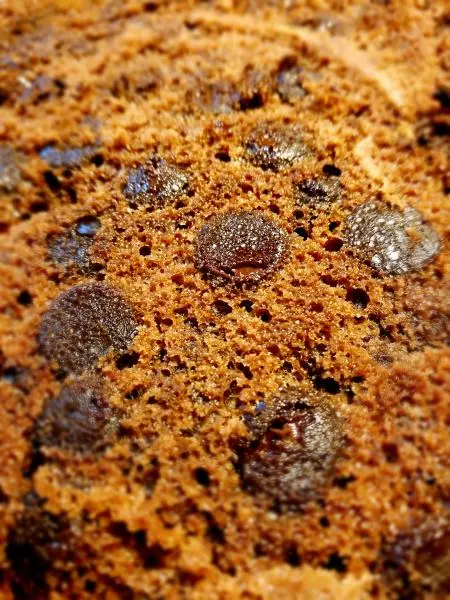
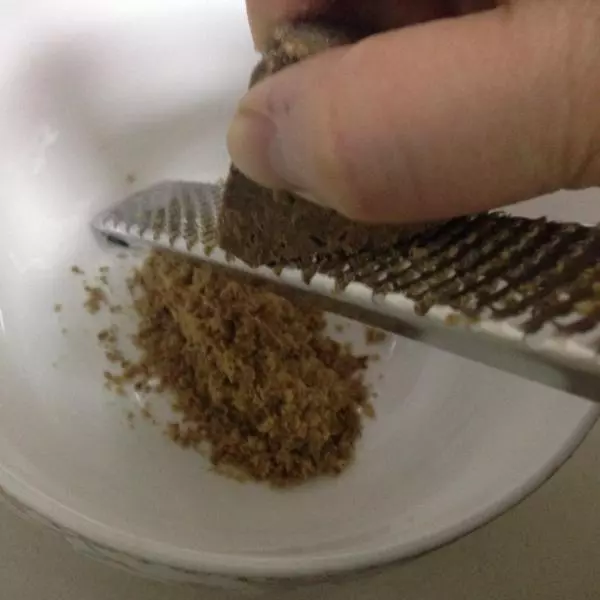
2用柠檬擦丝器把黑糖块磨成粉状,称量30g备用。
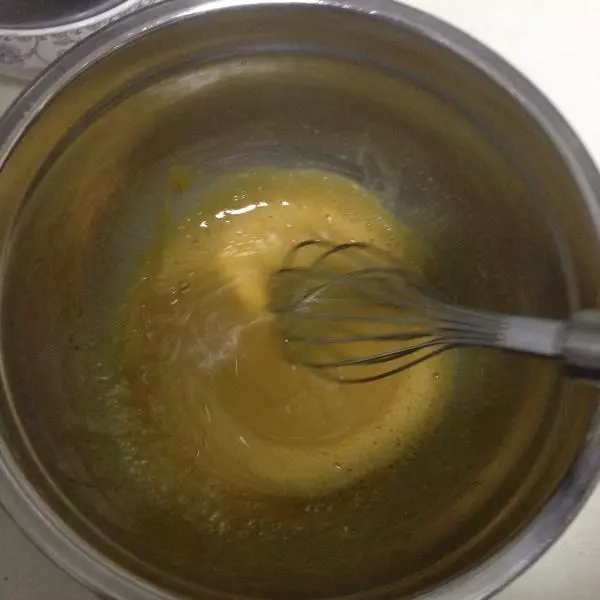
3依次把香草精、黑糖粉、食用油、牛奶加入蛋黄中,每加入一种都要用蛋抽搅拌均匀。

4筛入低粉,用刮刀搅拌至看不见干粉。 放置一旁待用。
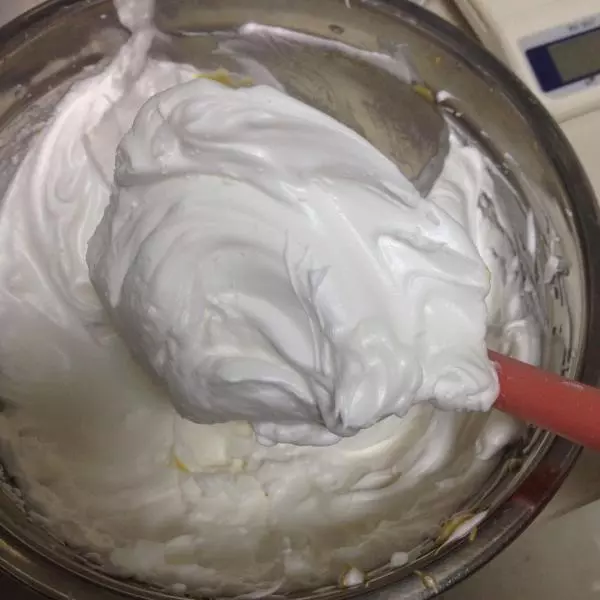
5滴几滴柠檬汁在蛋清里,分三次加入白砂糖,用电动打蛋器打发。 喜欢干爽口感的请打至硬性发泡。 喜欢润润口感就只需打到八分发。 打蛋白霜之前就可以预热烤箱了,170度。
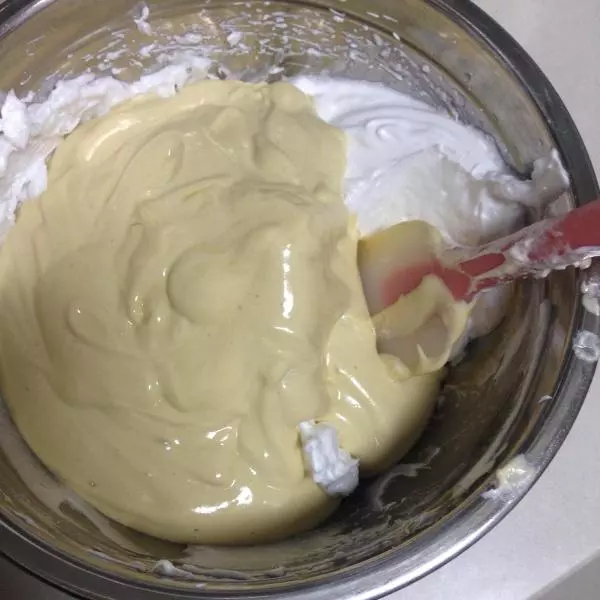
6用刮刀挖三分之一蛋白霜进蛋黄糊,翻拌均匀。

7把翻拌好的蛋黄糊倒进蛋白霜里,动作轻柔地翻拌均匀。
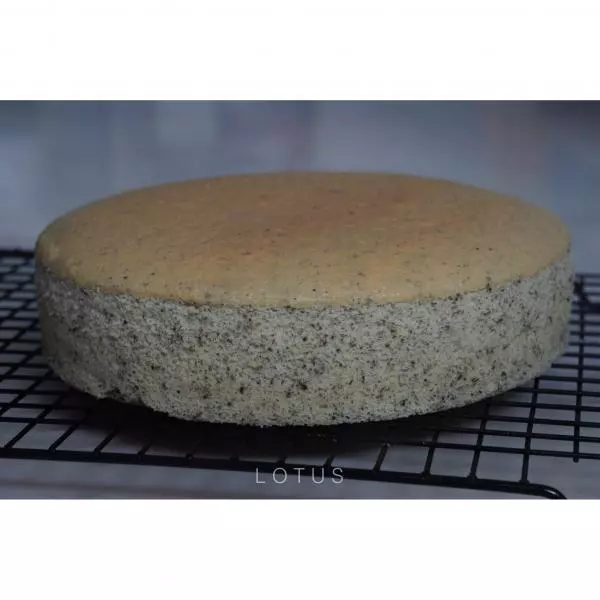
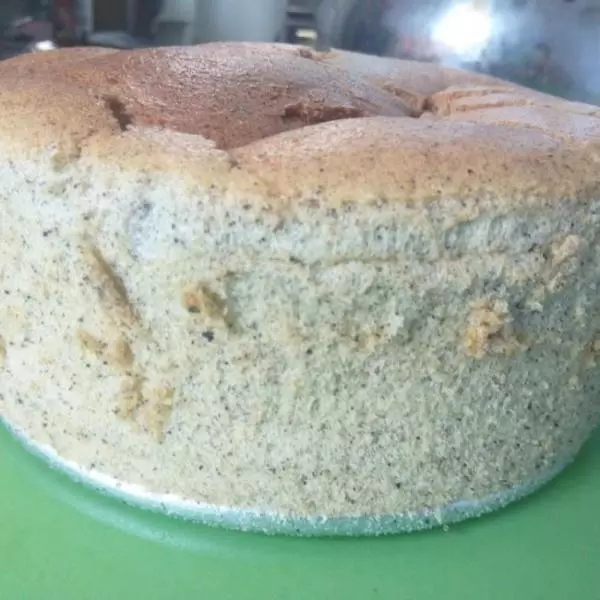
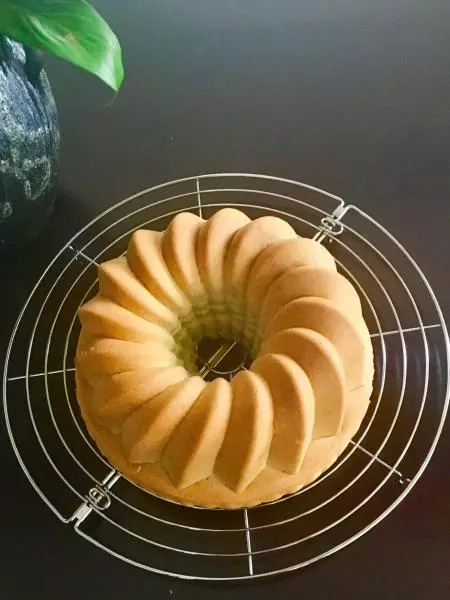
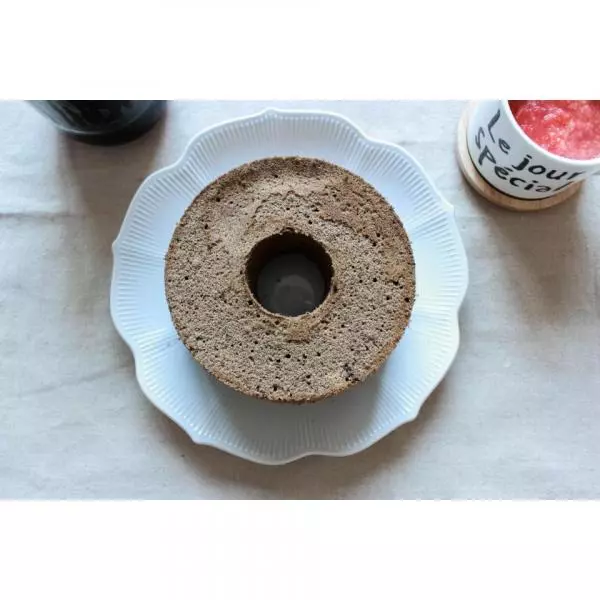
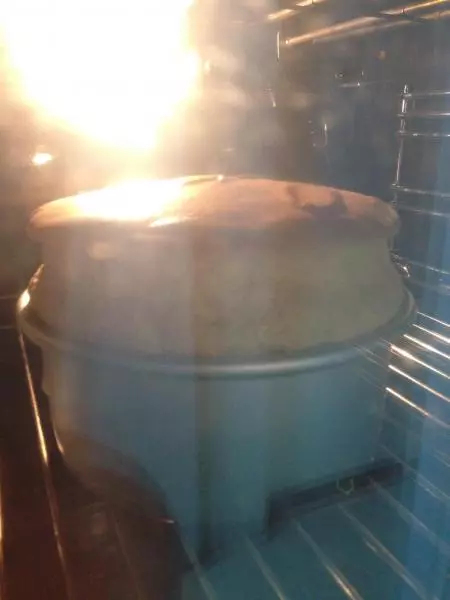
8搅拌均匀后倒进六寸活底圆模具中,抹平表面。
9轻摔两下震出大气泡,入烤箱中层。 170度30分钟。
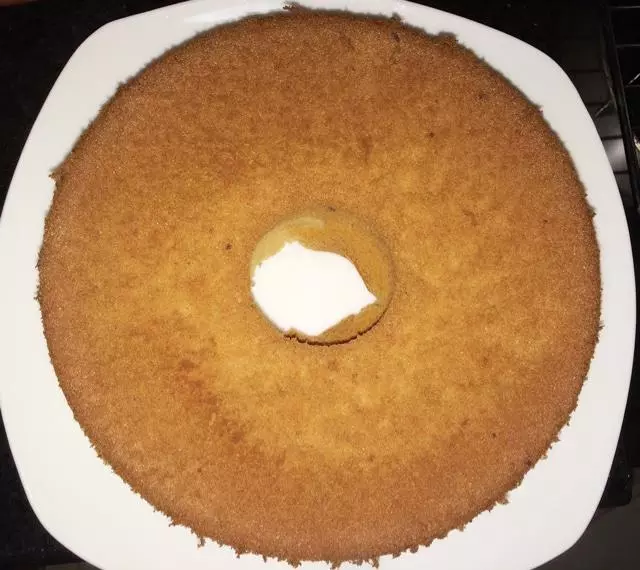
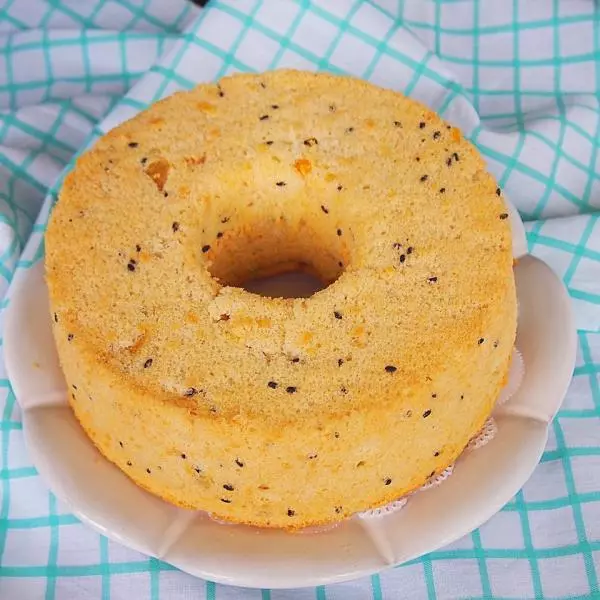
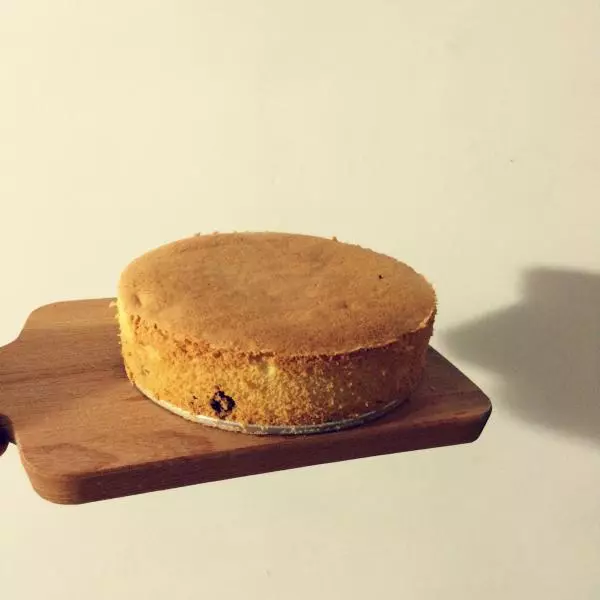
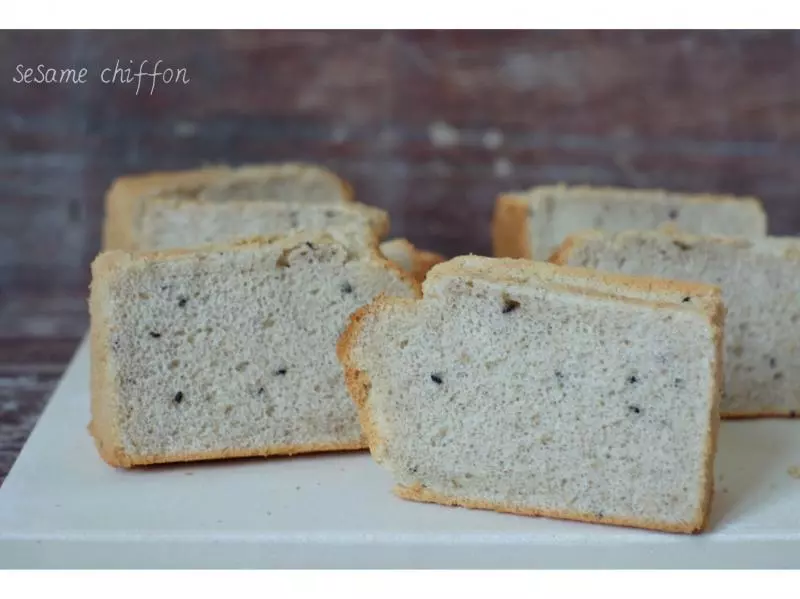
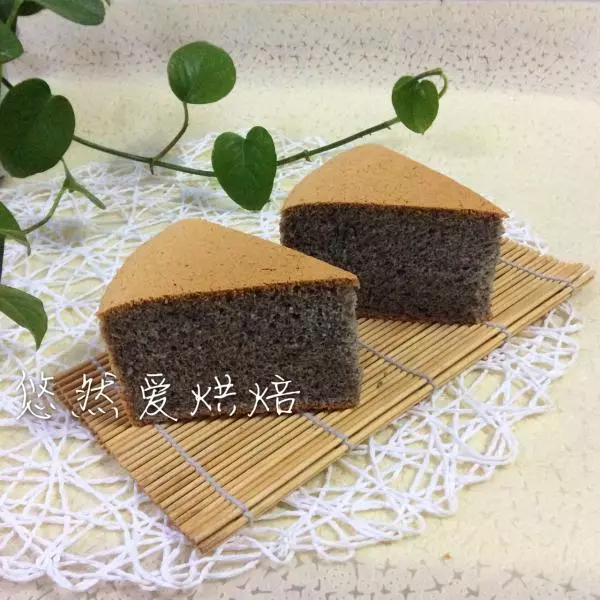
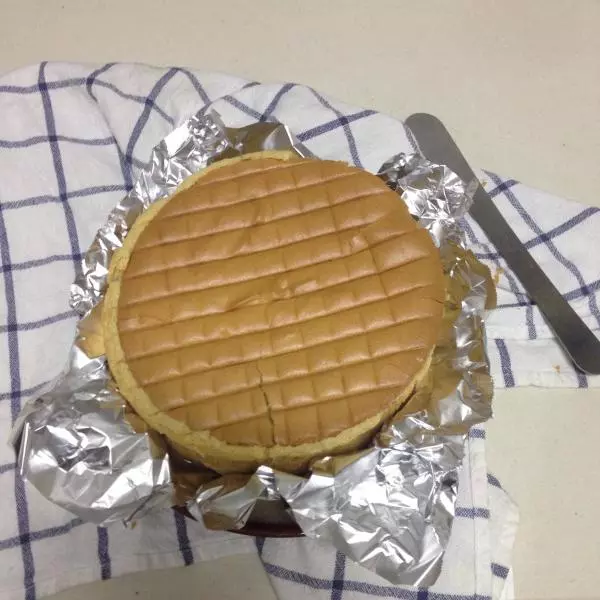
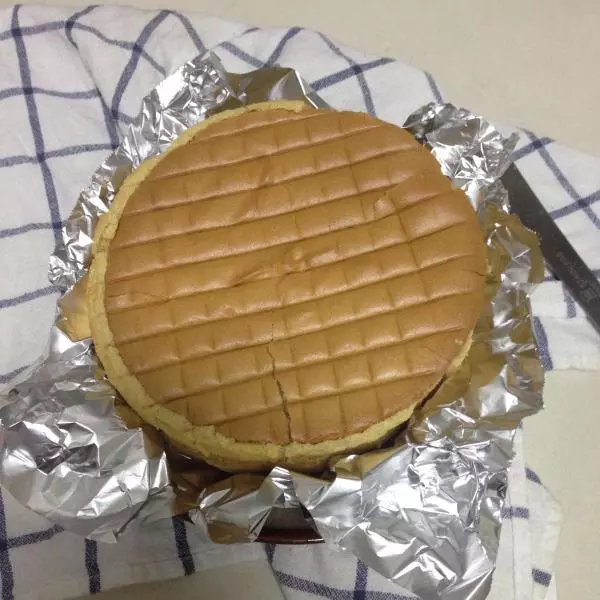
10出炉后在厨房台面上轻摔两下,倒扣晾凉,待彻底凉透后脱模。
小技巧
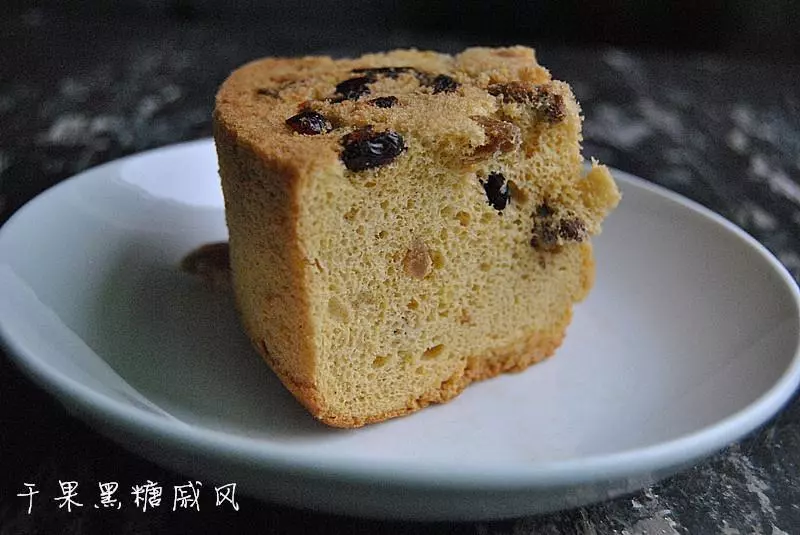
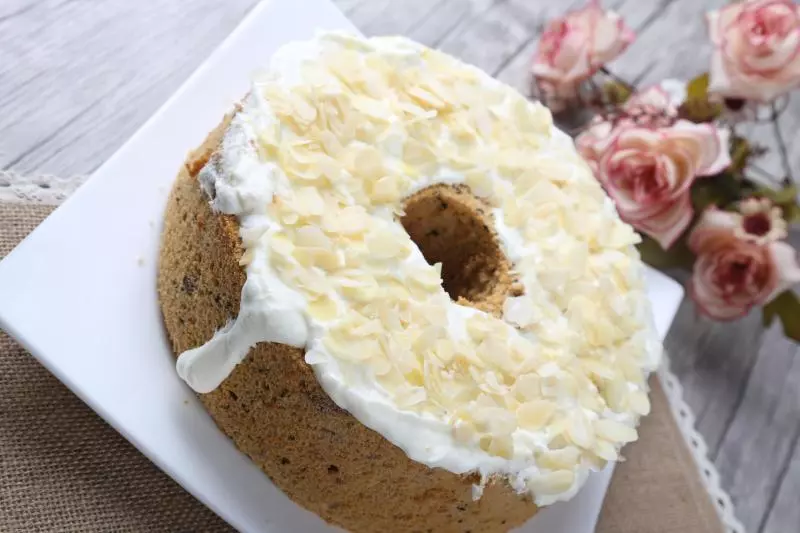
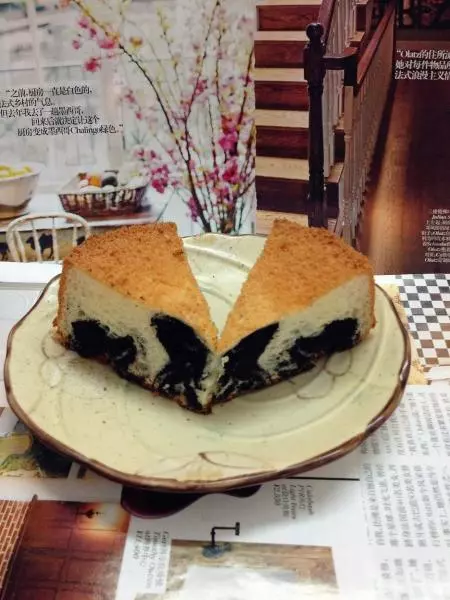
1.因为加了黑糖的缘故,所以成品出来吸湿性能特别强,冷却脱模以后要立刻装袋密封冷藏,否则很快蛋糕吸收了空气里的水汽,就湿趴趴了。 2.至于用这个当蛋糕胚做奶油裱花蛋糕,我还在实验,看看稳定性怎么样,过几天来更新。