原料
低粉: 160克, 糖粉: 25克, 鸡蛋: 1个, 牛奶: 90克, 植物油: 30克, 泡打粉: 3克, 椰丝: 30克, 蓝莓: 适量
步骤
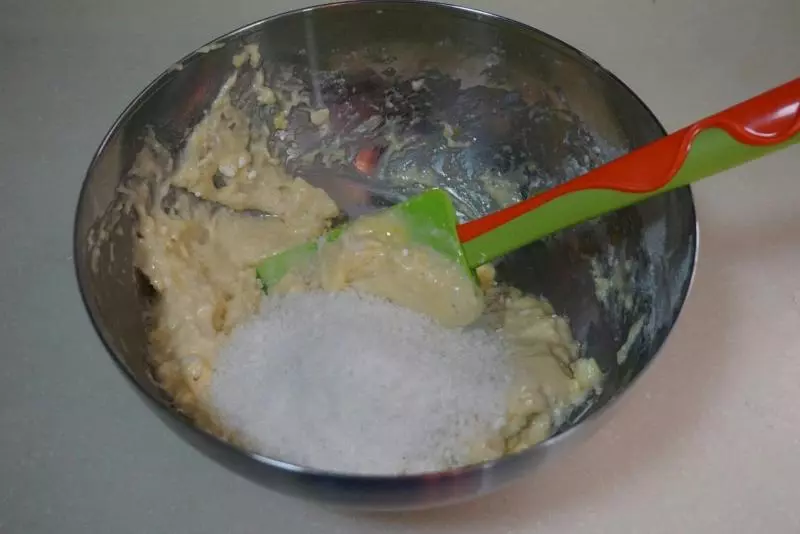
1提前预热烤箱。低粉和泡打粉过筛。除蓝莓之外全部混合均匀,椰丝我放在最后拌进去的哦~
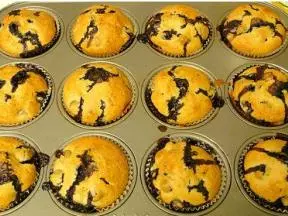
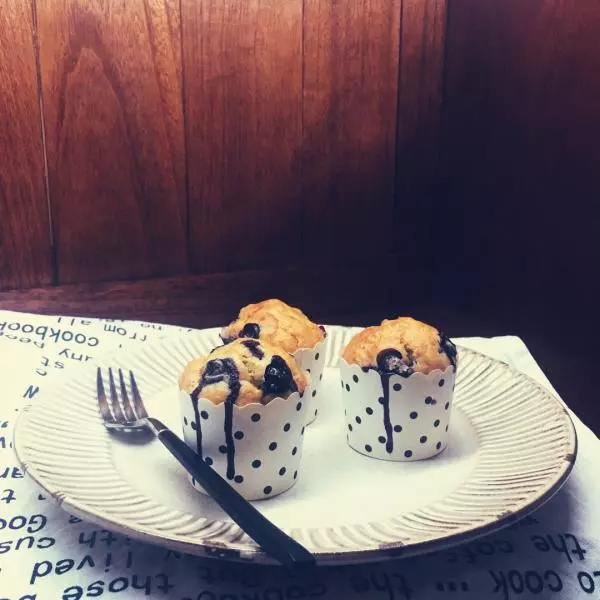
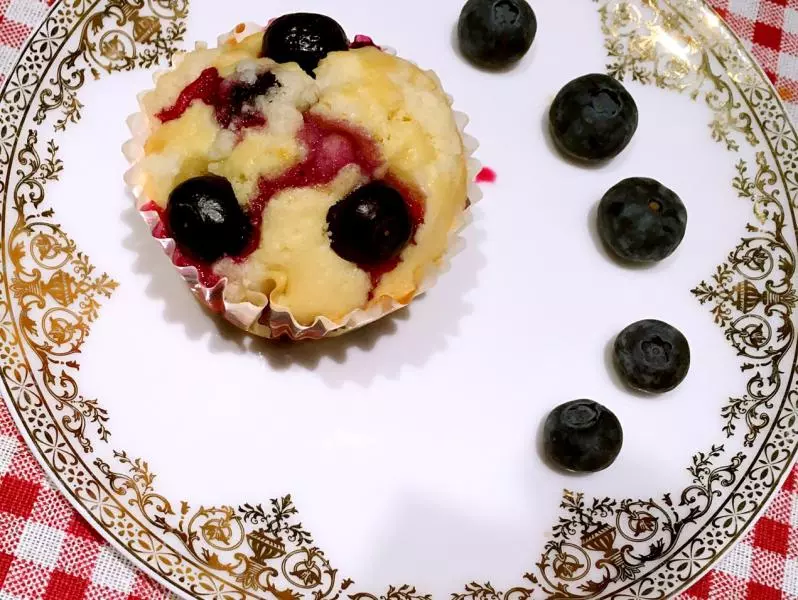
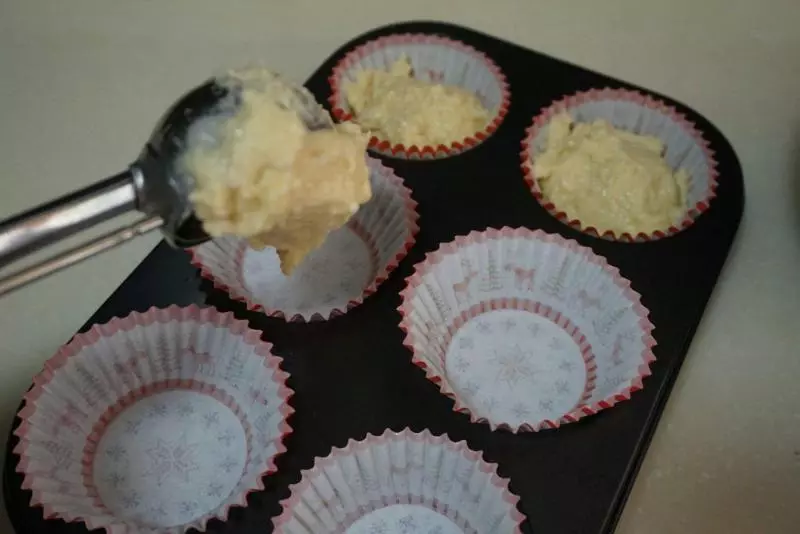
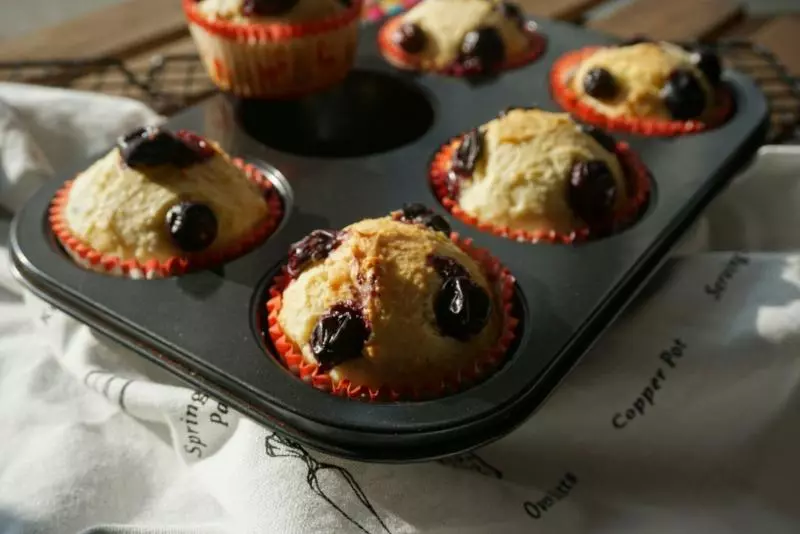
2小蛋糕纸模事先放在6连模里。用冰淇淋勺将面糊挖进纸杯里,如图的量就够了。按方子做出来6个小蛋糕,每个纸杯的量差不多就行了。
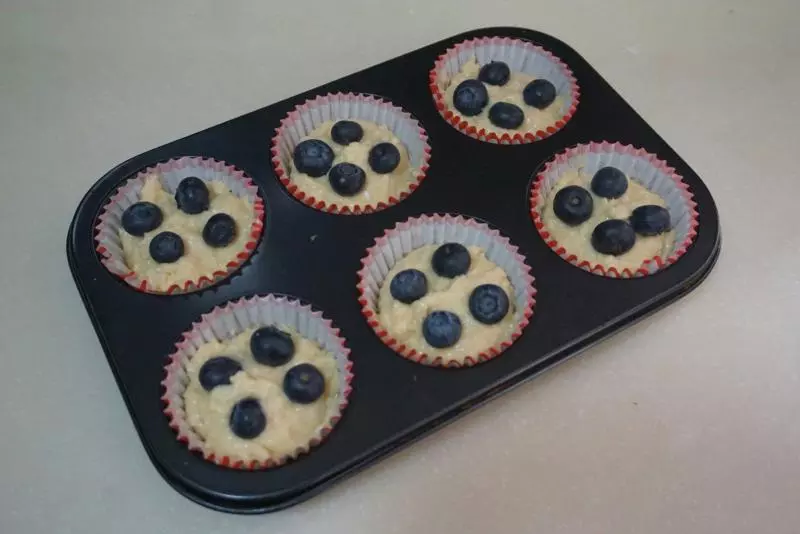
3将洗好沥干水的蓝莓放在面糊上面装饰,也可以直接将蓝莓拌在面糊里,手法轻柔防止蓝莓破口。
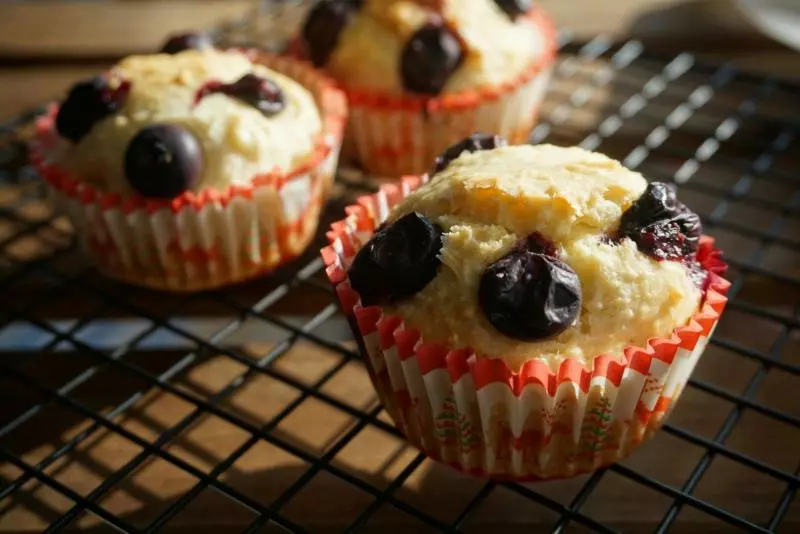
4180度20分钟,我家的烤箱温度有点低,最后调至200度给小蛋糕上色。
小技巧
面糊不是很湿,因为加了椰丝,口感相对松软一点,每口都能吃到椰丝的清香。