原料
鸡蛋: 4个, 牛奶: 60g, 玉米油: 50g, 香草精: 1g, 细砂糖: 105g, 低筋面粉: 85g, 雀巢淡奶油: 250ml
步骤
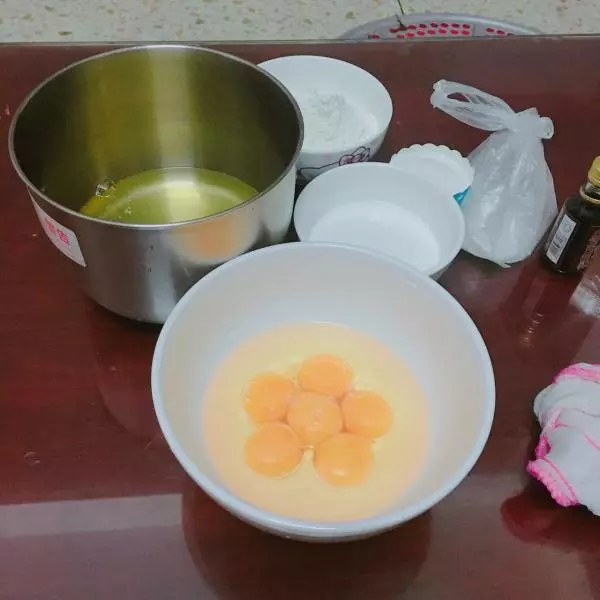
1我采用之前做蛋糕的图 ★★★蛋黄部分: 步骤1: 准备无油无水的容器,将蛋清和蛋白分离,待用(蛋白不能掺入蛋黄哦,不然很难打发)
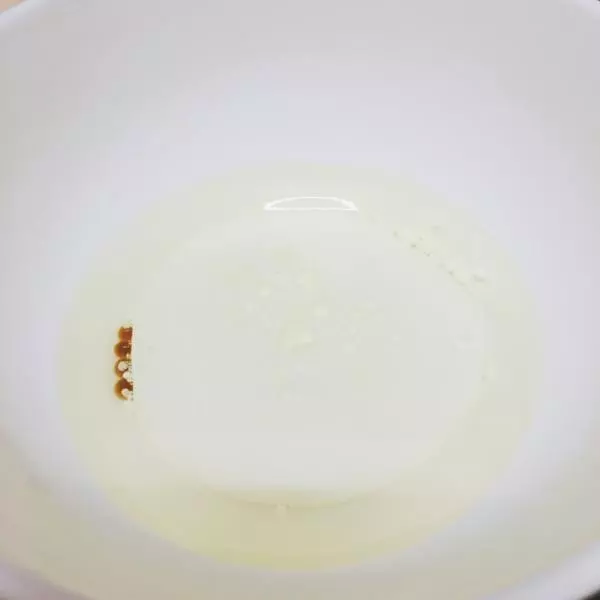
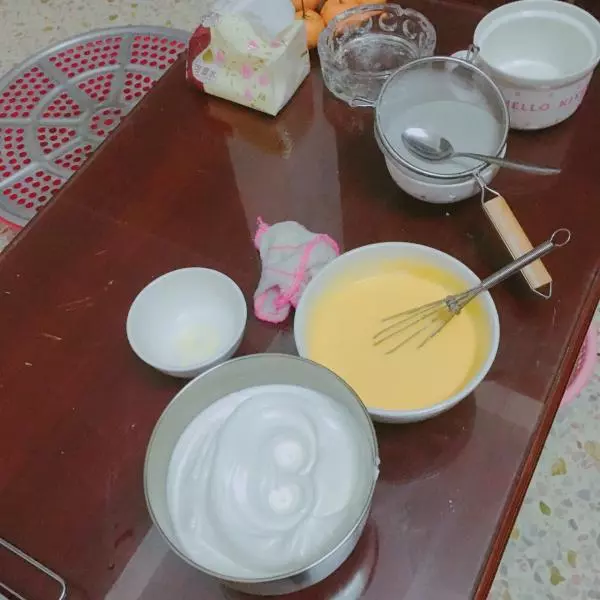
2步骤2: 准备干净的容器,加入牛奶;玉米油;香草精;细砂糖:20g;搅拌均匀。
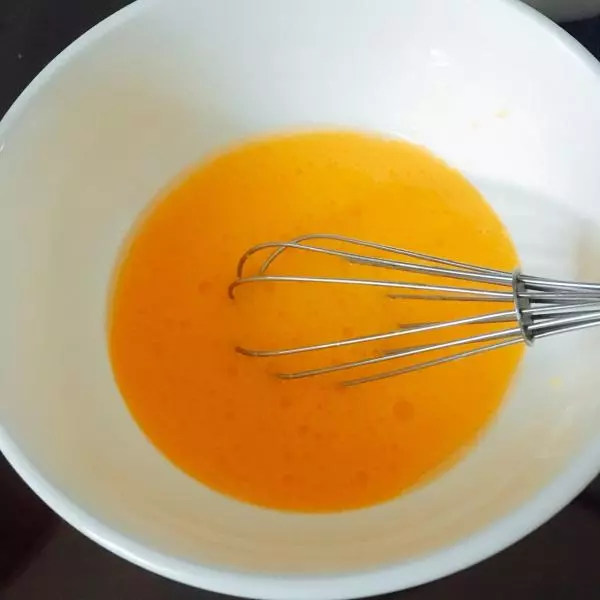
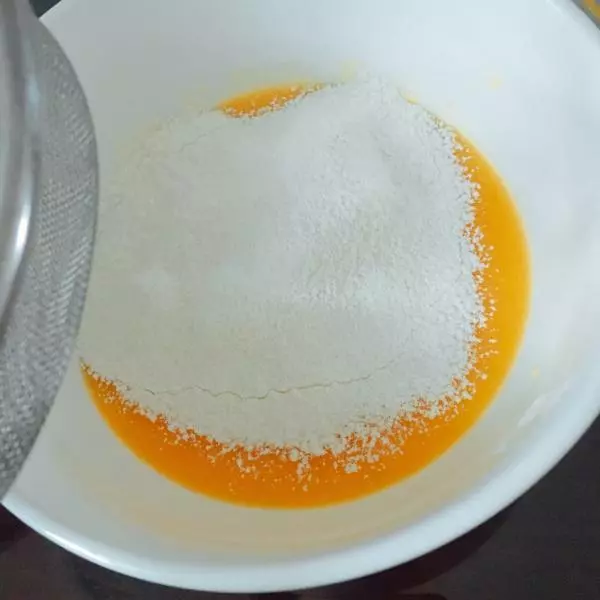
3步骤3: 加入蛋黄,搅拌均匀,再筛入低筋面粉,搅拌均匀。
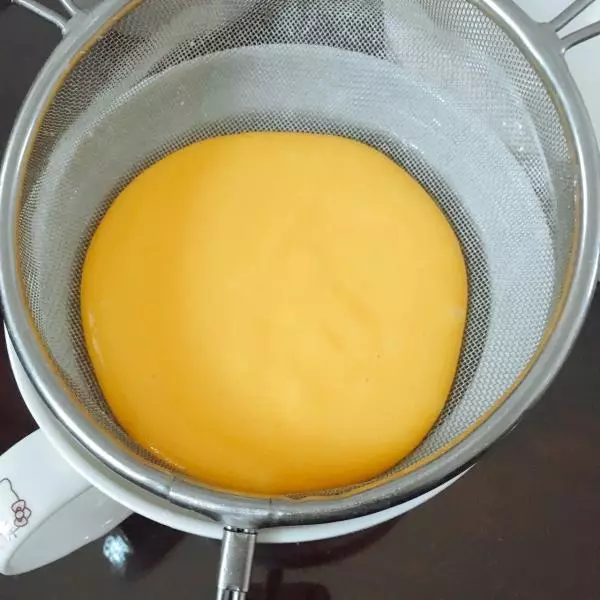
4步骤4: 过筛蛋黄糊。(过筛是为了烤出来的蛋糕卷更细腻,口感更佳)
5★★★蛋白部分: 步骤5: 4个蛋清里加入30g细砂糖,中速打散,再加入30g细砂糖(分两次加入),继续用中速打发,将蛋白打发至湿性发泡状态,打发过度蛋糕卷容易开裂哦。
6 步骤6: 烤箱提前预热10分钟,140度(我用的是九阳的烤箱,每个烤箱的温度都不一样,大家可根据自家的烤箱上下调节温度)
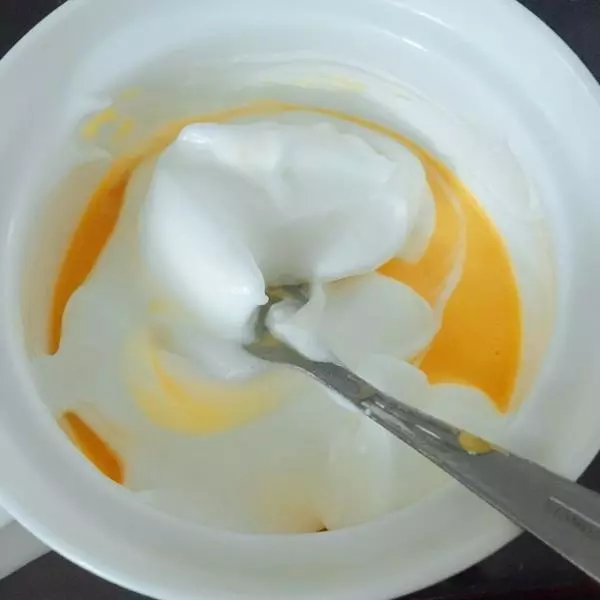
7 步骤7: 取1/3蛋白霜加入蛋黄糊,快速翻拌均匀,再将蛋黄糊倒回蛋白霜里,快速翻拌均匀。
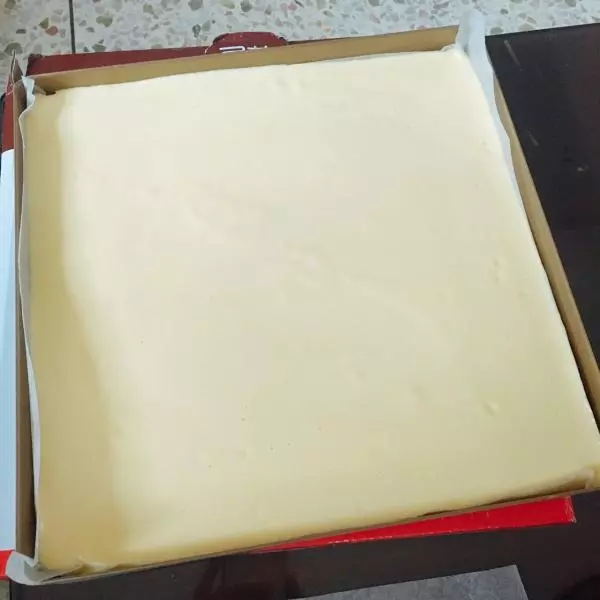
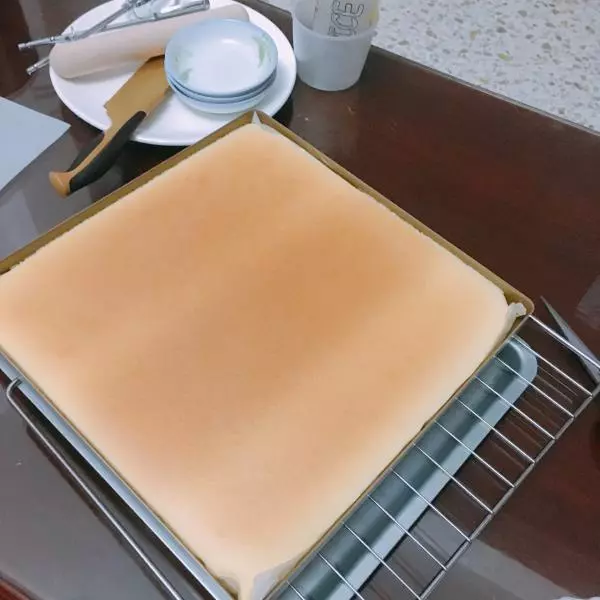
8 步骤8: 烤盘垫上油纸,混匀的蛋糕糊倒入烤盘,用刮刀稍微抹平整即可,弄太久会消泡影响口感。轻震烤盘排出大气泡。送入预热好的烤箱中层。上下火140度,28分钟左右。(烘烤的温度过高或时间太长,容易导致蛋糕卷开裂)
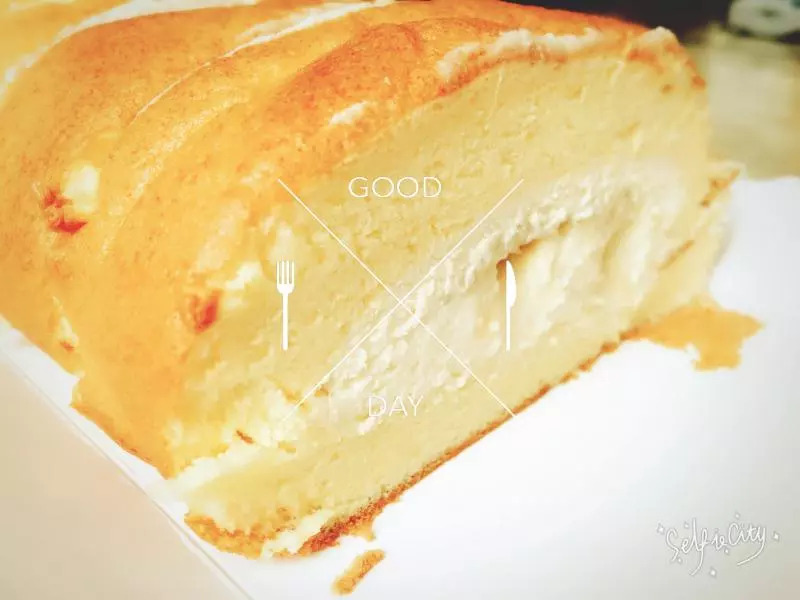
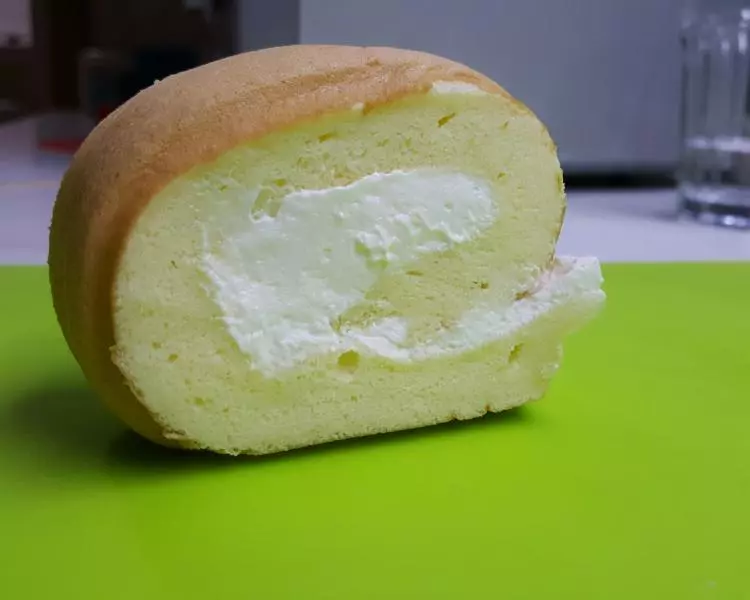
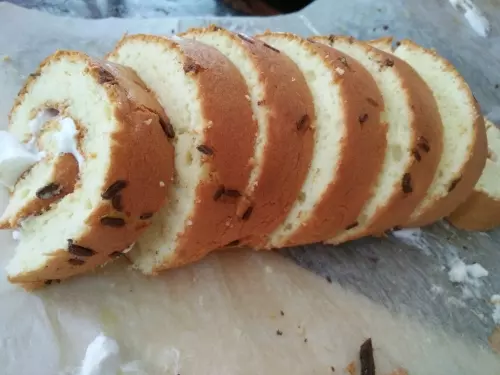
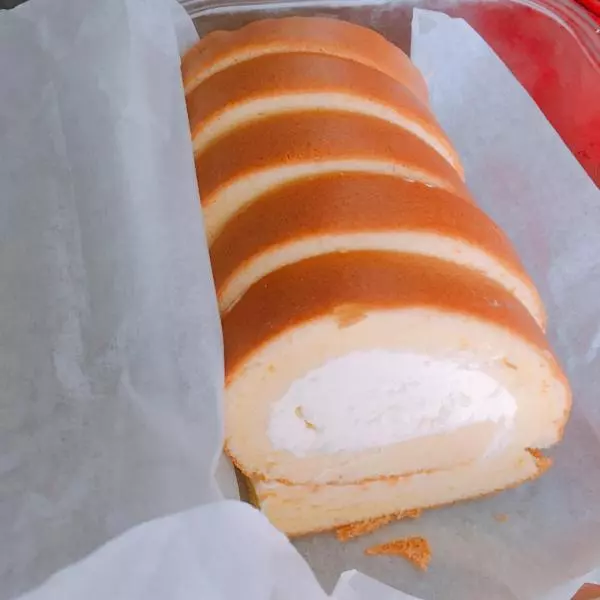
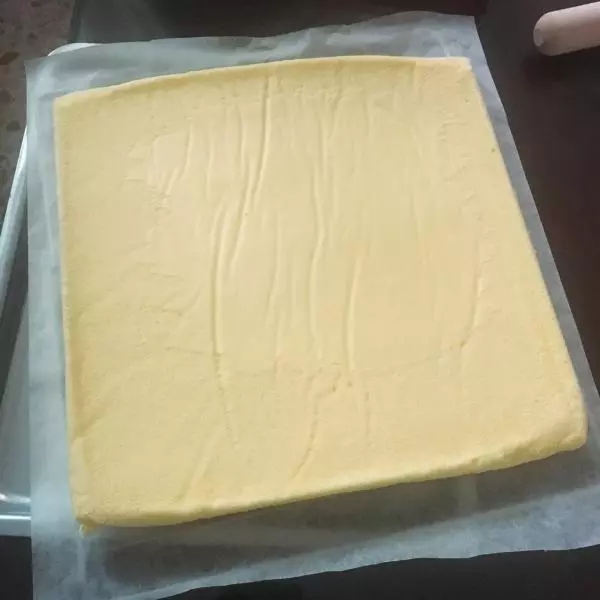
9 步骤9: 烤好出烤箱,蛋糕卷上面垫上油纸,放上烤网,倒扣趁热脱模,揭开油纸散热。 晾至微温,切掉不平整边缘,末端斜切为了最后卷起的蛋糕卷贴合。
10温馨提示:刚烤出来的蛋糕温度比较高,操作时注意带手套哦,以免烫伤!
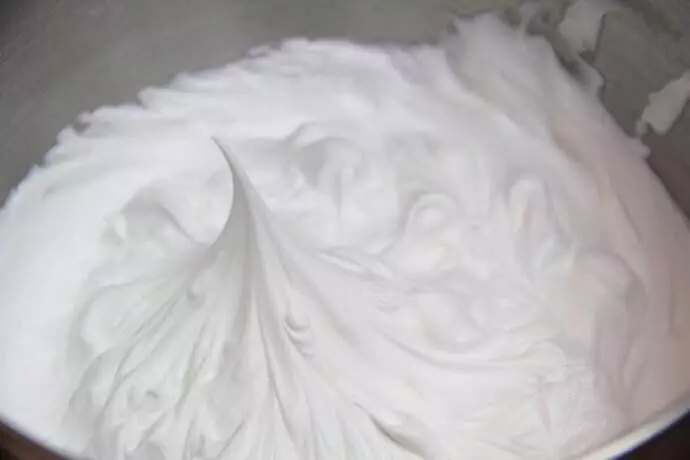
11★★★奶油部分 步骤10: 干净容器倒入淡奶油,我用的是雀巢动物性淡奶油,(奶油需提前冷藏12小时以上容易打发)加入25g细砂糖,先要慢速搅打1分钟左右,这一步骤主要是让细砂糖溶化掉,1分钟过后即可换成高速搅打,高速打3~4分钟左右时通常可打至6分发,具体时间与各种条件因素都有关系,关键还要观察奶油的状态。当你倾斜打蛋盆发现奶油仅可缓慢流动,提起打蛋器发现上面粘附的奶油尖尖朝下,换成低速继续搅打1分钟左右,你会感觉到奶油的阻力明显增大,奶油表面的花纹也非常明显了,倾斜打蛋盆时奶油基本不能流动就可以了。
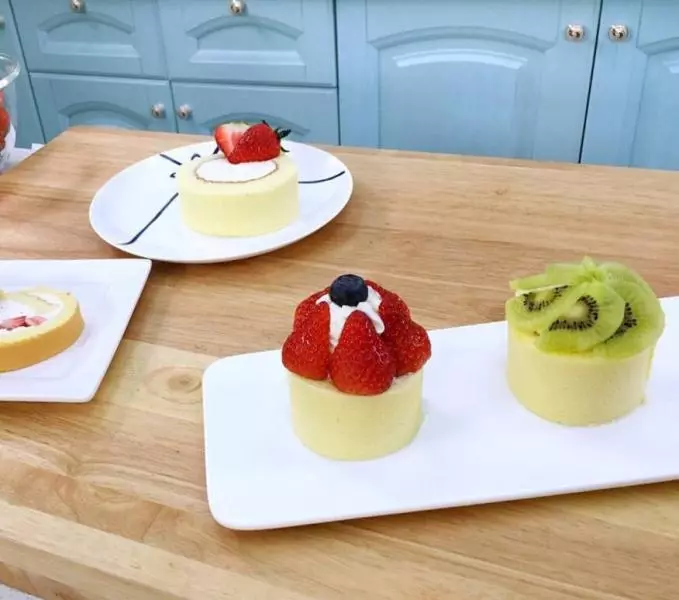
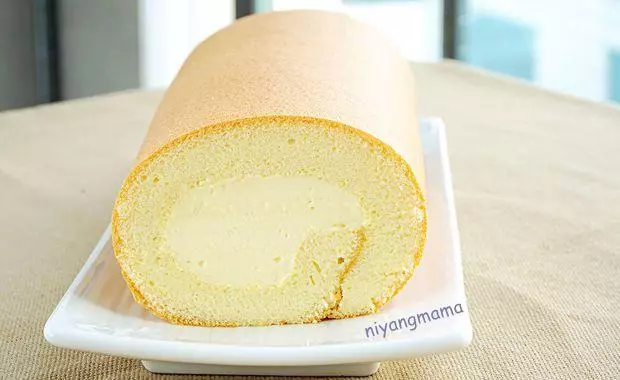
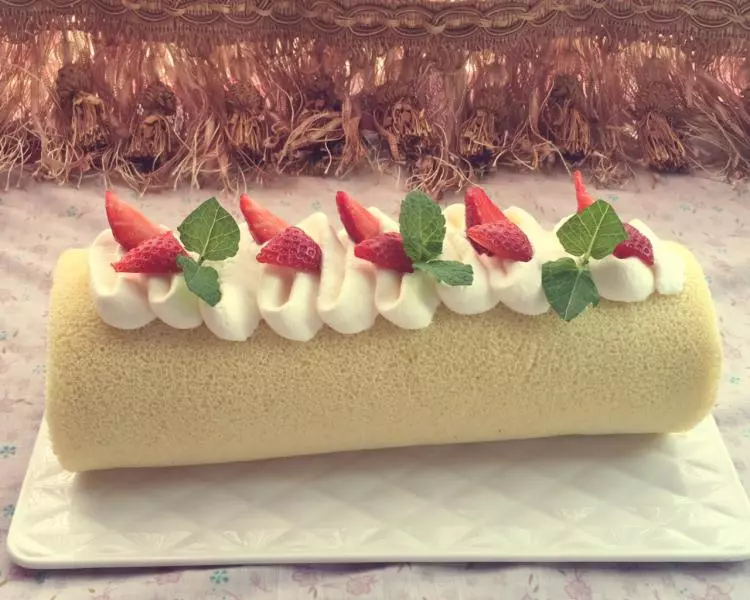
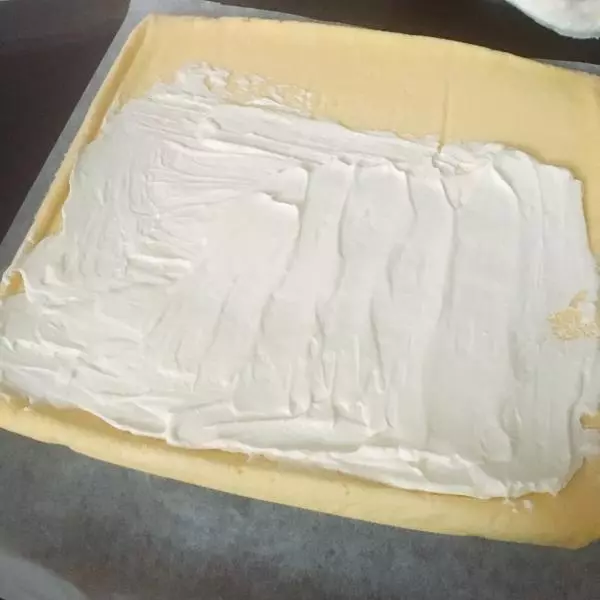
12 步骤11: 涂抹奶油,起始端奶油要抹多点,末端薄一点,最末端要留1厘米空白不要涂奶油,借助擀面杖将蛋糕片轻轻卷起后,均匀用力。卷的时候用力要均匀,才能保证馅料厚薄均匀,用油纸包裹,放入冰箱冷藏30分钟。
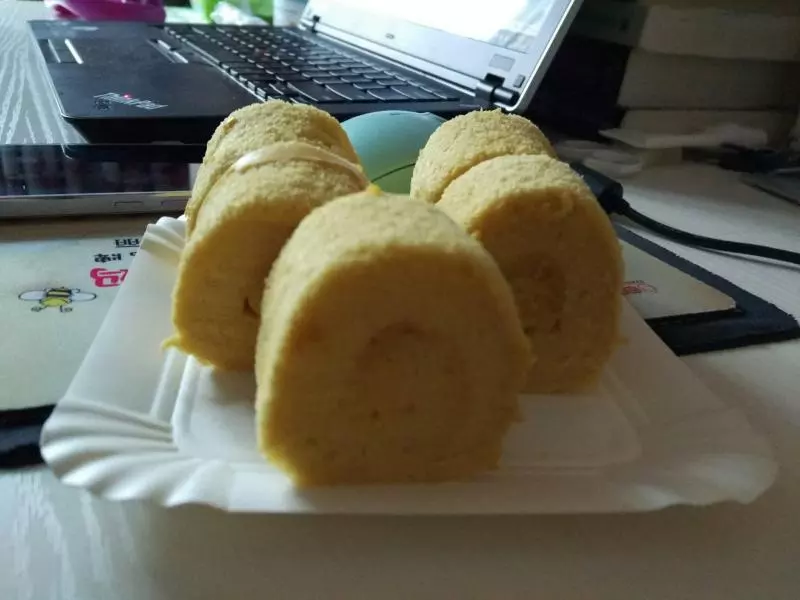
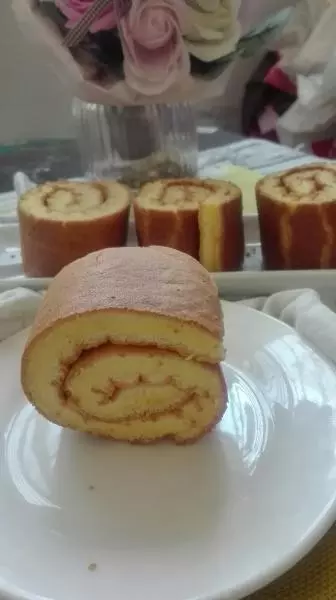
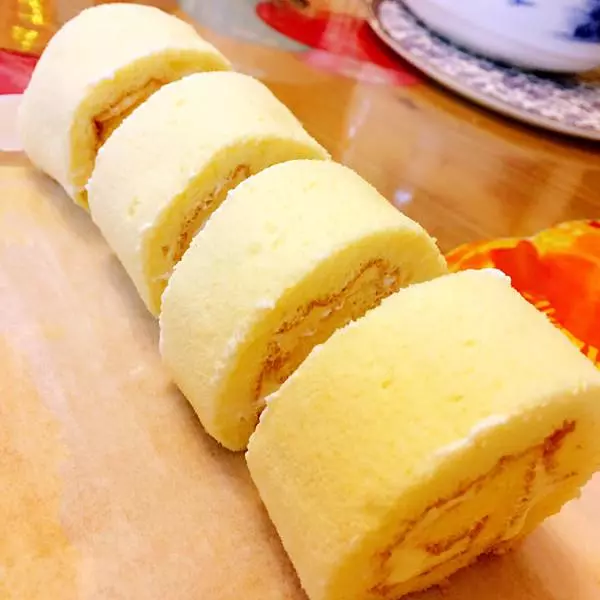
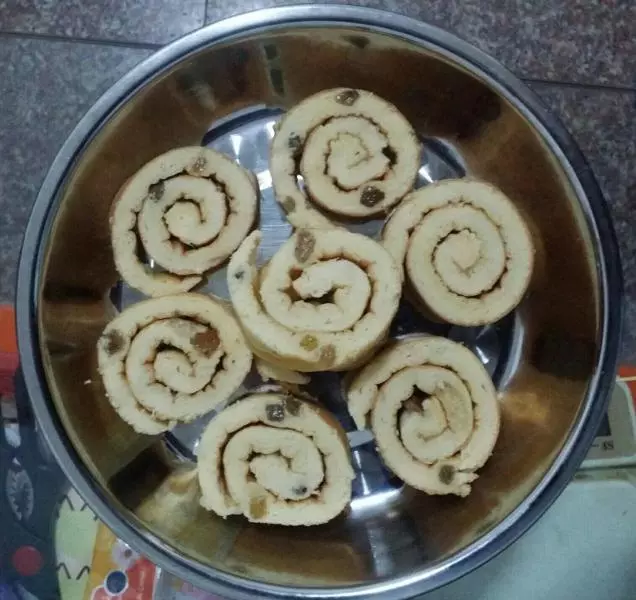
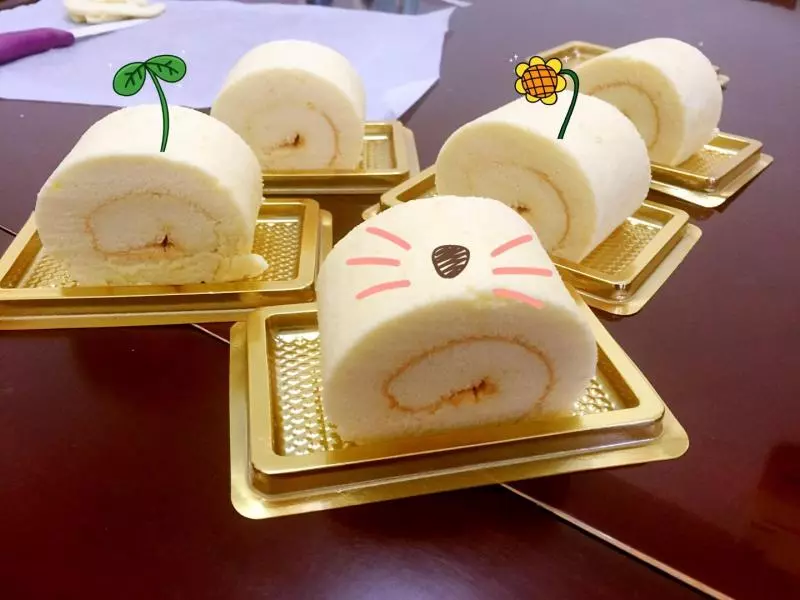
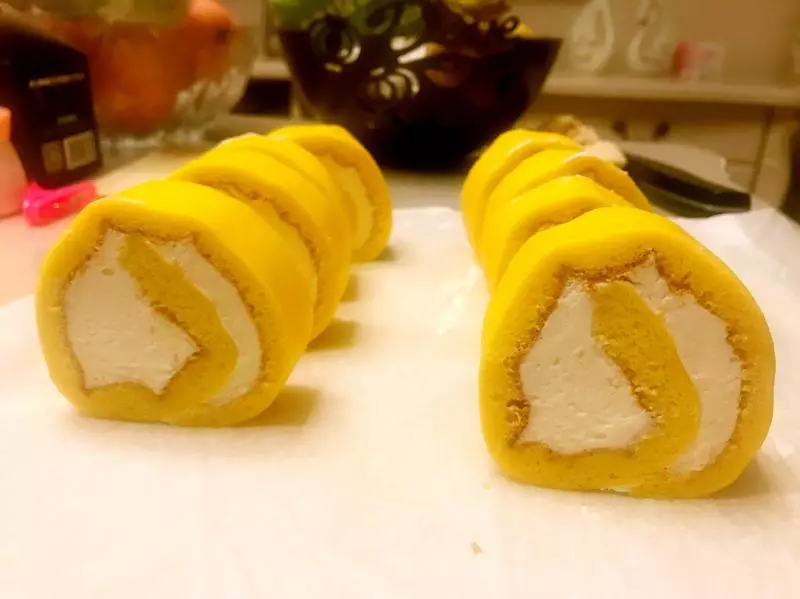
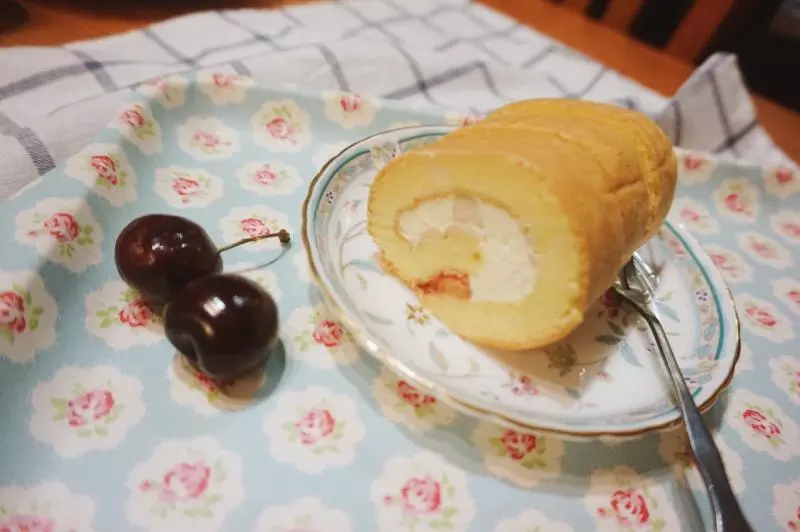
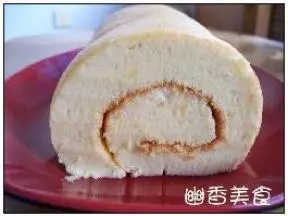
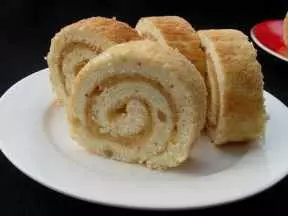
13步骤12: 冷藏定型后,再拿出来切件,一款完美的蛋糕卷就这样完成啦。
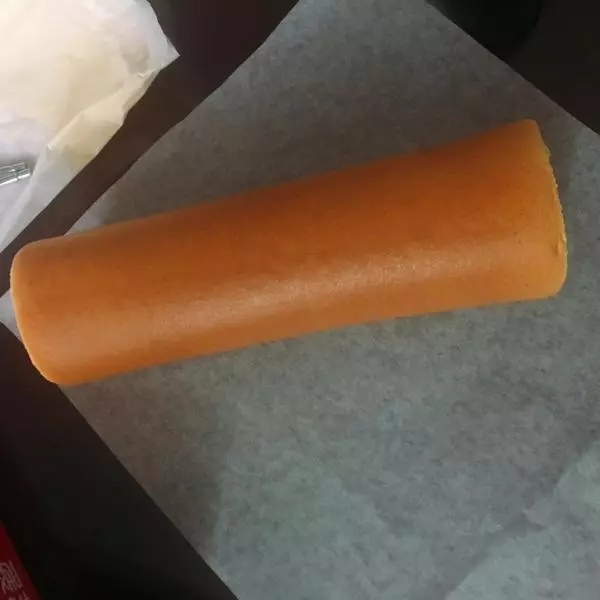
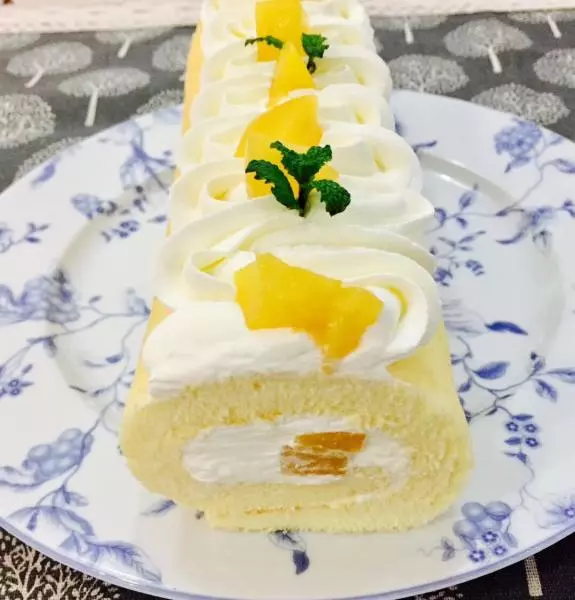
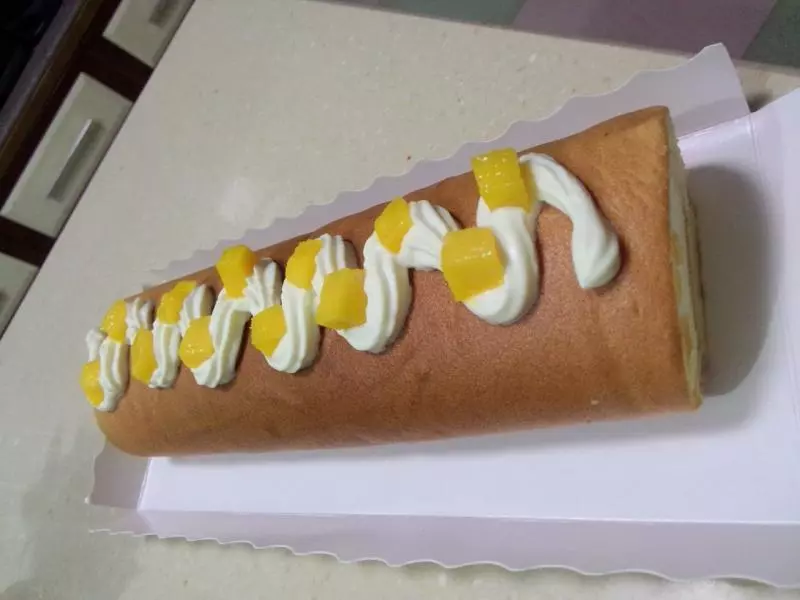
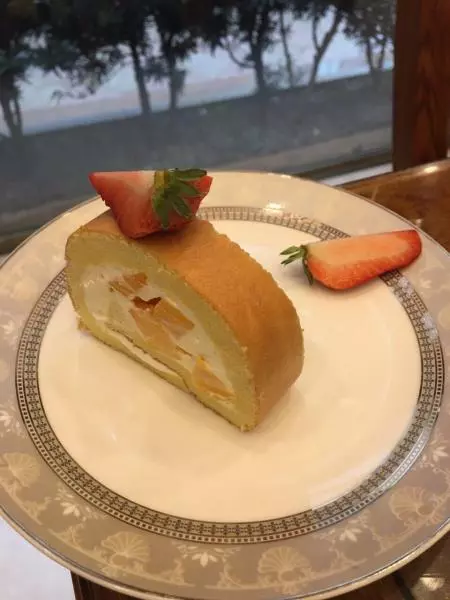
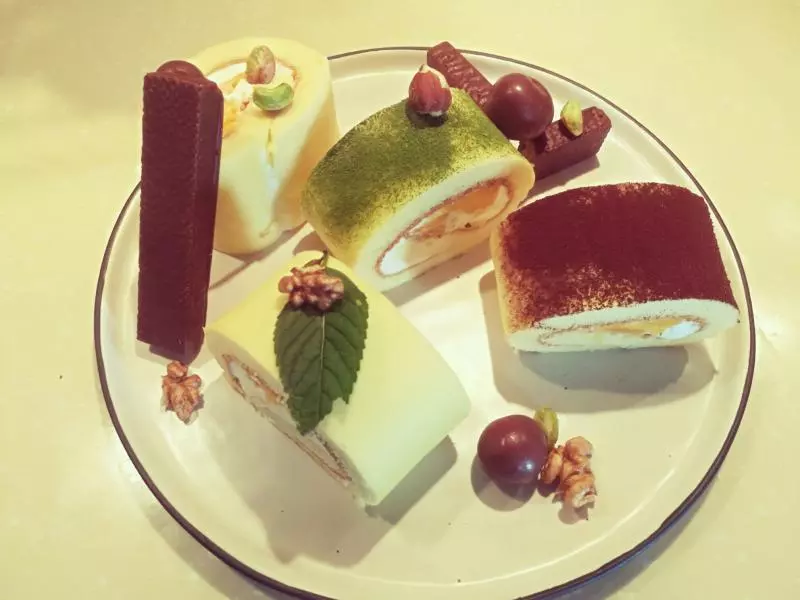
14可根据个人喜欢,加水果点缀。

15喜欢可以关注我哦,会不定时更新菜谱!