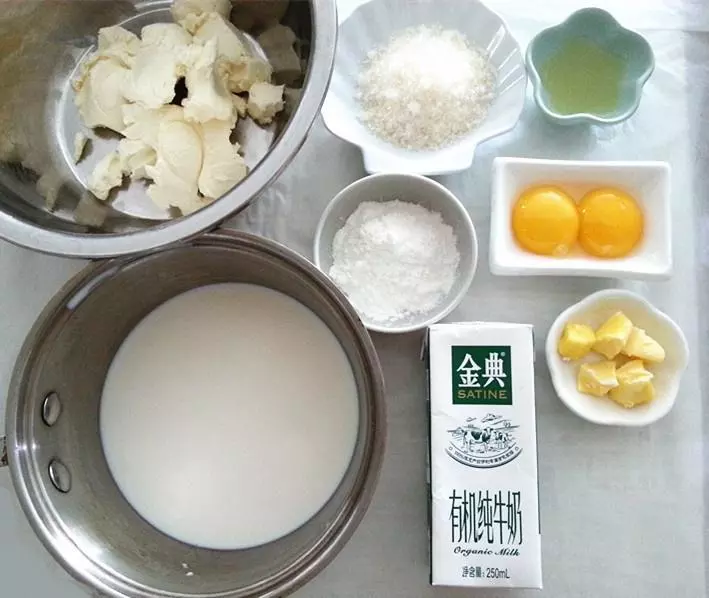
原料
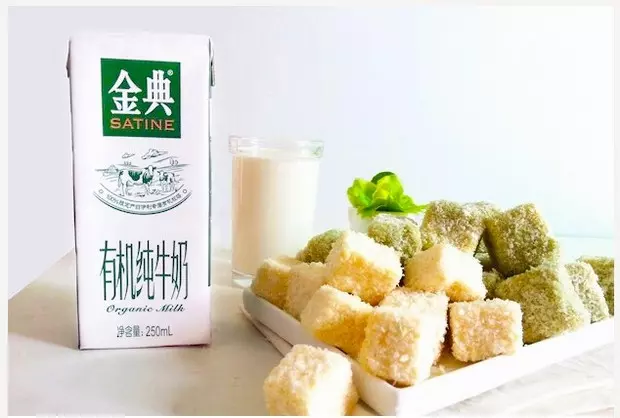
奶油奶酪: 200克, 金典有机奶: 250克(一盒), 柠檬汁: 10克, 玉米淀粉: 20克, 白砂糖: 55克, 蛋黄: 2个, 黄油: 6克, 抹茶粉(做抹茶味道时使用): 6克, 可可粉(做可可味道时使用): 6克, 椰蓉(装饰层):
步骤
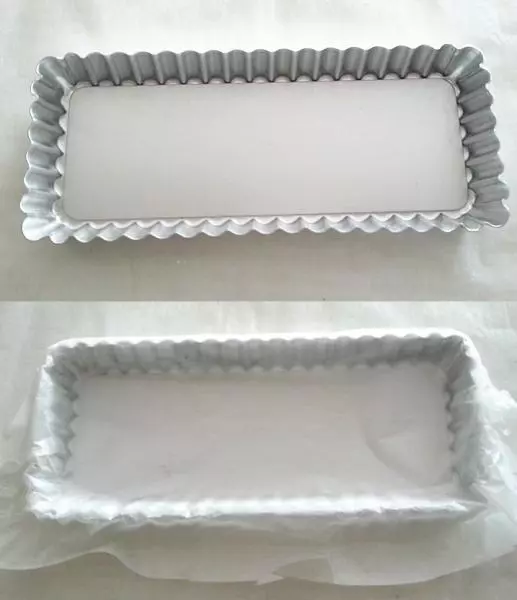
1模具垫油纸, 或者擦黄油,
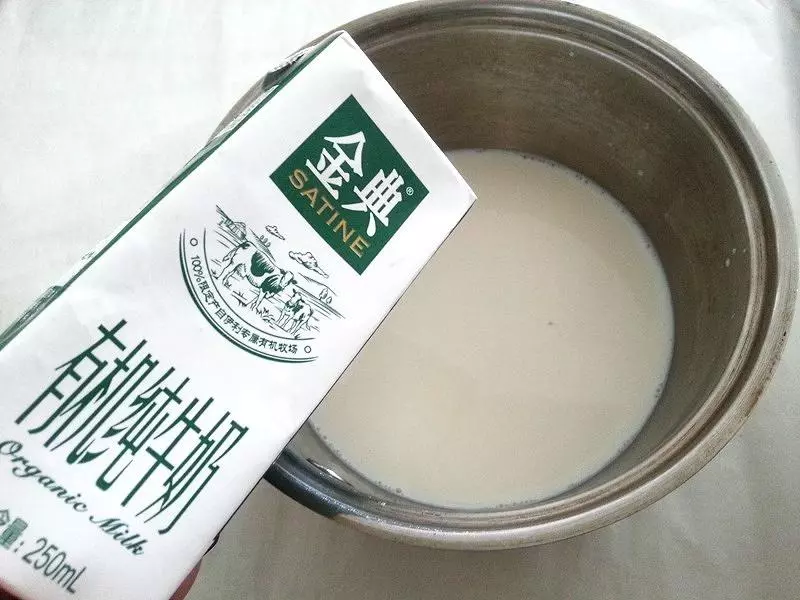
2小奶锅倒入一盒金典有机奶
3200克奶油奶酪室温软化, 5克黄油室温软化, 15克柠檬汁放小碗, 2个蛋黄放小碗, 60克白砂糖放小碗, 20克玉米淀粉放小碗,
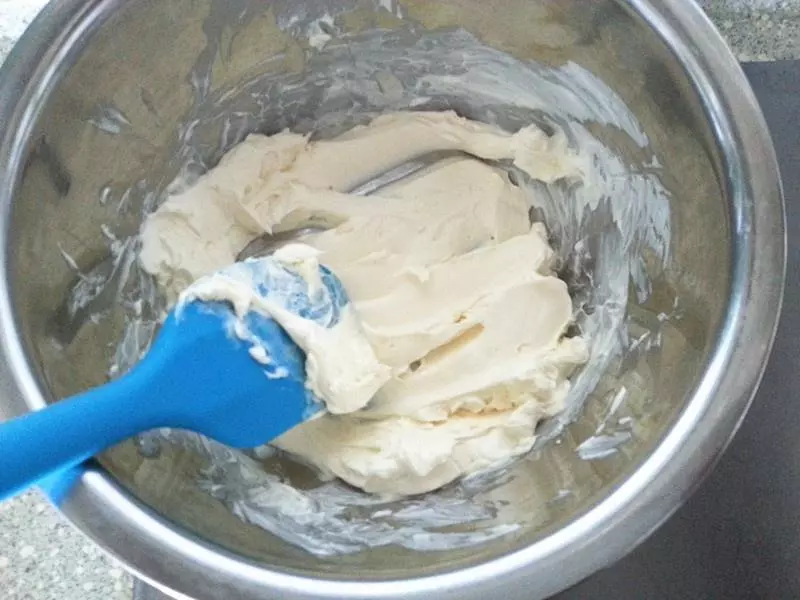
4奶油奶酪隔热水刮刀拌顺滑,无颗粒;
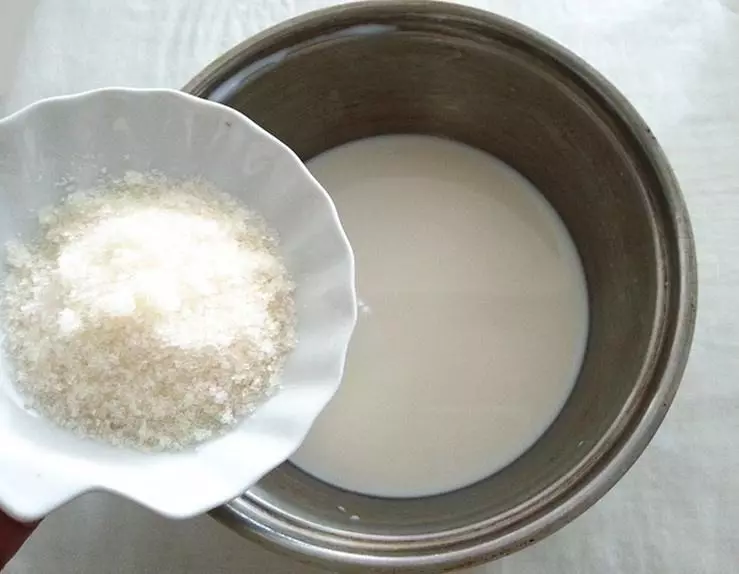
5金典有机奶中倒入白砂糖手动打蛋器拌匀;
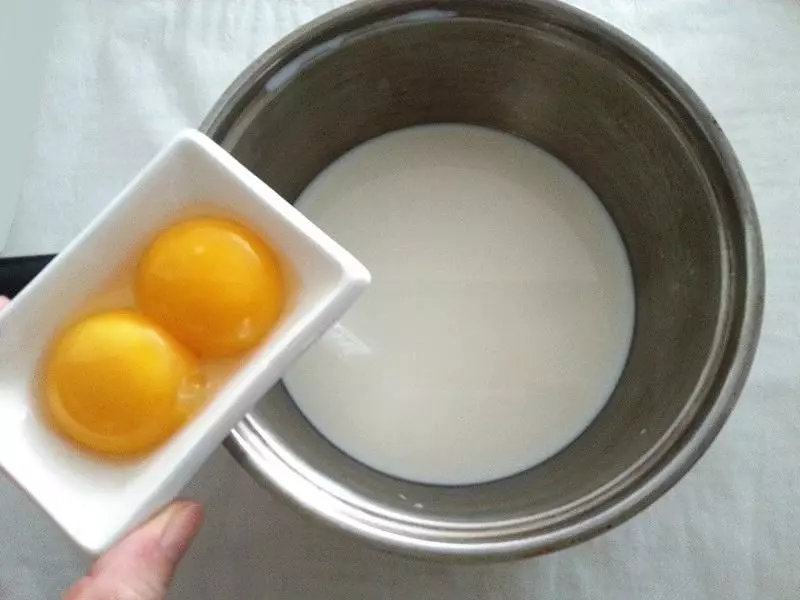
6放入蛋黄打散;
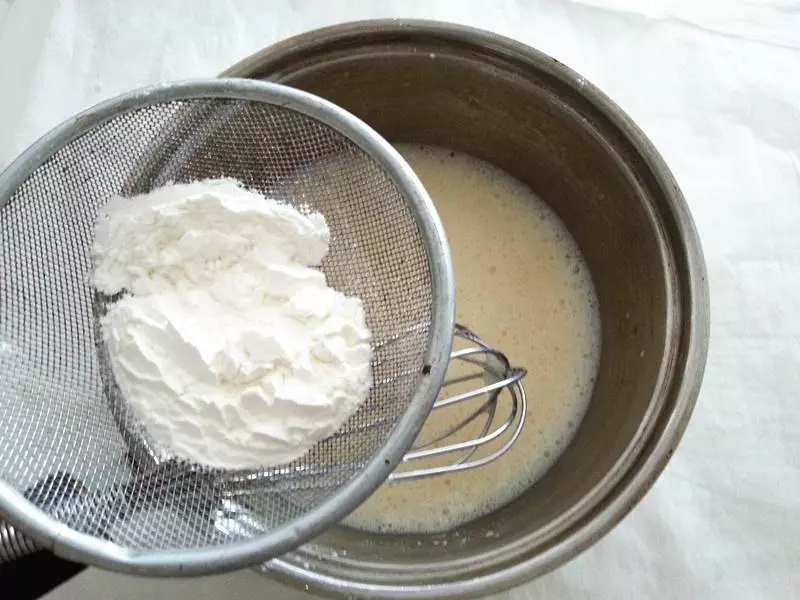
7筛入玉米淀粉打散
8放入灶台 中火手动打蛋器搅拌加热半分钟, 转小火搅拌加热到明显阻力, 浓稠无液体离火;
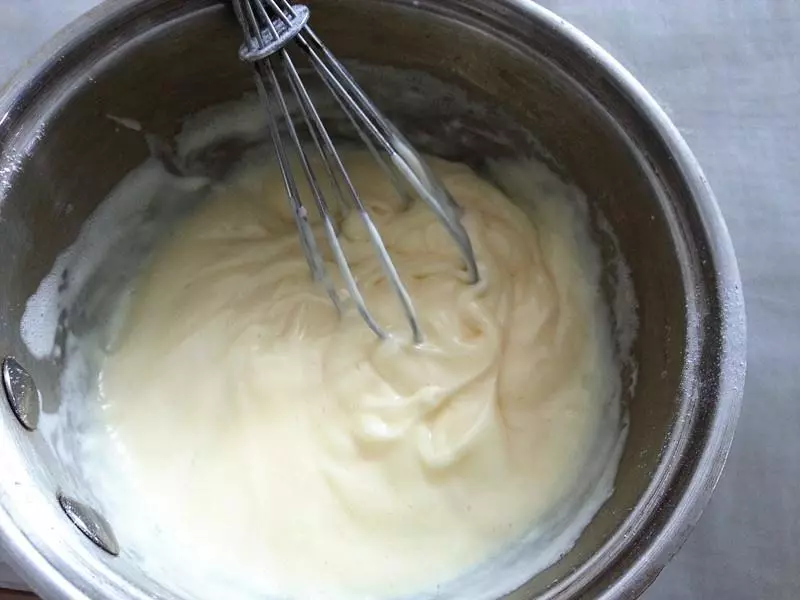
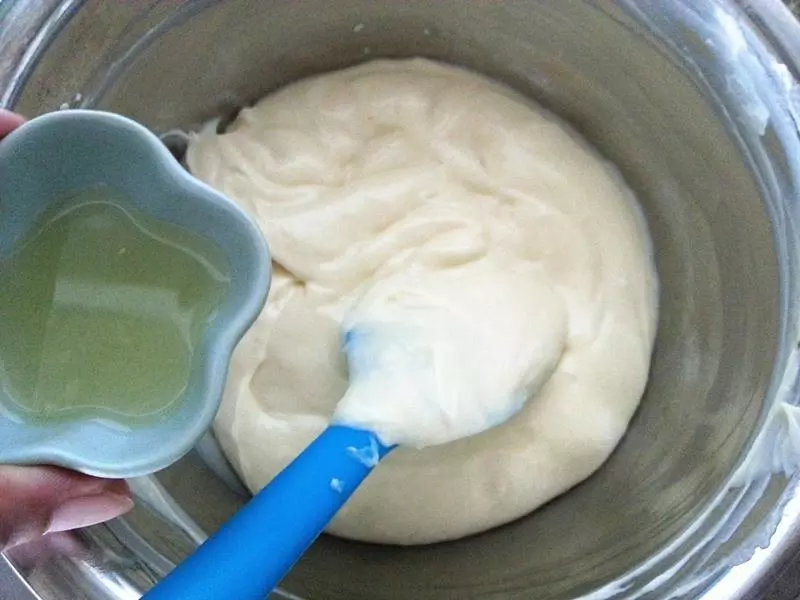
9趁热倒入奶油奶酪糊刮刀拌匀顺滑
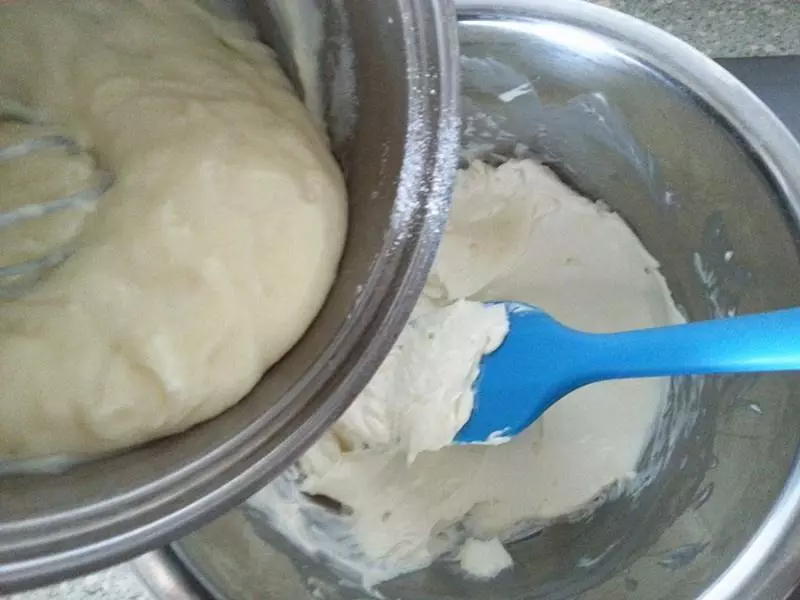
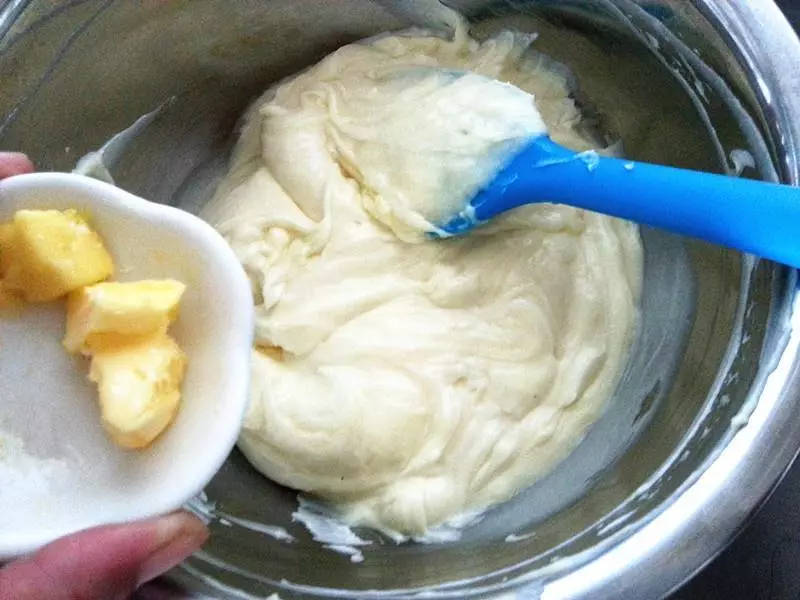
10加入黄油拌匀; 烤箱165度预热10分钟;
11加入柠檬汁拌匀到顺滑;
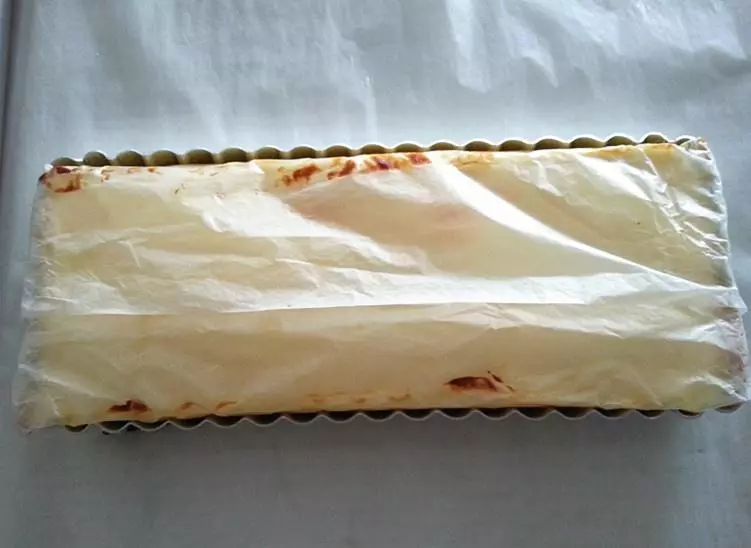
12奶酪糊倒入模具,震几下,刮板刮平; 模具放烤网,中层,165度烤35-40分钟

13烤箱自然冷却,拿出来,盖烘焙纸放冰箱冷藏到手压硬,有弹性;
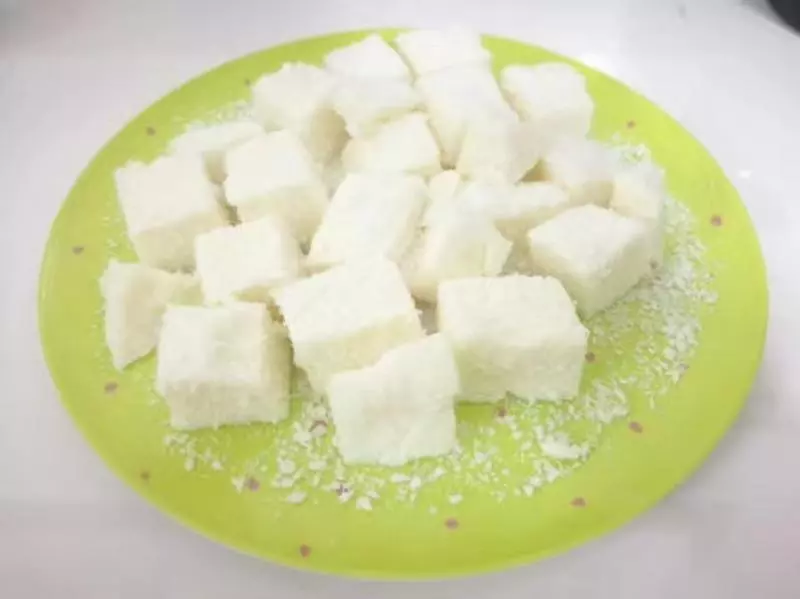
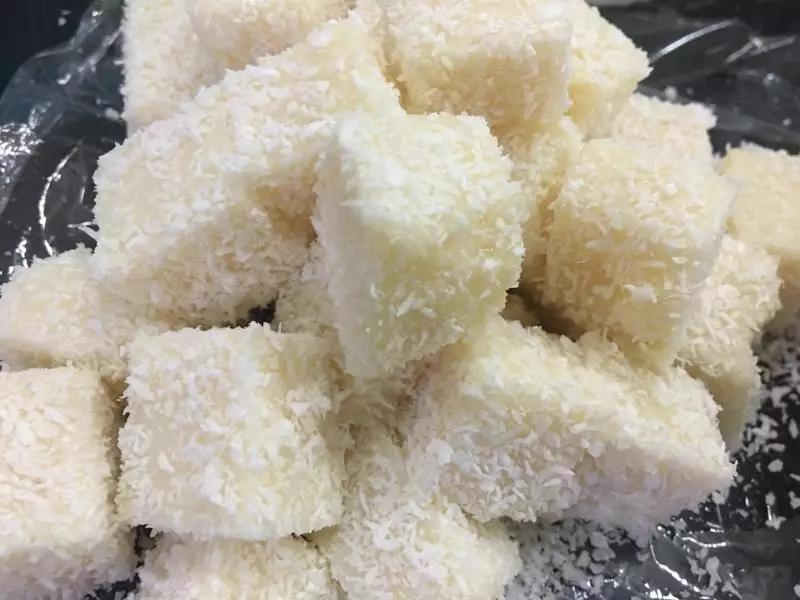
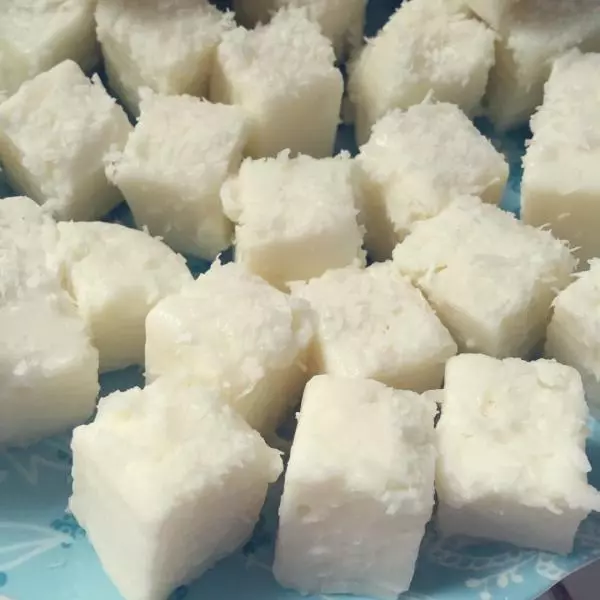
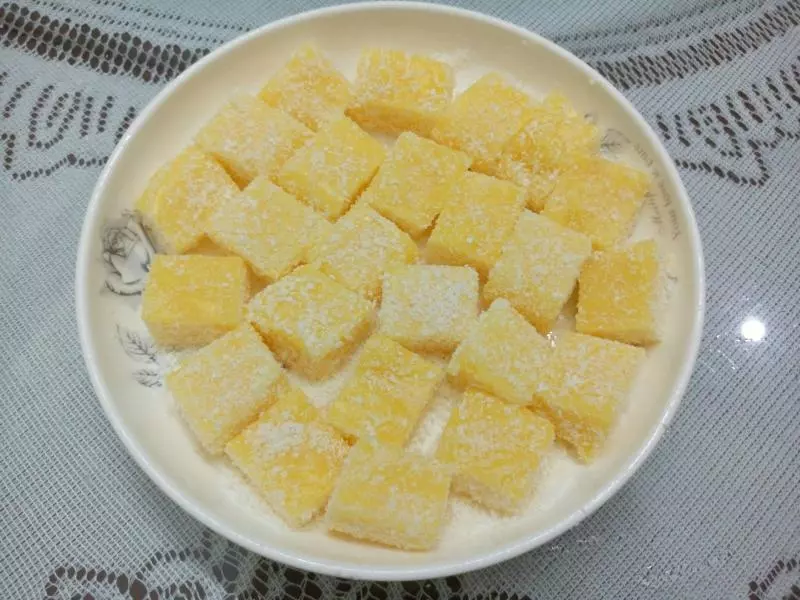
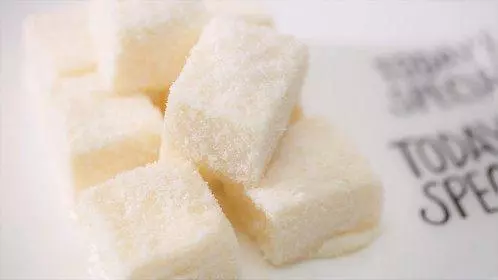
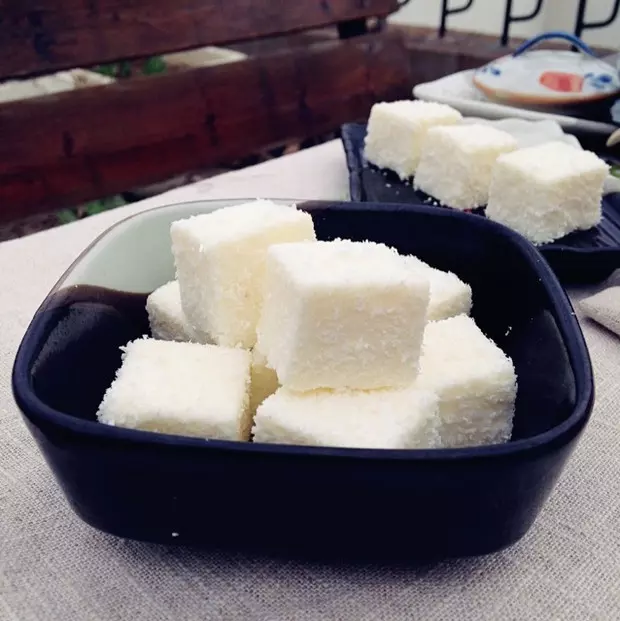
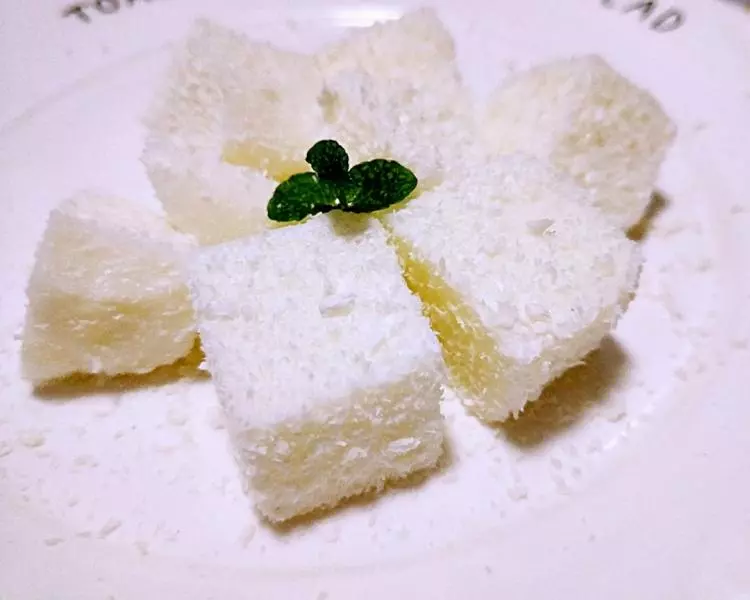
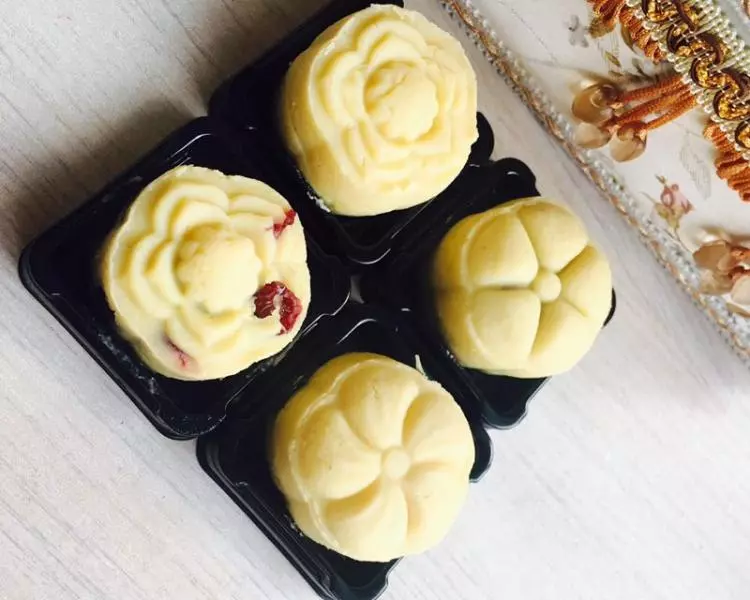
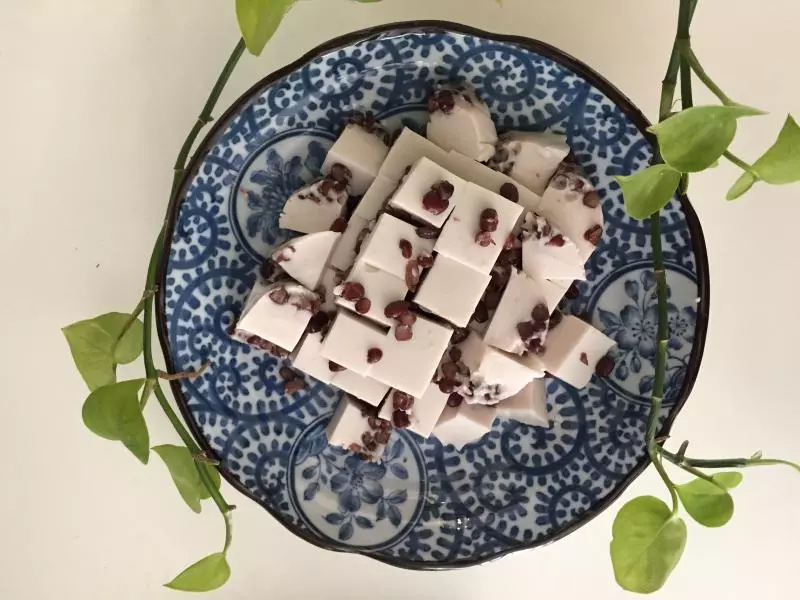
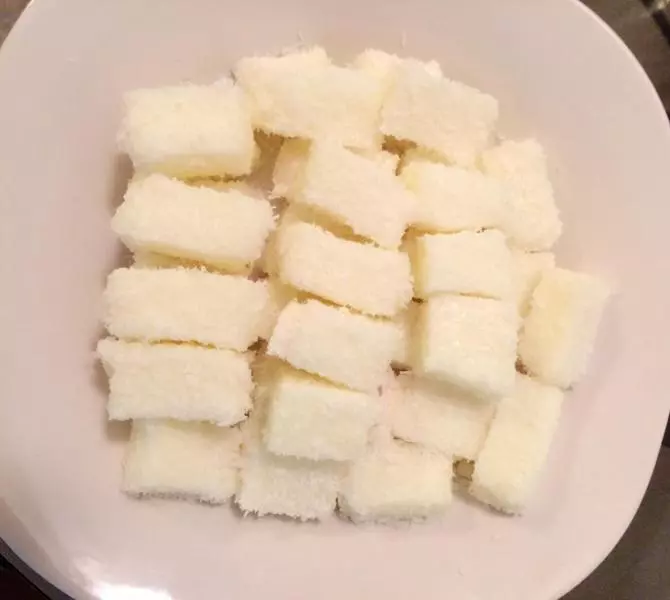
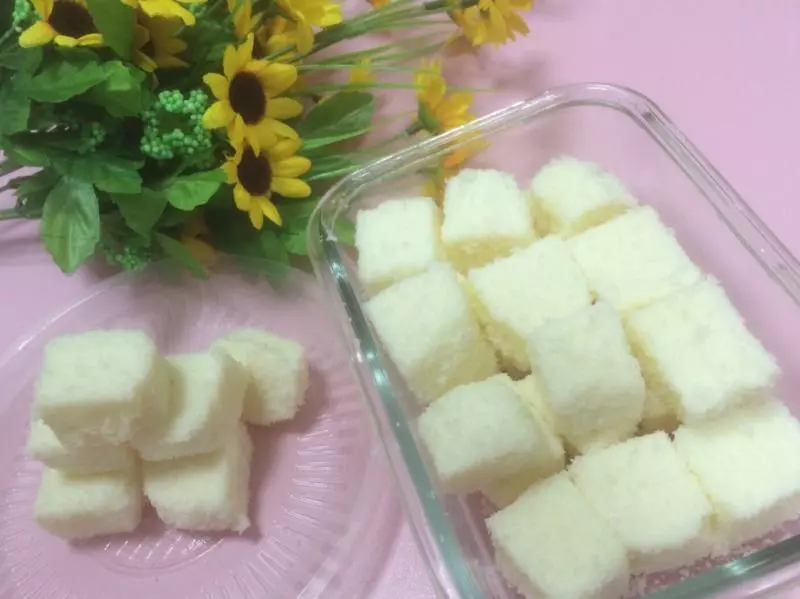
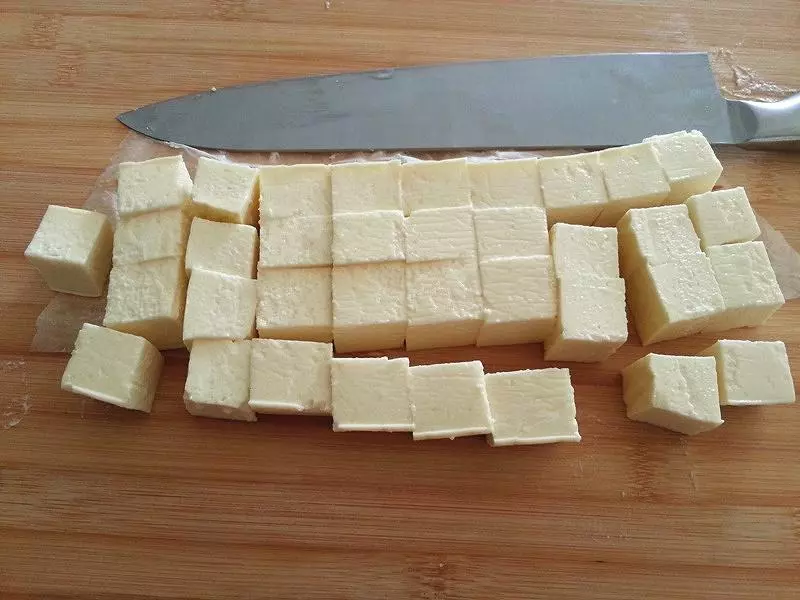
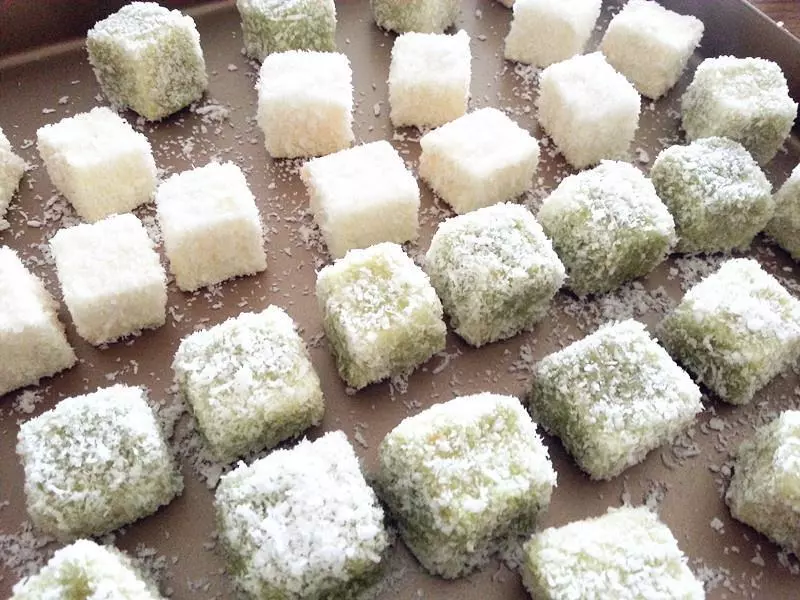
14冷却后, 拿出冷藏好的芝士,切成小方块;
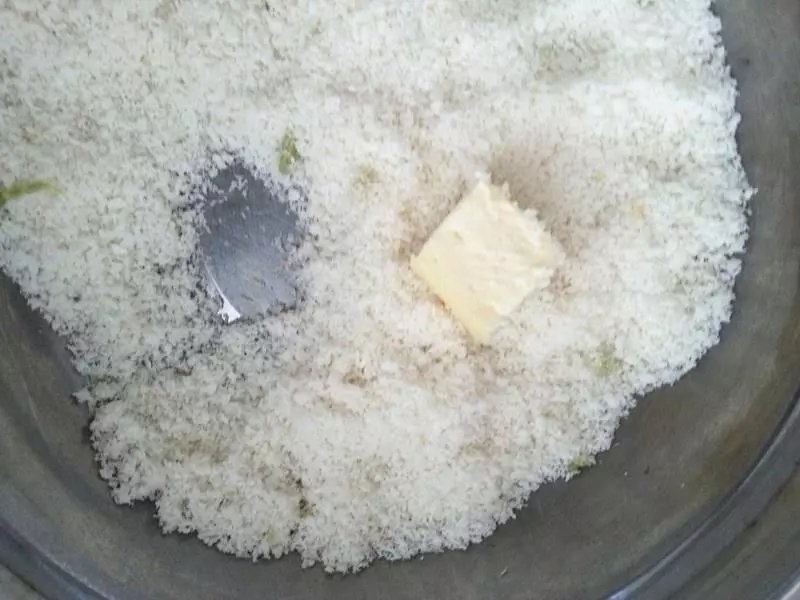
15然后放入椰蓉中滚动沾满椰蓉
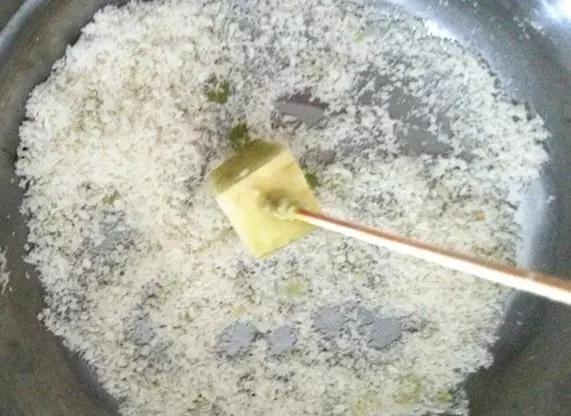
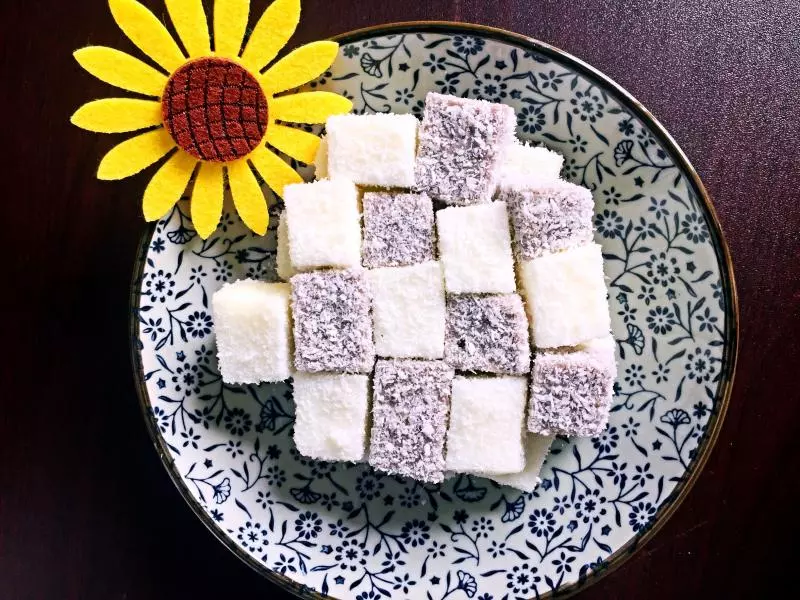
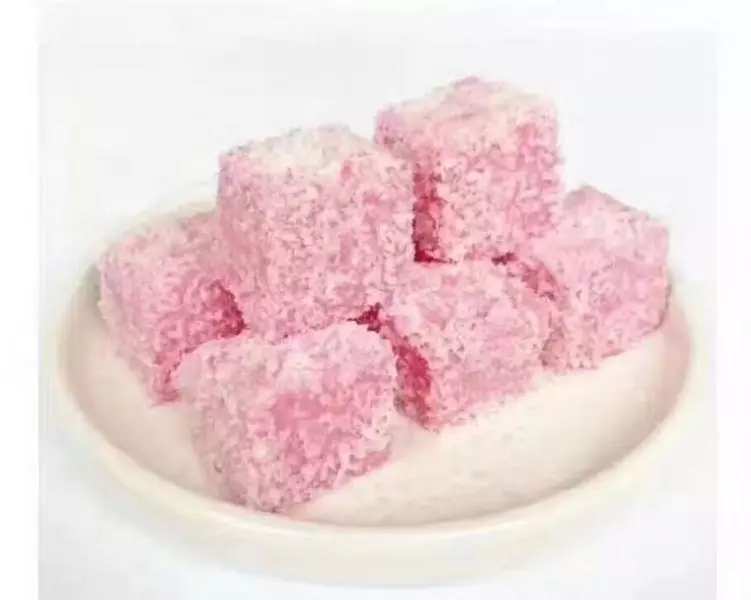
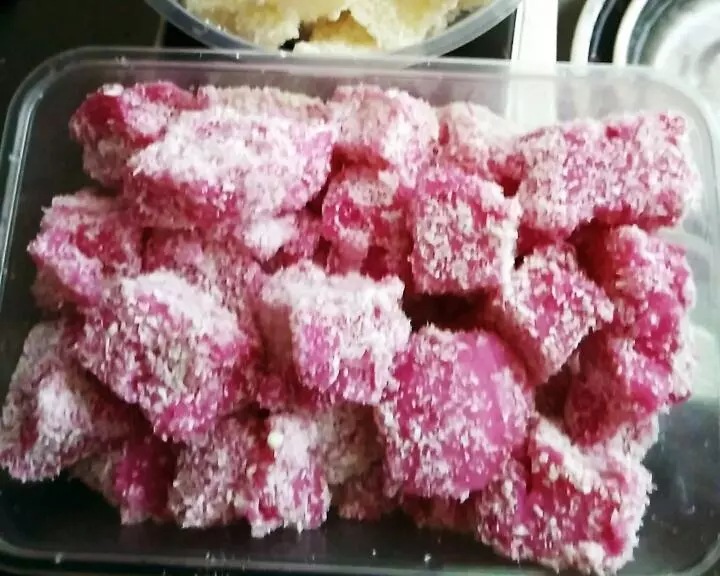
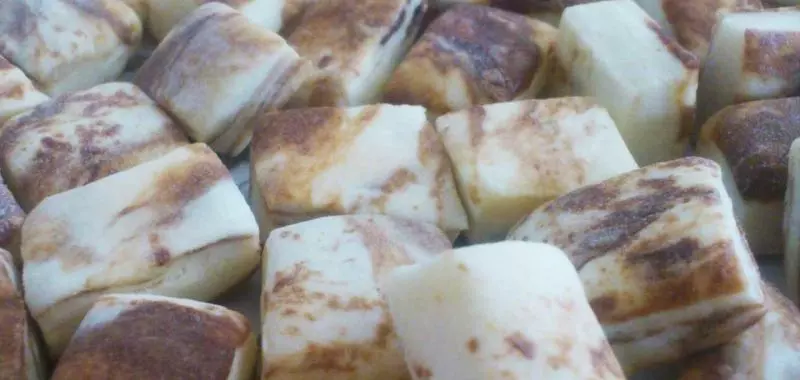
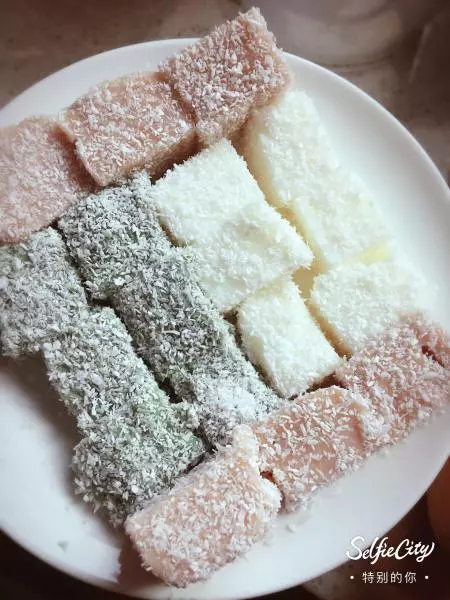
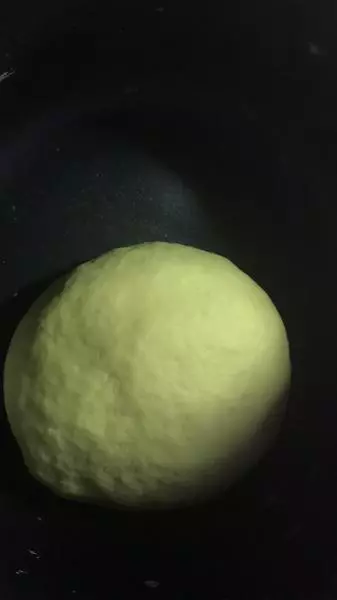
16也可以直接沾可可粉,抹茶粉、红曲粉,做喜欢的颜色, 不放椰蓉,直接蘸粉口感更加细腻;
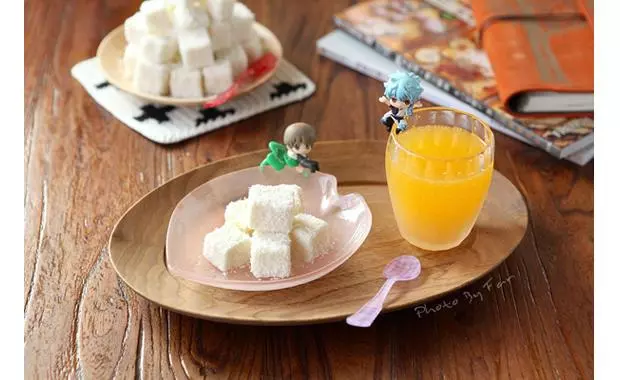
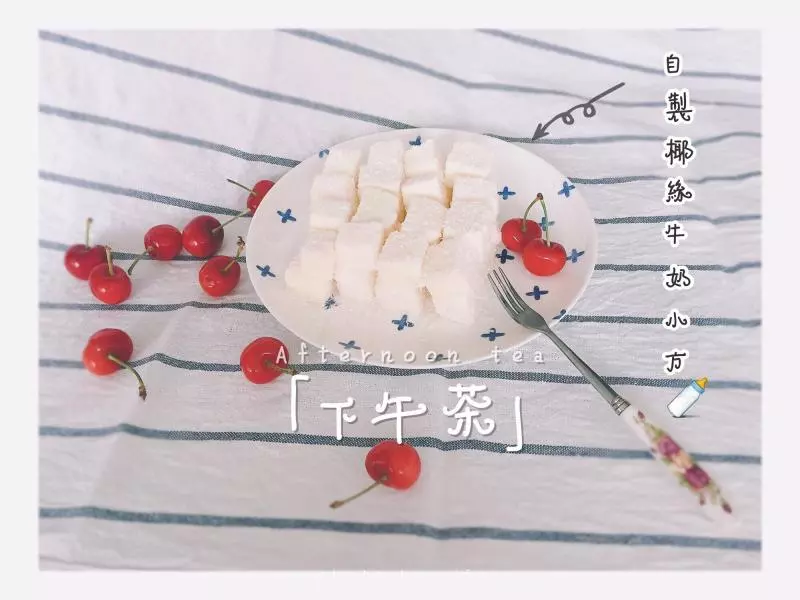
17全部沾好,即可食用,也可以放冰箱冷藏一小时以上再吃。
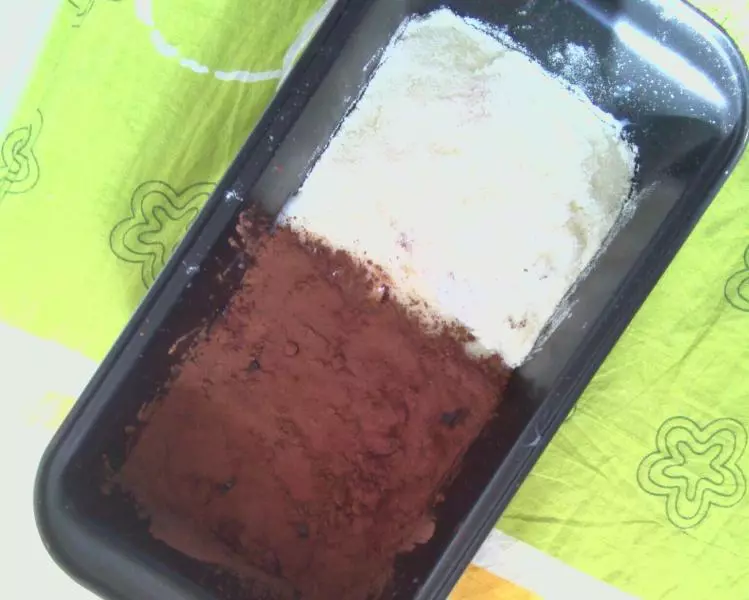
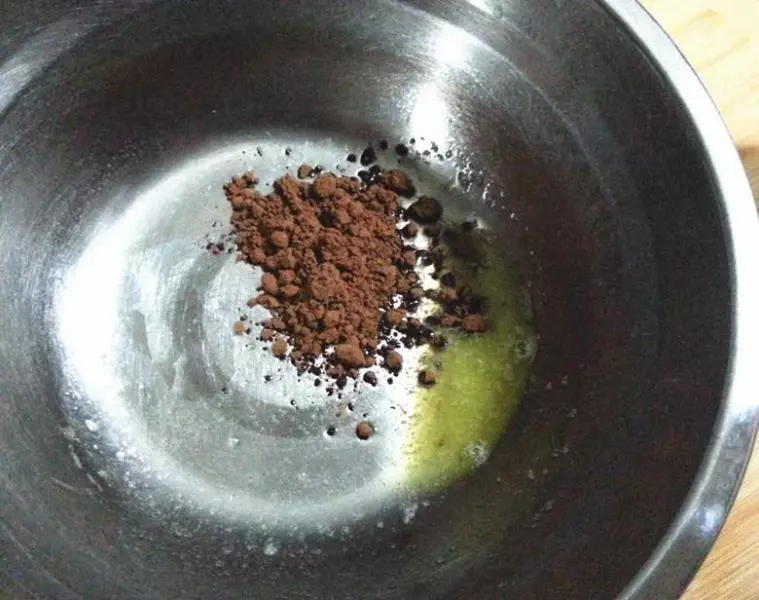
18可可&抹茶: **柠檬汁不要放** 按步骤1-9做好奶酪糊; 6克黄油加热融化,趁热放入5克可可粉(&抹茶粉)拌匀, 放入做好的奶酪糊拌匀, 倒入模具,震几下,刮板刮平; 模具放烤网,中层,165度烤35-40分钟
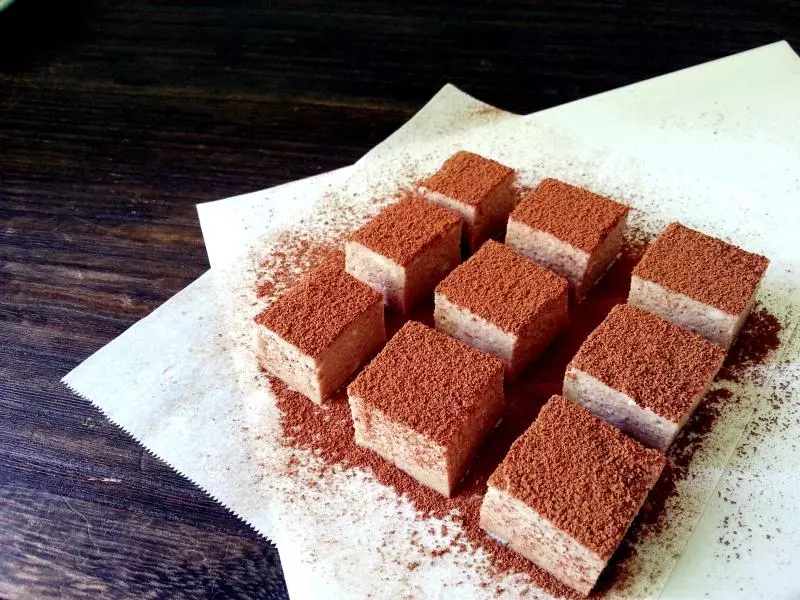
19烤箱自然冷却,拿出来,盖烘焙纸放冰箱冷藏到手压硬,有弹性,拿出来切块后,直接撒粉。即食或者冷藏一小时以上再吃;
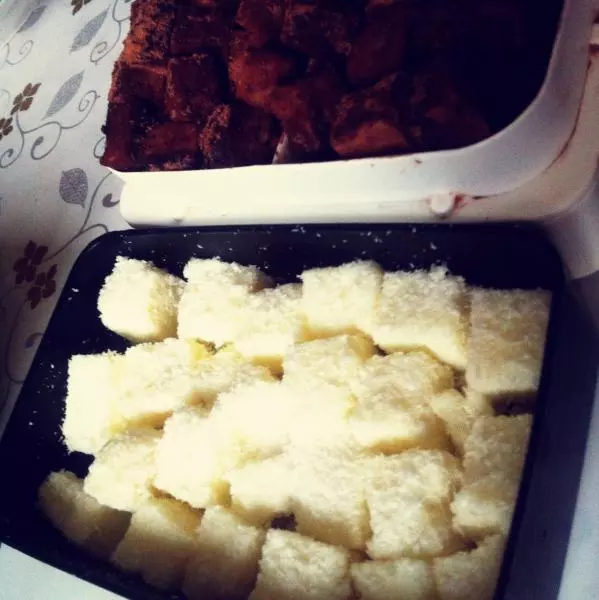
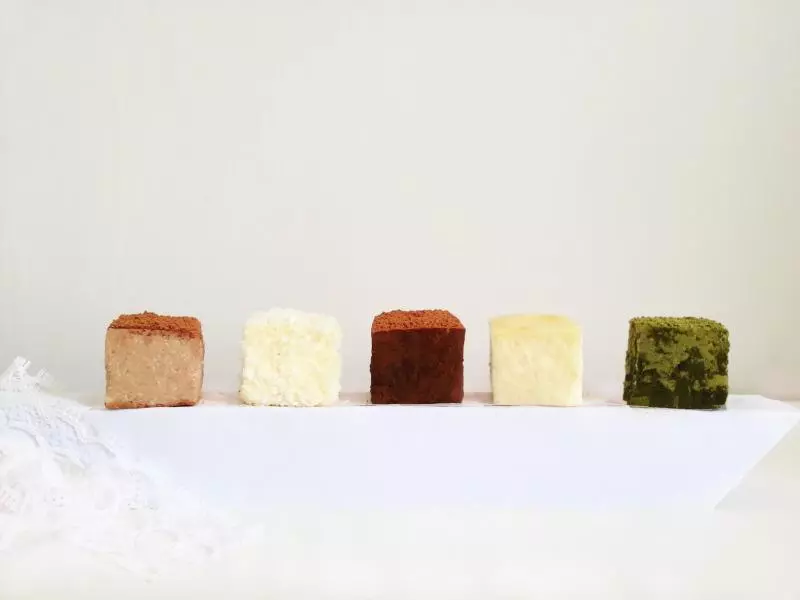
20全家福:原味、可可、抹茶直接裹粉和椰蓉
小技巧
我详细写了,步骤其实非常简单。 熬卡仕达酱,拌匀,烤,切块,就可以吃啦 做可可味道和抹茶味道,省略柠檬汁。 附注:浓郁方:奶酪200,牛奶150,柠檬汁10,玉米淀粉20,白砂糖30,蛋黄2个 150° 35-40分钟