原料
植物油: 90g, 黄油: 10g, 盐: 1g, 白砂糖或绵糖: 70g, 鸡蛋: 60g, 低筋面粉: 230g, 小苏打: 2g, 随意坚果: 40g, 黑芝麻: 10g
步骤
1黄油隔水融化后混合植物油,加入白糖后搅拌均匀;(其实我是不会告诉你们我都是用吹风机直接热风吹化黄油的,是不是get到一个新技能!)

2加入鸡蛋搅拌均匀,鸡蛋带壳大概60g重;

3加入低筋面粉和小苏打,搅拌均匀,不需要筛粉,桃酥要的是酥而不是细密的口感嘛~

4加入坚果,或多或少都可以;

5搅拌均匀后开始揉球,每颗大概是20g,原谅每颗球都需要称重的撸主… 高危提醒,桃酥油量巨大,请戴上手套操作…

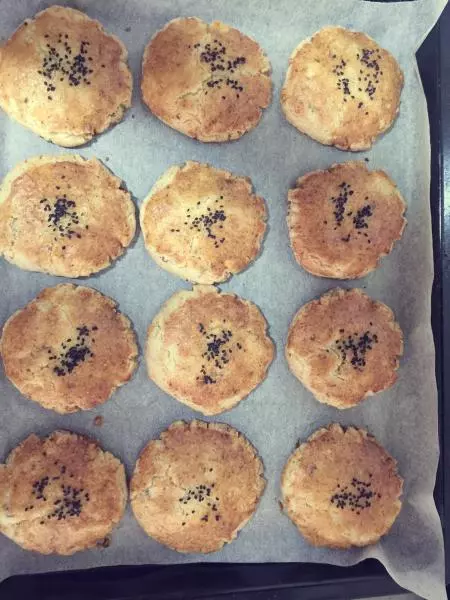
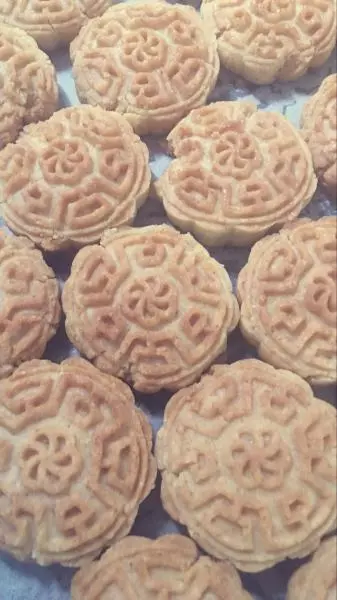
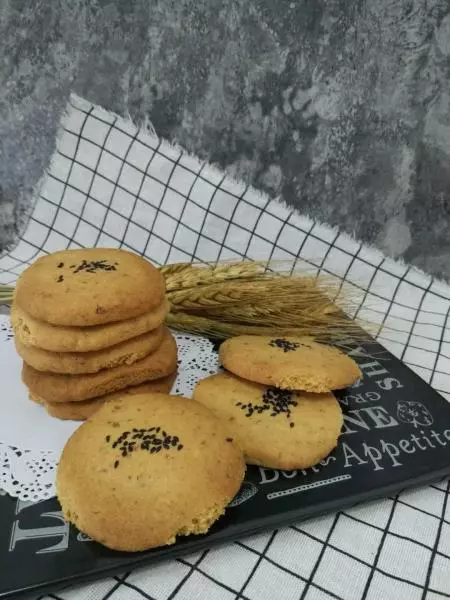
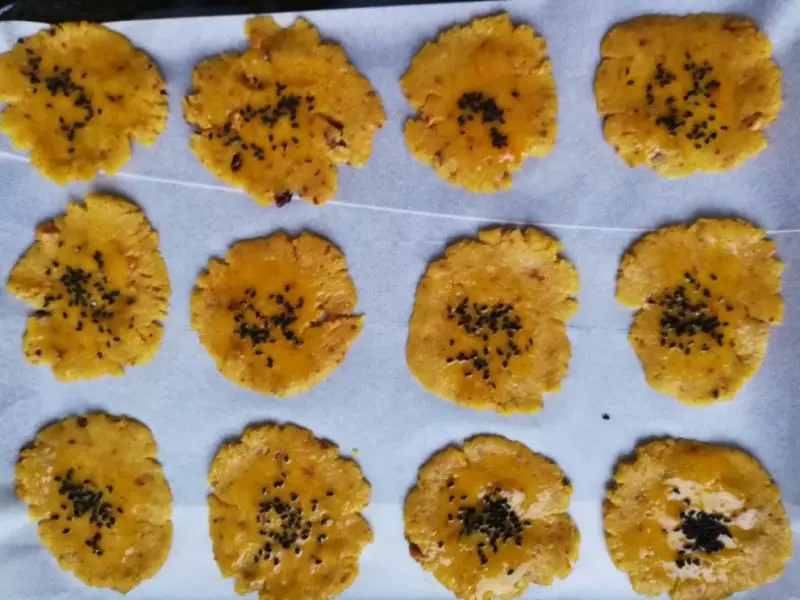
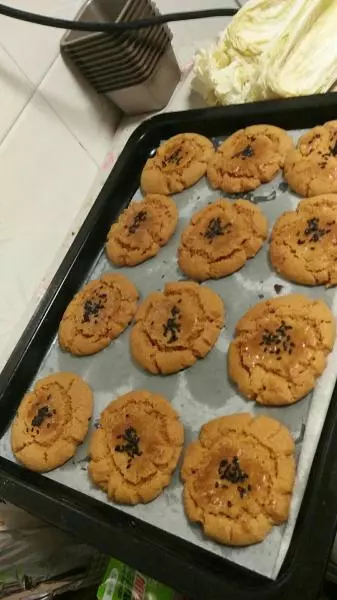
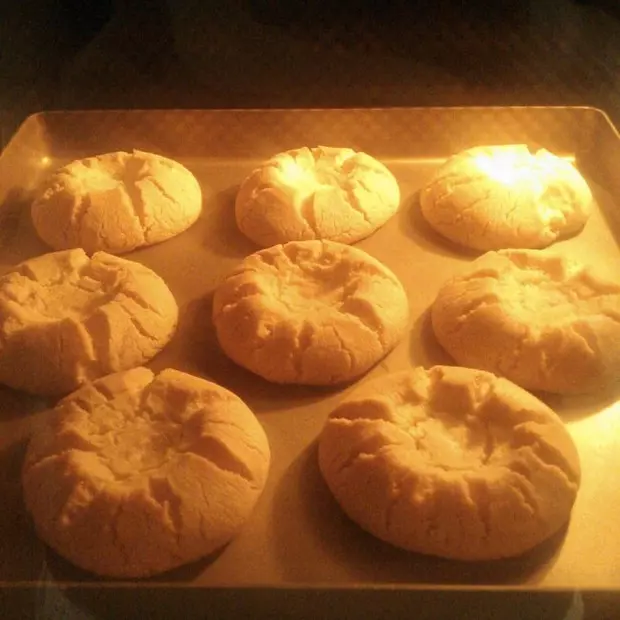
6这时开始预热烤箱,上下火180度,此分量大概能做出25个球来,把烤盘挤得慢慢的,真开心,摆盘摁瘪,然后均匀自然的撒上芝麻,用小勺的背面轻轻的摁下,能够让黑芝麻更贴合在桃酥里。

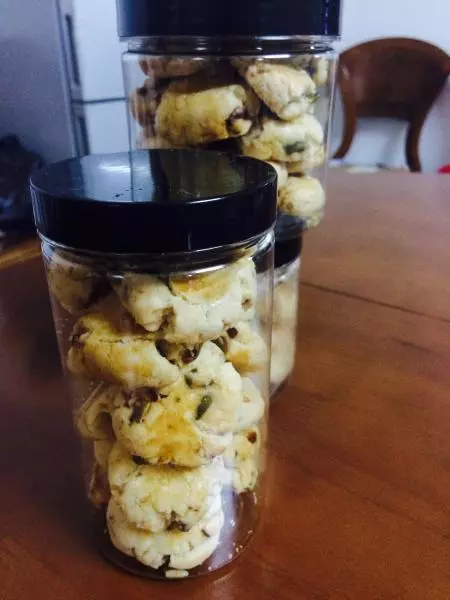
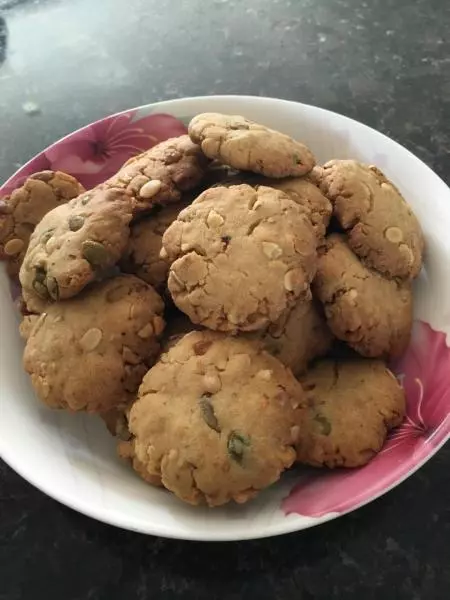
7泡杯红茶开始享受吧

小技巧
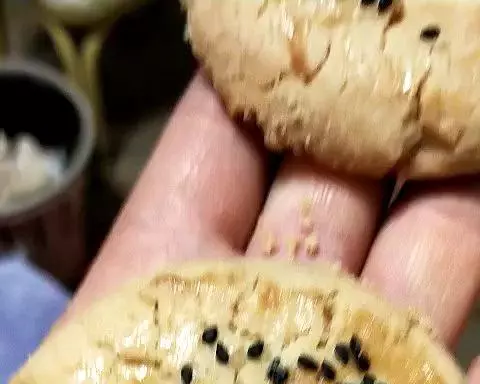
1.一直都是选择吹风机吹软吹化黄油的,觉得高效有省事! 2.摁球球的时候周边会开裂,这时候不用管啦,因为这样出来的桃酥更加好看! 3.坚果最好都选择炒熟的那种,这样烤出来会更香脆,如果是生的,可以剥出来后放入烤箱或高温叮三分钟! 4.桃酥油量超大,但一定要这样才好吃,所以千万不要减油或者加粉!