原料
鸡蛋: 一个, 面粉: 一勺, 盐: 少量, 香菜末: 适量, 辣椒酱: 少量, 蛋黄酱: 适量, 葱花: 适量, 培根: 适量
步骤
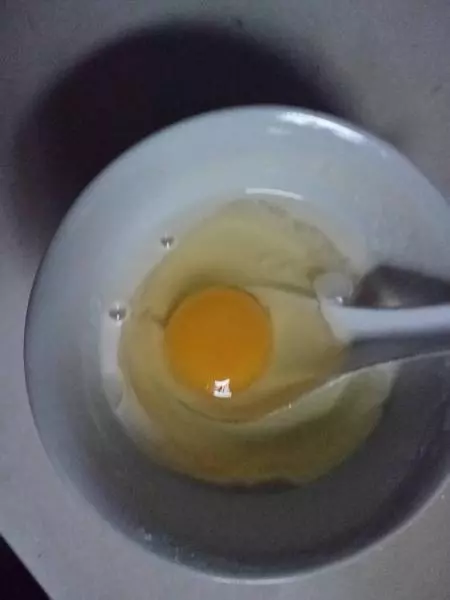
1将一勺(就图上的小勺大小)面粉和三勺水混合,拌匀

2打入一个鸡蛋,略打散即可
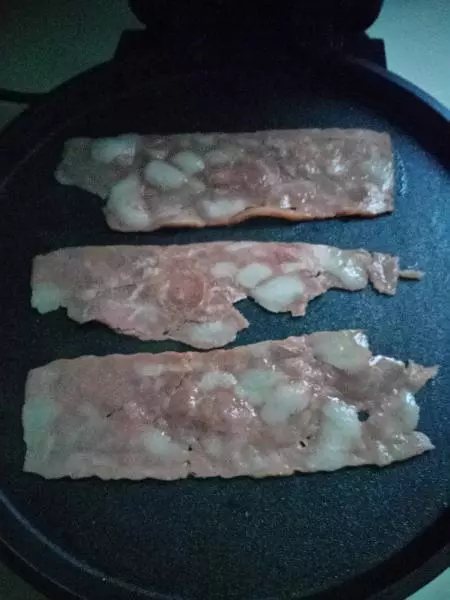
3培根放入电饼铛略煎一下,煎熟后取出培根待用
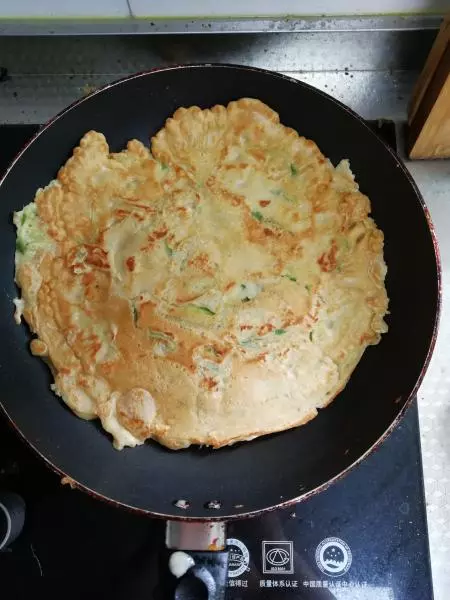
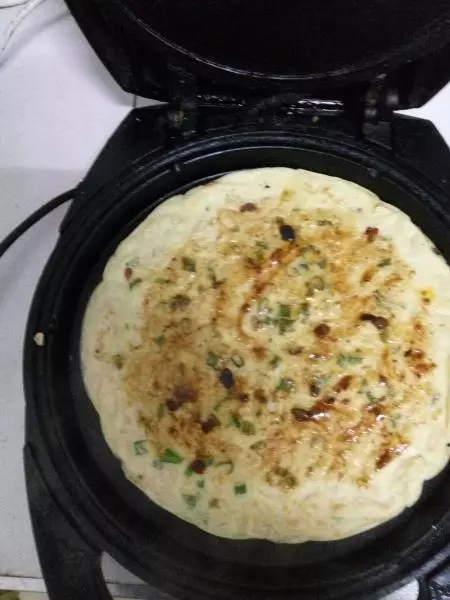
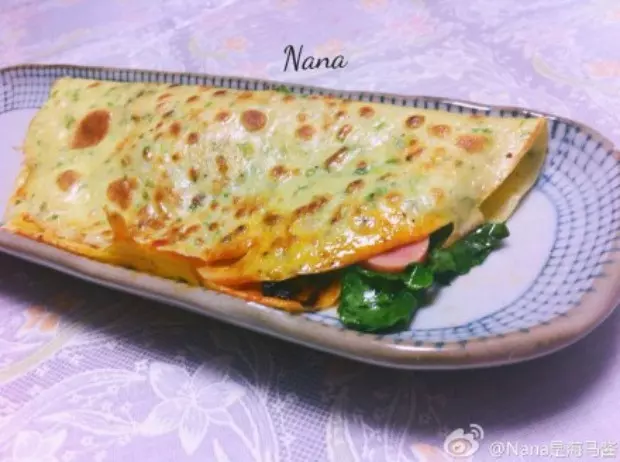
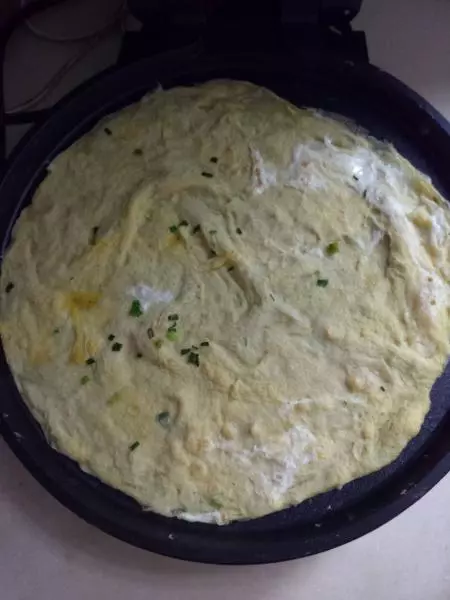
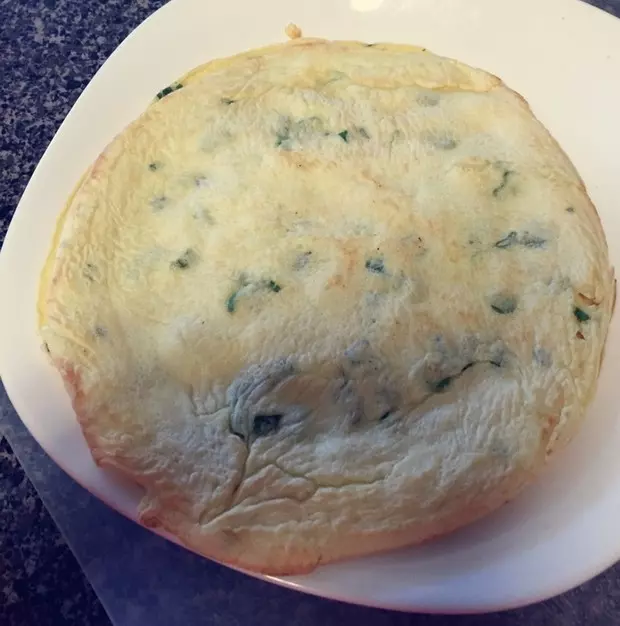
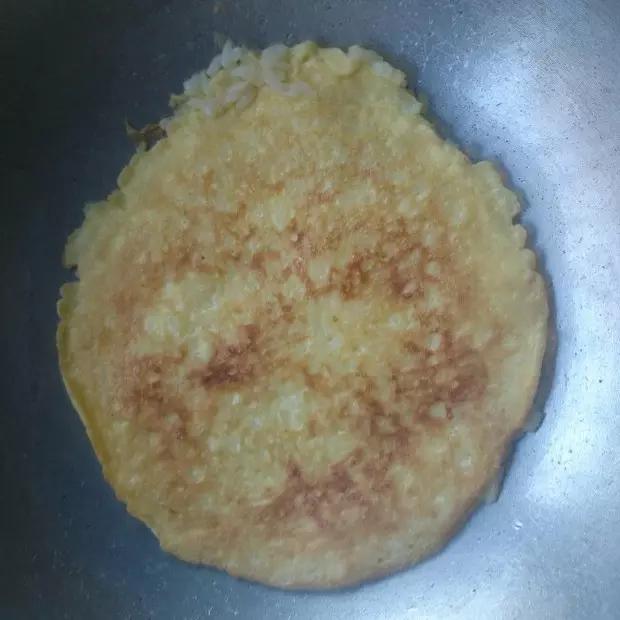
4把第二步骤里的鸡蛋混合液倒入电饼铛(原来培根煎出来的油不用擦掉,直接倒入混合液),用推子把混合液摊成圆形薄饼,洒上葱花
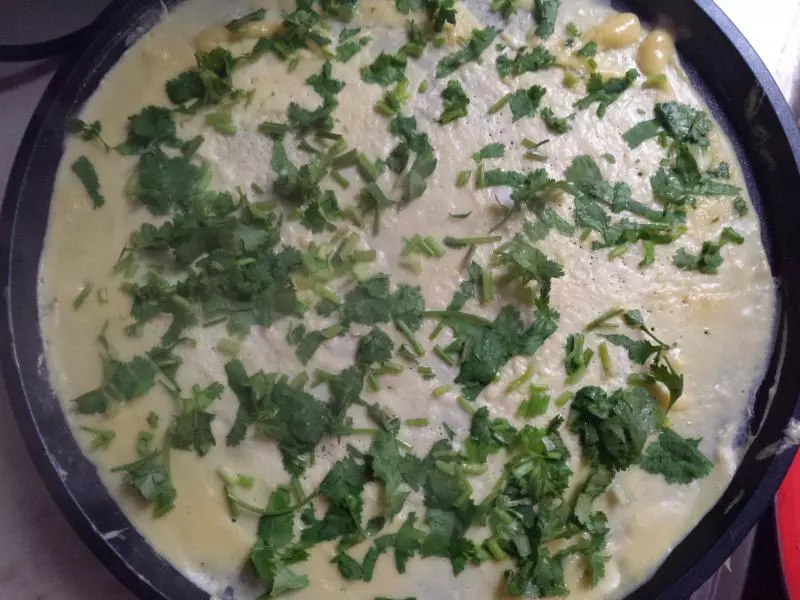
5洒上香菜末(女儿特喜欢香菜,所以放的比较多,不喜欢的人可以不放)
6放入适量辣椒酱和蛋黄酱(我用的是这个蛋黄酱)

7然后合上电饼铛稍等片刻

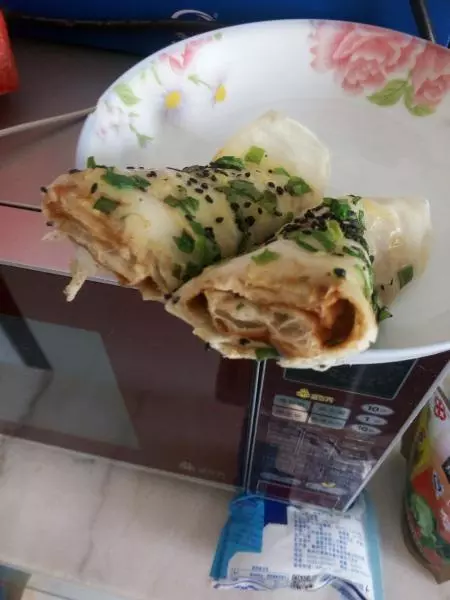
8打开电饼铛放入煎好的培根(有人喜欢整块培根,有人喜欢碎一点,随意)

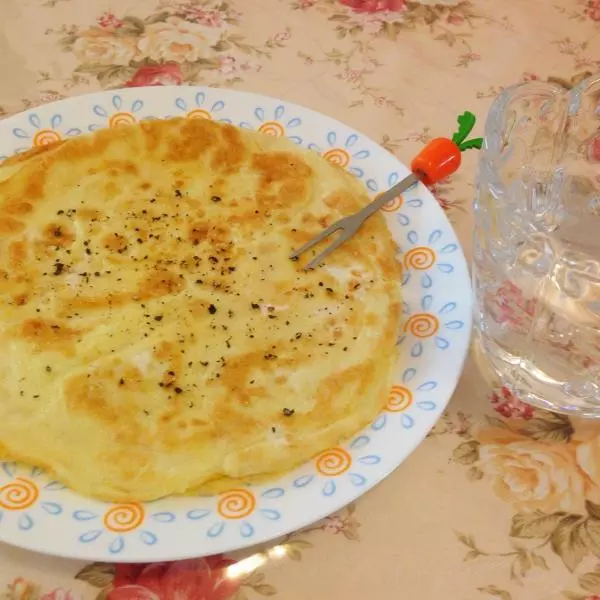
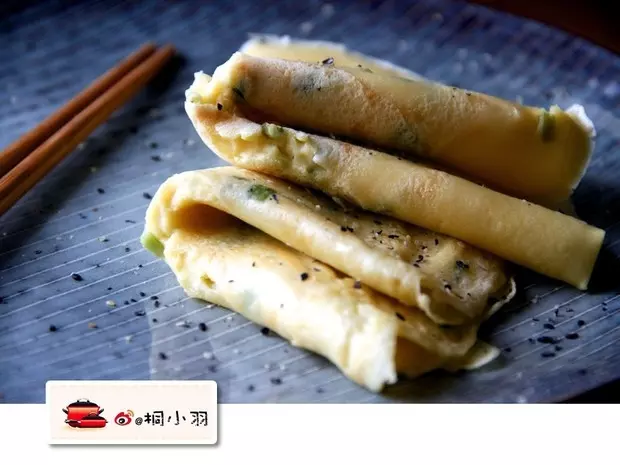
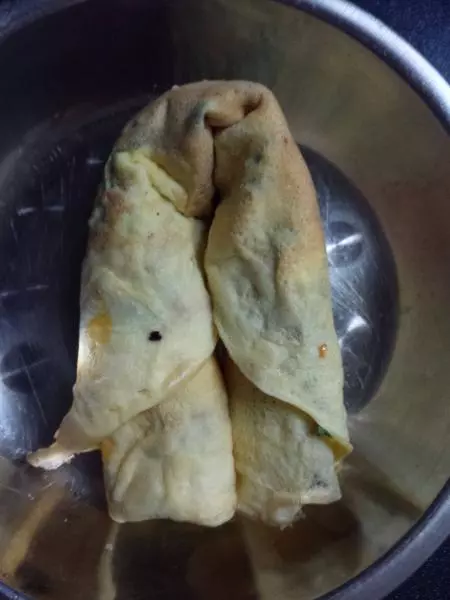
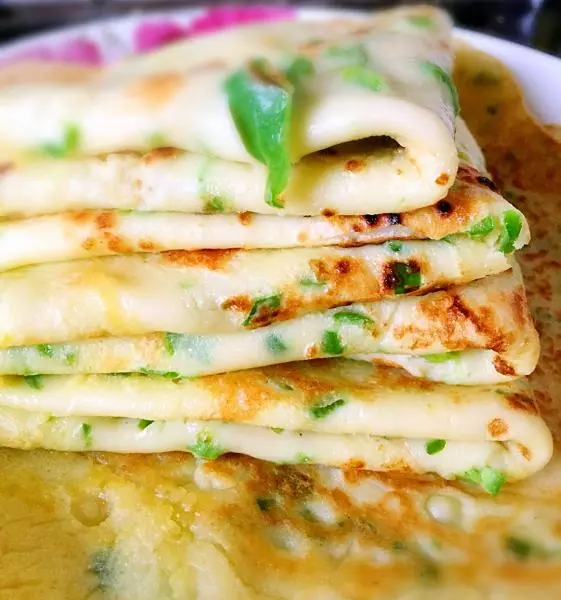
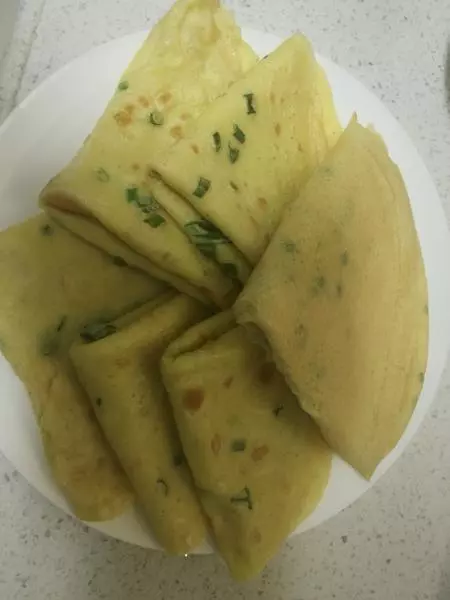
9趁热卷起即可

小技巧
鸡蛋饼一定要摊薄点,这样口感好。里面可以随意加喜欢的东西,比如油条,榨菜等,发挥你的想像吧,祝你好胃口!


![[早餐]香蕉鸡蛋饼](/images/node/10/100622.webp?1638097252)