原料
春卷皮一袋: 25张, 韭菜: 100克, 鸡蛋: 3个, 干虾仁: 25克, 食用油(拌馅用): 30克, 盐: 2克, 白胡椒粉: 2克
步骤
1不粘锅内放少量油,倒入鸡蛋液煎成蛋饼

2蛋饼用筷子划拉成小块,出锅放凉备用

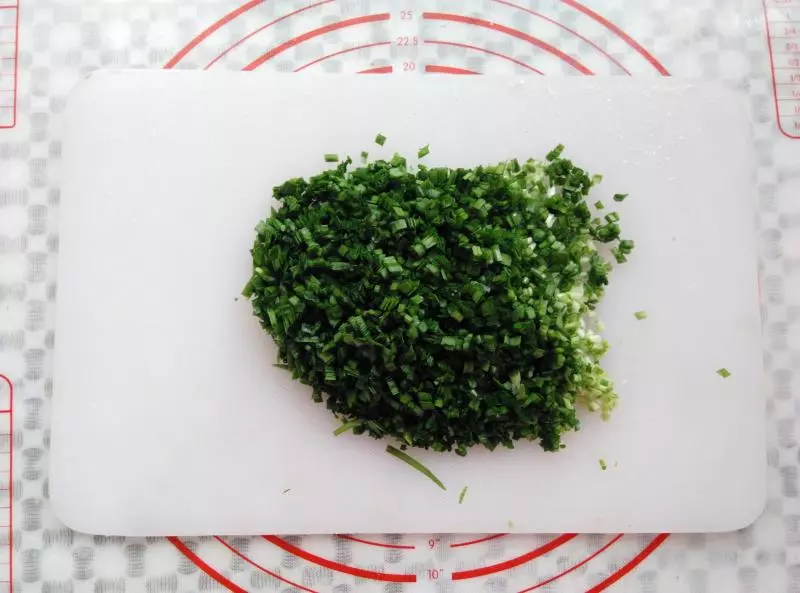
3韭菜洗净切碎
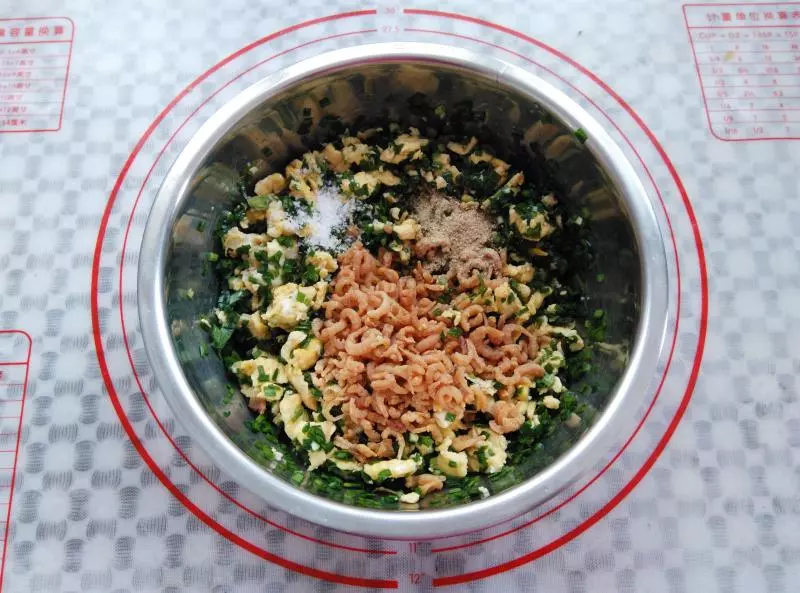
4装有鸡蛋的盆里加入韭菜,食用油,虾米,盐,白胡椒粉搅拌均匀
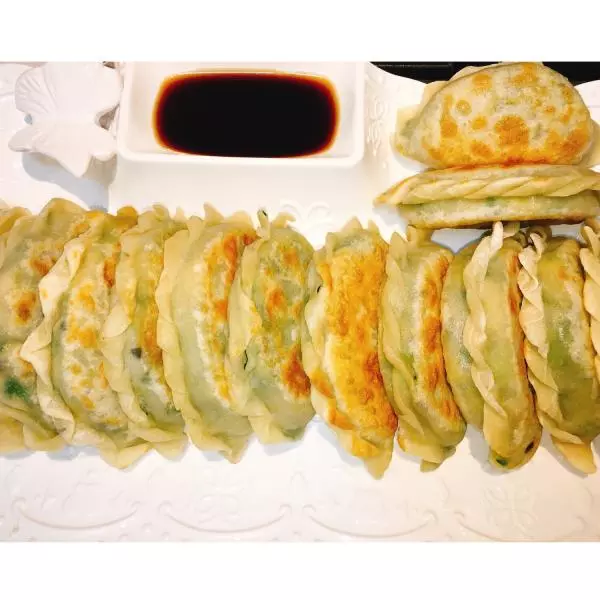
5取2张春卷皮叠起来,放上一勺馅,春卷皮的下端往上折

6春卷皮的左侧往右折,接口处可以抹一点水更好的沾合在一起
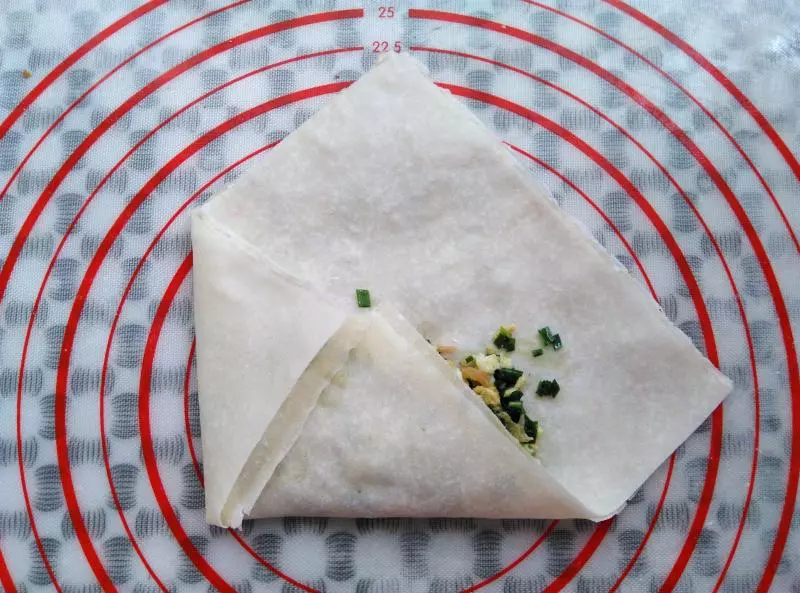
7春卷皮的右侧往左折
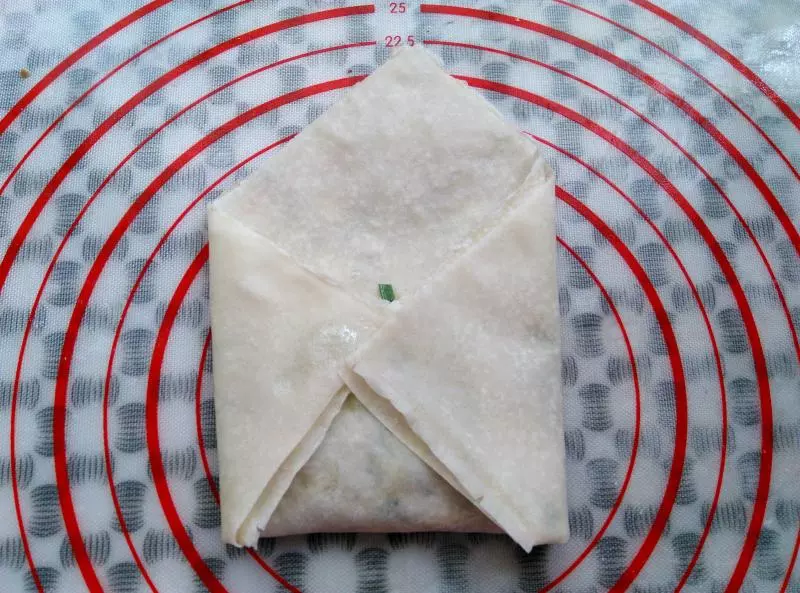
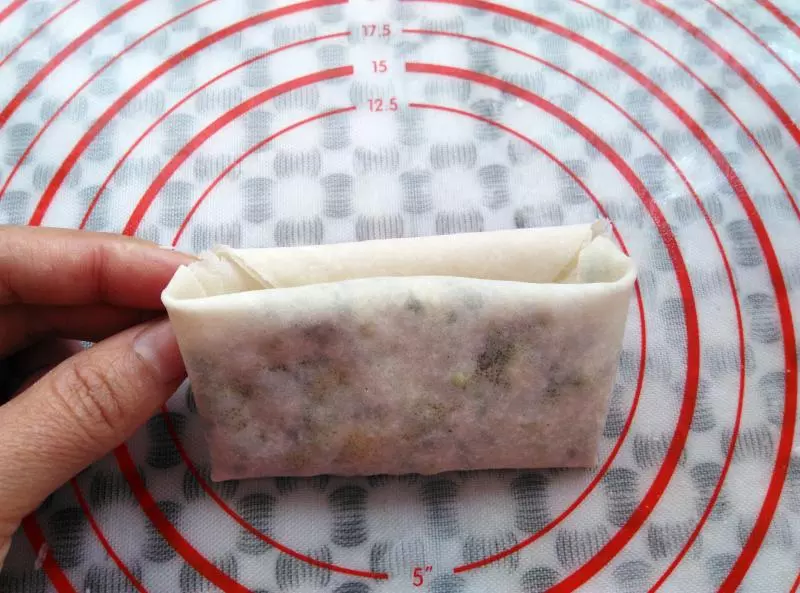
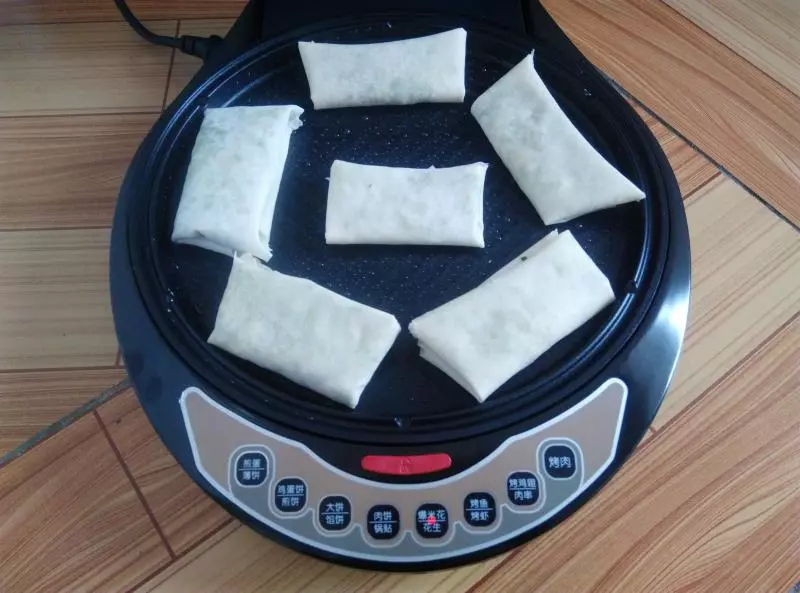
8春卷皮的上端往下塞进面皮里,简单的韭菜盒子就做好了
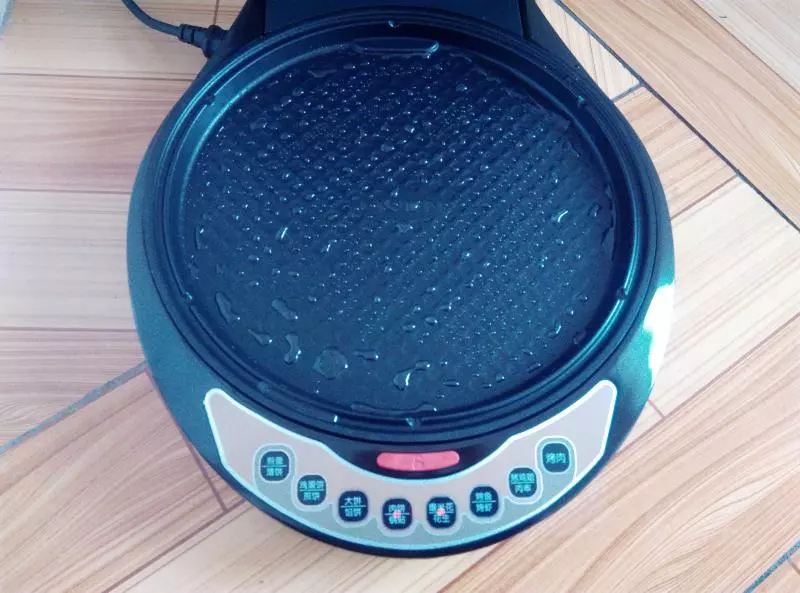
9电饼铛里刷少量的油,预热电饼铛
10放入韭菜盒子,中间预留一些空位方便翻面,选用肉饼模式
11每2分钟翻面一次,第一次用电饼铛担心不熟,煎了10分钟出锅
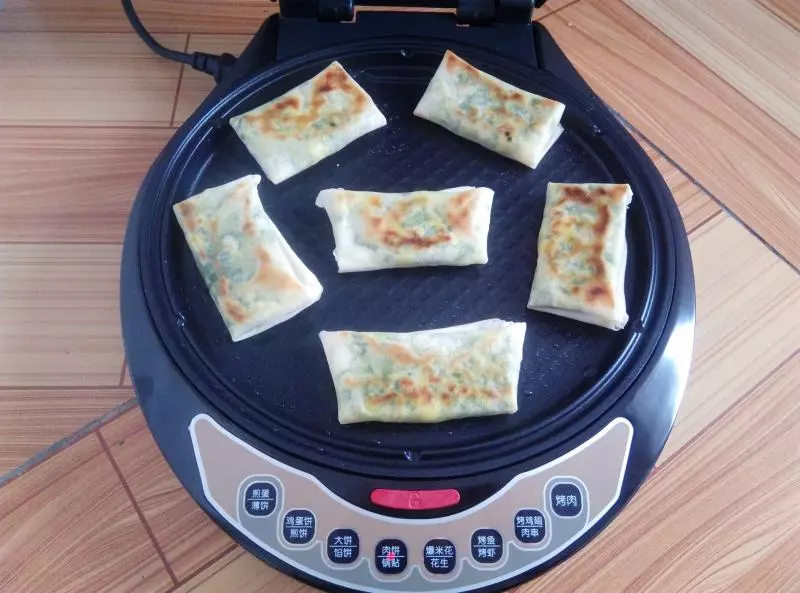
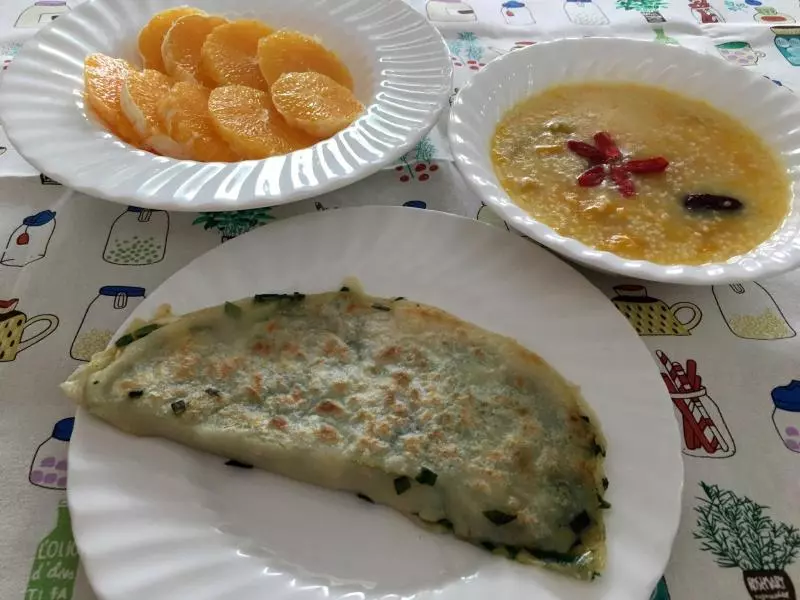
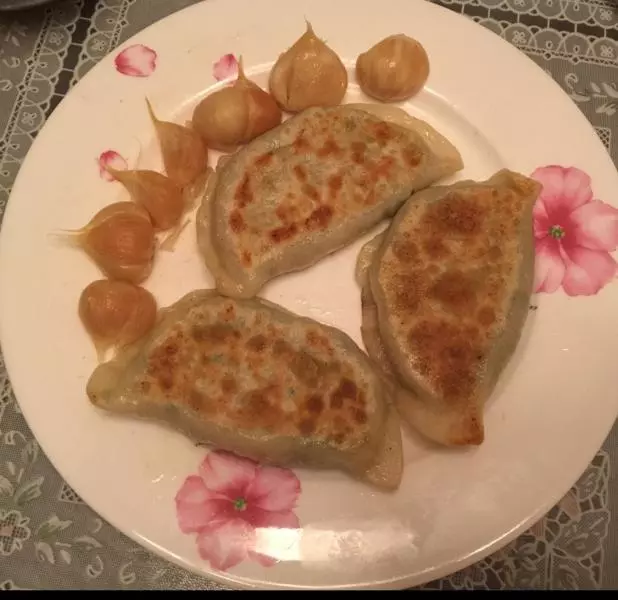
12出锅以后趁热吃,真香

小技巧
1.春卷皮代替传统手擀面的面皮。做出来的韭菜盒子皮薄馅厚更好吃 2.春卷皮长期冷冻保存,皮上有白色斑点是冷冻的面粉 3.没有电饼铛可以用锅煎,效果是一样的