原料
低筋面粉: 60克, 鸡蛋: 2只, 淡奶油: 200ml, 白糖: 75克左右(看个人口感), 香草精: 1茶勺
步骤
1将两个鸡蛋蛋白和蛋黄分开
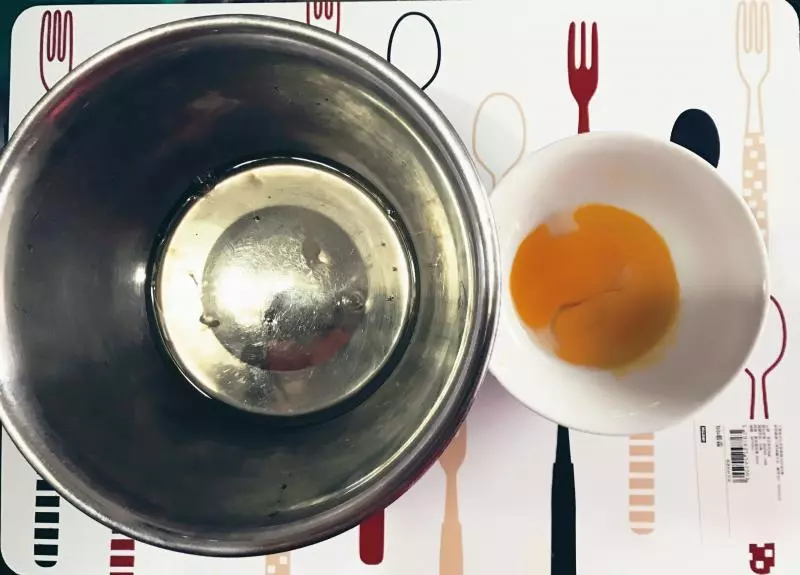
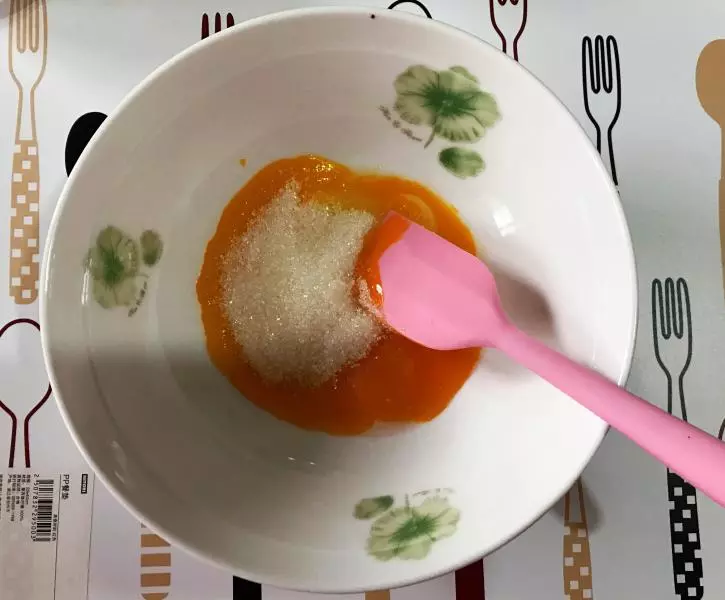
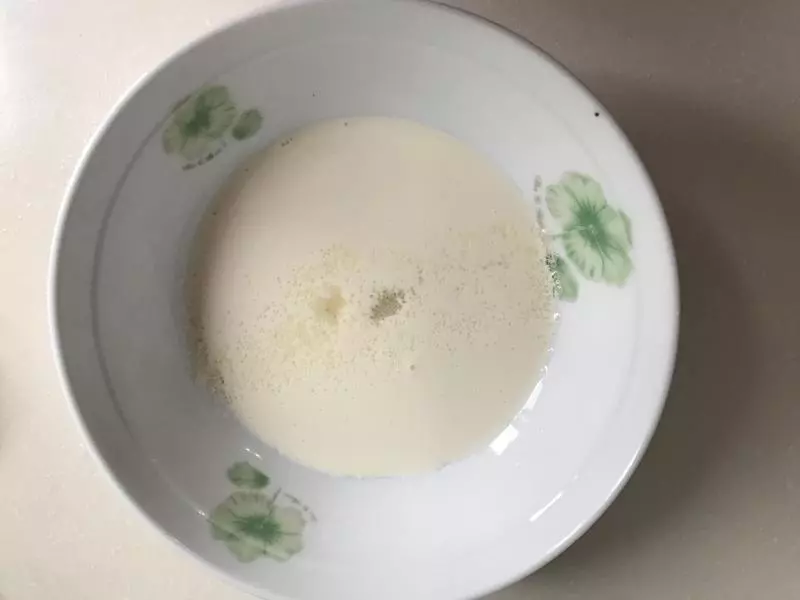
2将白糖25克放入蛋黄
3将蛋黄搅拌至颜色变浅 体积变大
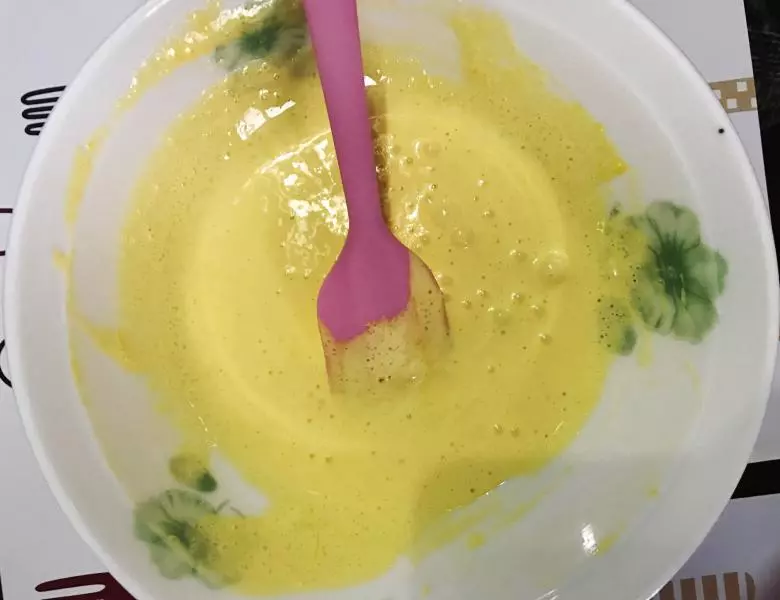
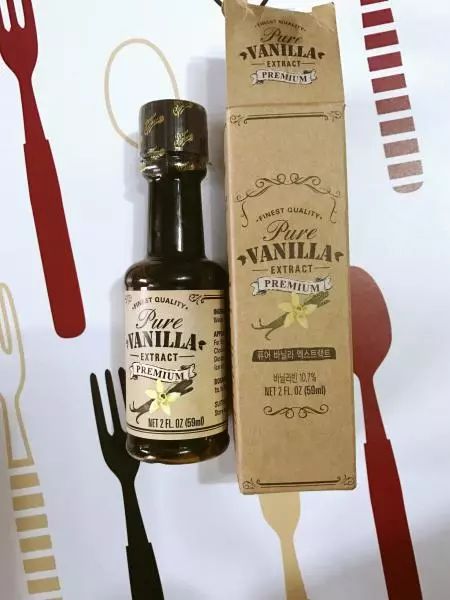
4放入一茶勺香草精 继续搅拌蛋黄 然后放在一边待用
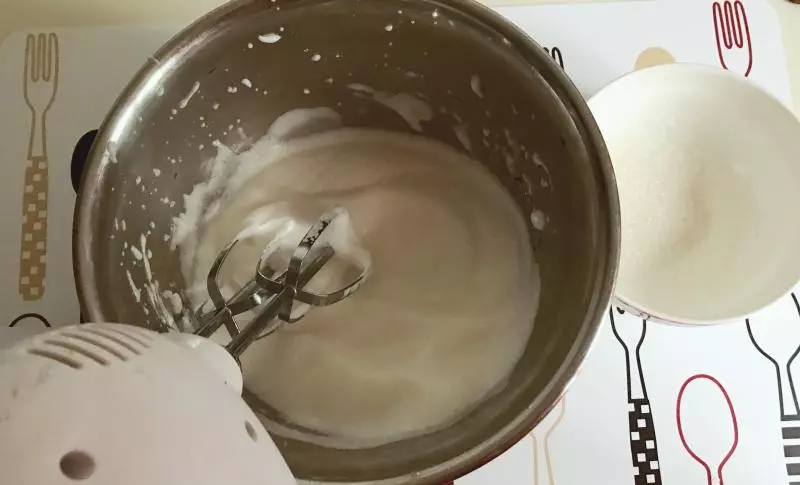
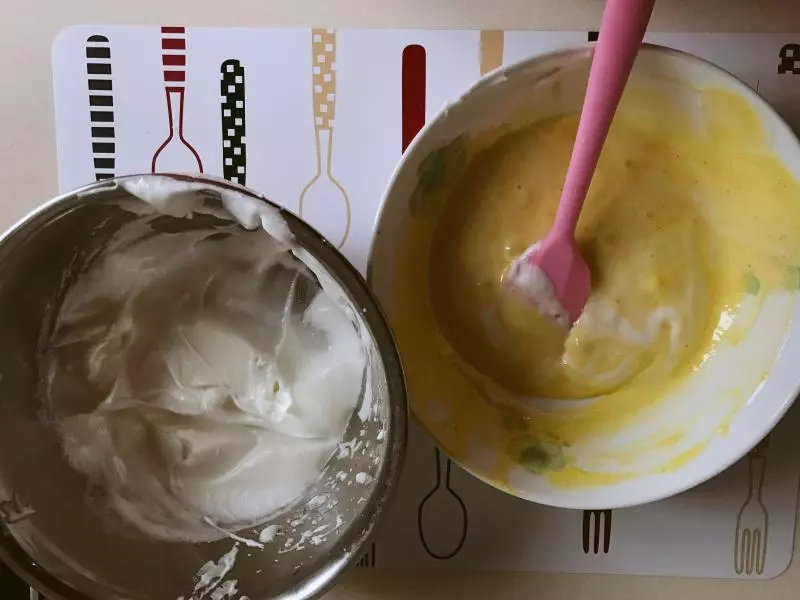
5将蛋白加入35克糖 打发 这一步骤要注意 分三次加入白糖
6将打发好的蛋白 1/3加入蛋黄 轻轻搅拌
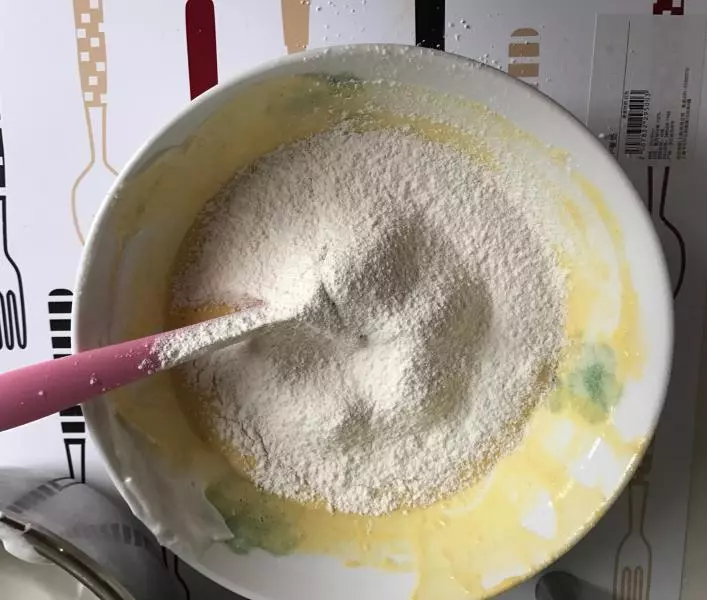
7然后加入过筛后的面粉倒入蛋黄 搅拌
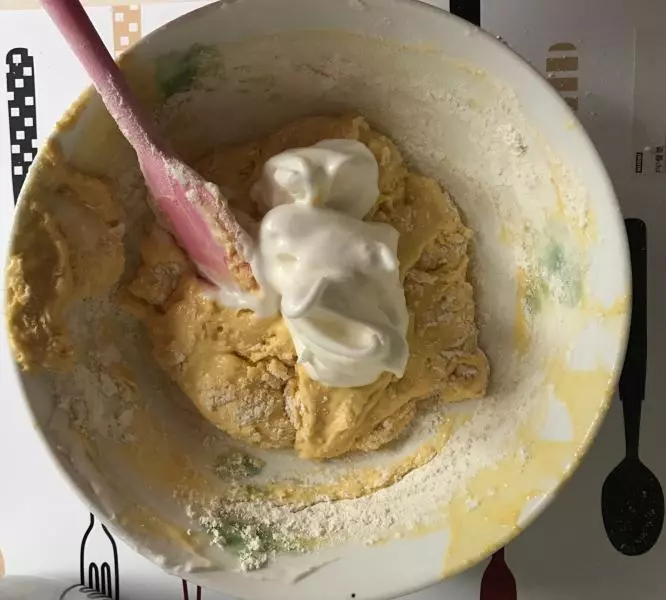
8将第二个1/3的蛋白倒入 继续搅拌 最后将剩下的蛋白也倒入
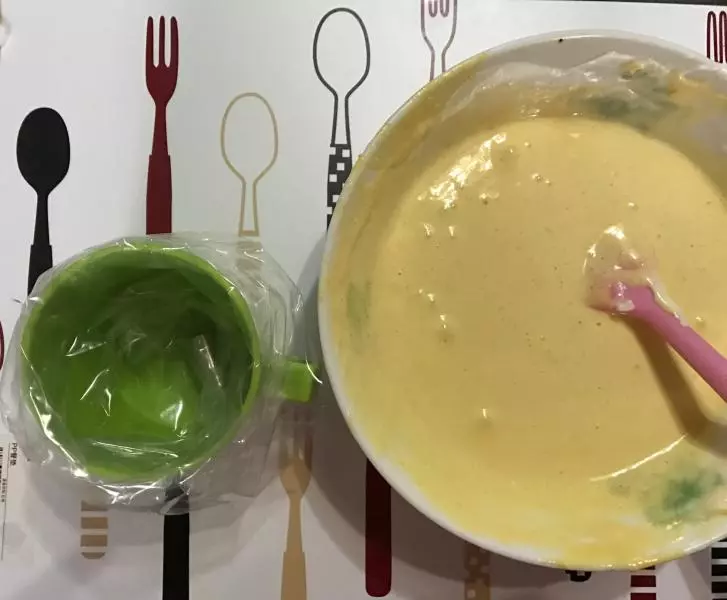
9调好的蛋黄液 装入裱花袋(装裱花袋技巧:放在一个杯子里 )
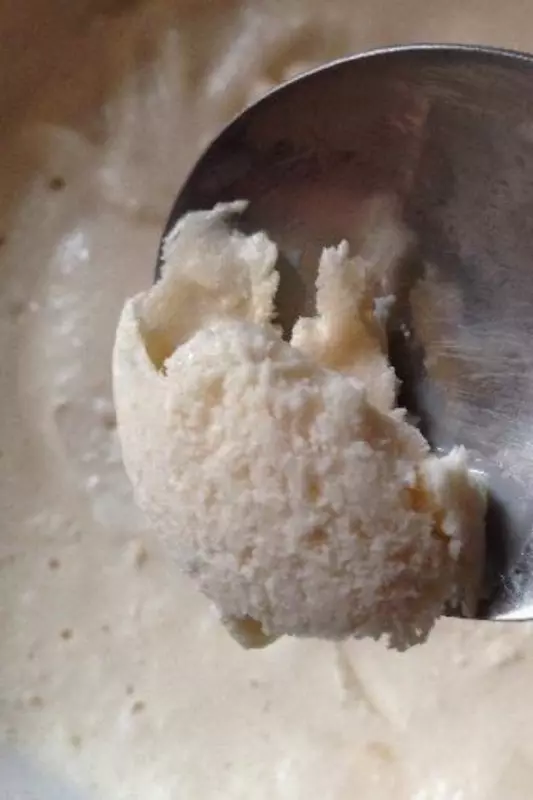
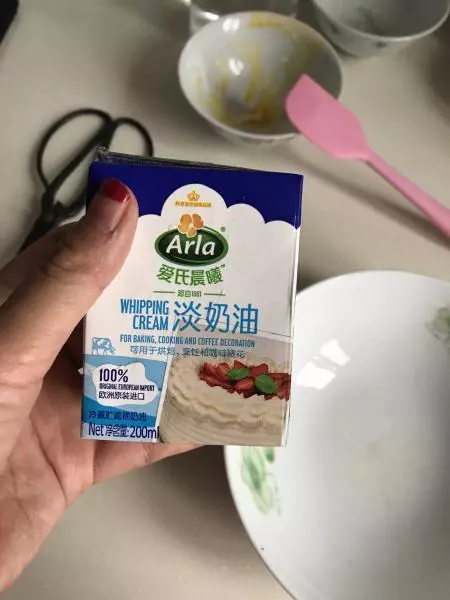
10将冷藏好的奶油倒入冷藏过的盆里(这个在做冰淇凌的那集里有介绍)我用的是这个牌子的淡奶油 市面上比较多的是雀巢
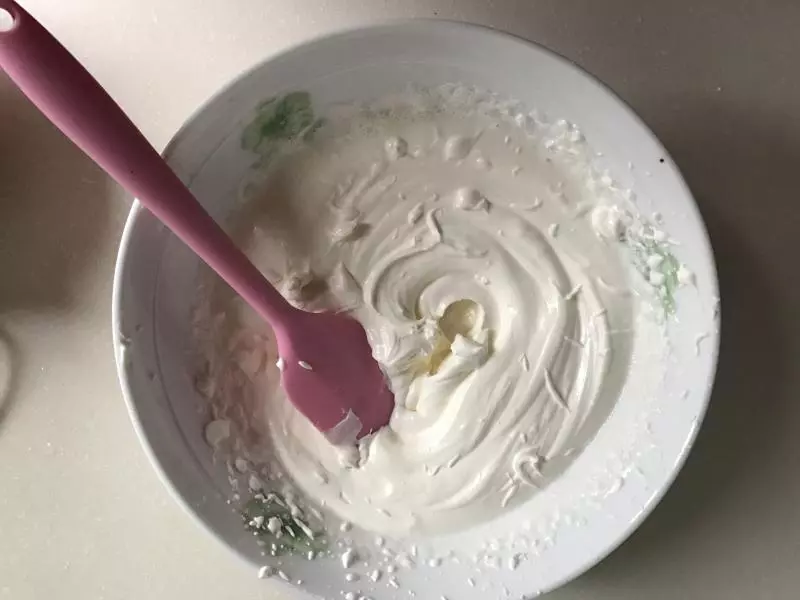
11加入15克的白糖 打发淡奶油 白糖也是分三次加入
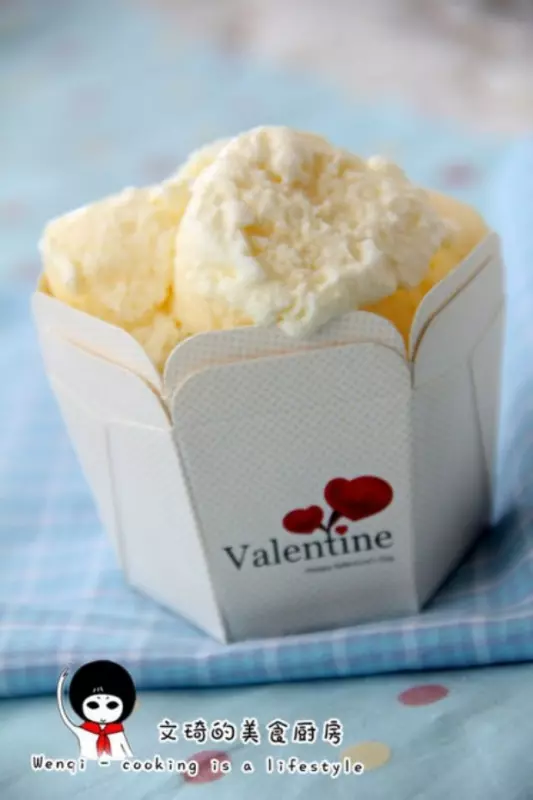
12淡奶油成品的效果 然后装入裱花袋
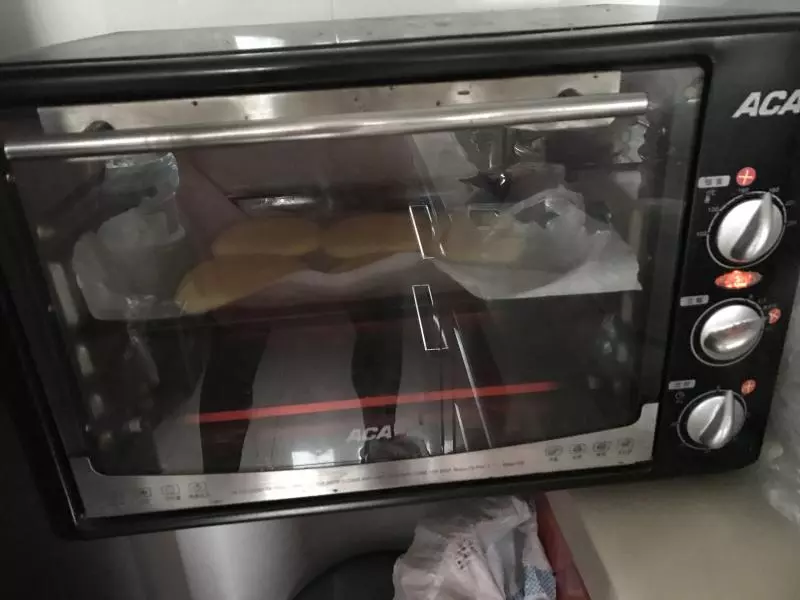
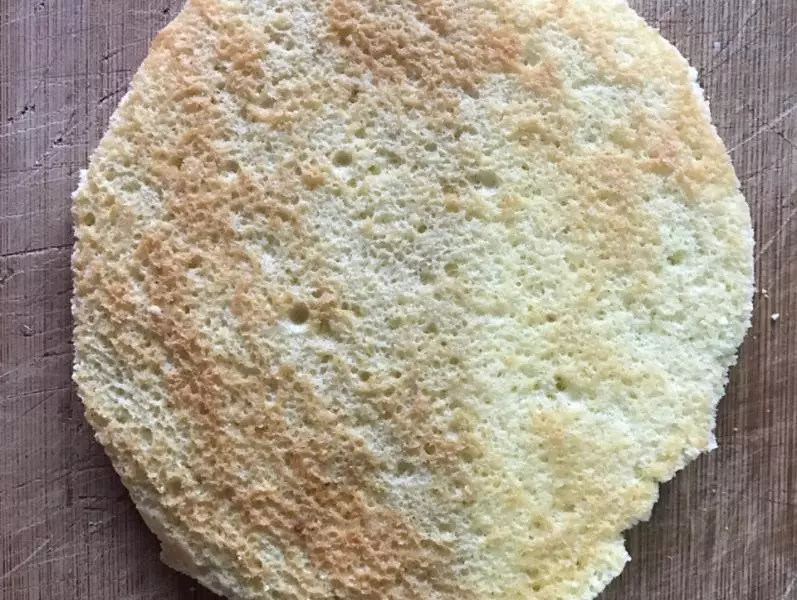
13将烤箱预热到160度 然后将蛋黄用裱花袋挤成圆饼装 放入烤箱烤十分钟
14这是出来的蛋糕?皮
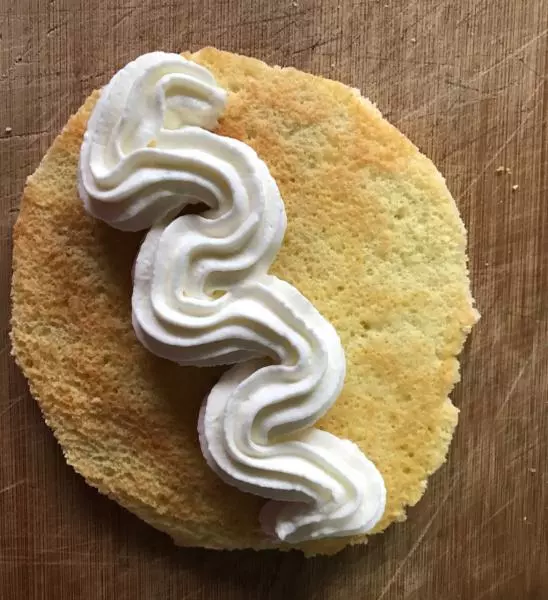
15挤上淡奶油
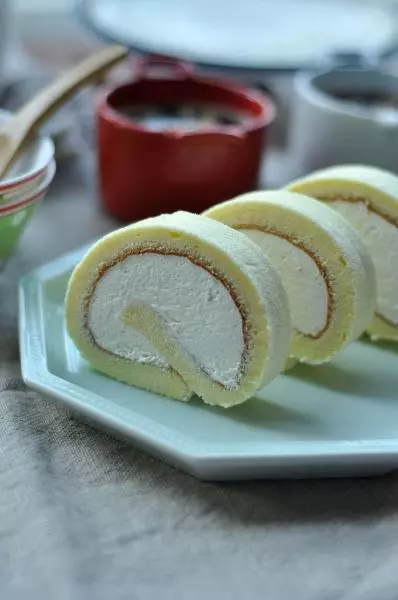
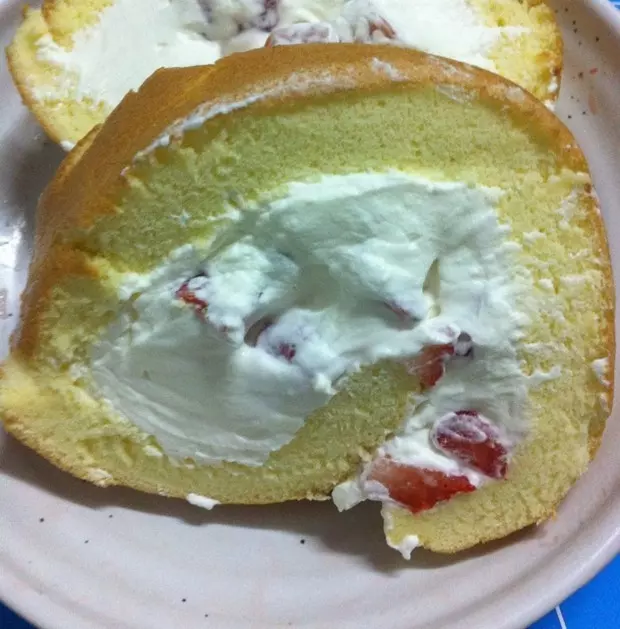
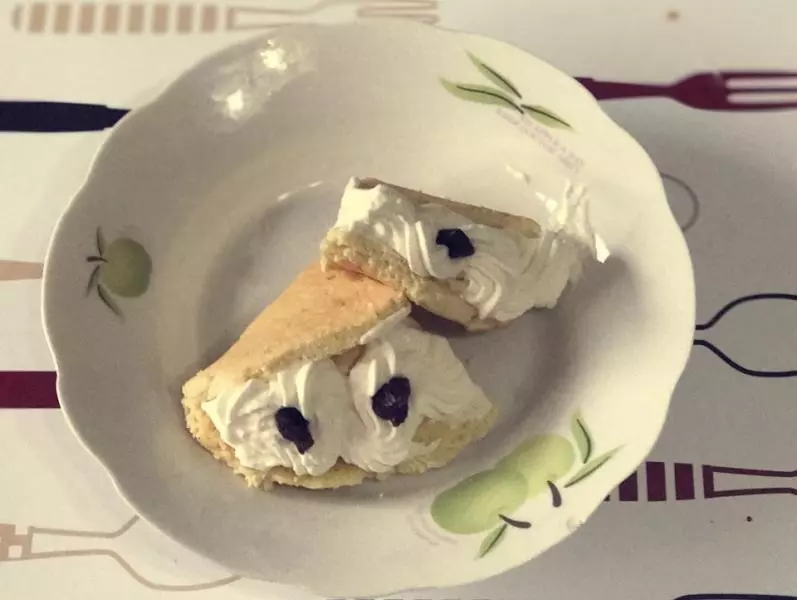
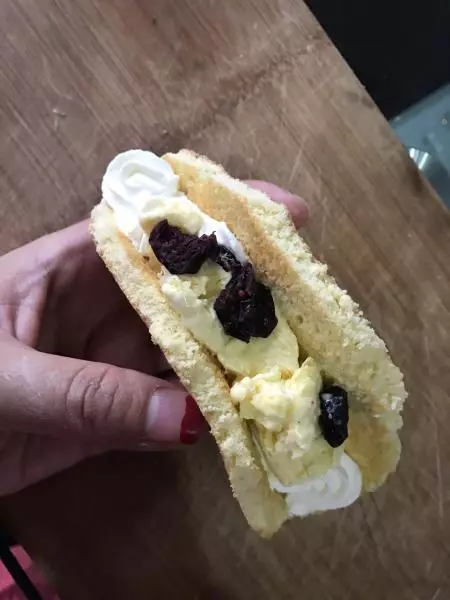
16轻轻对折蛋皮 加入事先做好的冰淇淋
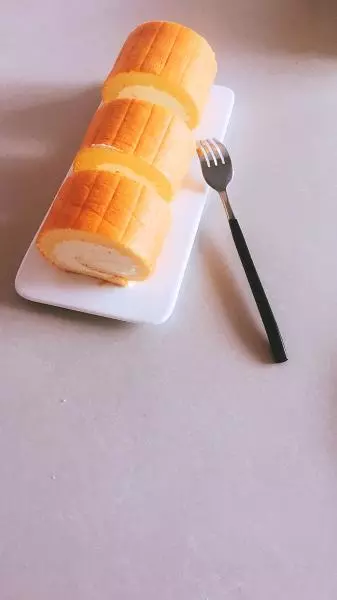
17最后再上一层奶油
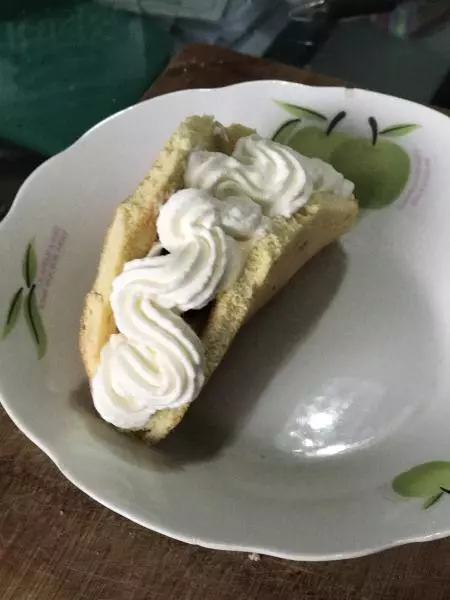
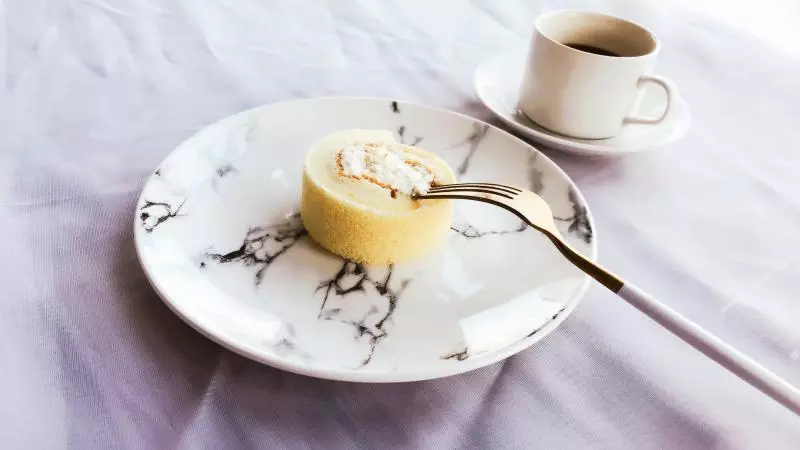
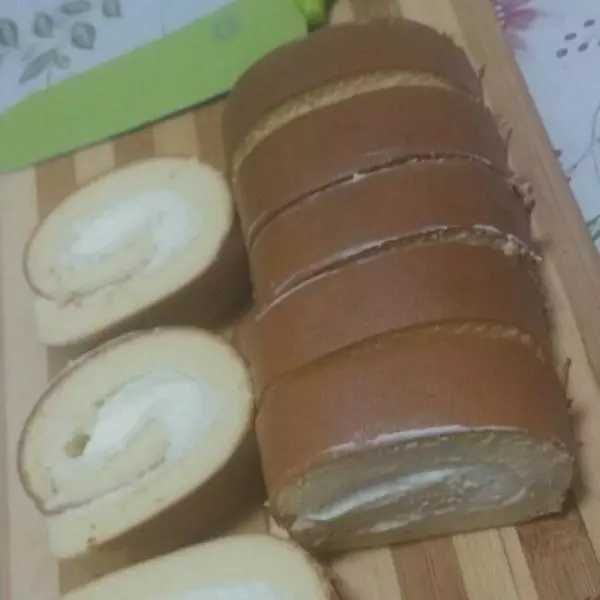
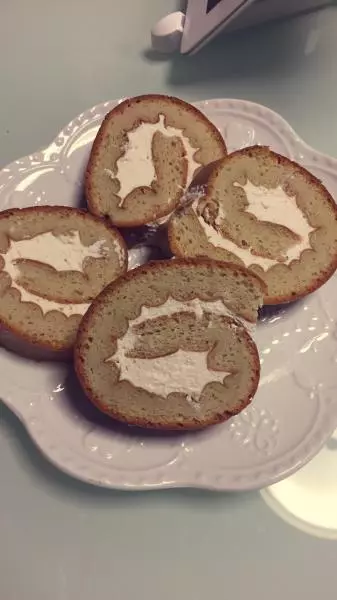
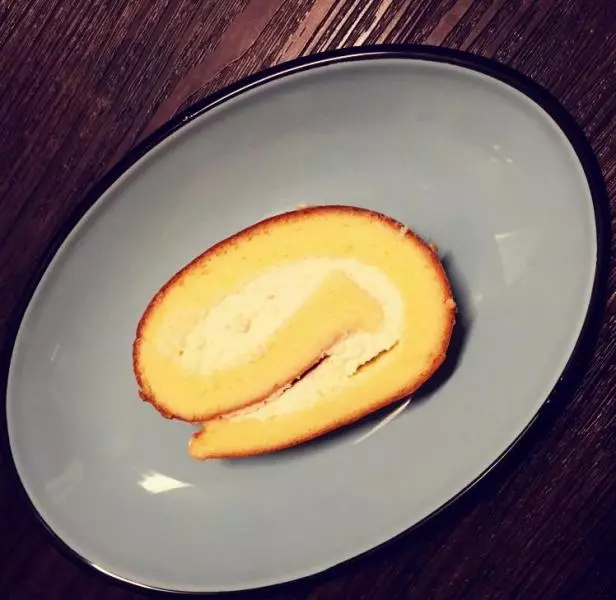
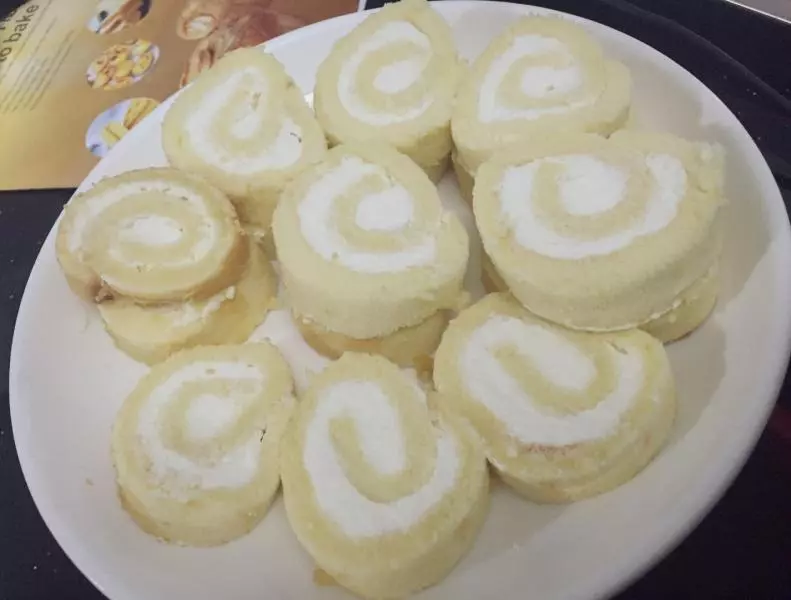
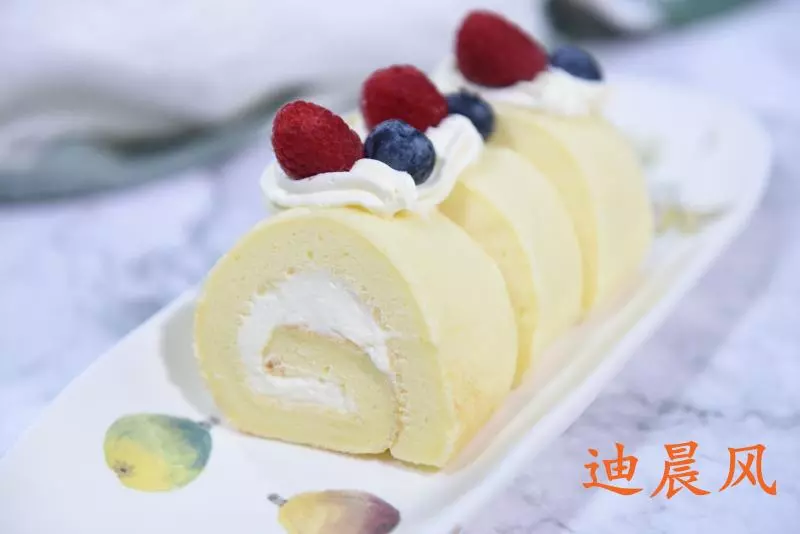
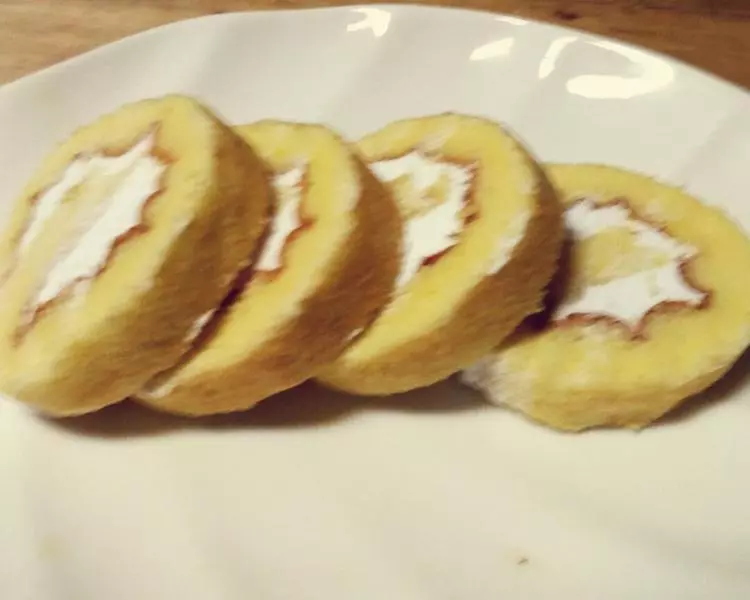
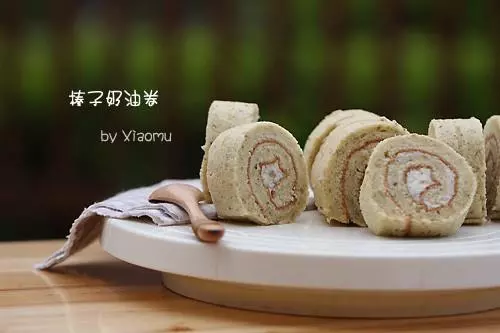
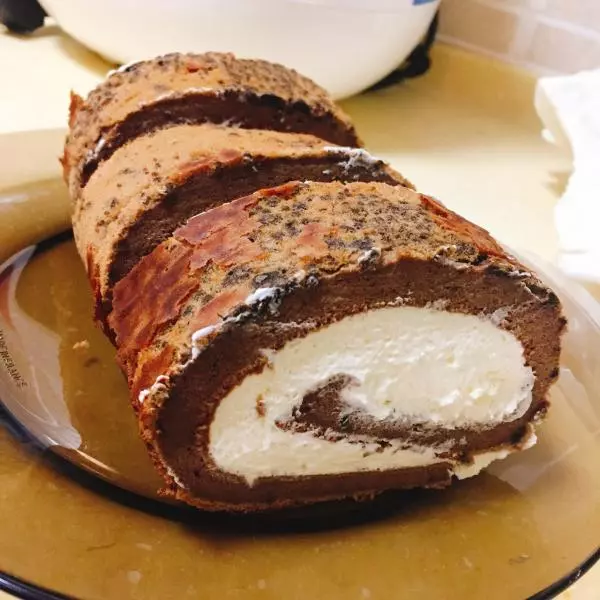
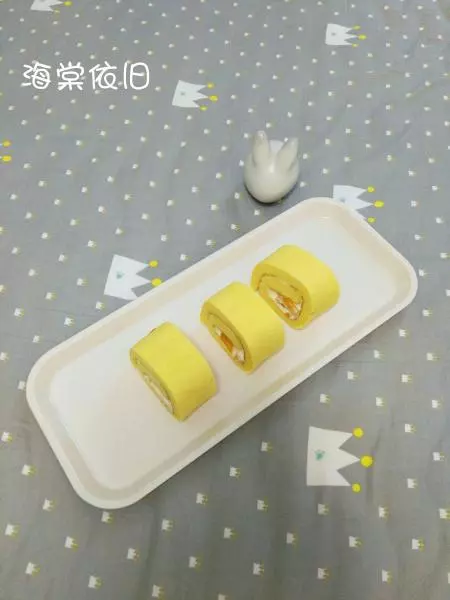
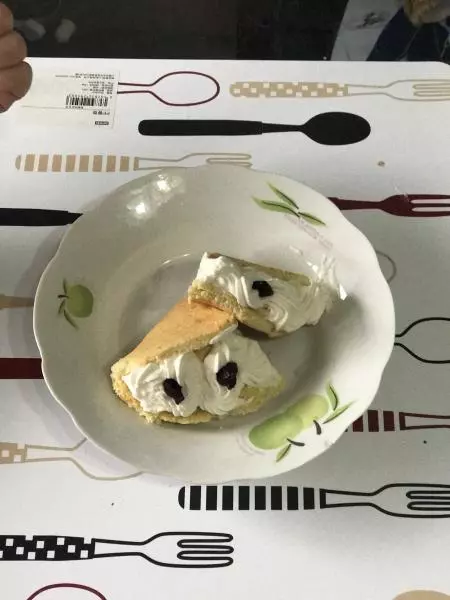
18将蛋糕一切二 就可以食用了
小技巧
每个牌子烤箱不一样 所以 温度要控制好