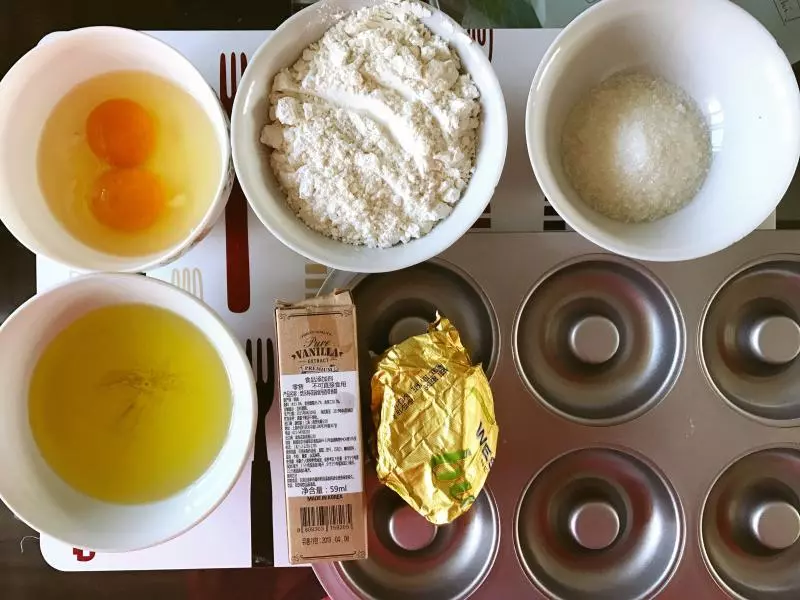
原料
鸡蛋: 2个, 盐: 少许, 泡打粉: 3克, 低筋面粉: 60克, 糖: 50克, 香草精: 4-5滴, 食用油(橄榄油): 40克-60克(看面粉情况), 黄油: 一小块 (用来擦盘子), :
步骤
1准备食材和工具
2将糖和鸡蛋搅拌至匀即可 无需打发
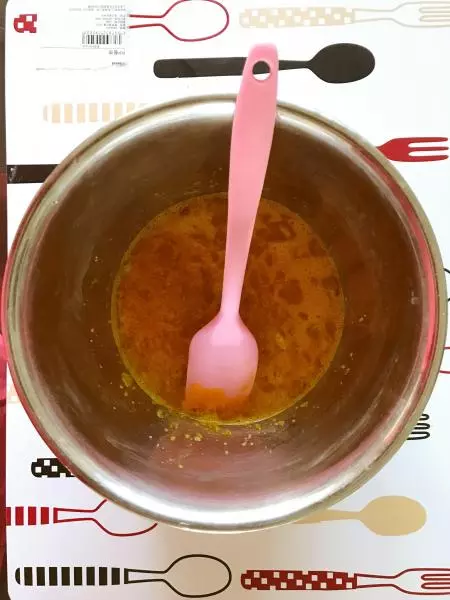
3加入四五滴香草精?
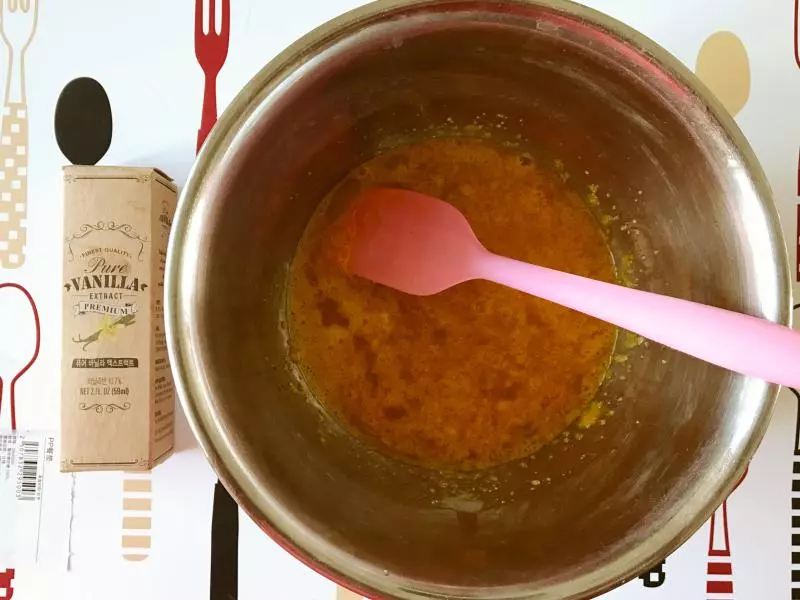
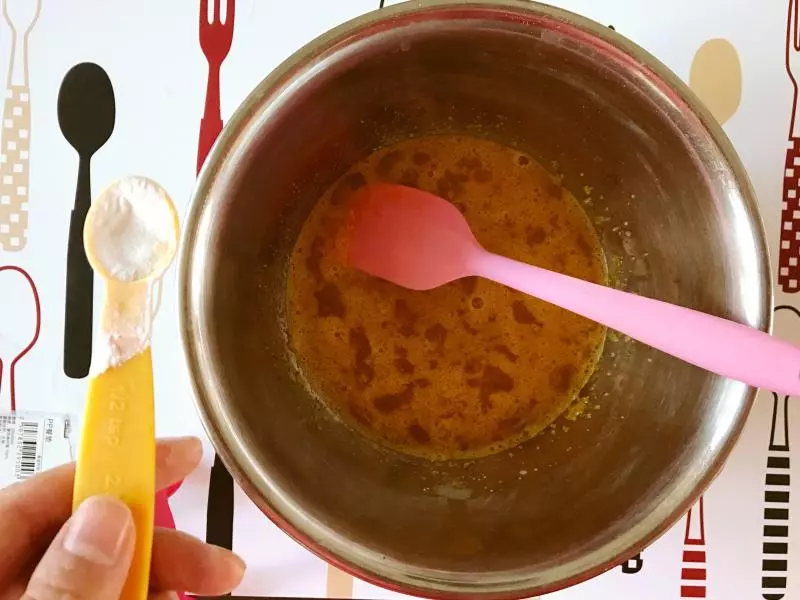
4加入3克左右的泡打粉并搅拌蛋液
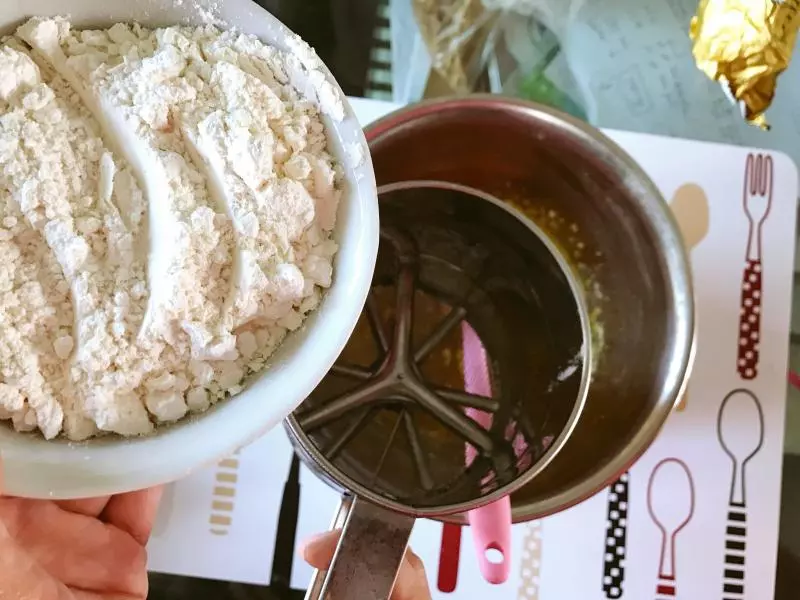
5面粉过筛后入蛋液内并搅拌至匀
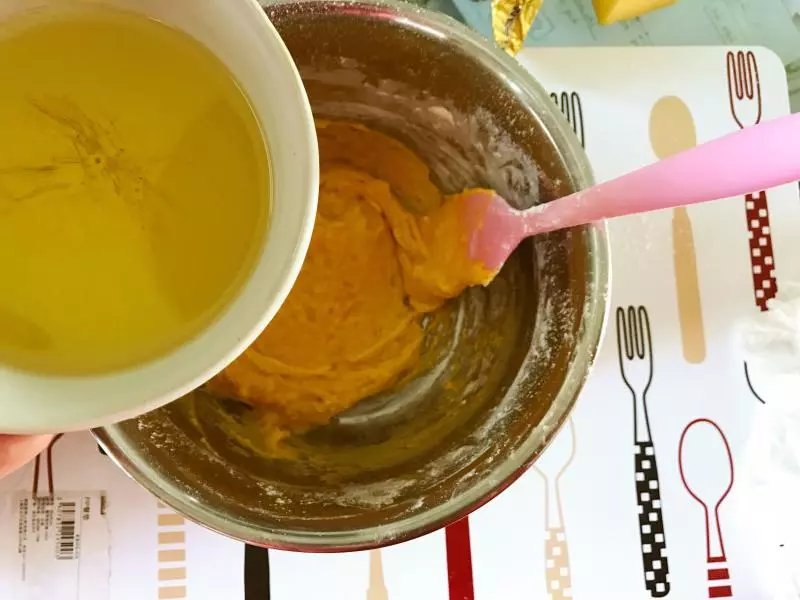
6这一步很关键 (成败在此)分批加入食用油 搅拌 。最后要感到手上旋转面粉不吃力 那么就表示油量入的到位了 可以不用再添加油。
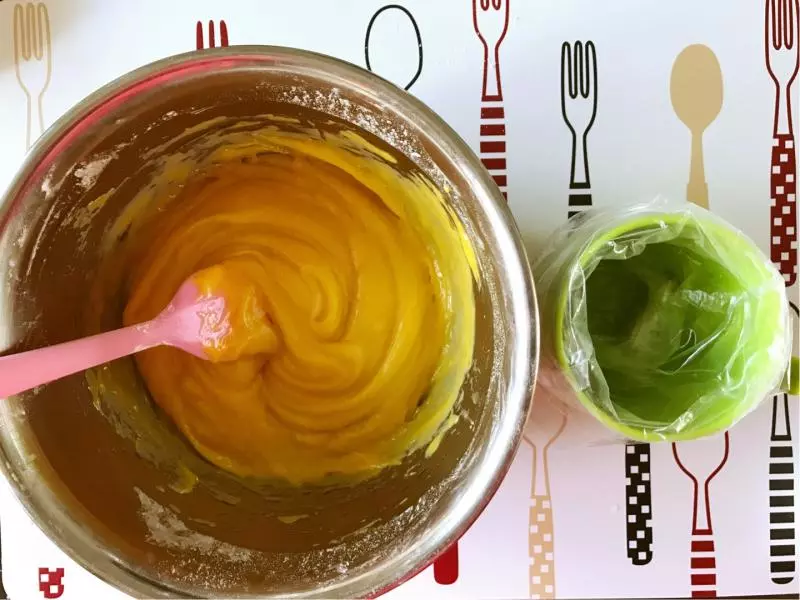
7准备好裱花袋 将蛋液倒入,顺便夸夸自己养的鸡蛋 做出来的蛋液颜色非常漂亮??
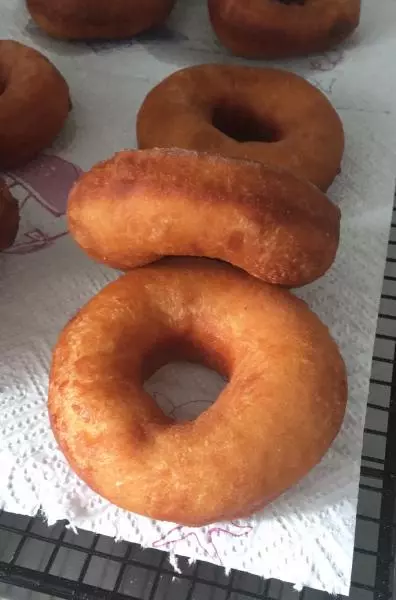
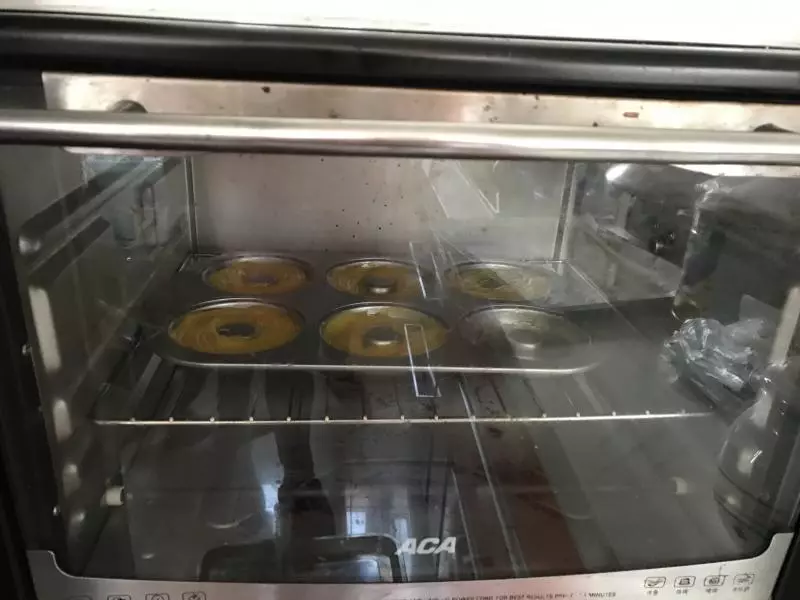
8烤箱在做1-7的时候预热10分钟 然后把烤盘放入170度烤20分钟 这要注意⚠️ 在蛋液入烤盘前 一定要用黄油先擦拭烤盘 这样等下做好的甜甜圈拖膜的时候很容易 不会粘连
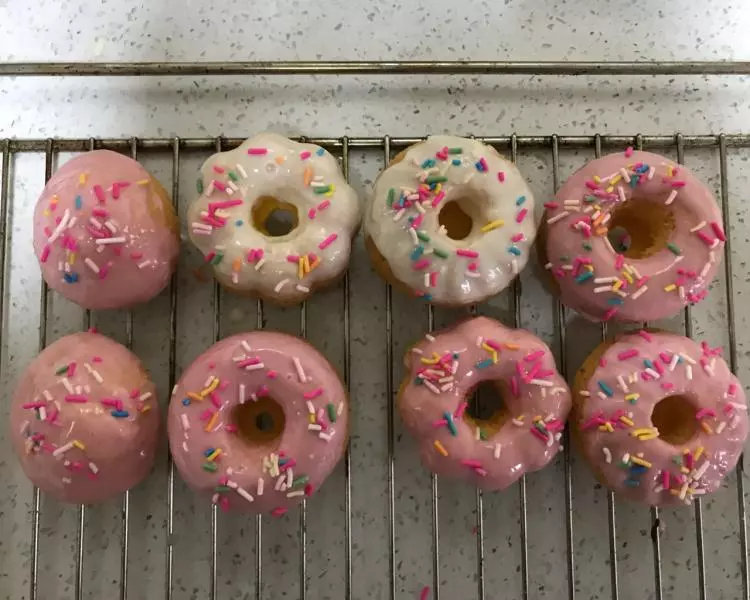
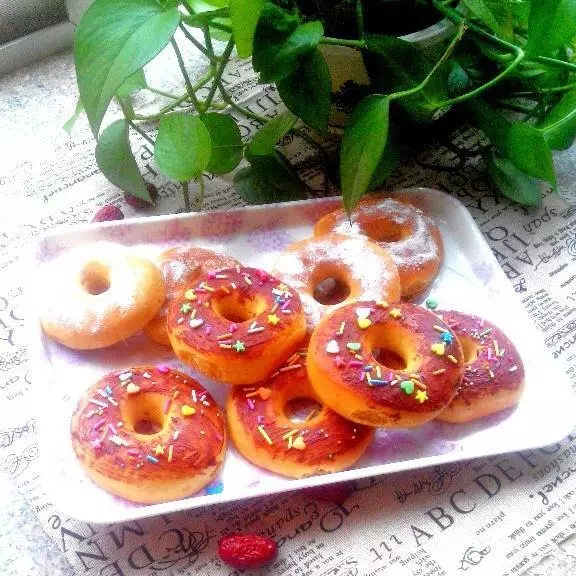
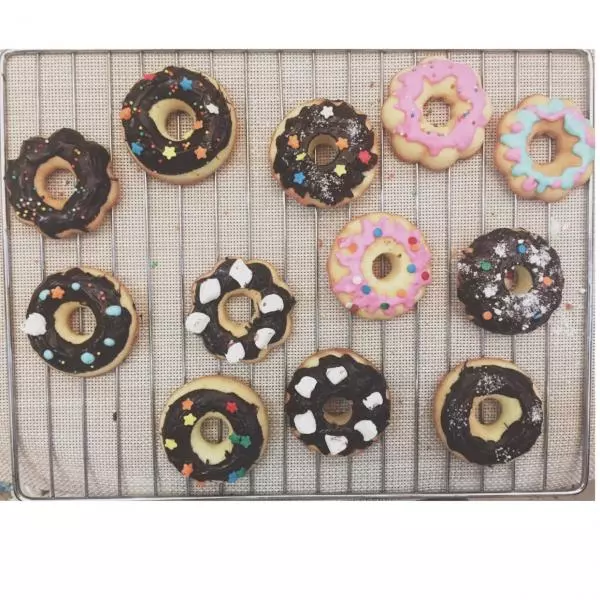
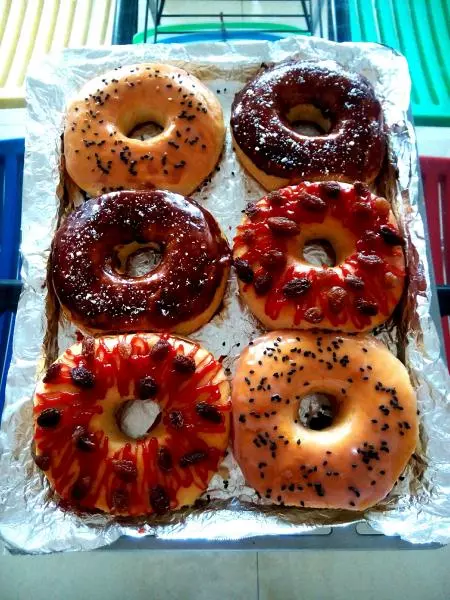
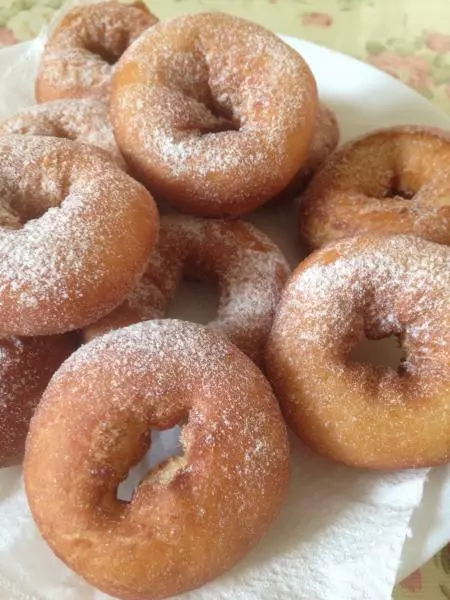
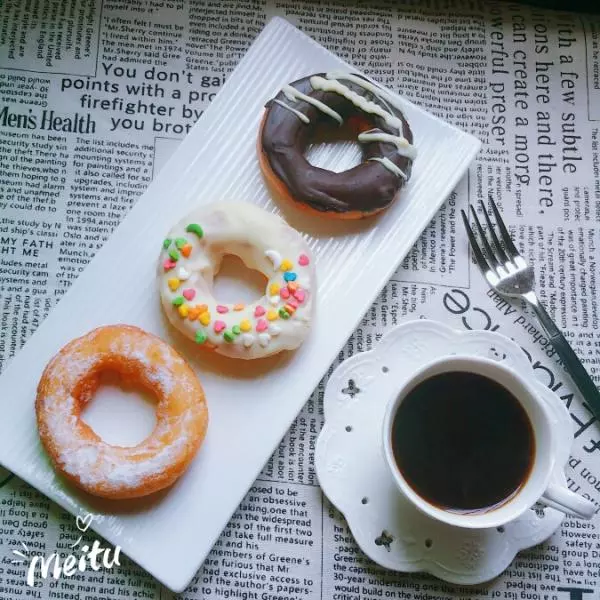
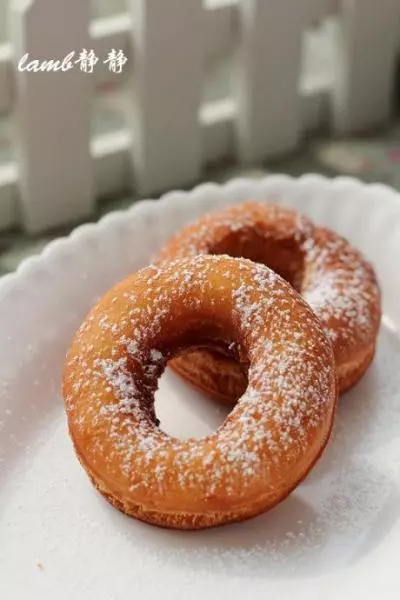
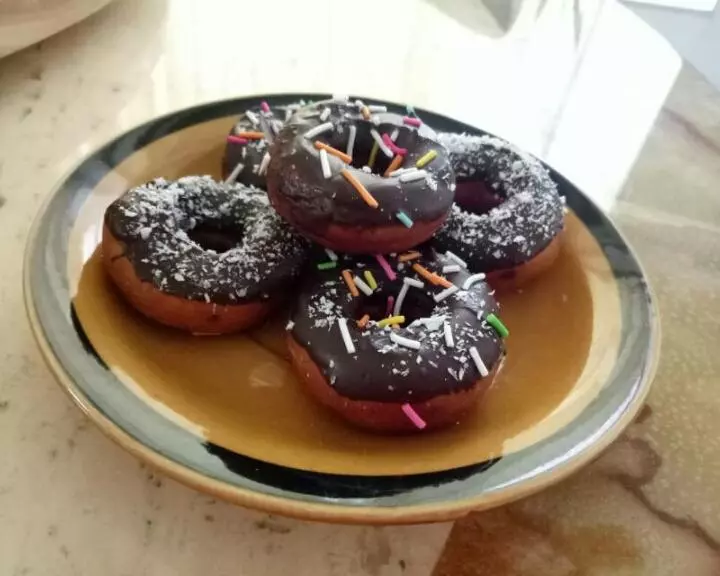
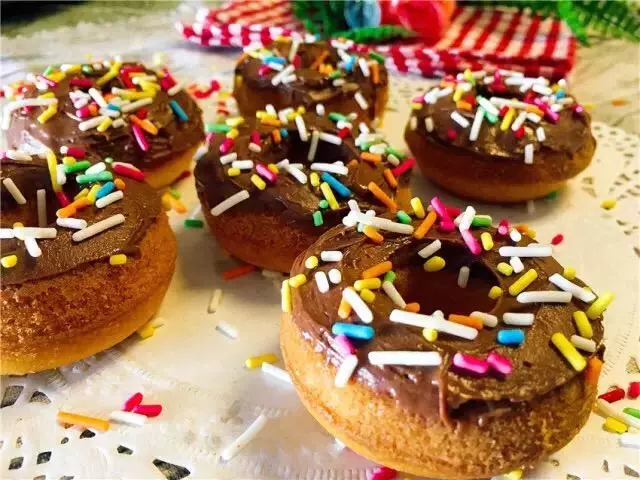
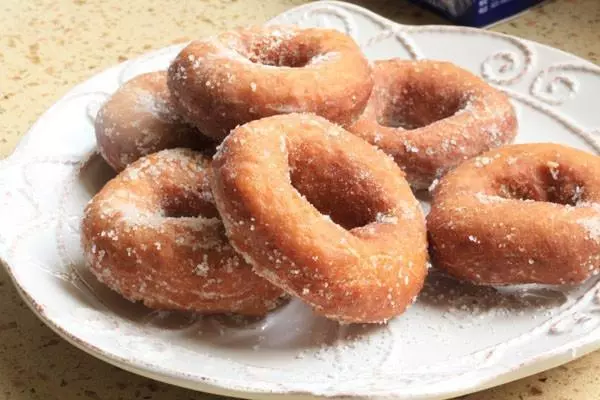
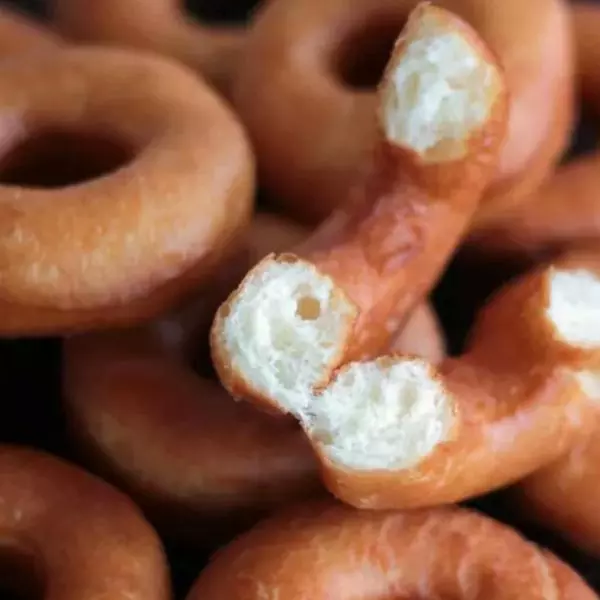
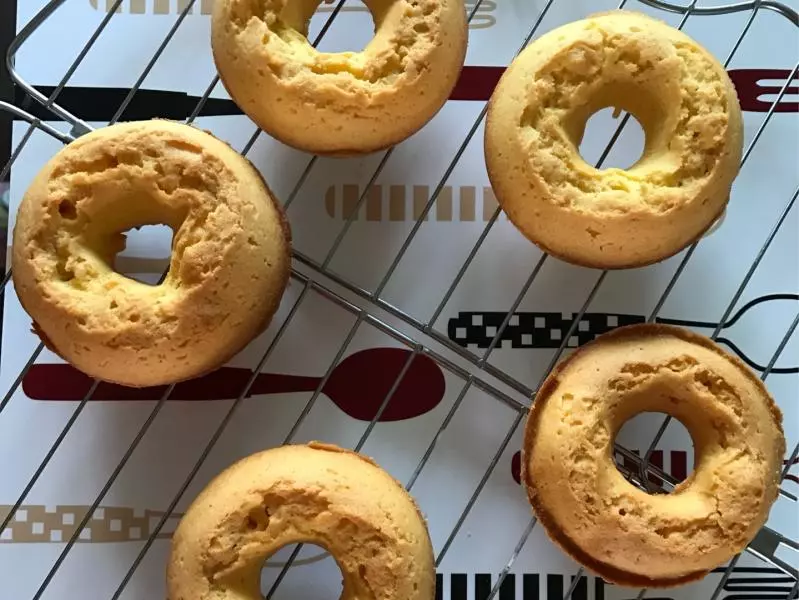
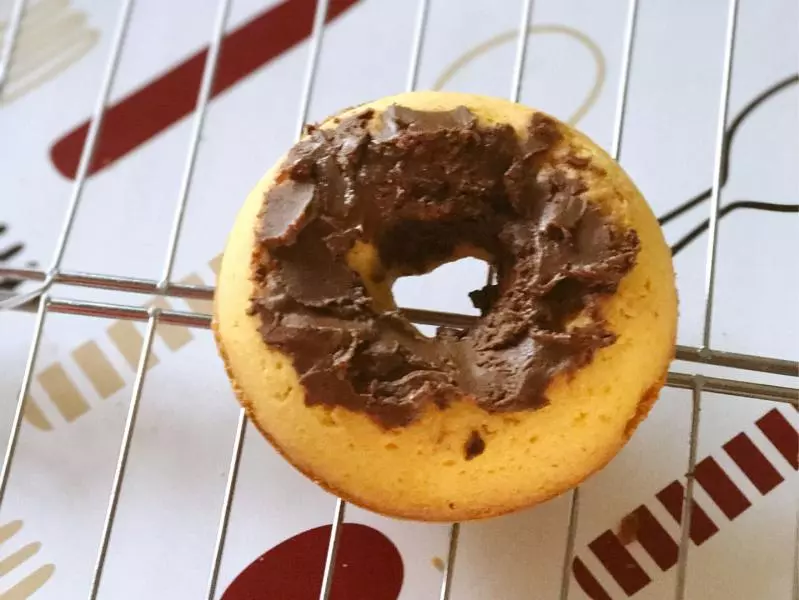
9铛铛铛铛...成功啦??拖膜后放在凉架上冷却一会 加上自己准备的巧克力酱
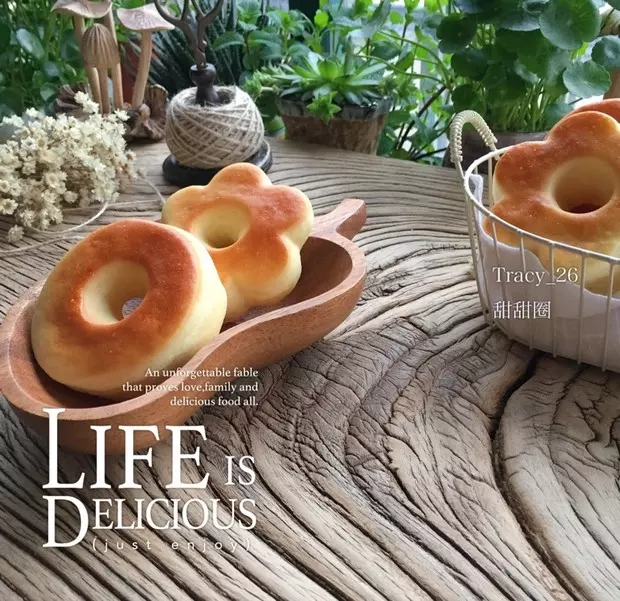
10很朴实的一款甜甜圈 内在很丰富?
小技巧
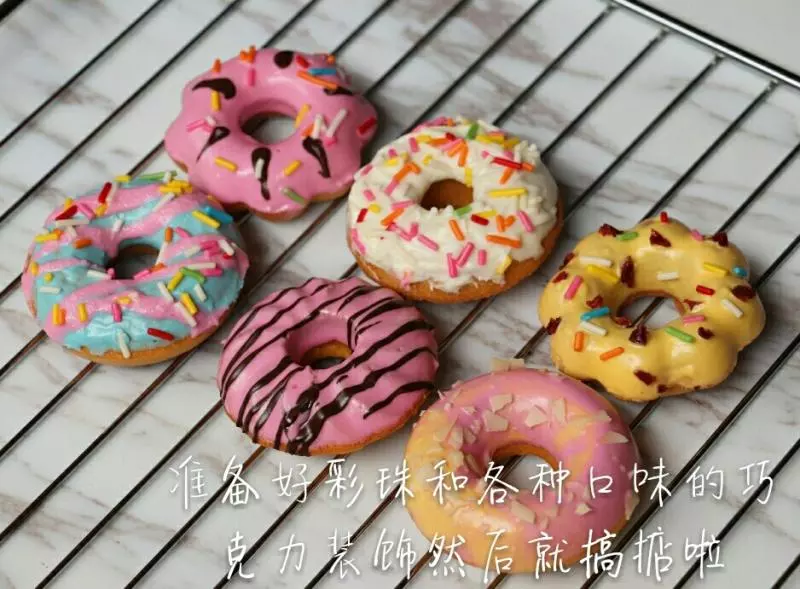
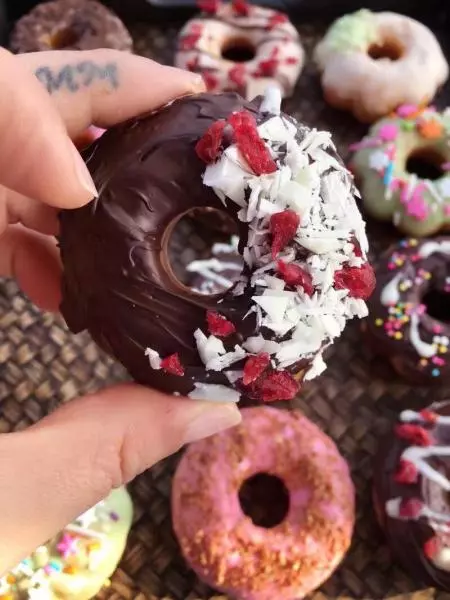
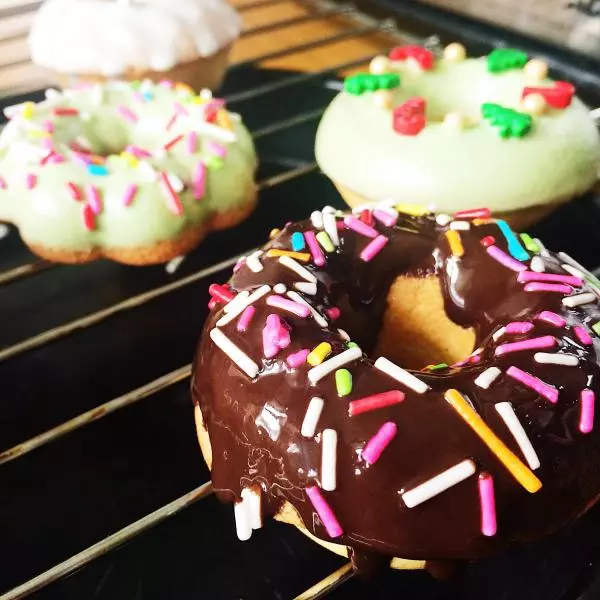
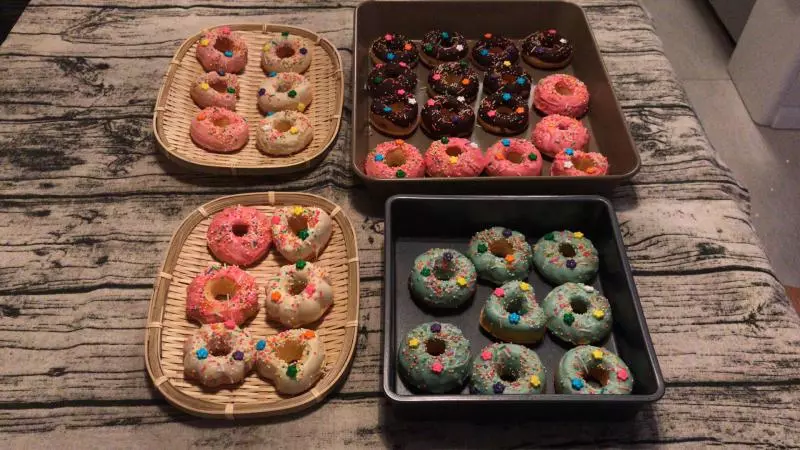
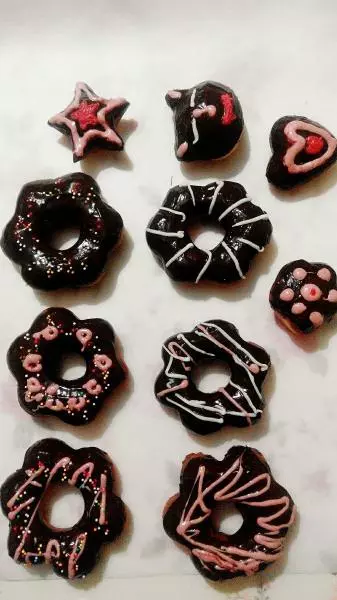
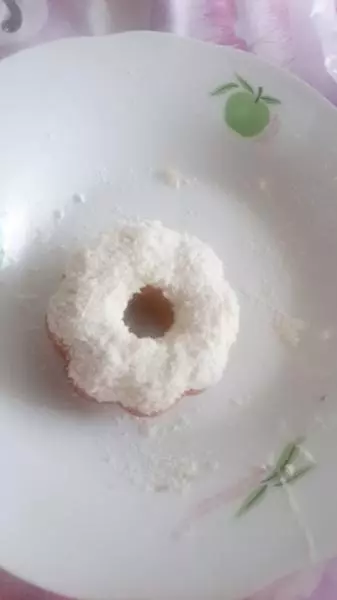
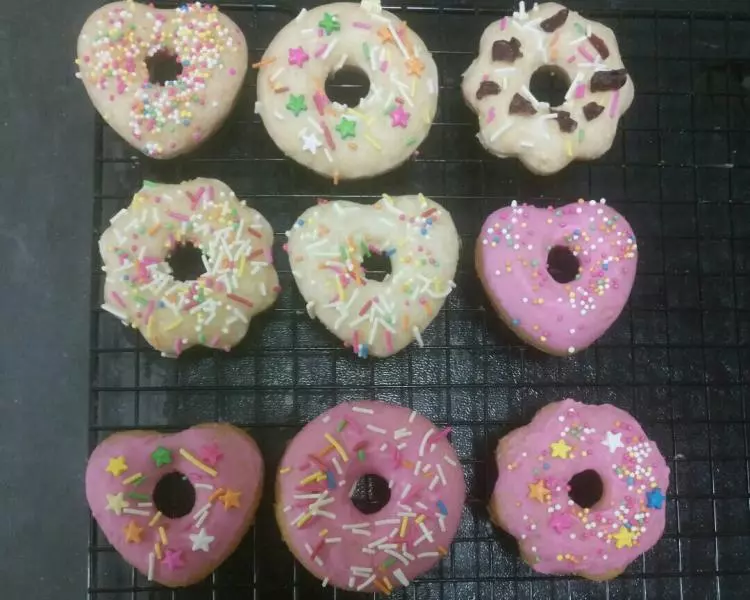
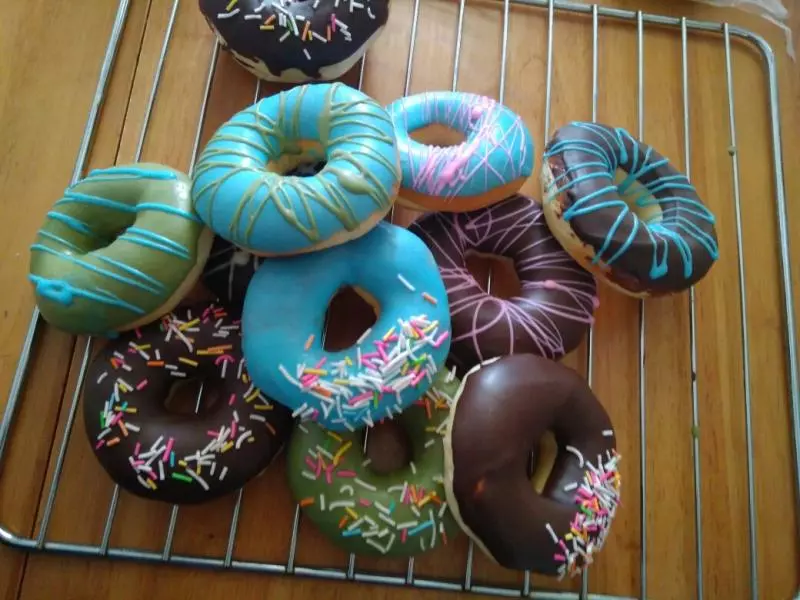
可以根据自己的喜好 装饰甜甜圈