原料
鸡蛋: 8只, 面粉: 150g, 糖: 80g(蛋白50g,蛋黄30g), 牛奶: 80ml, 玉米油/色拉油: 80ml
步骤
1全部材料及工具。其中,矿泉水瓶用于蛋清分离效果非常好?。电动打蛋器,必备啊!

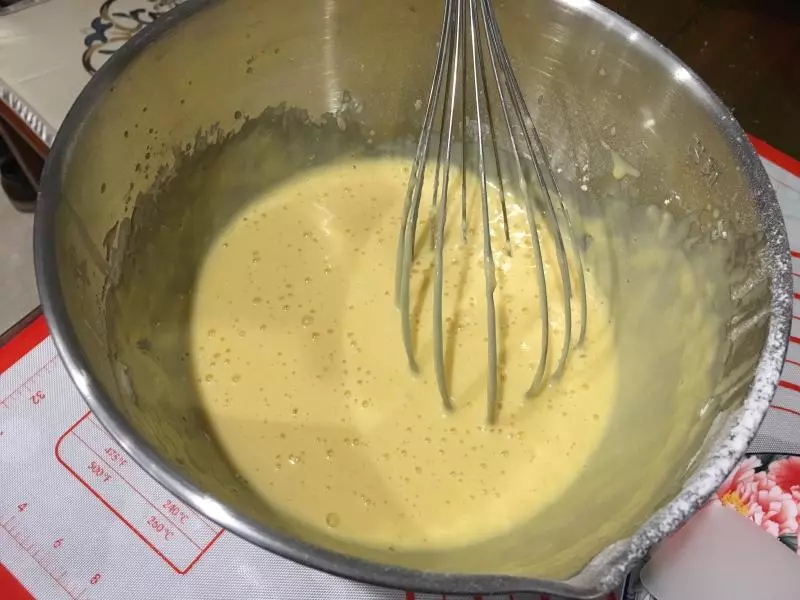
2蛋清分离后,将8个蛋黄搅拌开,加入30g糖粉(更有利于溶解)搅拌;加入80ml牛奶和80ml玉米油,搅拌;用面粉筛加入150g面粉,搅拌均匀。ps:本次蛋黄面粉的搅拌,手动搅拌均匀即可。
3以下用电动打蛋器:把8个蛋清打成粗泡,分三次加入的50g的糖粉,搅拌均匀。
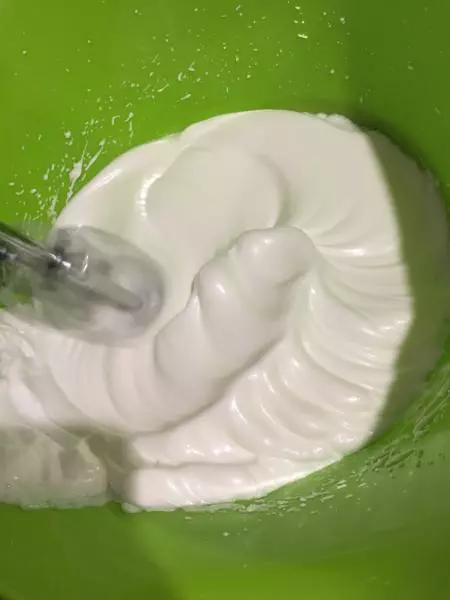
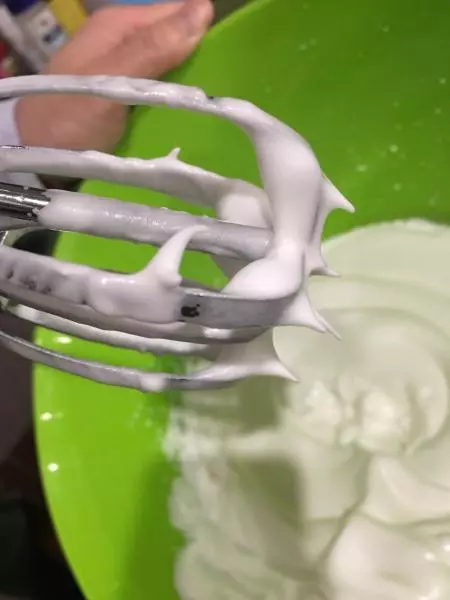
4当蛋清搅拌成有垂直的尖角。这个比较讲究技术啦……
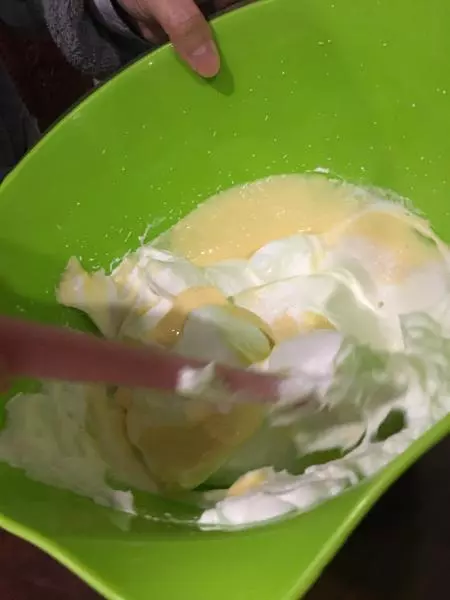
5将步骤2的蛋黄面糊分2次,加入到步骤4的蛋清糊上。然后用硅胶刮刀由底部往上搅拌均匀,注意速度,不要太快,防止形成气泡。
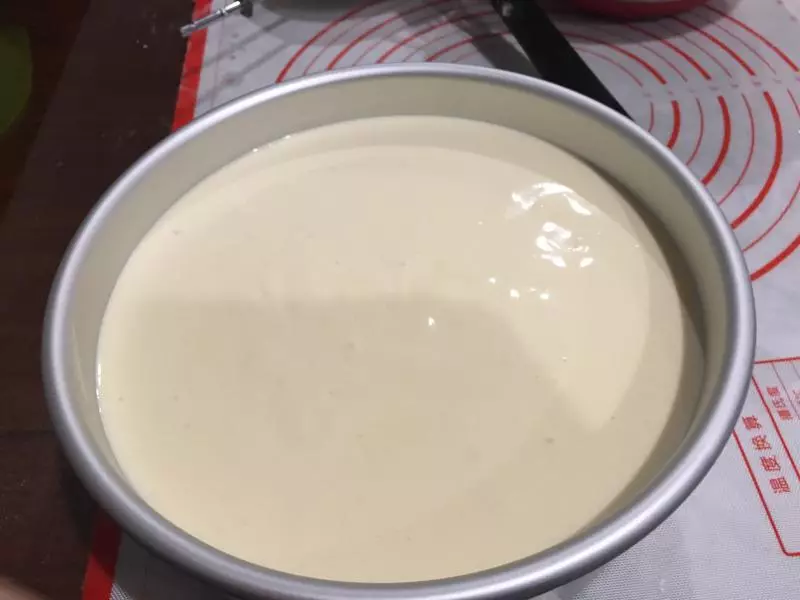
6搅拌均匀步骤5后,倒入蛋糕模中,上下震动蛋糕模(垂直敲桌子),把气泡震上来,挤破气泡,有时间需要用牙签戳破气泡。
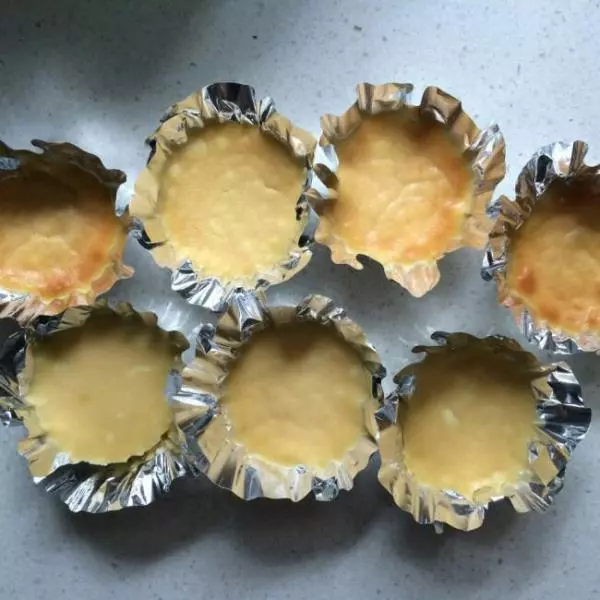
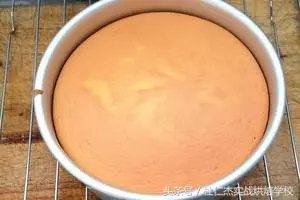
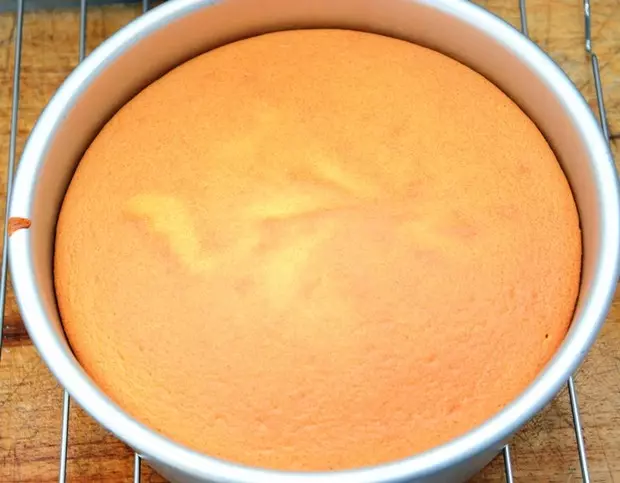
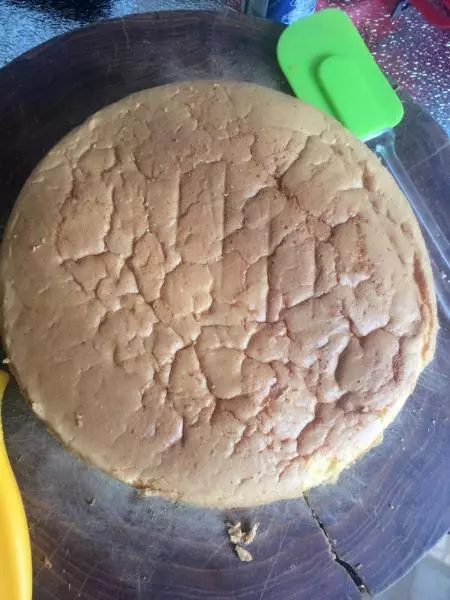
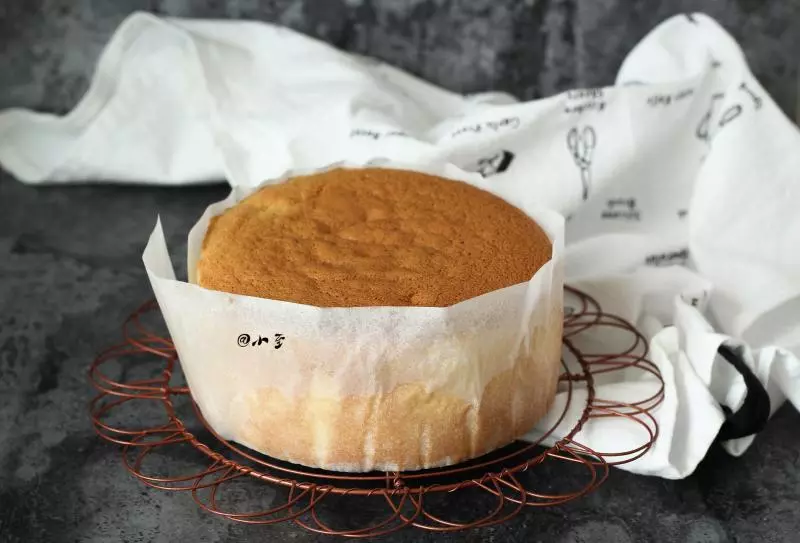
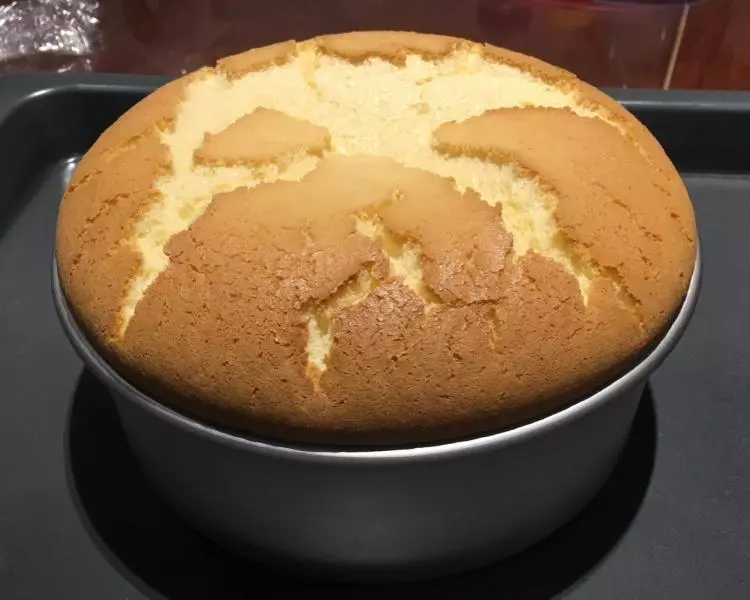
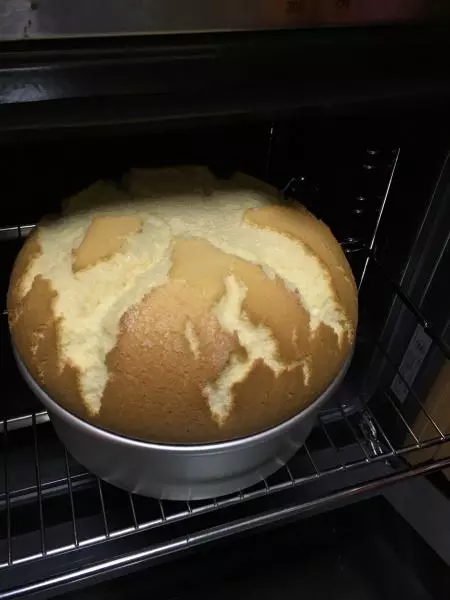
7烤箱170度,先预热10分钟,放入蛋糕液,烤40分钟。上图是烤了20分钟,还没开裂?

840分钟后,开裂了?……每次都开裂,就自家吃吃,造型忽略?大神说是火候的掌握的问题?
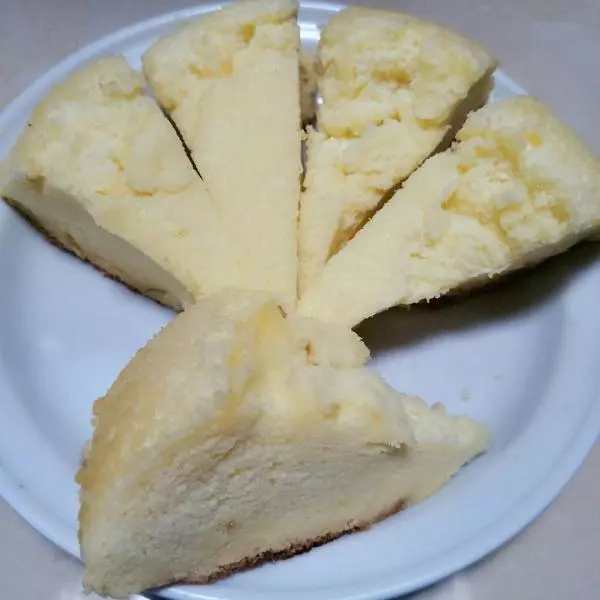
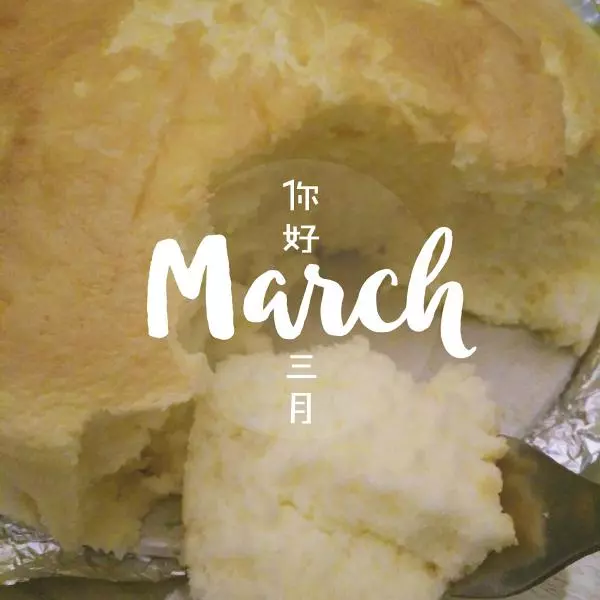
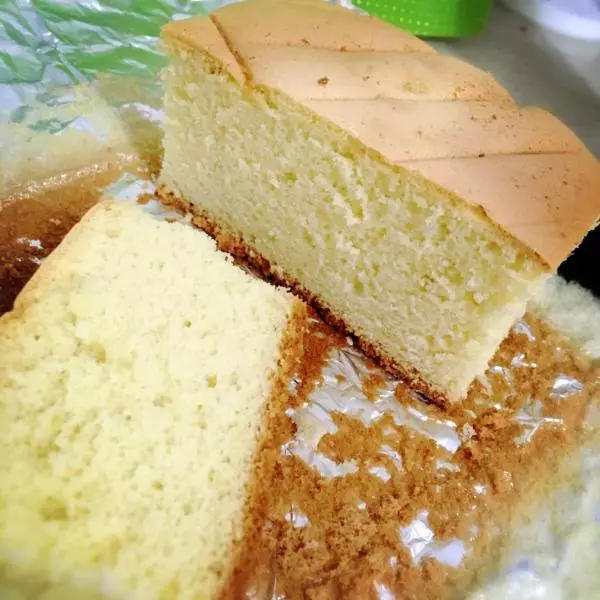
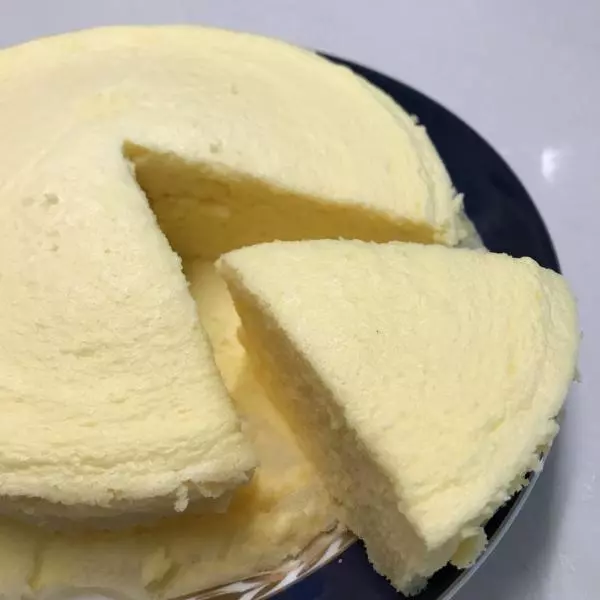
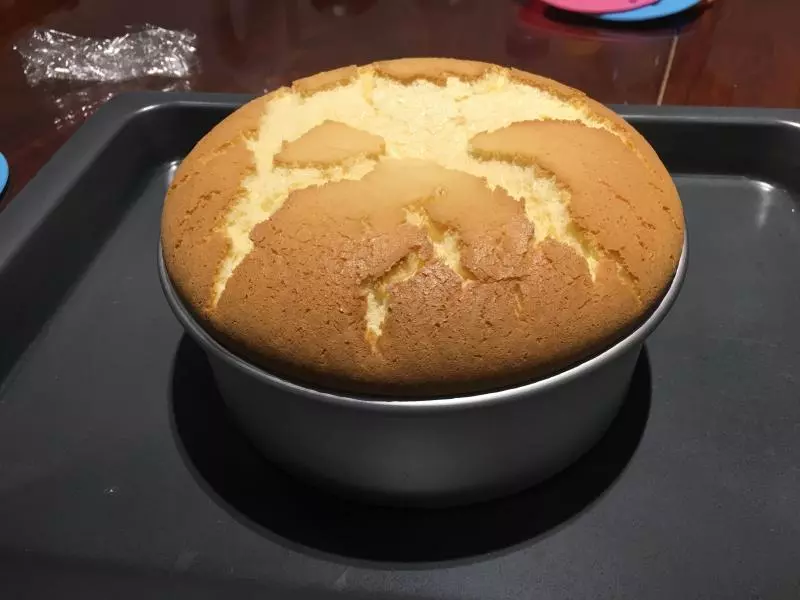
9拿出来,蓬蓬的~好香~
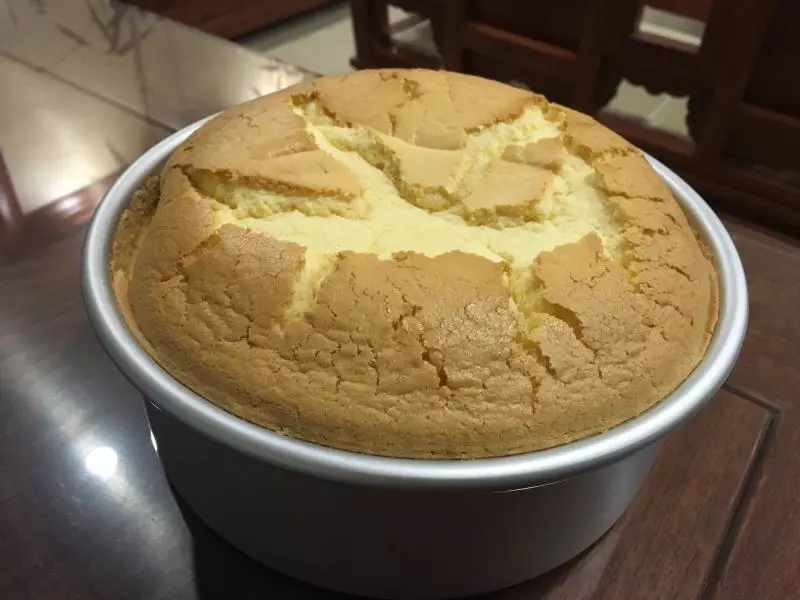
10然后将蛋糕倒扣,至蛋糕冷却。

11蛋糕冷却后,又香又软,满屋都是蛋糕香啊!真才实料,吃的放心又开心~
小技巧
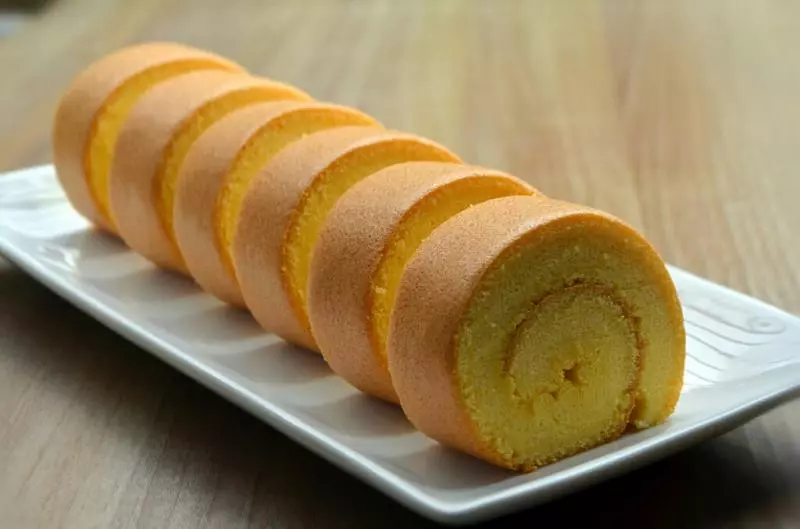
非专业人士蛋糕?仅用于自家记录,见笑!