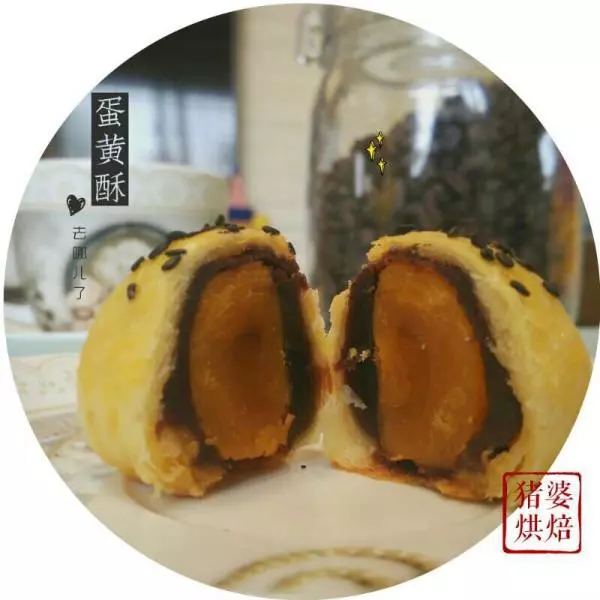
原料
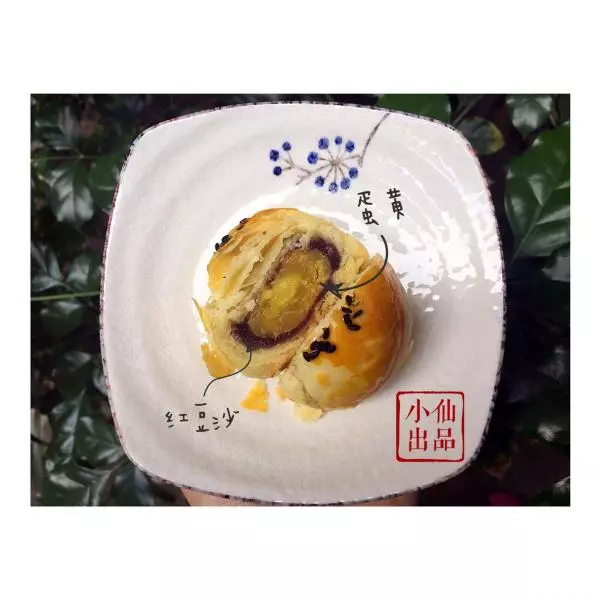
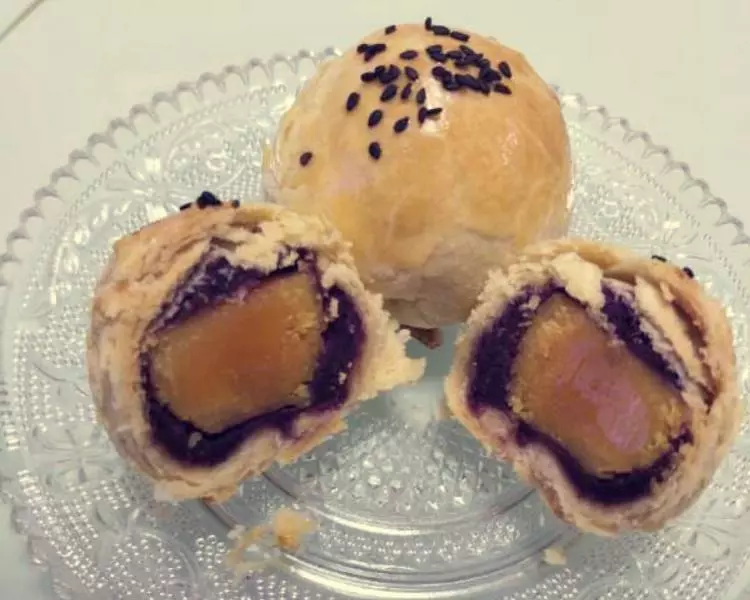
油皮: , 中筋面粉: 80克, 水: 25克, 黄油: 25克, 盐: 一小撮(大约0.5克), 酥皮: , (蛋糕粉)低筋面粉: 60克(也可以用小麦低筋面粉做), 水: 10克, 黄油: 30克, 馅料: , 咸鸭蛋: 6个, 豆沙: 每个咸蛋黄包25克, 黑芝麻: 适量
步骤
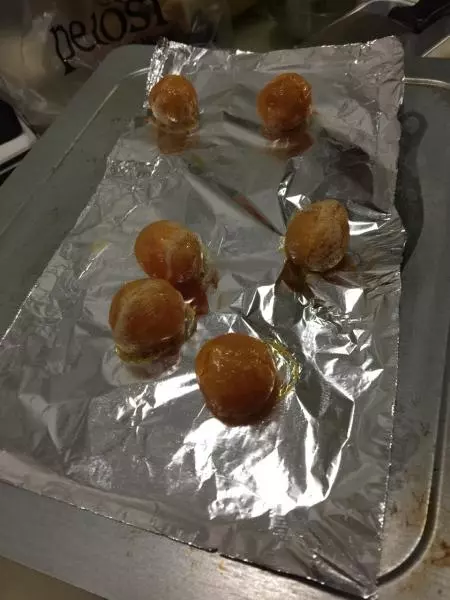
1咸鸭蛋去壳洗净放烤箱180度烤5分钟取出放凉
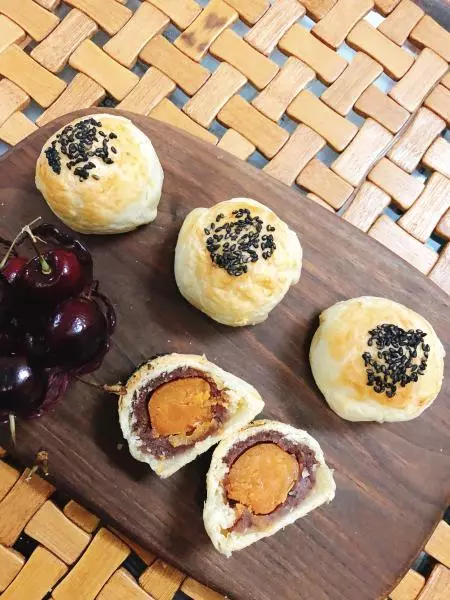
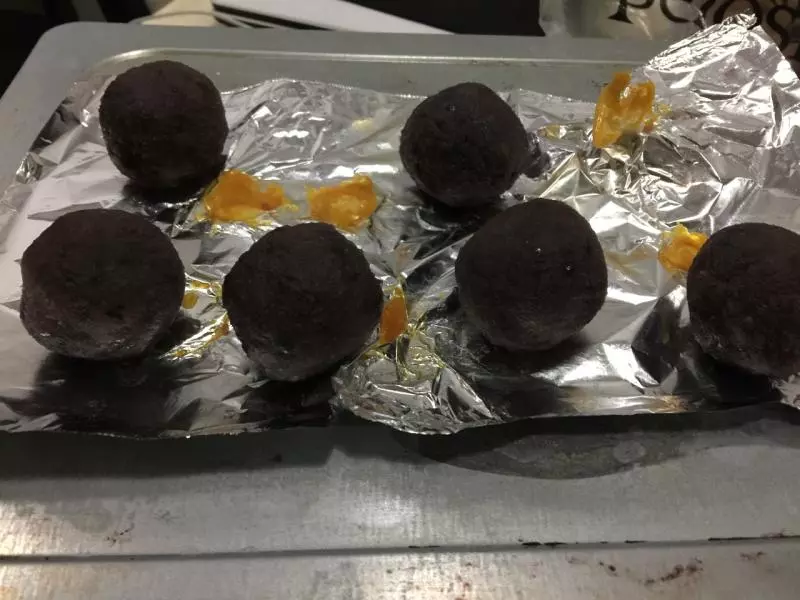
2然后豆沙按25克每个包住蛋黄备用
3油皮和酥皮的材料两个分开把材料放盆中和面,柔至光滑,放置10分钟醒面,用保鲜膜包裹
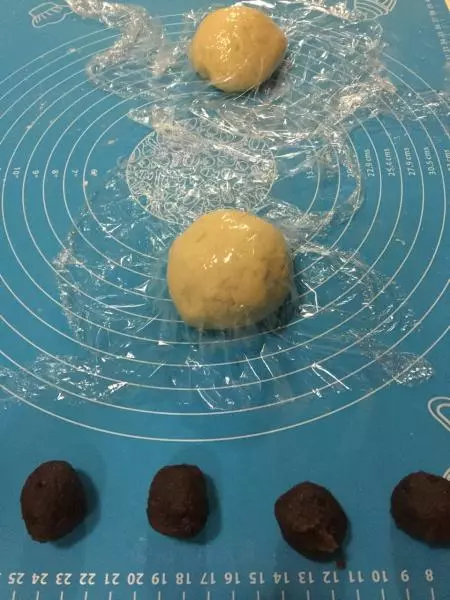
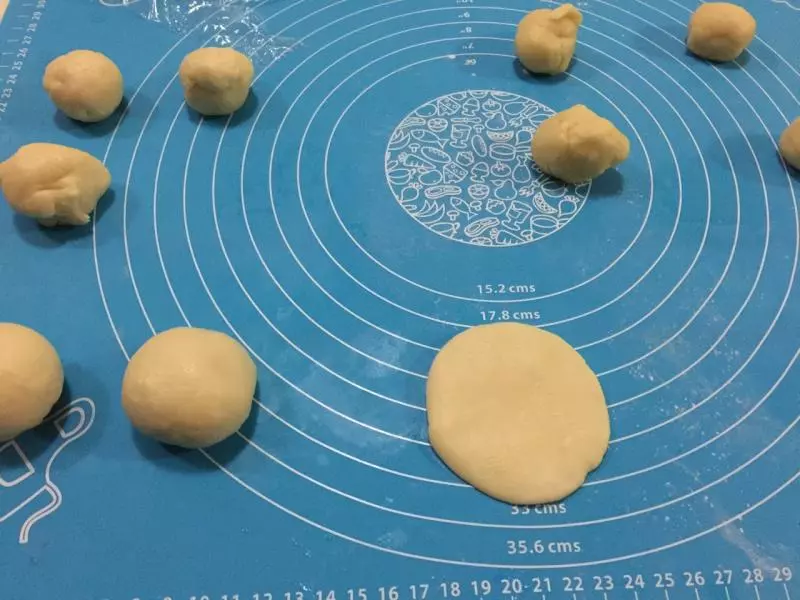
4醒好后,油皮和酥皮各分成6等份
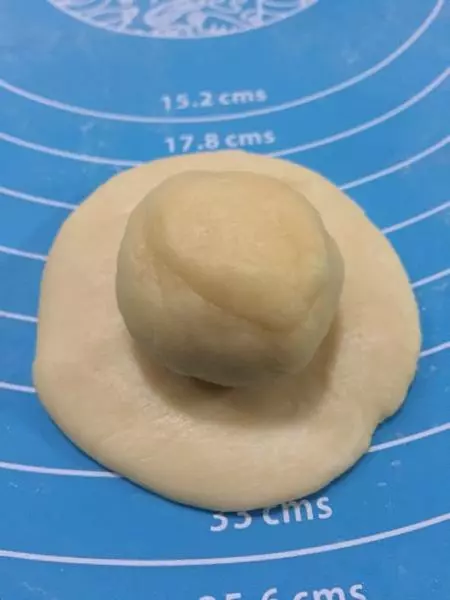
5把油皮擀成圆形把酥皮包到里面
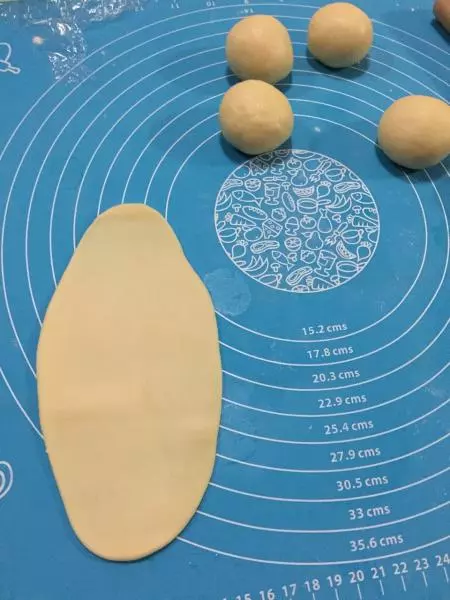
6接着,每一个都按压,用擀面杖擀成长条卷起
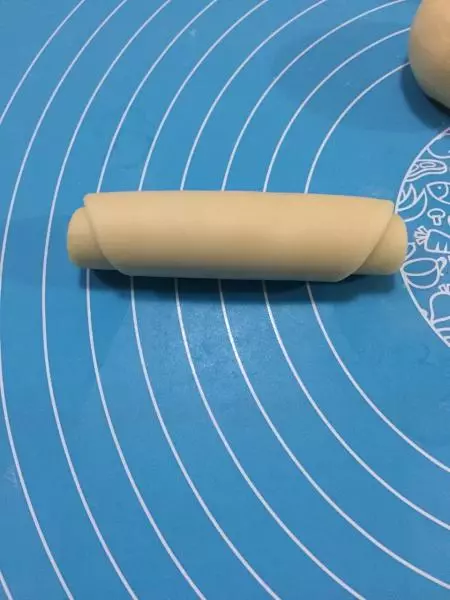
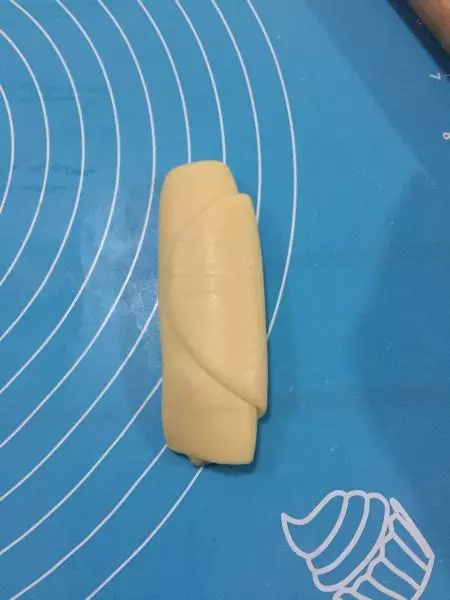
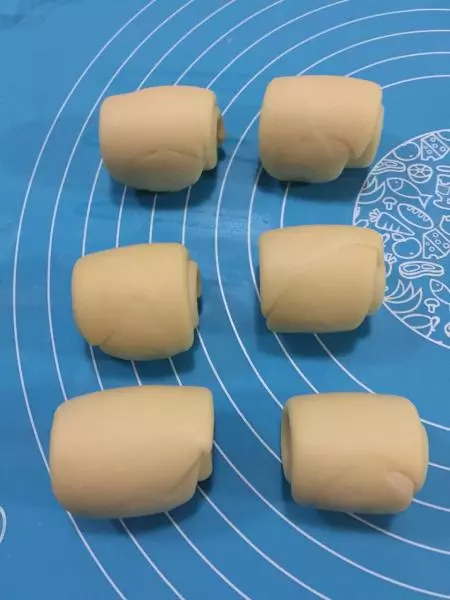
7这是卷好的样子
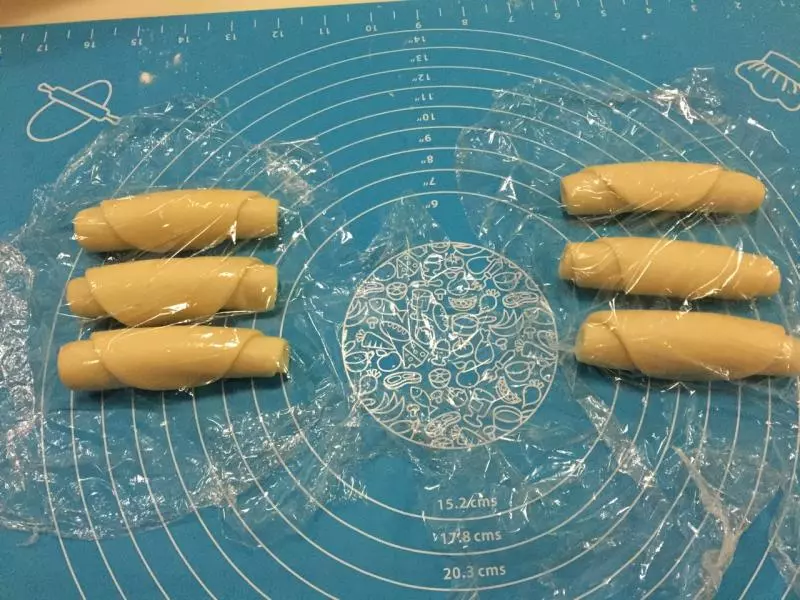
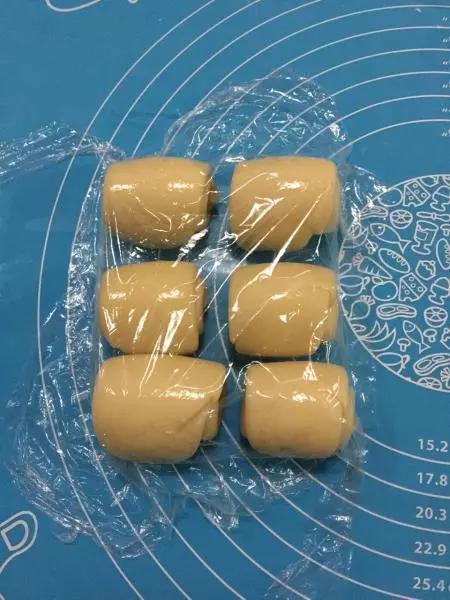
8都卷完后,用保鲜膜包住醒10分钟
9接着,醒好的取一个用手按压
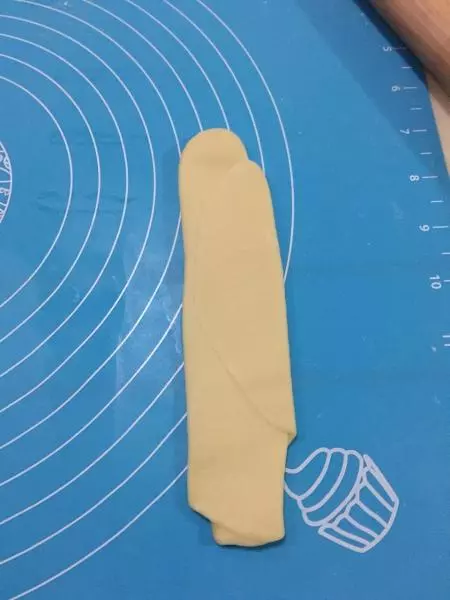
10擀面杖擀长
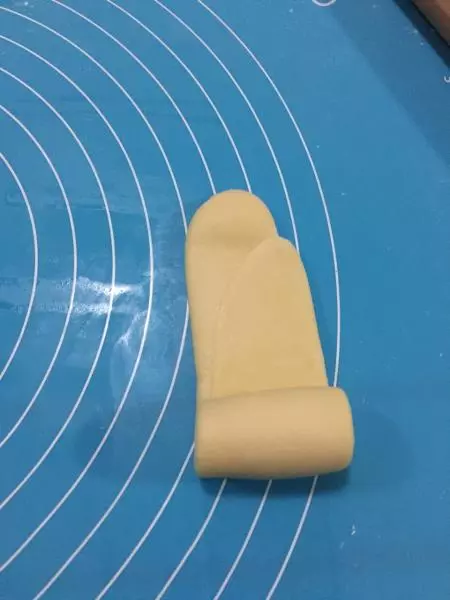
11卷起
12都卷好了
13保鲜膜包裹着醒15分钟
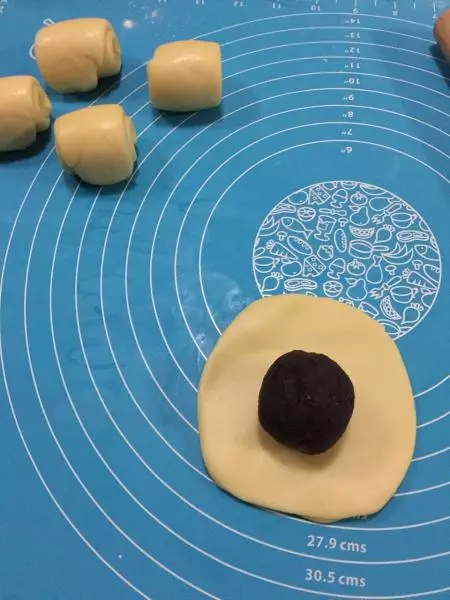
14取一个按压
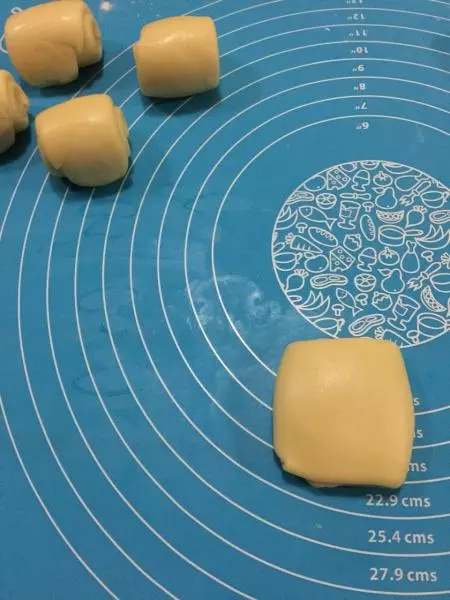
15擀圆
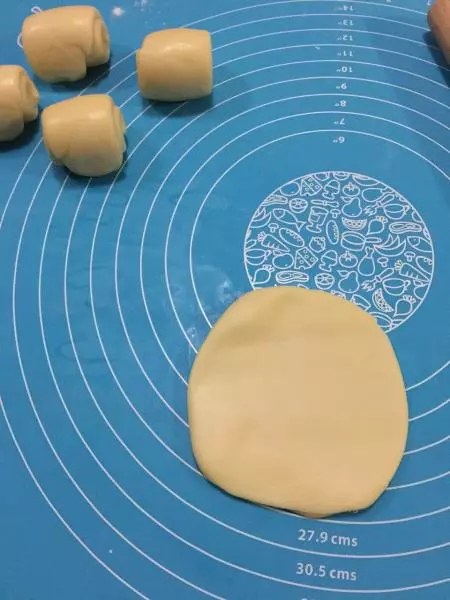
16放上一个包好的蛋黄豆沙馅
17用左手握起,慢慢按压住,弄圆
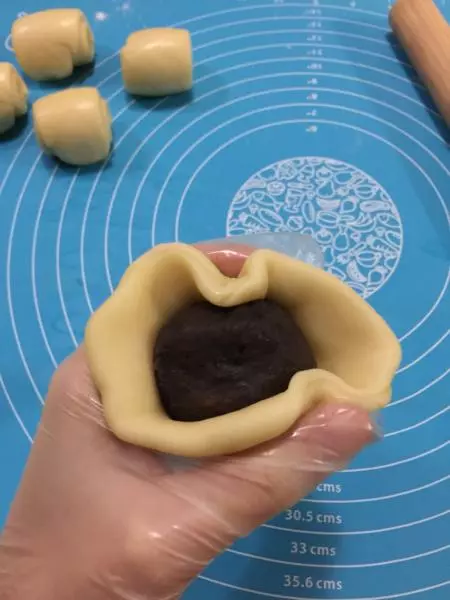
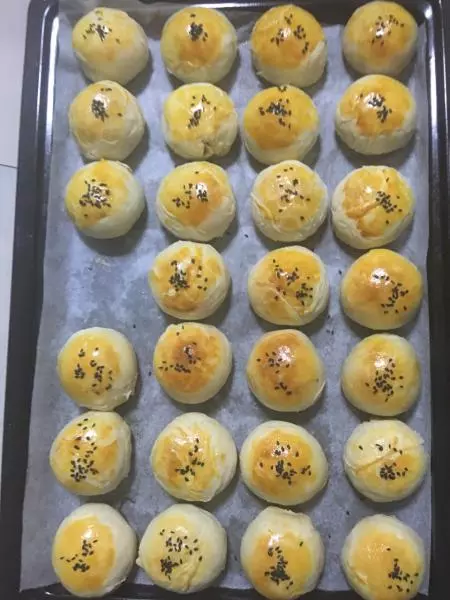
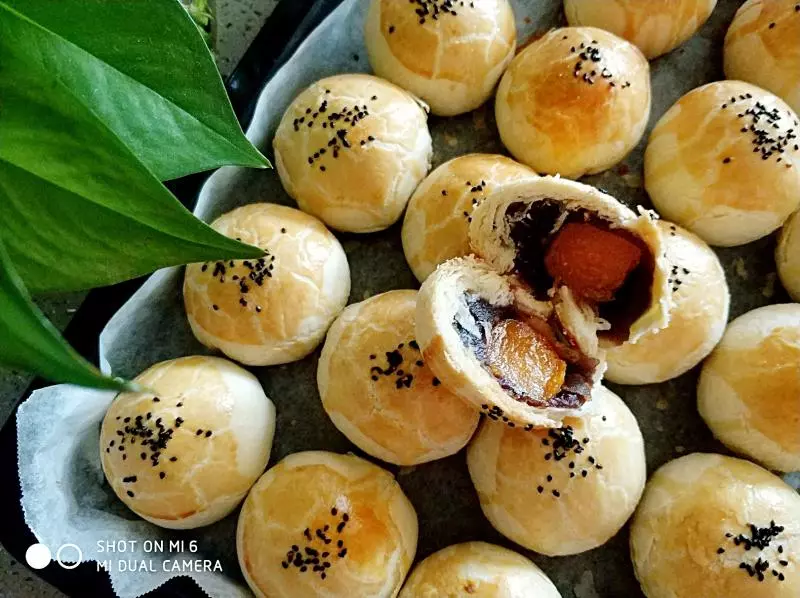
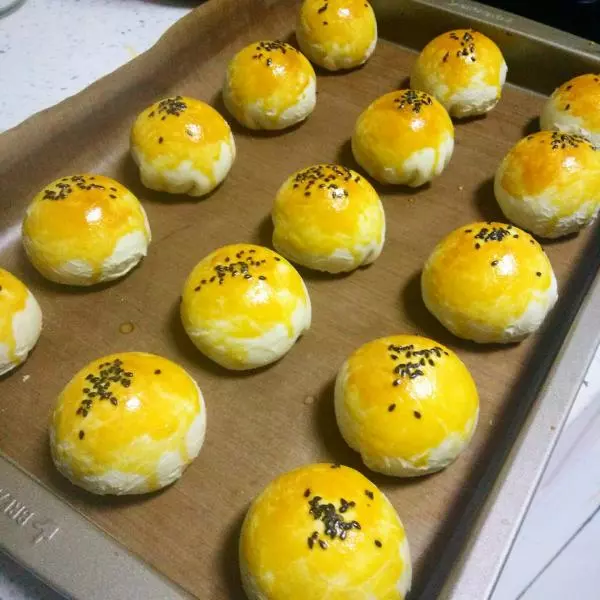
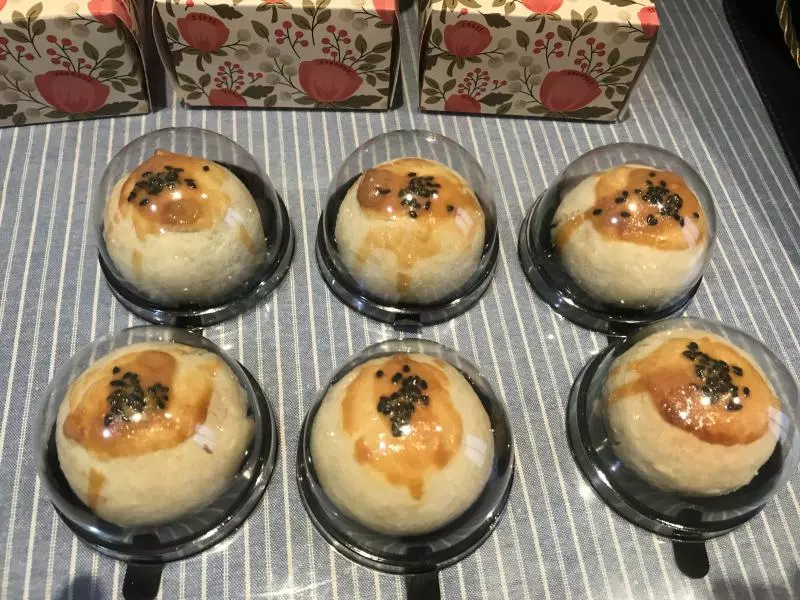
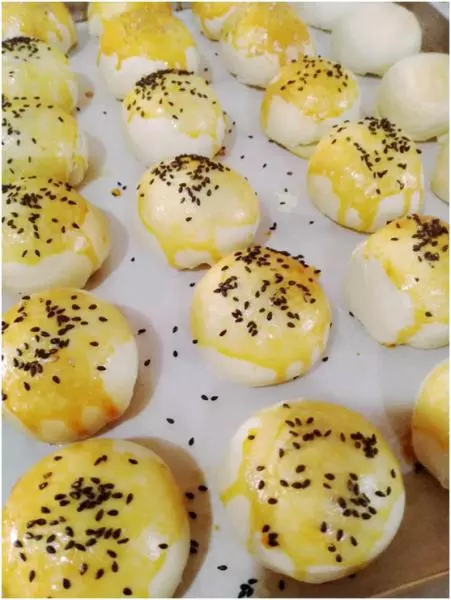
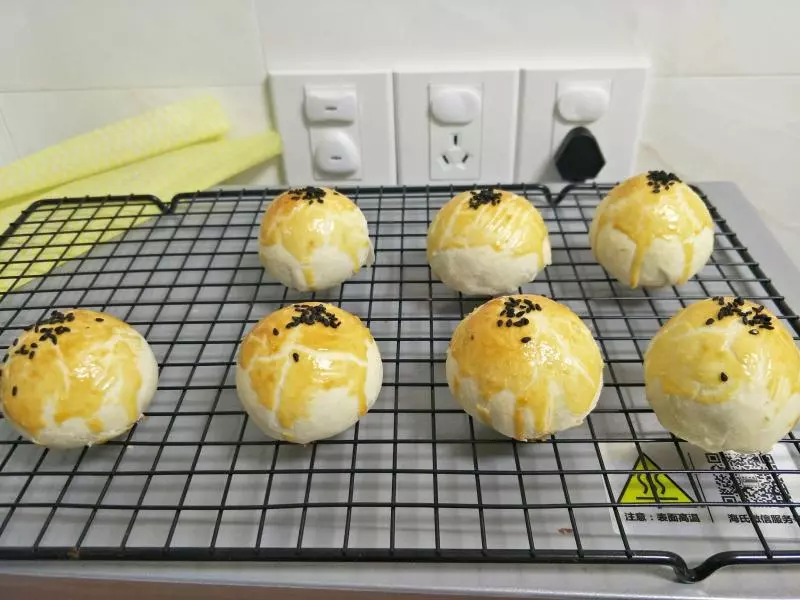
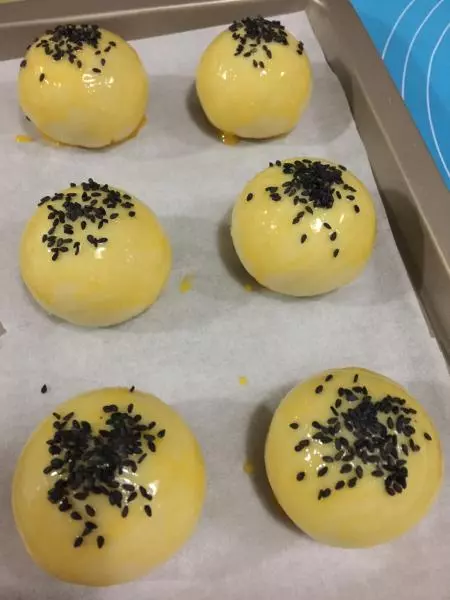
18看,包好成果
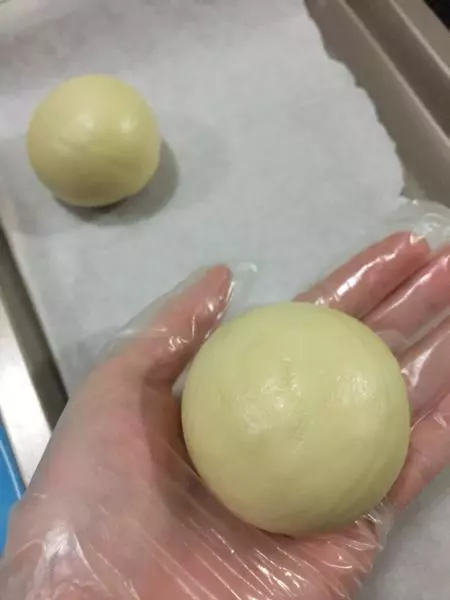
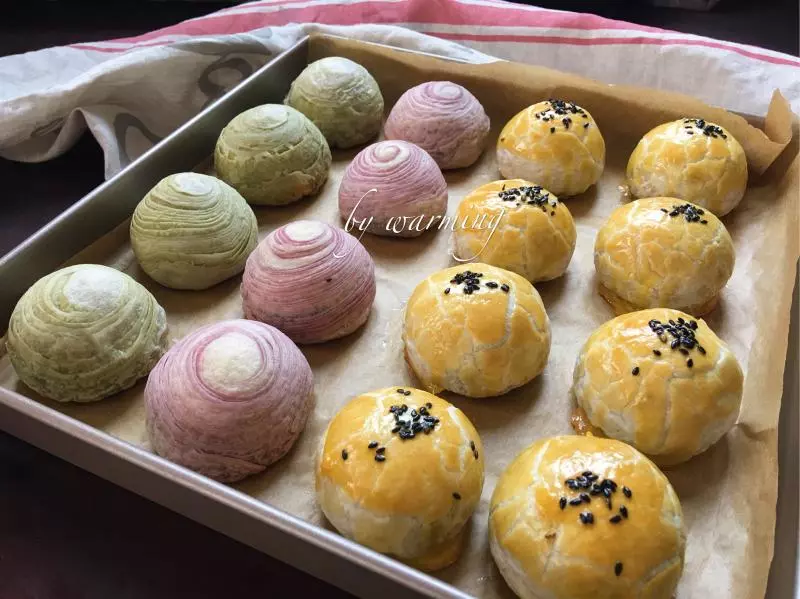
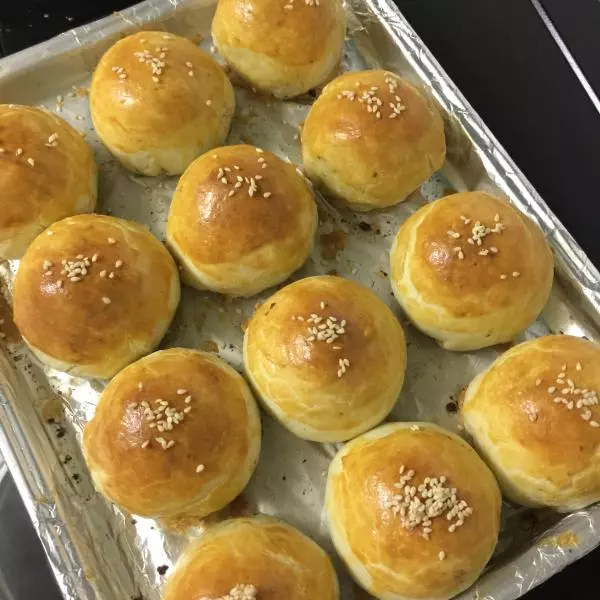
19很不容易啊,都弄好端盘了
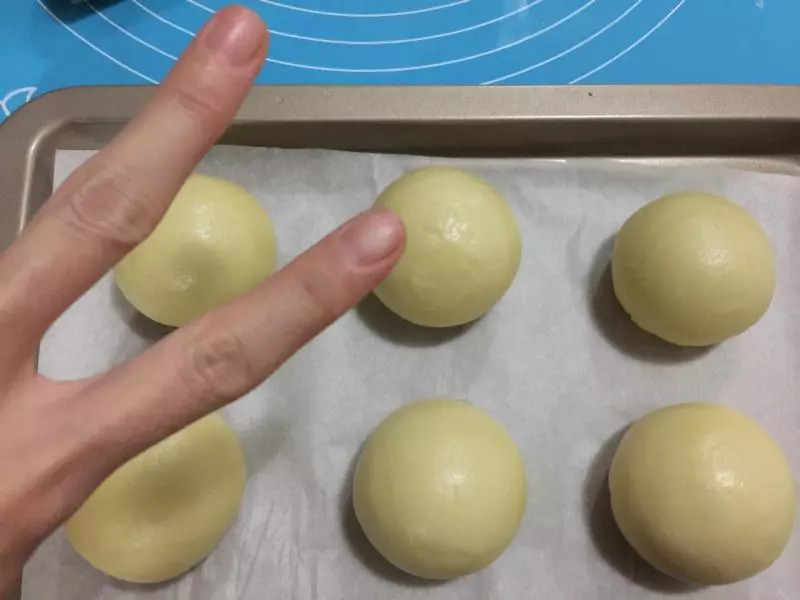
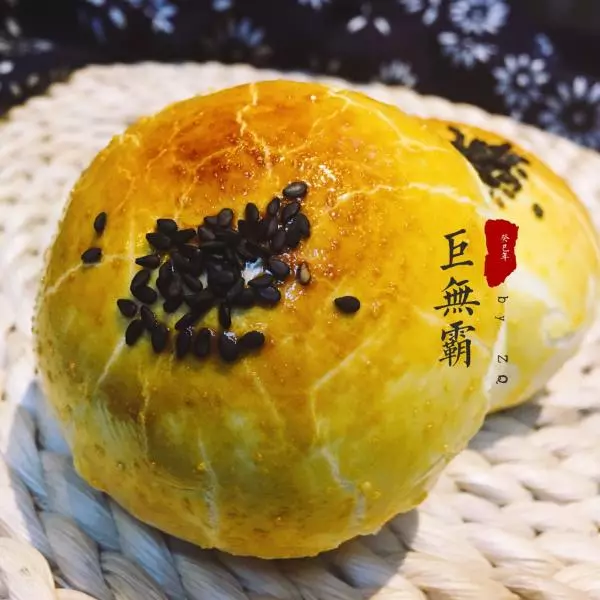
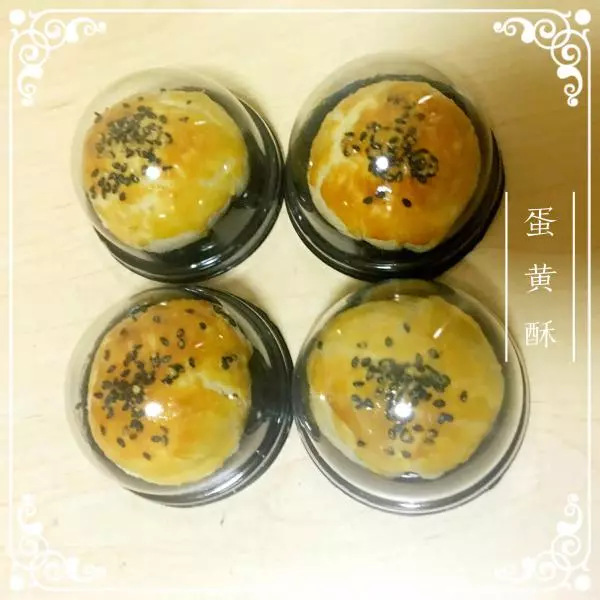
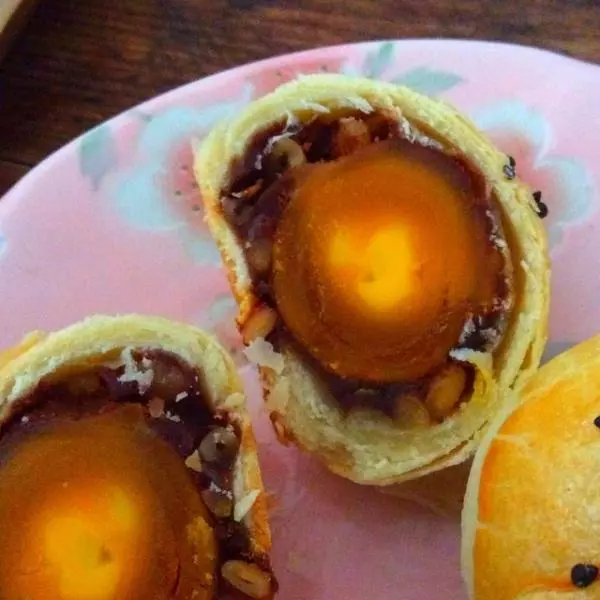
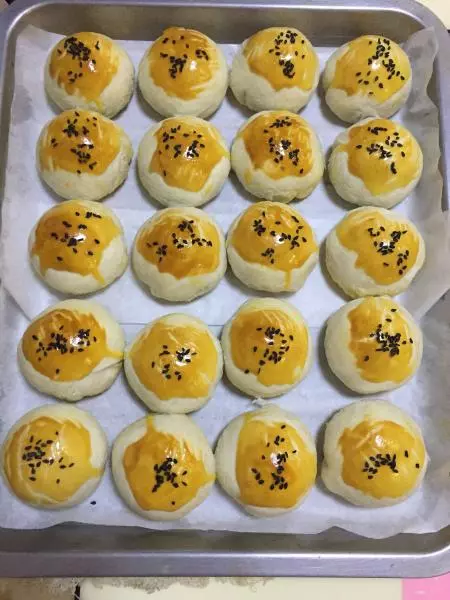
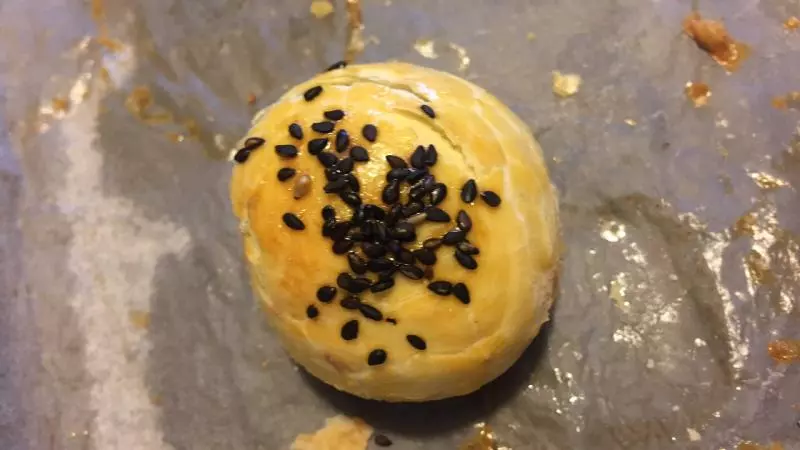
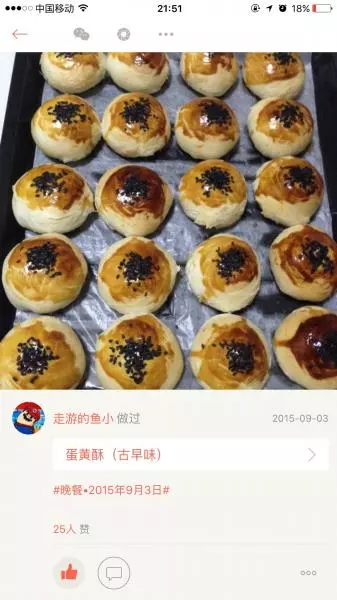
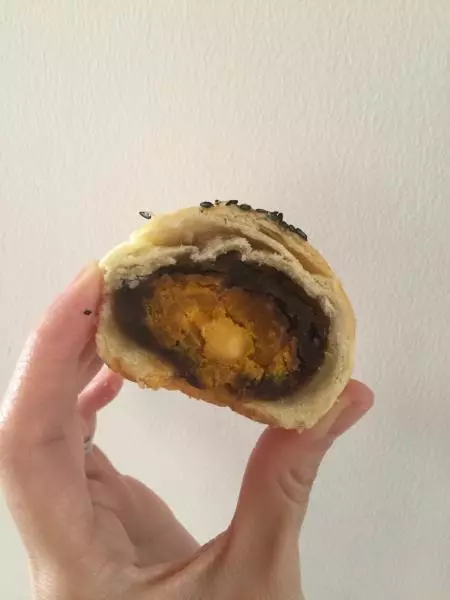
20很重要的一步,刷一层蛋黄液,撒上黑芝麻哦
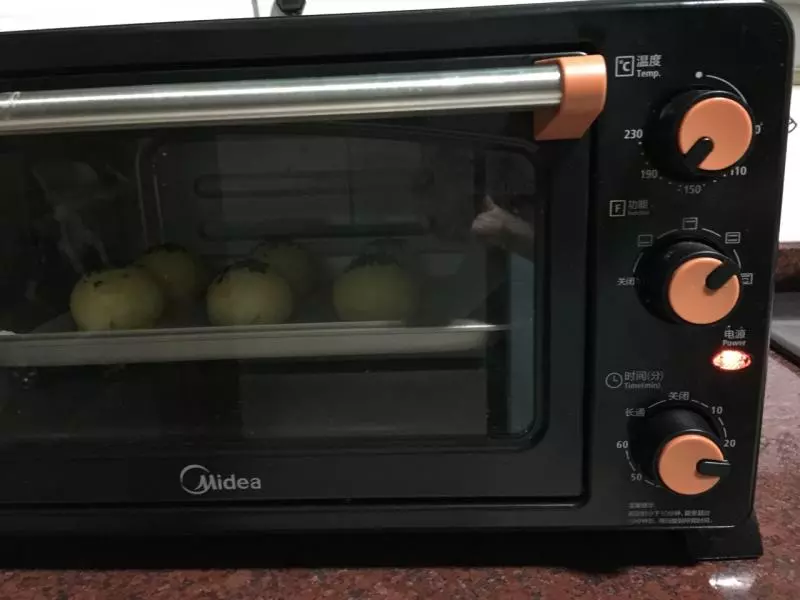
21烤箱预热180度10分钟,放置中层然后180度烤35分钟
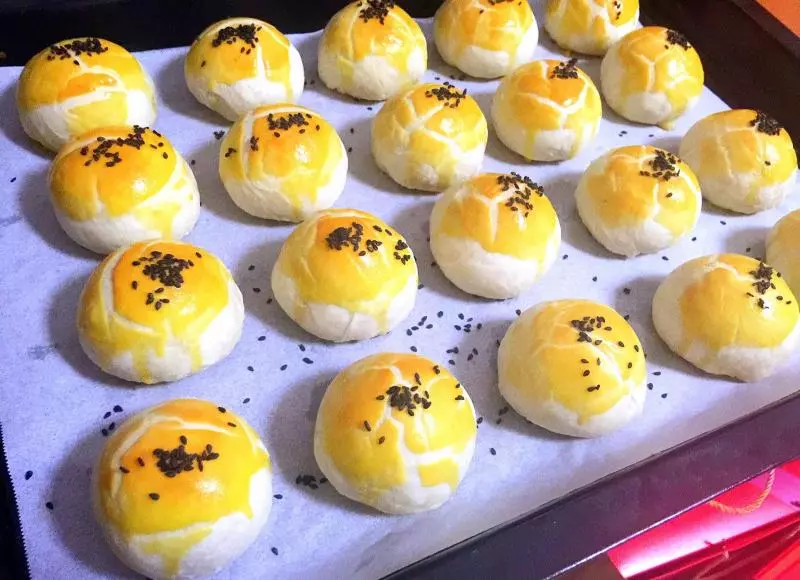
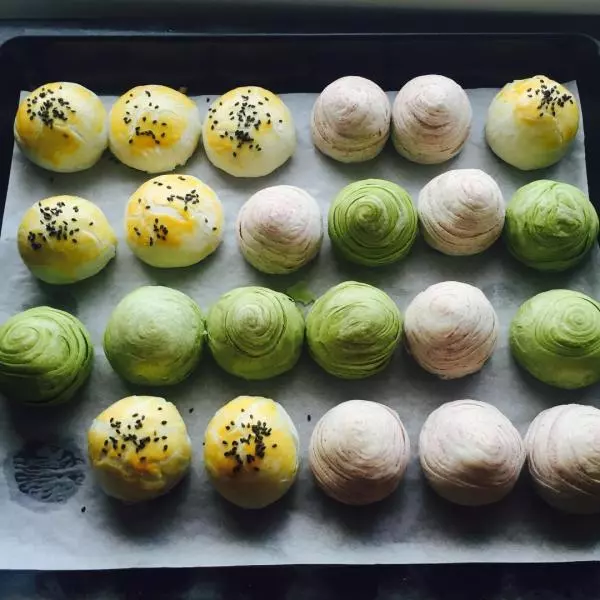
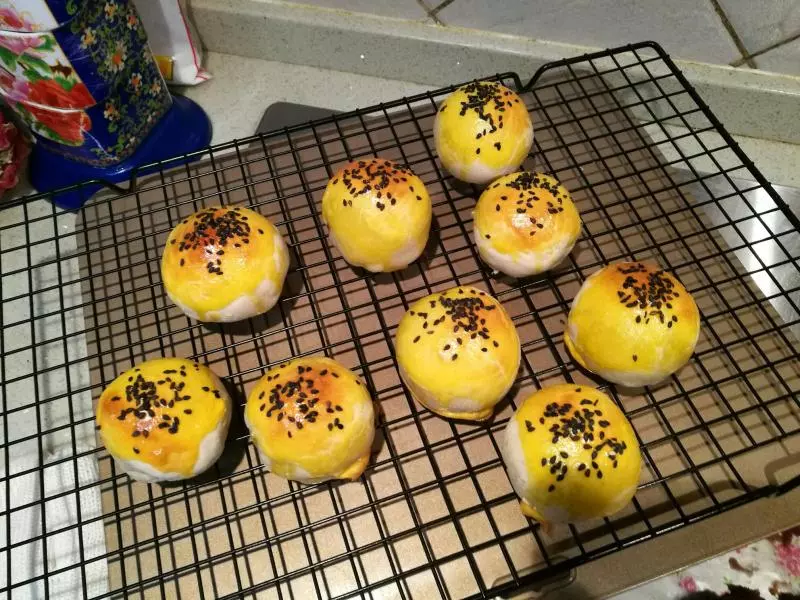
22是不是超赞✌️
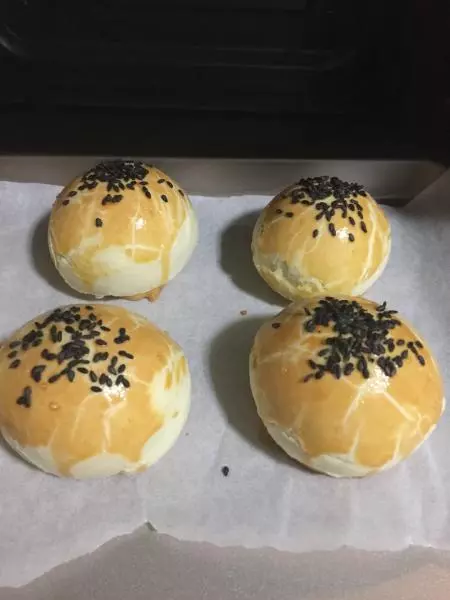
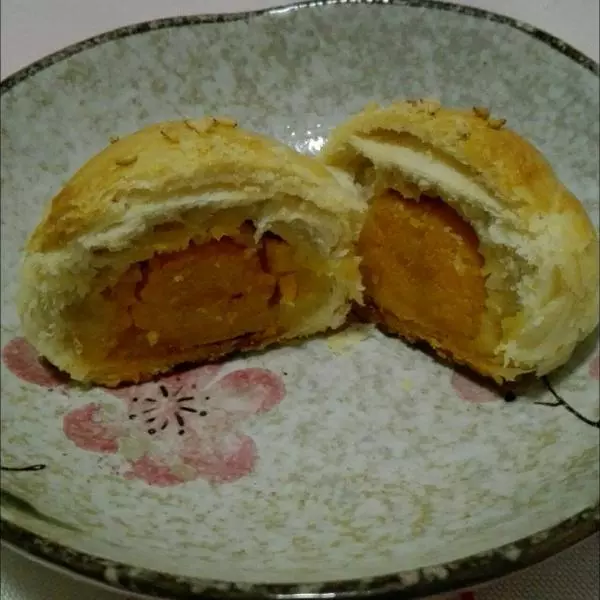
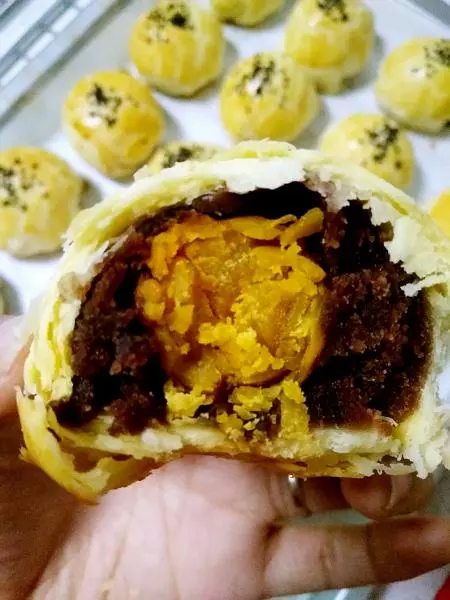
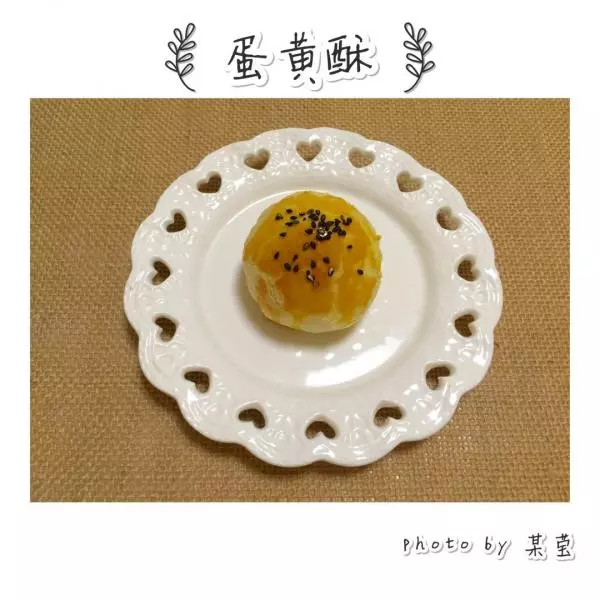
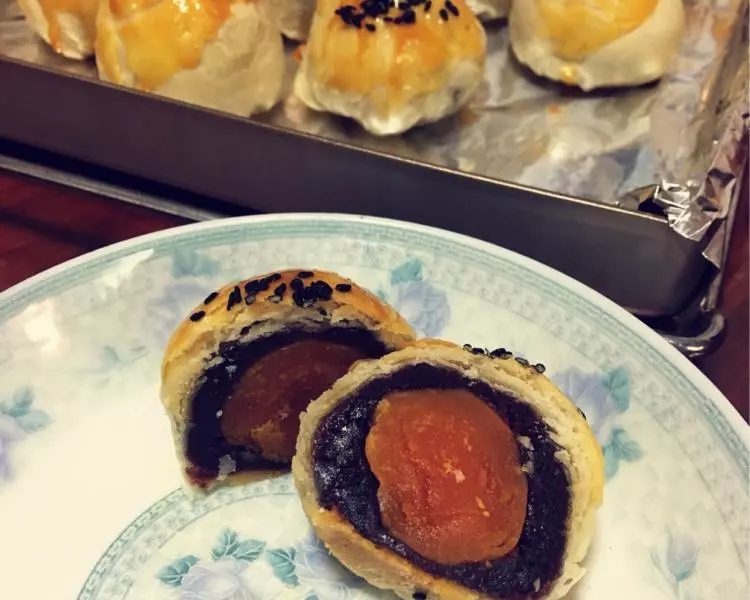
23哈哈,第一次做很成功!(这是蛋糕粉低筋面粉做的成品)

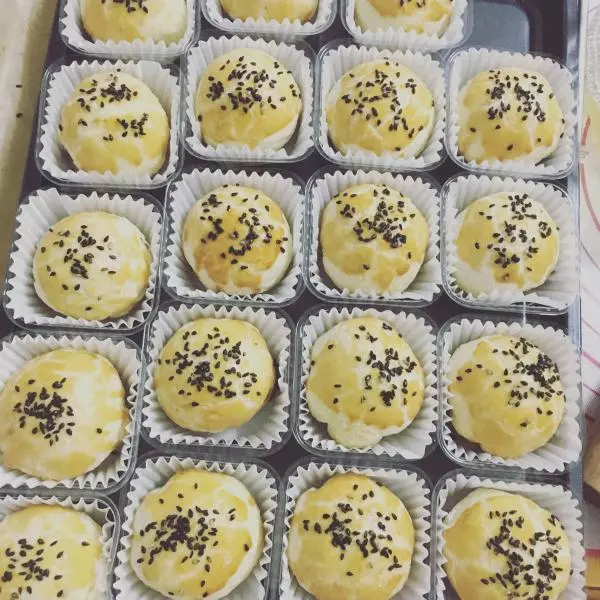
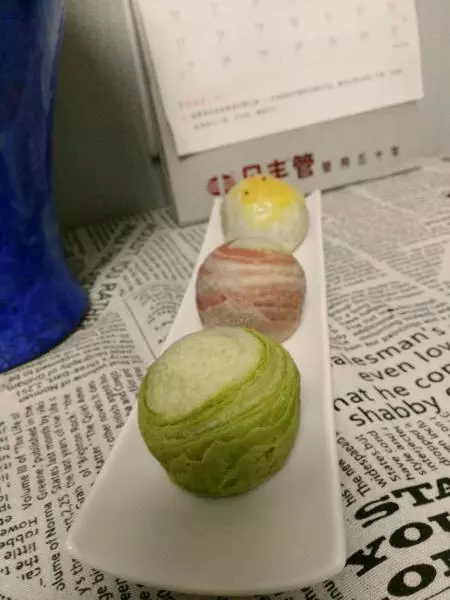
24这是两种面粉做的效果图,大家可以对比参照!

小技巧
小麦低筋面粉和蛋糕低筋面粉做出来的口感不同喔,小麦低筋面粉做的蛋黄酥皮层次分明,蛋糕粉低筋面粉做的蛋黄酥就是酥脆!