简介
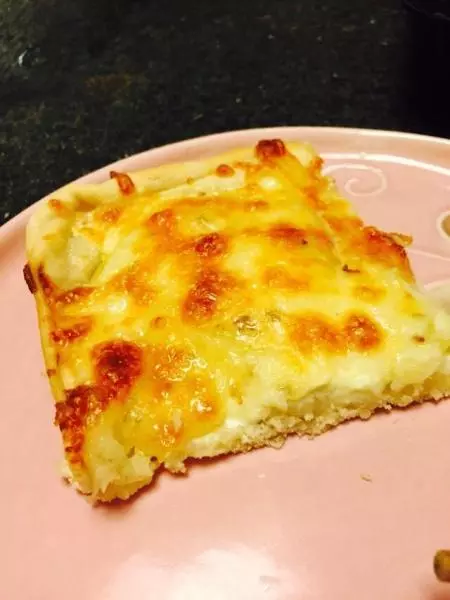
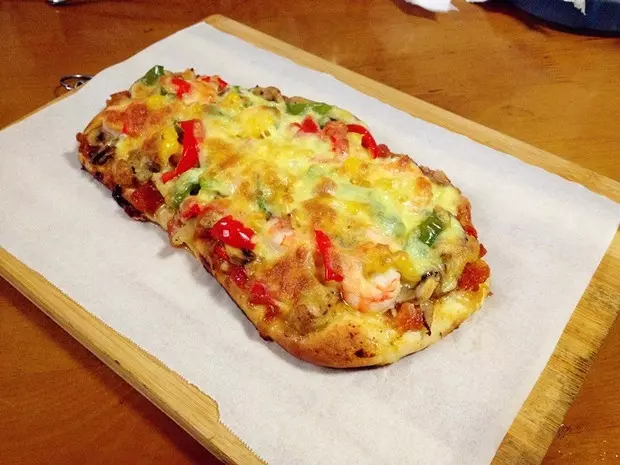
前几天做面包剩了一些椰浆, 刚好拿来和面做了这款披萨坯。 这款饼底算是薄底, 不算薄脆,但绝对软脆! 我个人喜欢饼底有一定厚度, 嚼在嘴里香香、甜甜。
除了做披萨饼底, 这个配方还可以做面包喔~
此配方可以做2个9寸饼底 贴士: ①做好的饼底可以冷冻保存,吃的时候一!定!室温解冻 ②所烤食材在烤箱开始预热的时候就送入烤箱中层烤制脱水,直至预热至220度,整个过程大约10分钟左右即刻拿出。当然这也得看你烤什么食材了,有的食材含水量大,或是你码放的很厚,那自然该多加一会儿时间是不?反之则减少,基本上到达预热温度再来个几分钟就好了,如果个别食材仍觉得湿湿的话,放在厨房纸里用手攥一攥也行。还有就是不同烤箱温差不同,我给的温度只是我自己的烤箱温差,亲的烤箱温差要自己去了解 ③椰浆也可以换成牛奶,味道应该也不会赖 ④方子提供的面粉和椰浆的量,个人感觉软硬刚好合适,烤出的饼底松、软、脆!请按各家面粉吸水率和不同品牌椰浆自行添减。
原料
高粉 250g, 低粉 50g, kara椰浆 135ml(或牛奶), 白砂糖 25g, 盐 3g, 鸡蛋普通大小 一枚, 奶粉 15g, 金燕耐高糖酵母 4g, 黄油 20g, 李锦记番茄沙司, 水发香菇, 腊肠, 杂菜(松仁玉米), 虾仁 十余只, 黑胡椒碎, 白胡椒粉、料酒, 马苏里拉芝士
步骤
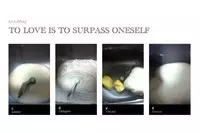
1除黄油外所以食材投入面包机,先放椰浆、鸡蛋,然后糖、盐(对角放置),最后放粉类,面粉顶端趴出一个小坑放入酵母,开启揉面程序,揉至20分钟停止,加入室温软化的黄油,再次开启揉面程序直至程序结束。从面包机取出面团放在盆里,盖保鲜膜至温暖处发酵(图片是以前拍摄的)
2趁发酵的时候,把虾去皮开背去虾线,料酒5g与白胡椒粉腌渍30分钟。

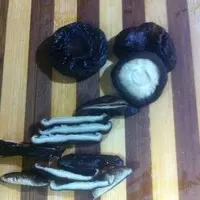
3泡好的香菇切0.5~1cm之间厚度的条,不要切太细,容易烤干。
4发酵至2~2.5倍大小,手指按下去不回缩即可停止发酵。取出揉擀排气。

5擀薄擀圆

6擀至比烤盘稍大一点点儿
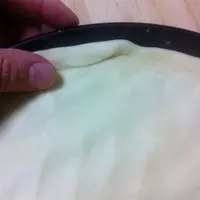
7铺在烤盘里,手掌轻按,把面团向边缘推,形成中心相对薄周围相对厚

8把多出来的面边反折捻成披萨边儿
9叉子插出排气孔,室温静置15分钟,同时220度预热烤箱

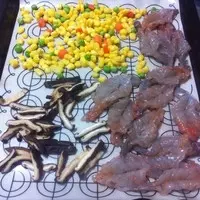
10预热烤箱同时把待烤食材送入烤箱脱水。预热到220度大约8到10分钟左右,不管10分钟后有没有预热好都把食材取出来。
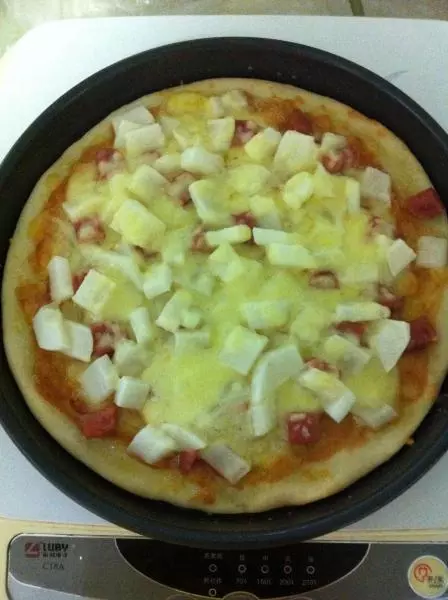
11饼底挤番茄沙司

12刷匀

13先撒入少许芝士,这样可以更好的粘合食材,更有助于拉丝

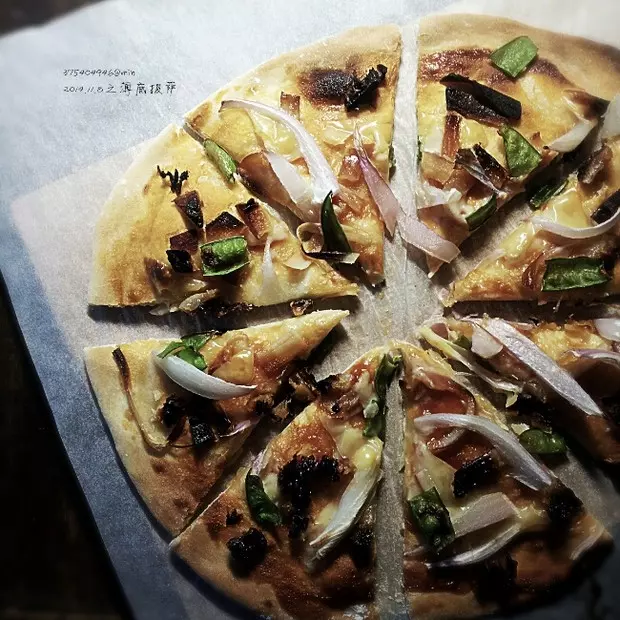
14撒入腊肠和杂菜

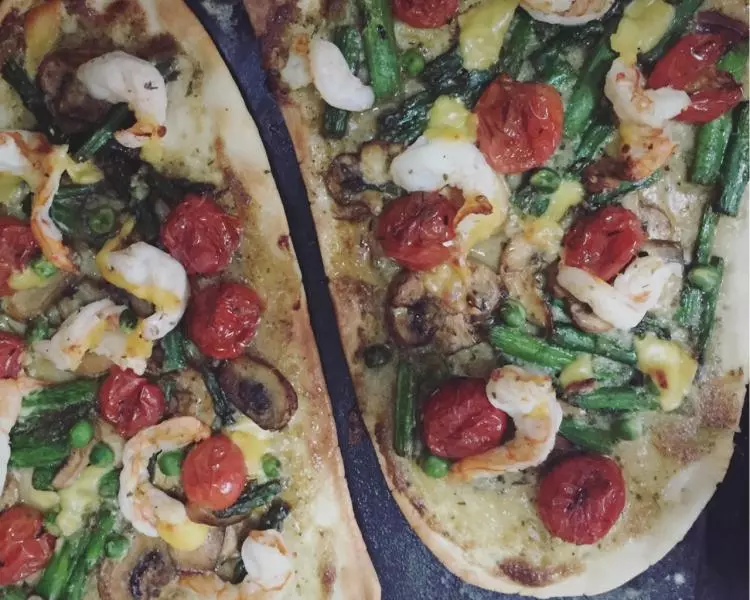
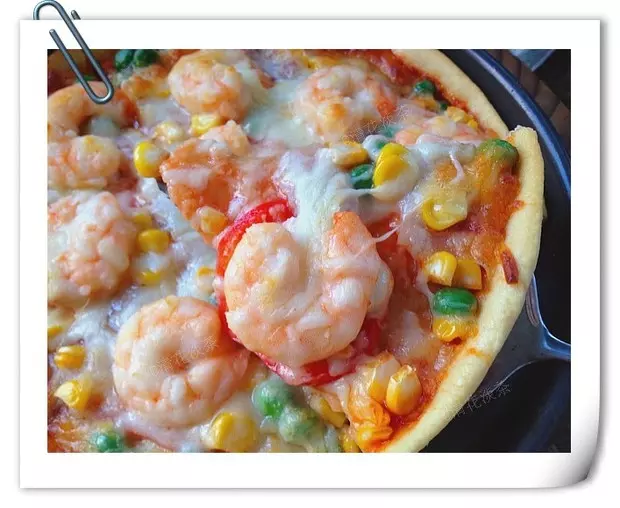
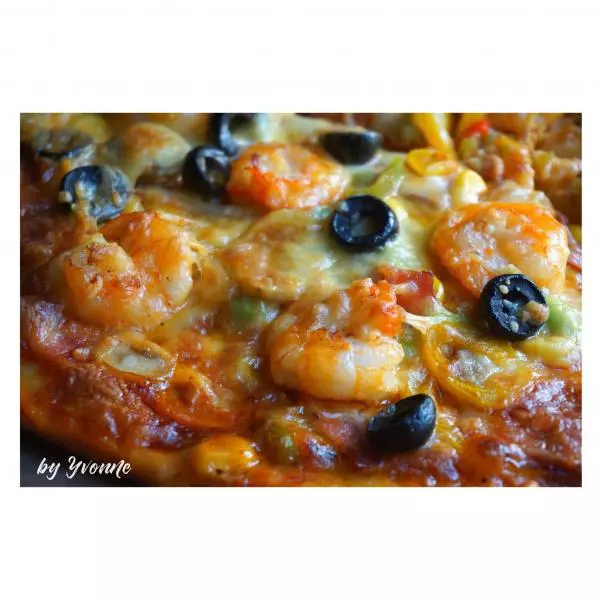
15码入虾仁

16码好蘑菇

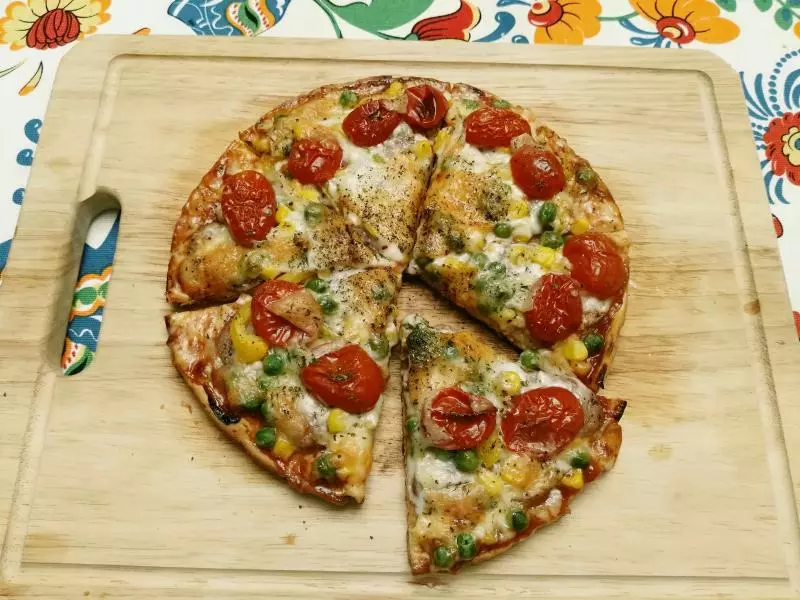
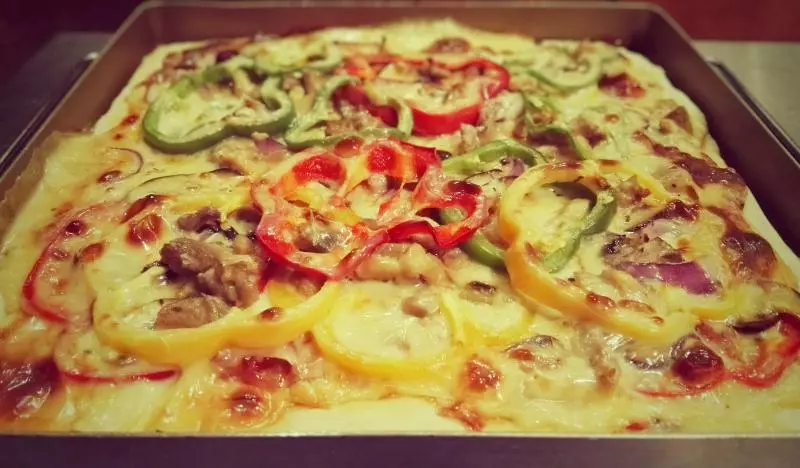
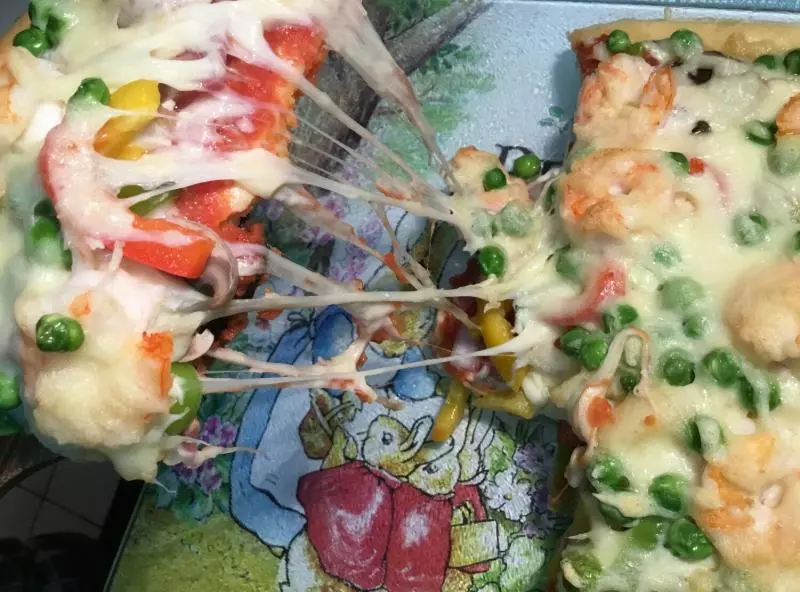
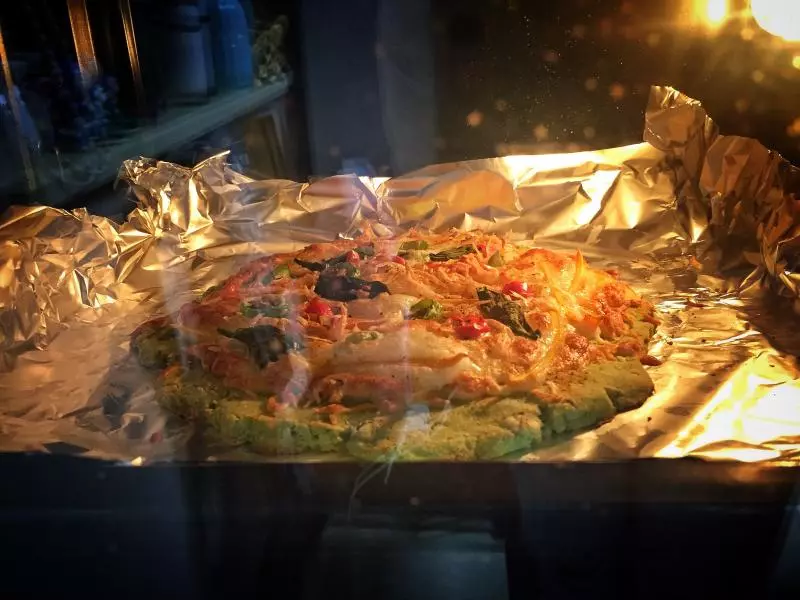
17把剩下的芝士全部均匀撒满,表面撒黑胡椒碎。烤箱中层210~220度20~25分钟,芝士溶化颜色金黄即可停止。

18小心烫口