简介
水果90%,面糊10%,健康满满,热量少少的蛋糕!刚出炉香气迷人,有着水果卡士达口感。冷藏后一天食用,水分收干,吃起来是一道充满水果的低热量甜点!
原料
低筋面粉70g, 无铝泡打粉11g, 盐少许, 奶油20g, 鲜奶100ml, 蛋液, 鸡蛋两颗, 砂糖50g, 内馅料, 苹果4颗
步骤
1鸡蛋如果放在冷藏保存,建议预先退冷后再使用。 加入砂糖50g,用手动打蛋器拌匀,不需要打发!!

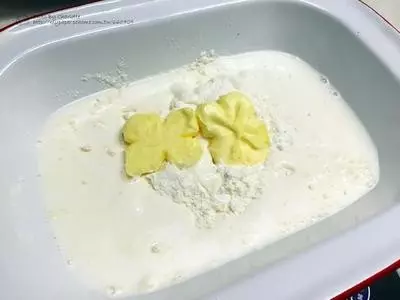
2面粉建议是先过筛在使用,奶油预先融化。 在蛋液中加入拌入鲜奶和奶油,在缓慢加入过筛的面粉以及泡打粉和盐!
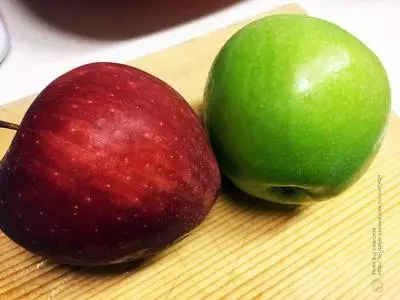
3我使用两种口感的苹果,五爪和青苹果!五爪苹果的口感比较松,经过烘焙容易熟透。青苹果酸味较重,可以增加蛋糕的水果芳香!
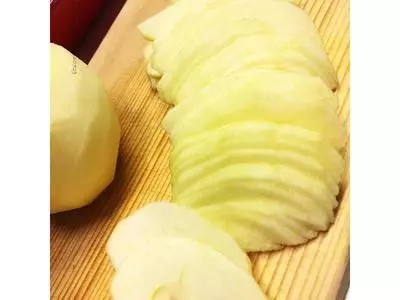
4苹果削皮去籽后,切薄片!
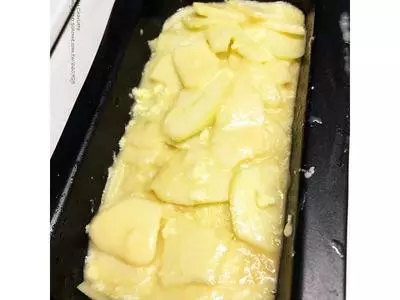
5把苹果薄片倒入面糊里,慢慢地搅拌,使水果片均匀沾附上面糊! 烤盘建议抹油,或是再用烘焙纸避免沾黏。如果是想直接食用,那么则可不须用烘焙纸!
6烤箱预热后,放入烤箱烘烤!上层建议放铝箔纸,可以避免烧焦! 烘烤时间大约50分钟。出炉时,建议用筷子确认粉浆凝固状况。
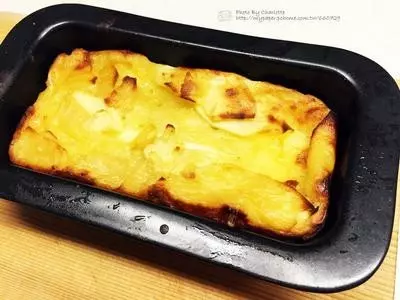
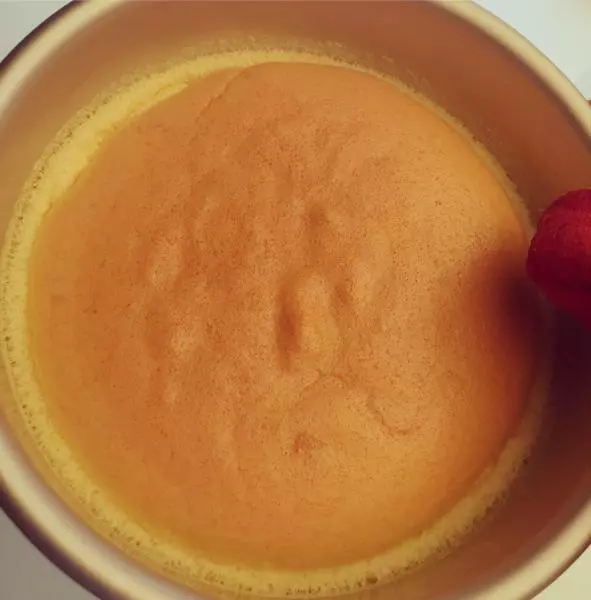
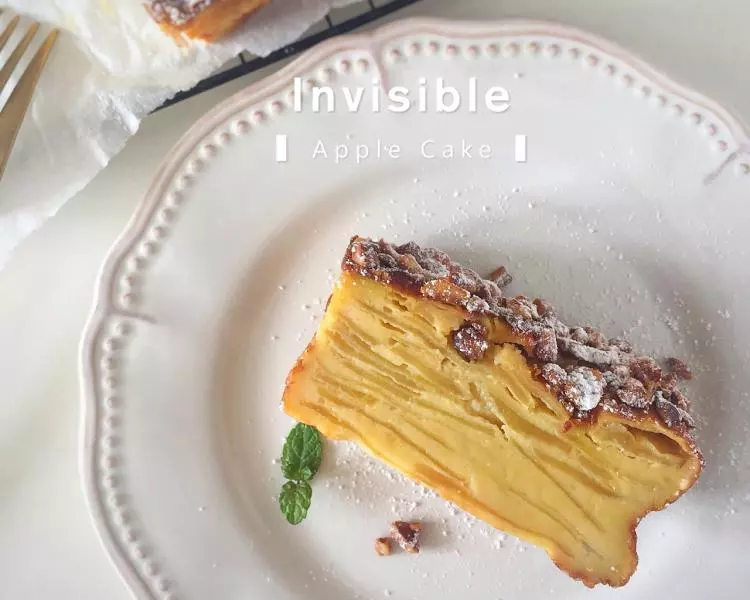
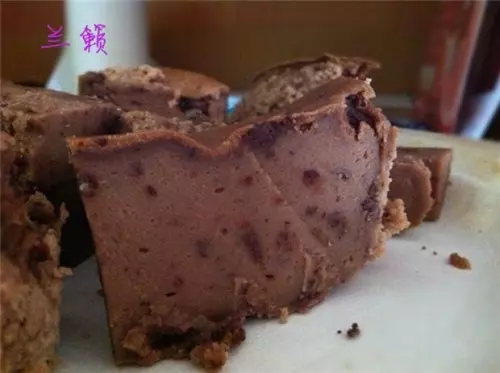
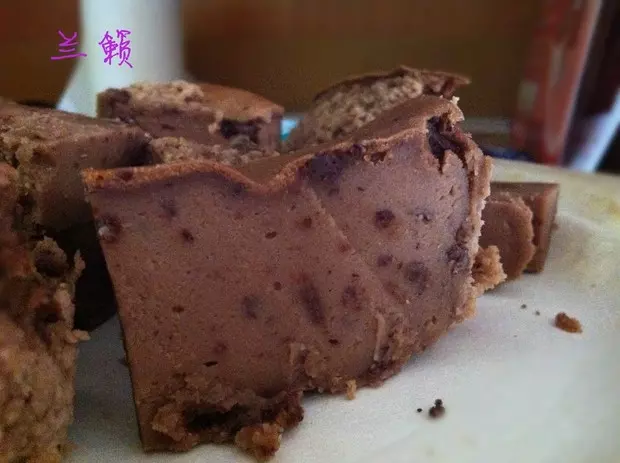
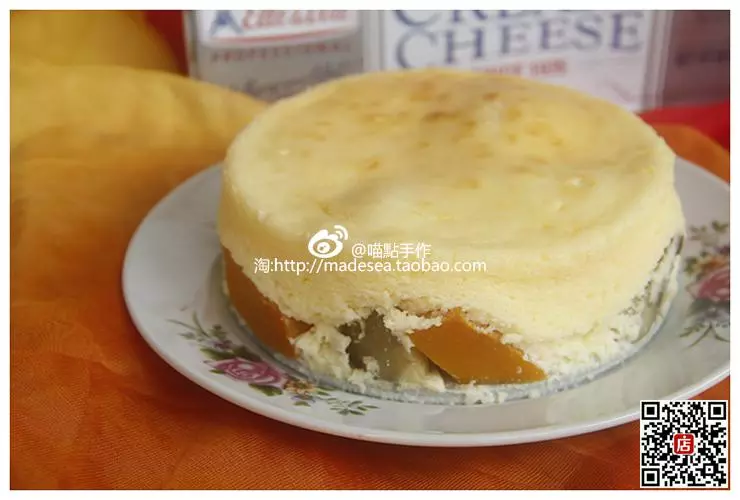
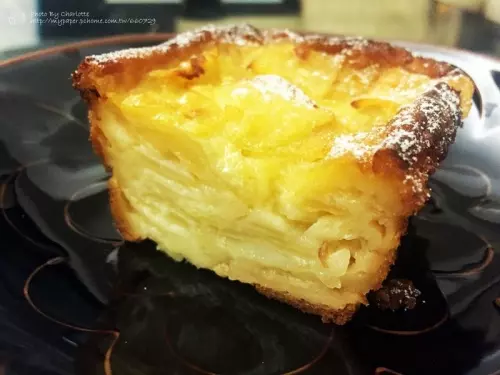
7蛋糕出炉后,要等冷却再脱模! 食用前可以撒上糖粉,放些许果酱装饰。口感很棒唷!!
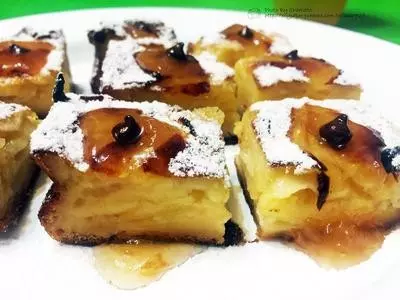
8千层的感觉,都是由天然苹果片创造的视觉! 热热的吃,仿佛是在吃水果口味的蛋塔口感! 冰凉后吃,就像是一道充满苹果酸甜滋味的布蕾蛋糕!