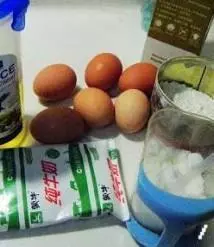
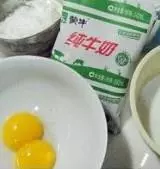
原料
低面粉: 35克, 鸡蛋: 6个(4个放在蛋糕胚里,2个放在奶油馅里), 白糖: 50+30克(50克放蛋白里,30克放蛋黄糊里), 牛奶: 30克, 色拉油: 30克, 低粉: 10克, 玉米淀粉: 10克, 牛奶: 200克, 奶油: 100克, 白糖: 30克, 蛋黄: 2个
步骤
1准备材料
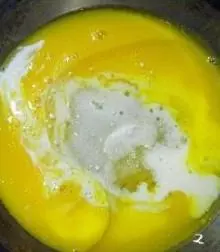
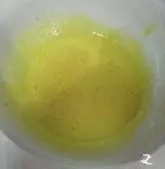
2蛋黄蛋清分离,将30克白糖放入蛋黄中搅拌并依次加入30克色拉油、30克牛奶搅拌均匀,不要打发
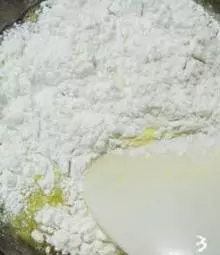
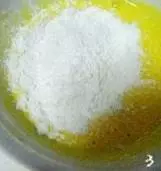
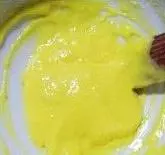
335克低面粉过筛放入搅拌好的蛋黄糊中切拌均匀备用
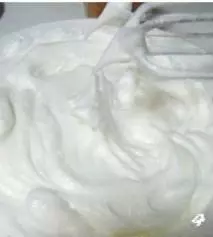
450克白糖分三次加入蛋清中并打发至湿性发泡
5将打发好的蛋清取三分之一与蛋黄糊切拌均匀然后将其全部倒入剩余的蛋清中继续切拌均匀
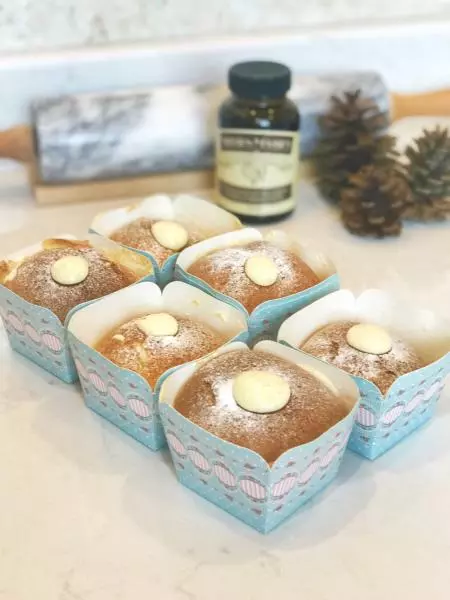
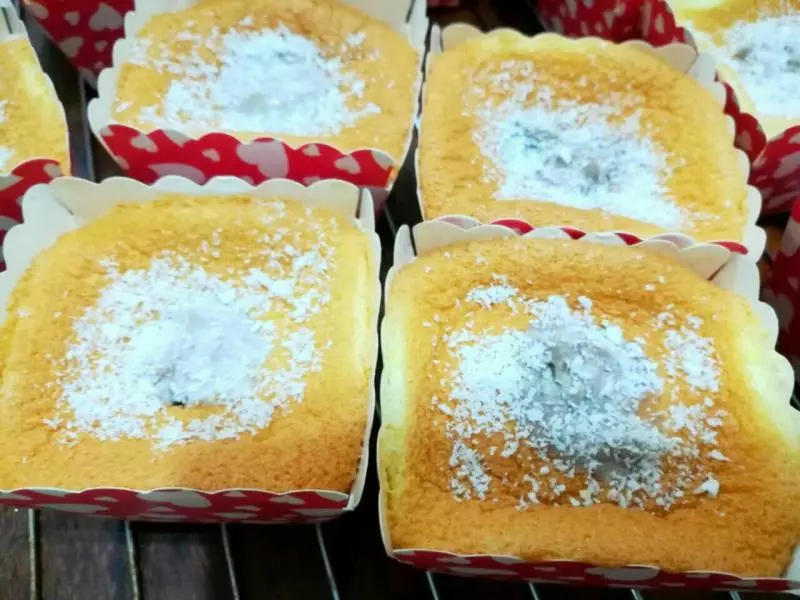
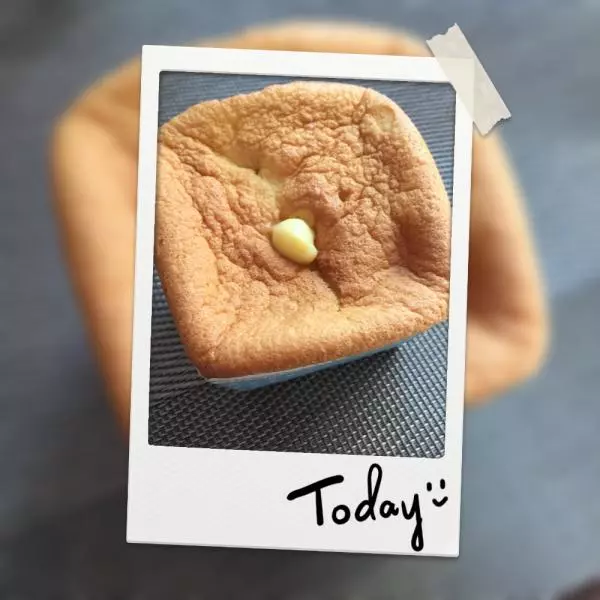
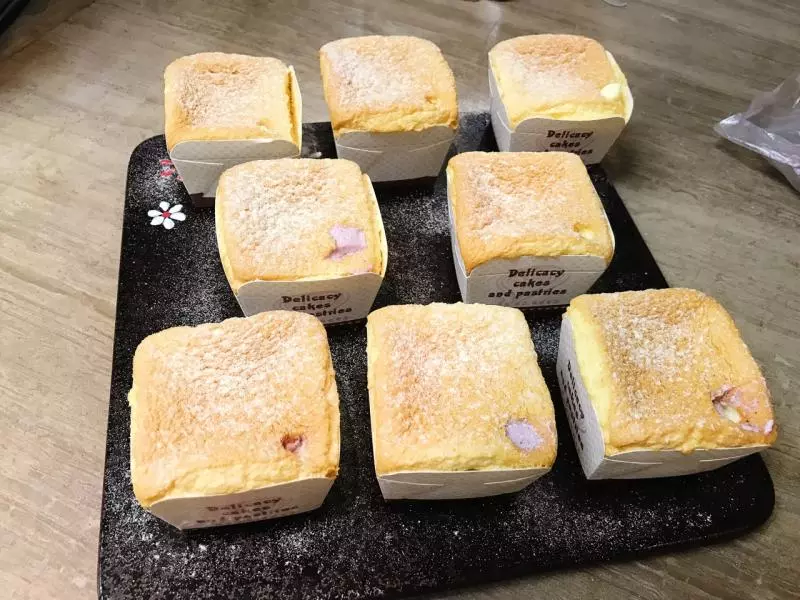
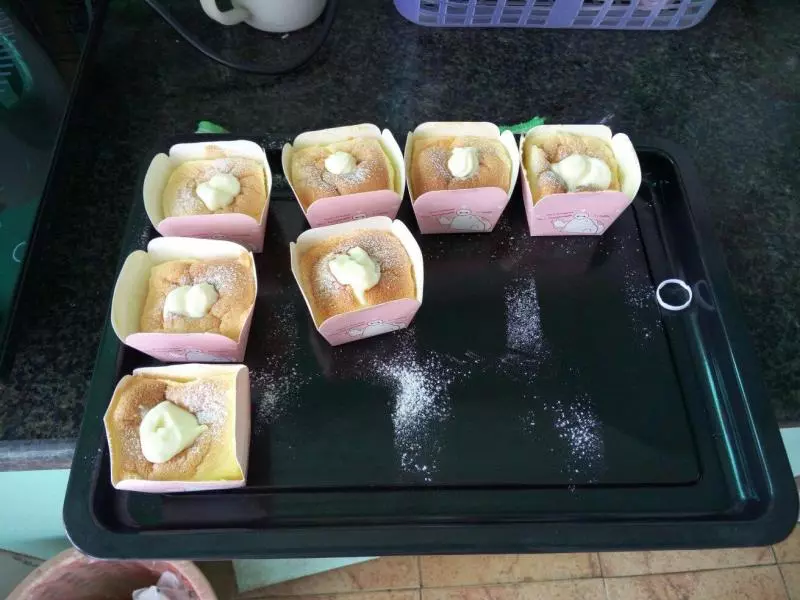
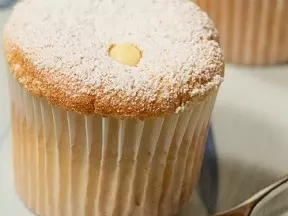
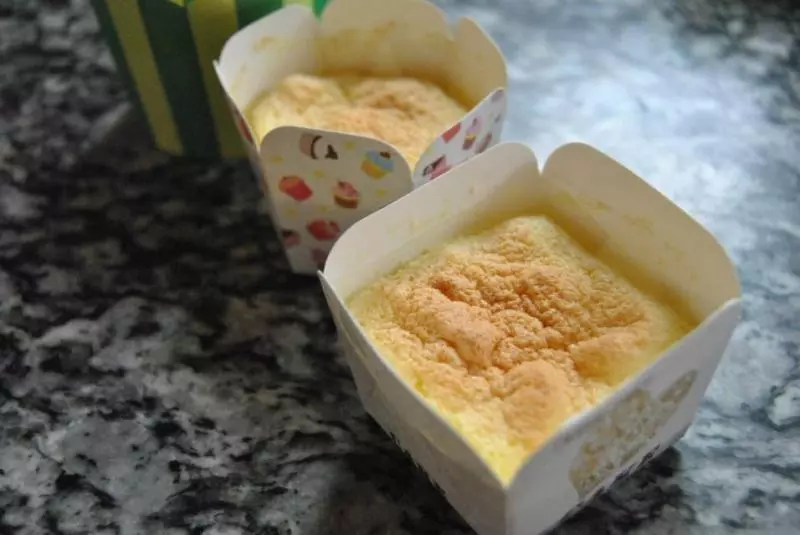
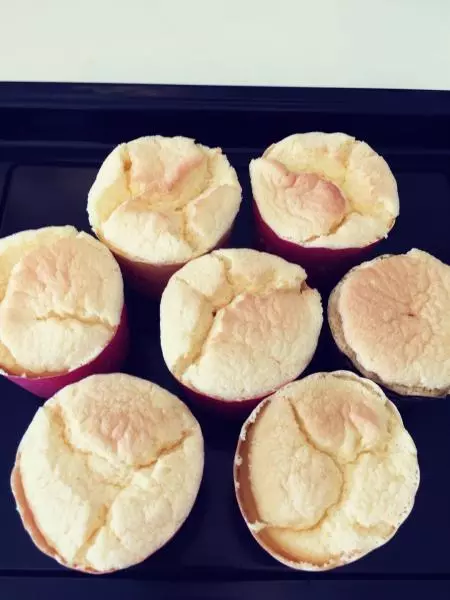
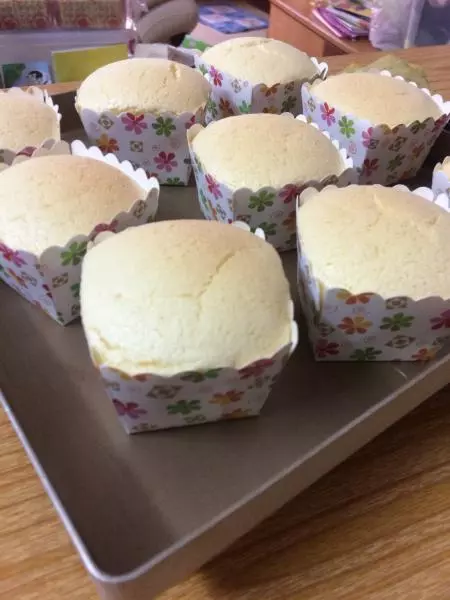
6倒入模杯中,烘箱预热180度,上下管,中层,180度,15分钟
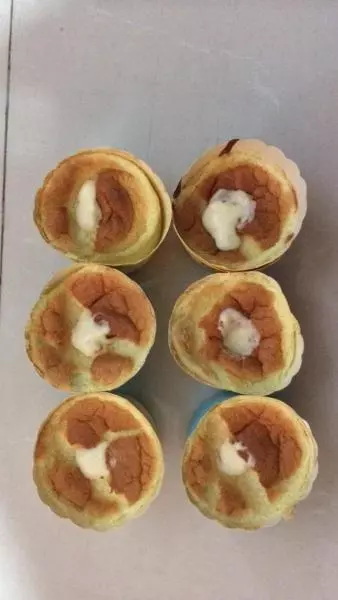
7蛋糕胚取出凉透备用
8准备材料
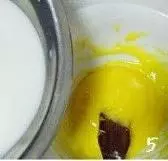
9两个蛋黄打发至发白
1010克低粉和玉米淀粉过筛后放入蛋黄中
11搅拌均匀成蛋黄糊状
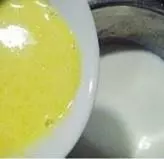
12200克牛奶加30克白糖加热烧开后将1/3奶慢慢倒入(2)中搅拌,不要使蛋黄糊结块
13将搅拌好的蛋黄糊全部倒入到剩余的奶中重新小火加热
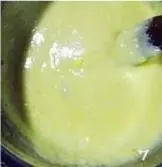
14边加热边搅拌至糊状,取下后立即将容器座入有凉水的盆中继续搅拌,直至蛋黄糊全部凉透
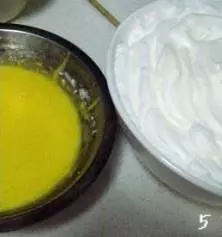
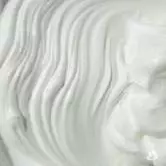
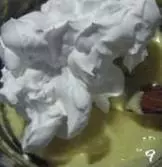
15奶油打发至花纹不消失即可
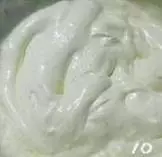
16将凉透后的蛋黄糊与打发好的奶油混合
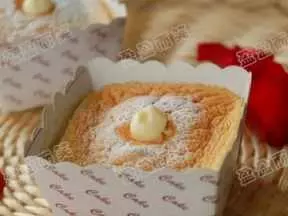
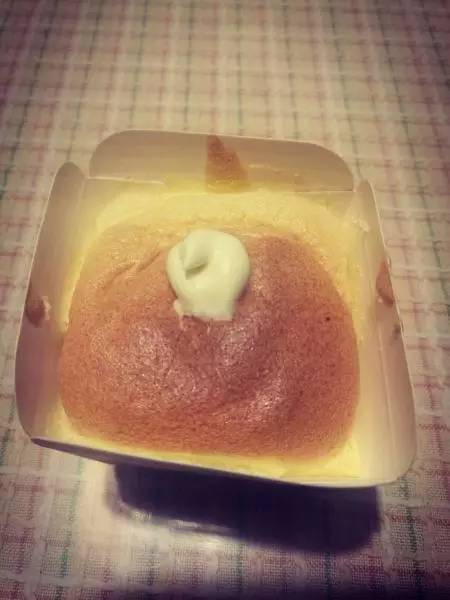
17搅拌均匀即成为蛋黄奶油馅
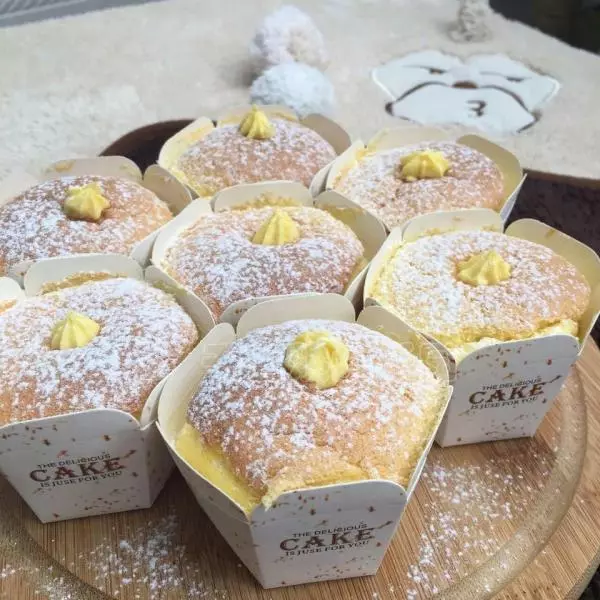
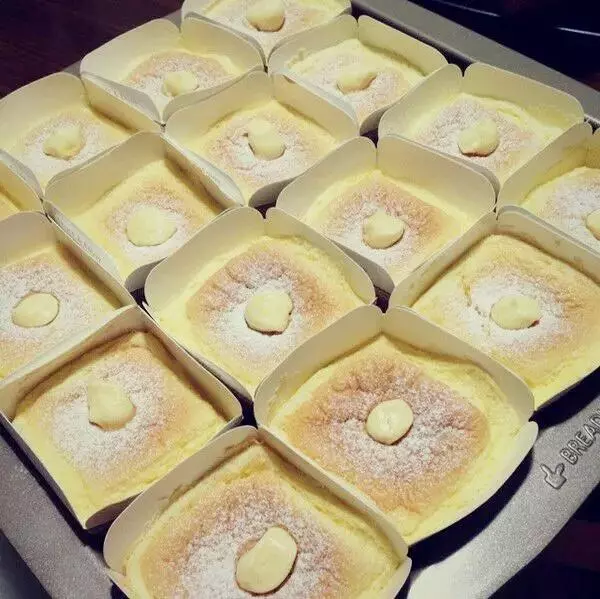
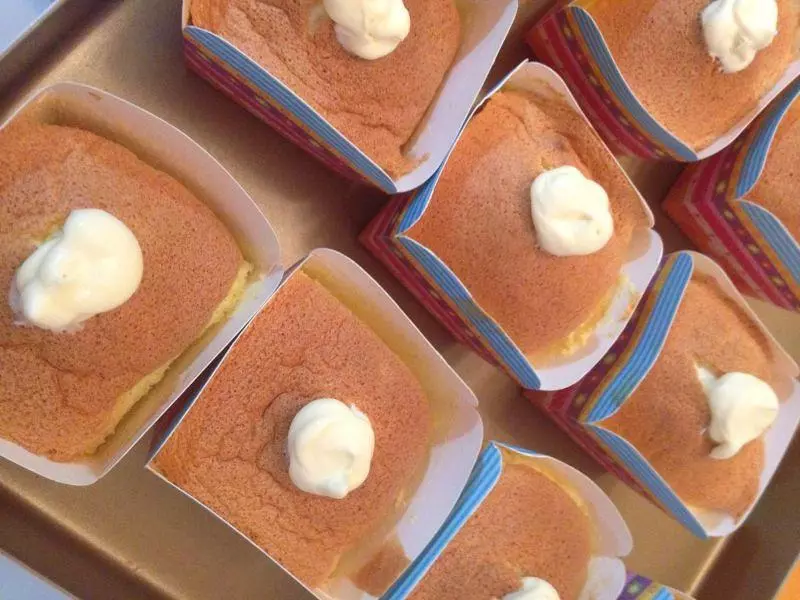
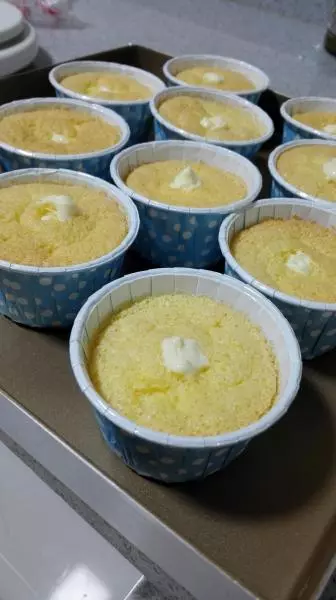
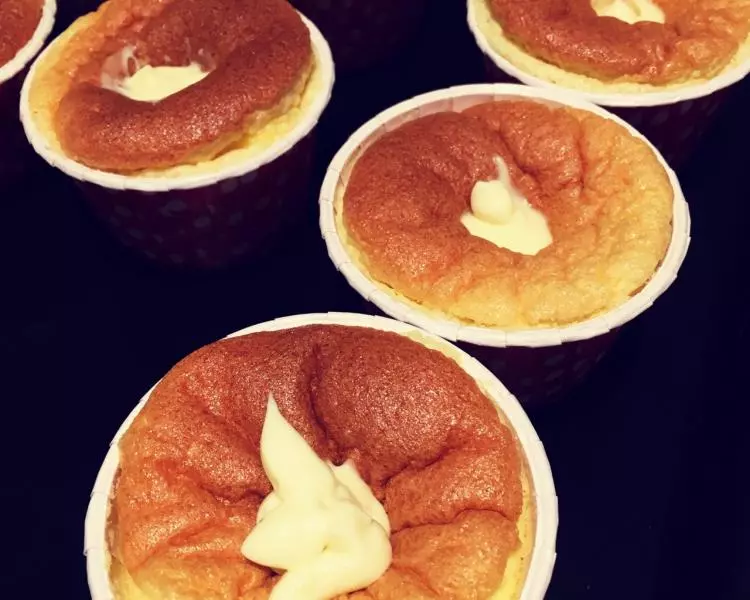
18取小圆口裱花嘴,将奶油馅装入裱花袋中
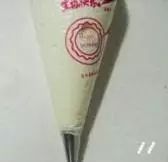
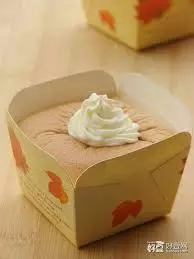
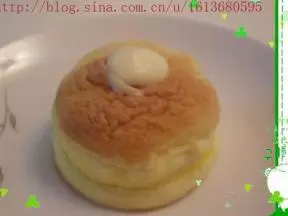
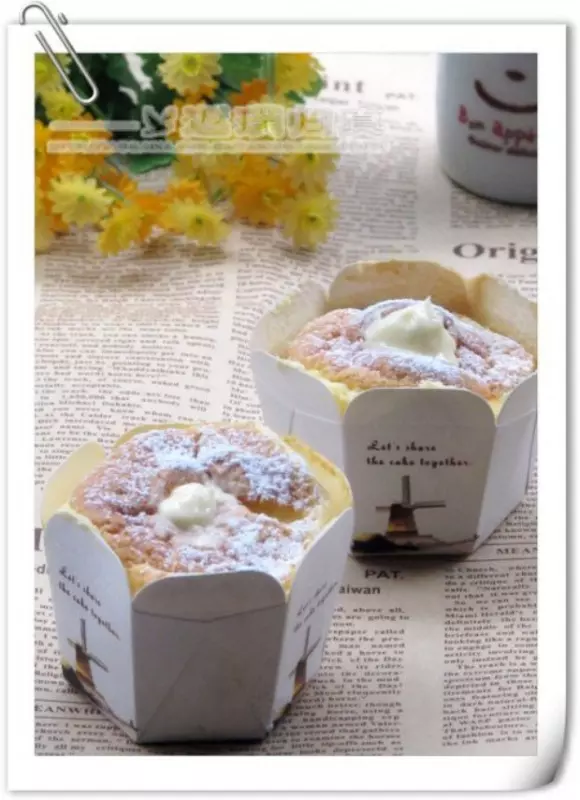
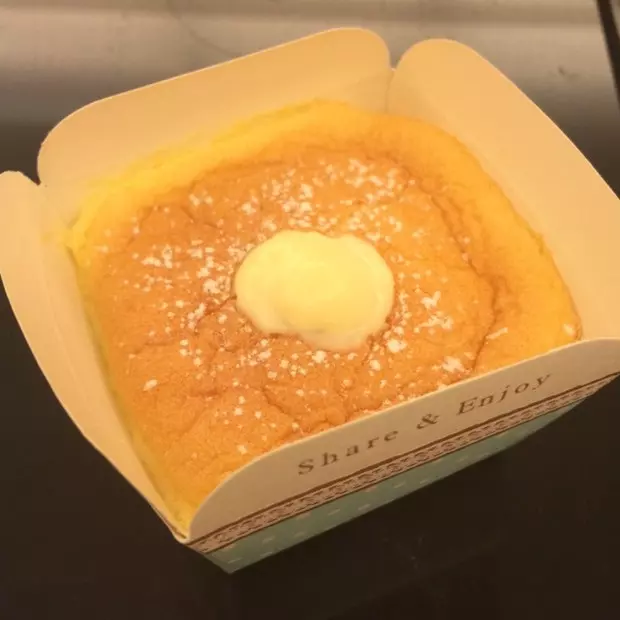
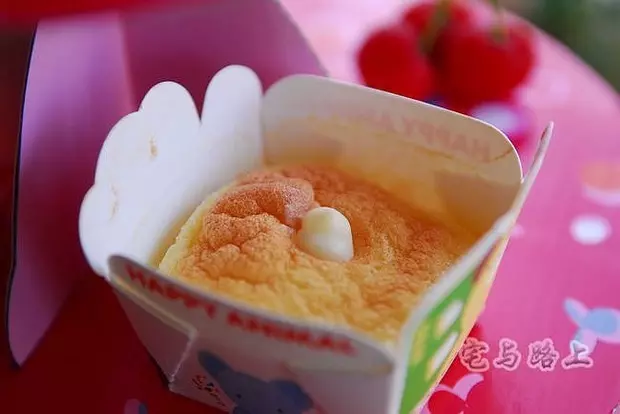
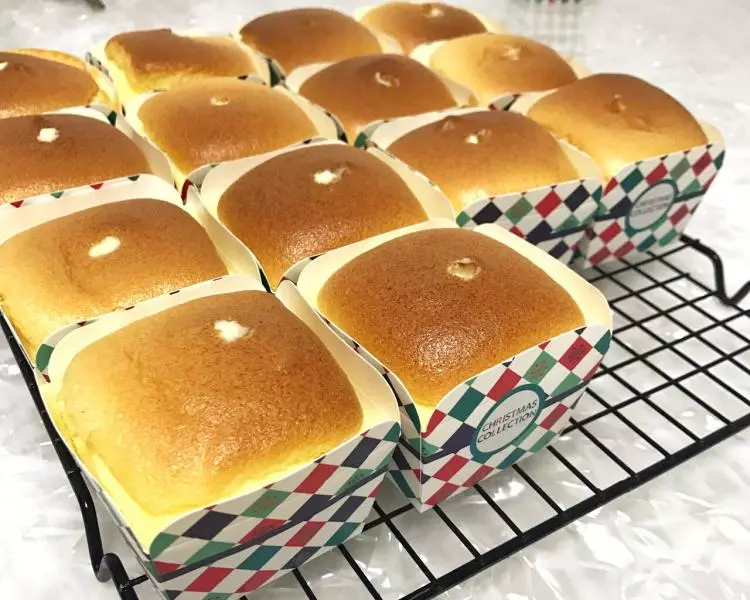
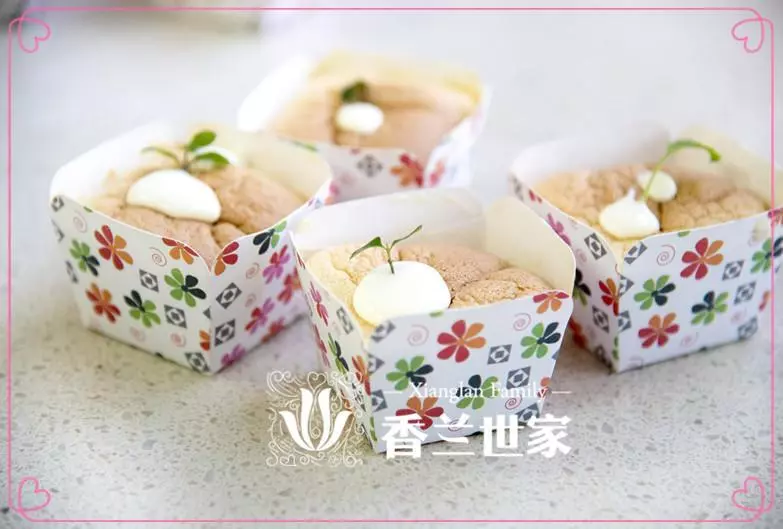
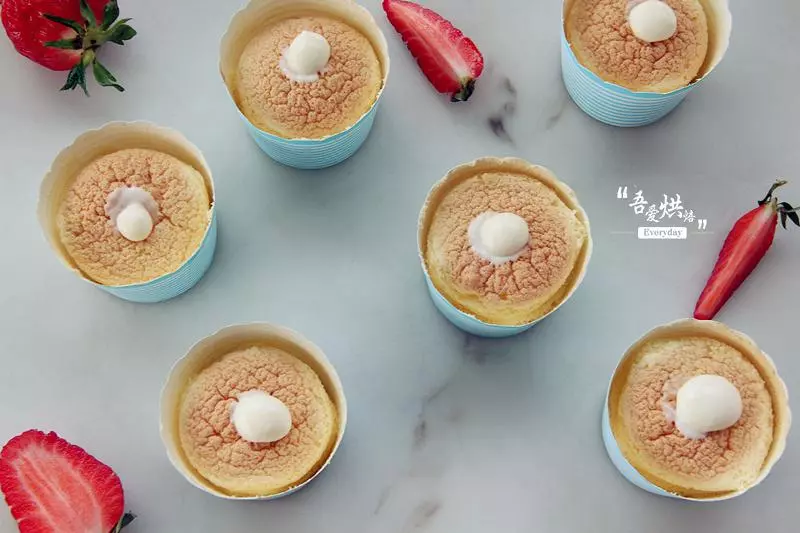
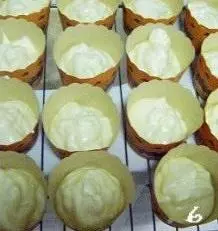
19裱花口从蛋糕胚上部插入蛋糕中,挤出奶油馅,蛋糕鼓起来即可

小技巧
蛋黄糊加热时一定要搅拌均匀,不要结块,这样做出的奶油馅滑腻,口感好