原料
鸡蛋: 4个, 低粉: 35克, 糖粉: 50克(蛋白), 糖粉: 30克(蛋黄), 油: 30克, 牛奶: 30克, 淡奶油: 250ml, 糖粉和盐: 适量, 奥利奥饼干: 一包
步骤
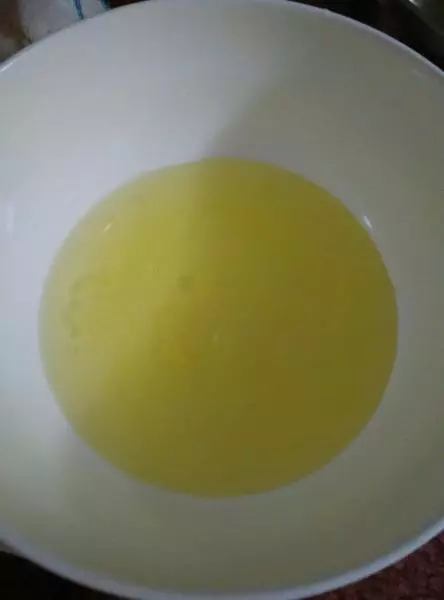
1蛋清分离(无水无油的盆子装)
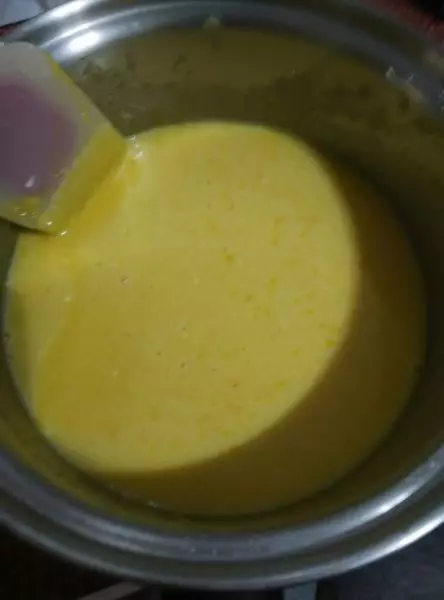
2蛋黄,糖粉,油,牛奶,低粉,搅拌均匀,制作蛋黄糊
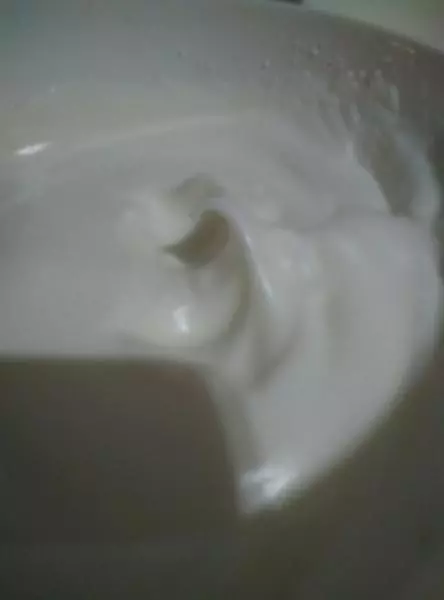
3蛋白打发。分三次加入糖粉,高档打发蛋白,直至能拉出弯钩。
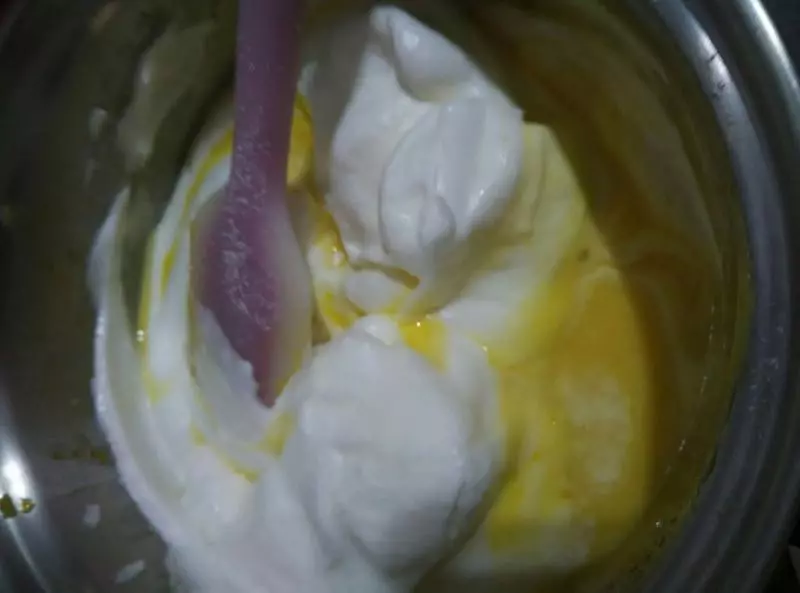
4蛋白膏分两次加入蛋黄糊,搅拌均匀。由下往上搅拌。
5把搅拌好的蛋糕浆放入裱花袋中
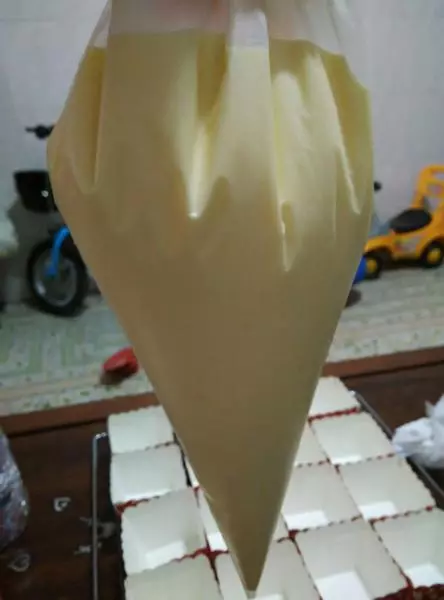
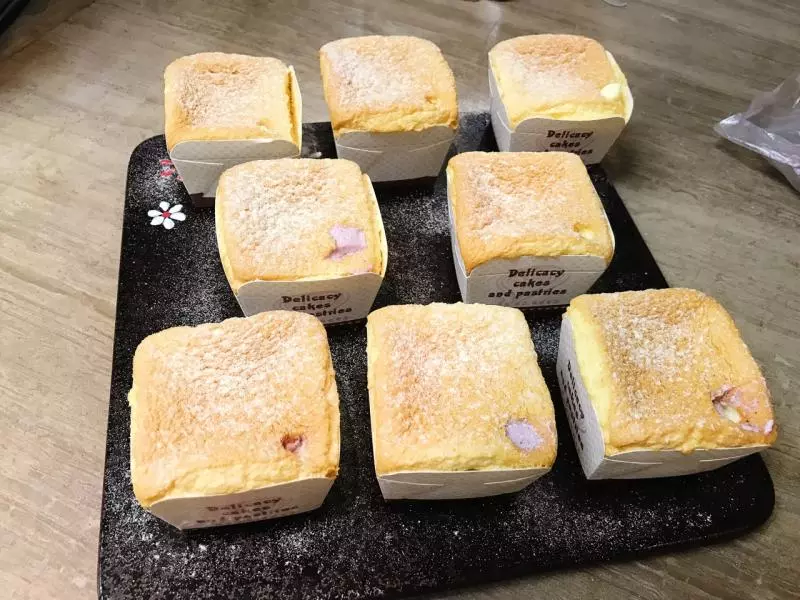
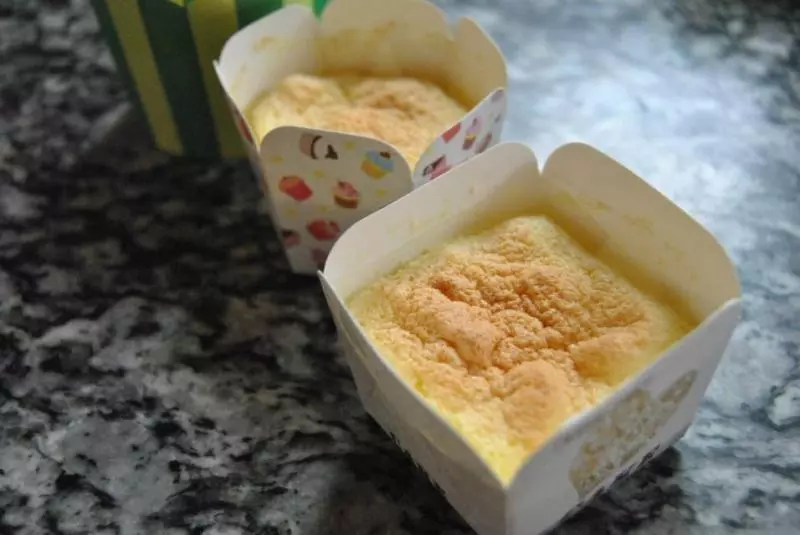
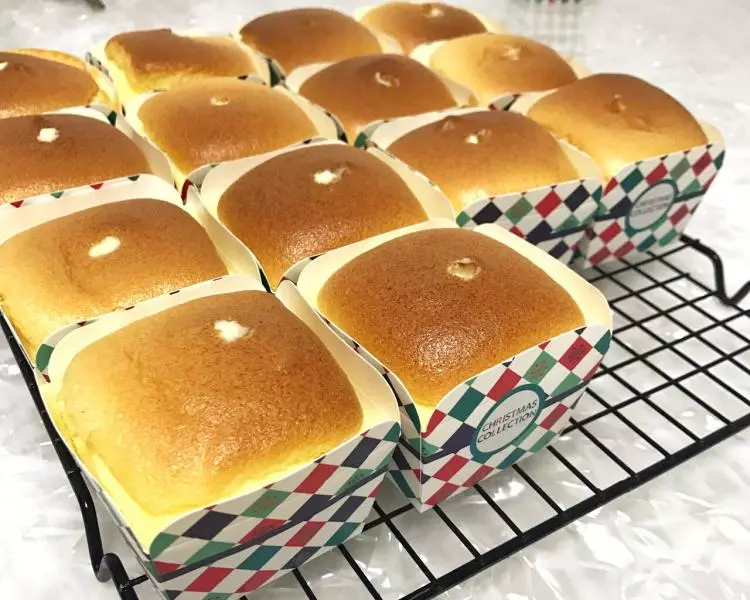
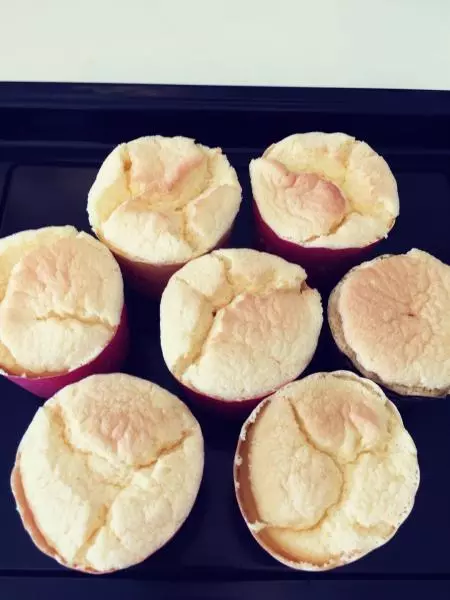
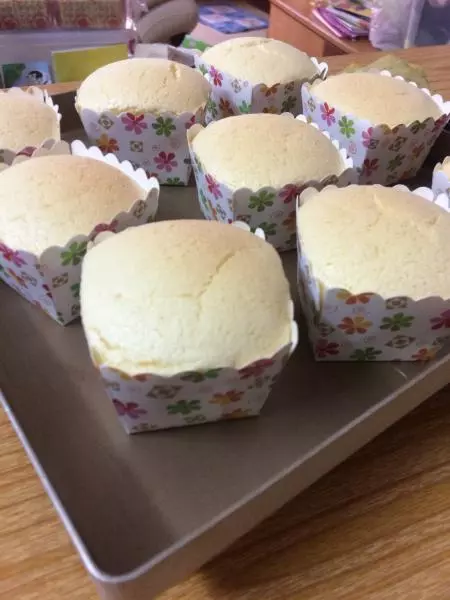
6大概挤了12个杯子,一个5分满。放入预热好的烤箱,165℃,20分钟左右。表面金黄即可。

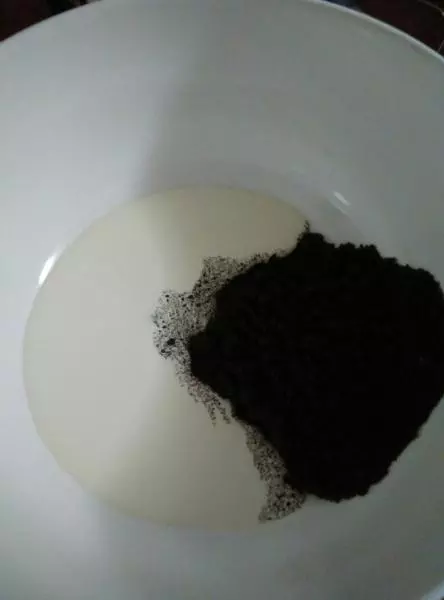
7奥利奥饼干去夹心酱,打成非常细腻的饼干碎,加入奶油,适量的糖粉和盐(口味随个人喜欢,也可以不加盐),先搅拌均匀,然后打发奶油至纹路不容易消失。
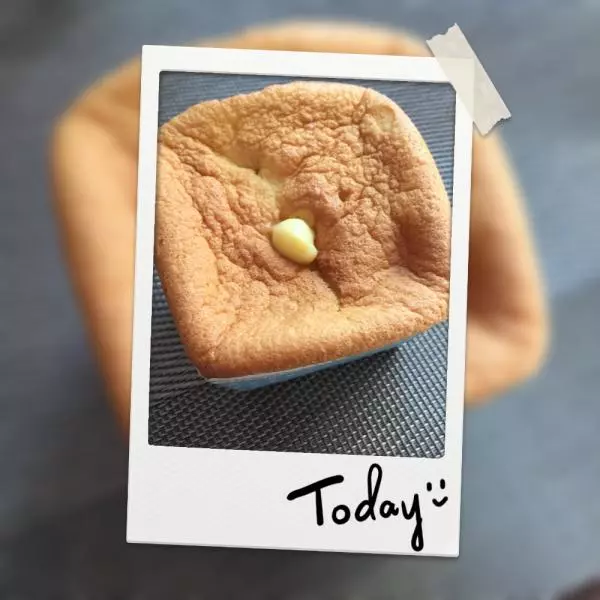
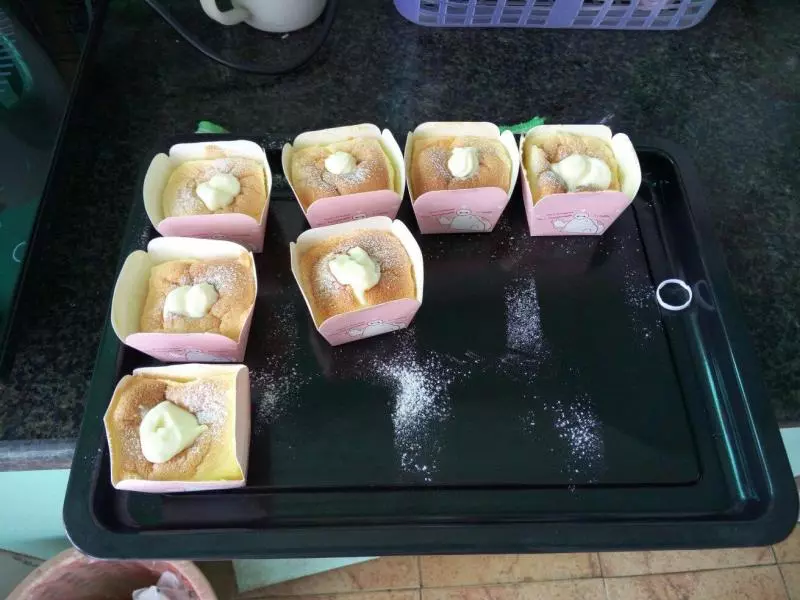
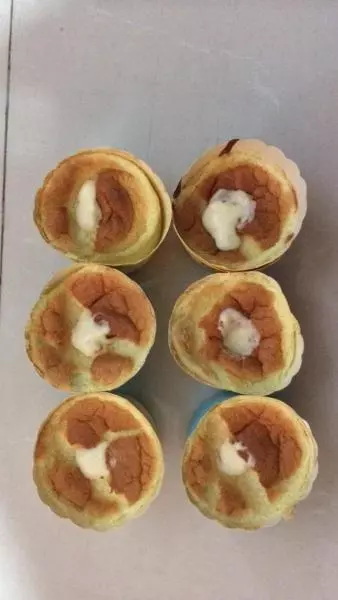
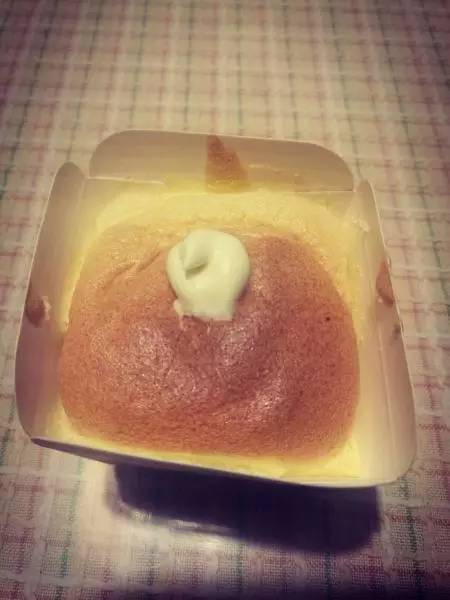
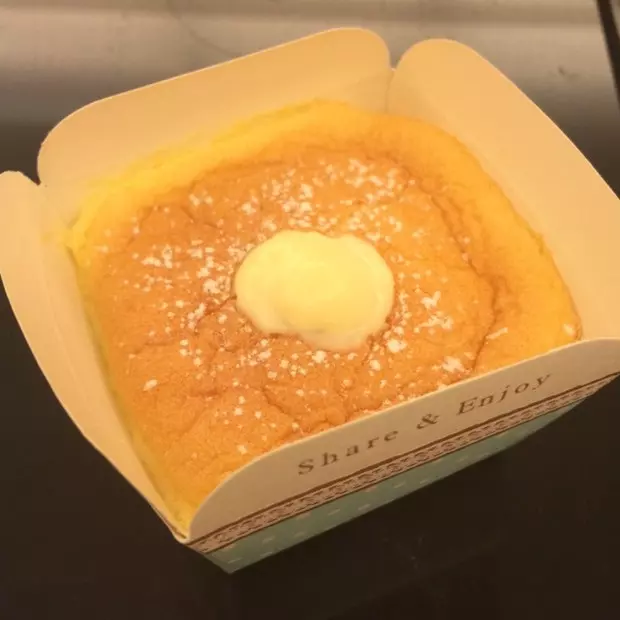
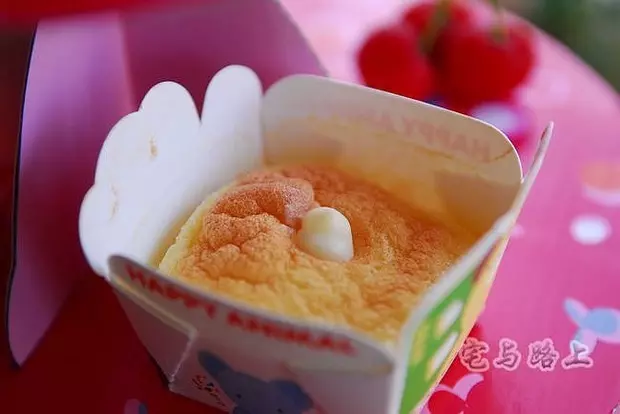
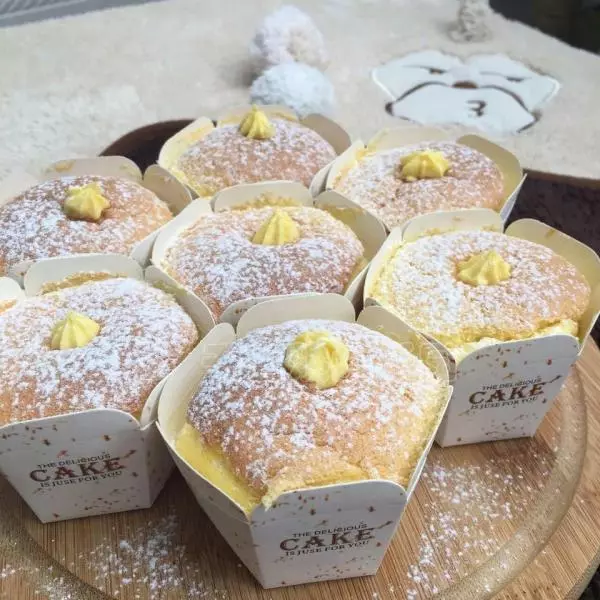
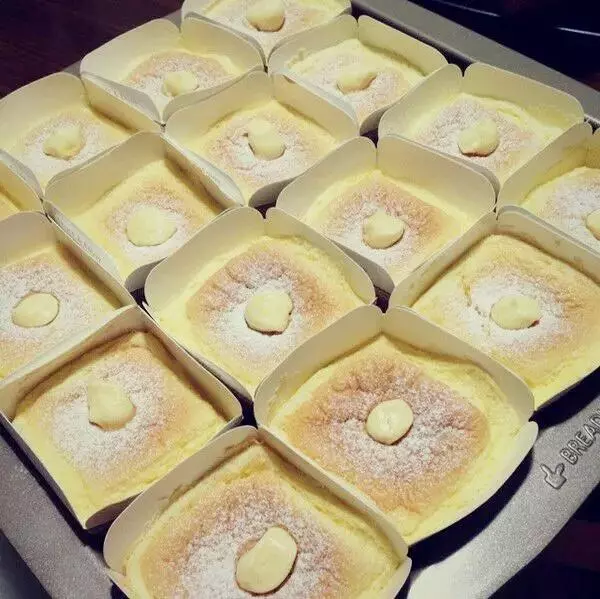
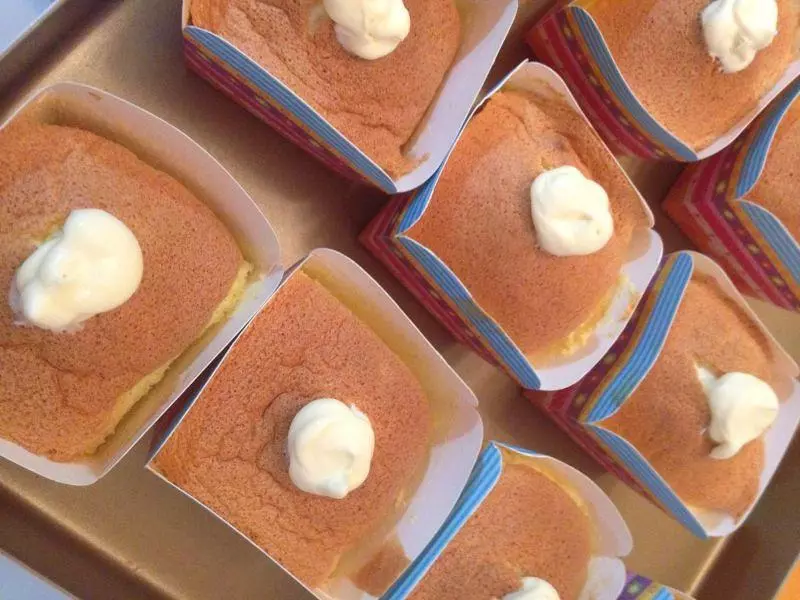
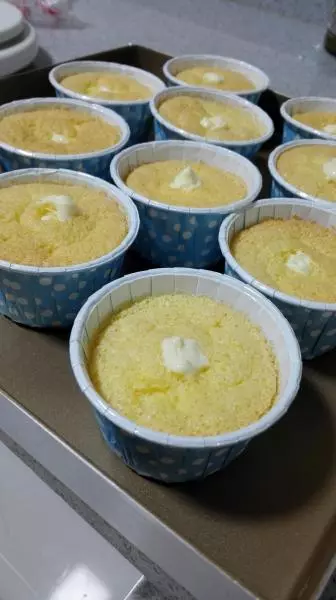
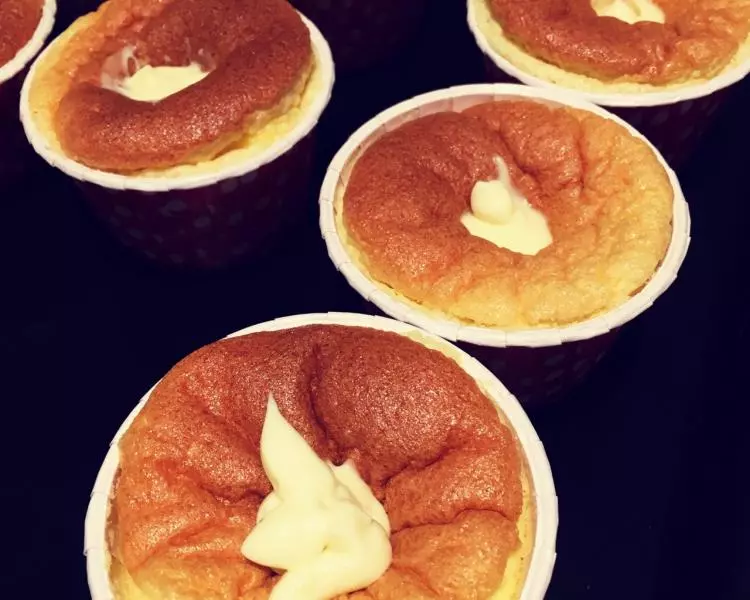
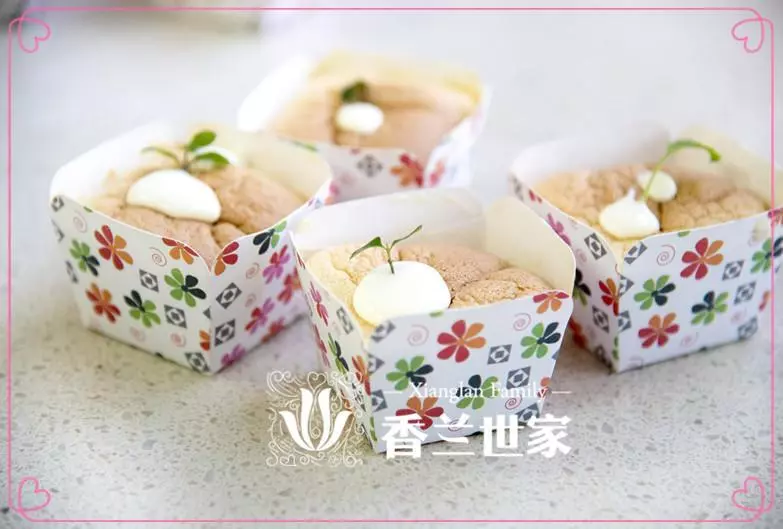
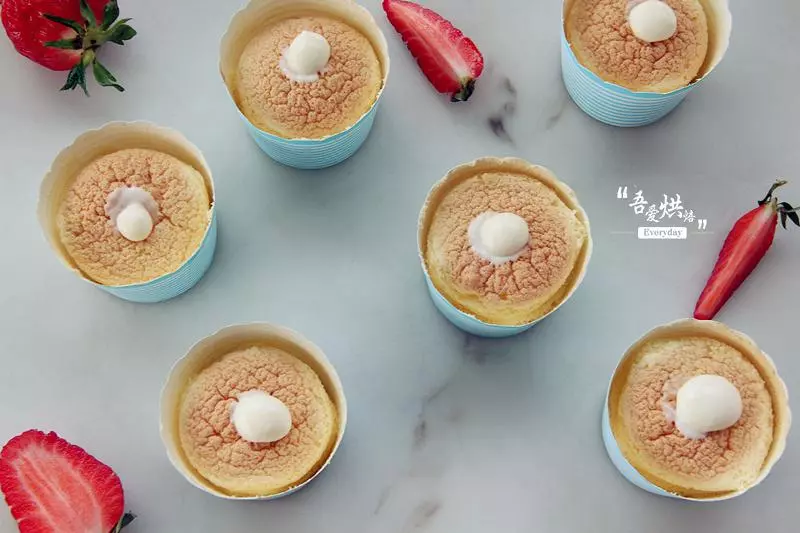
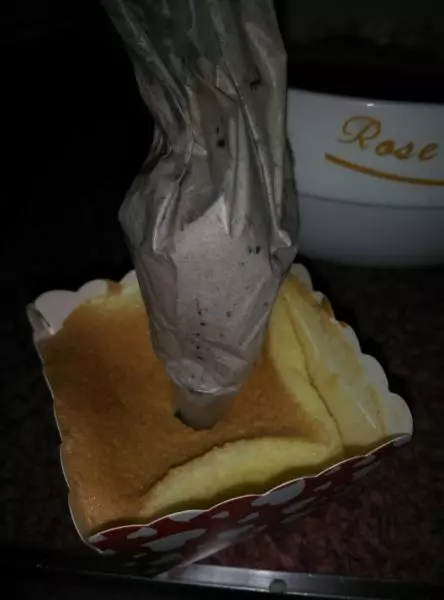
8用2号圆形裱花嘴注入已经凉却的蛋糕中,直至蛋糕表面隆起
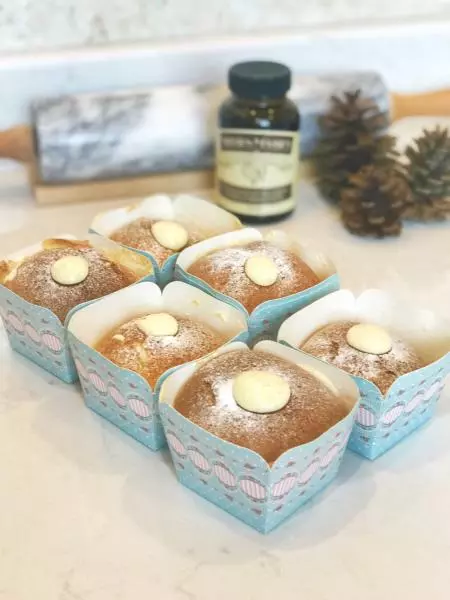
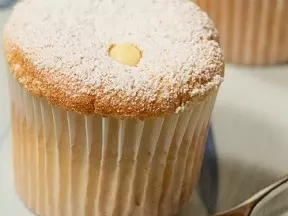
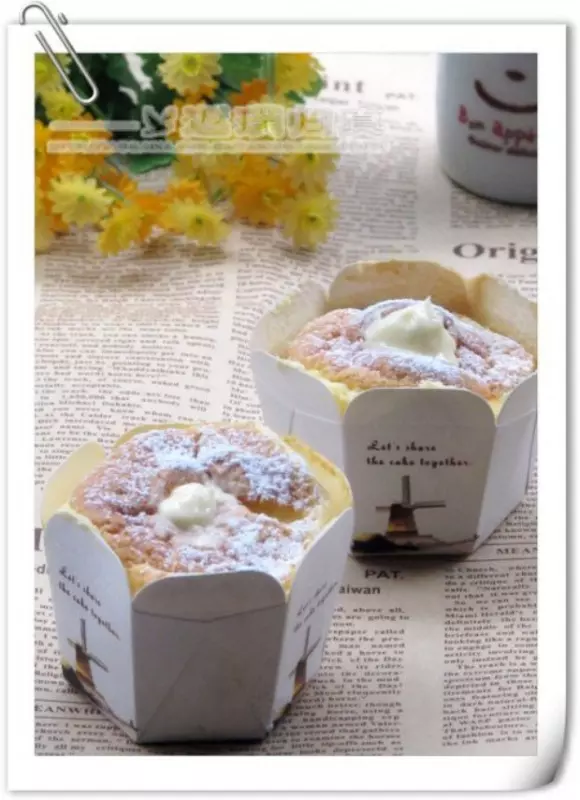
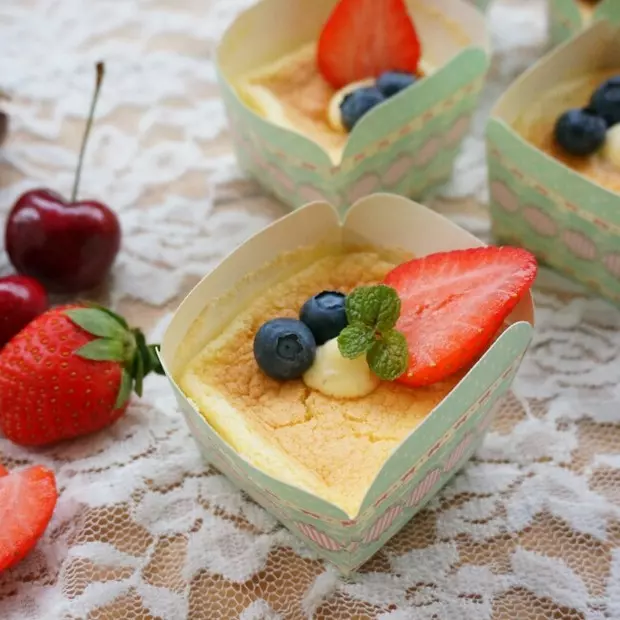
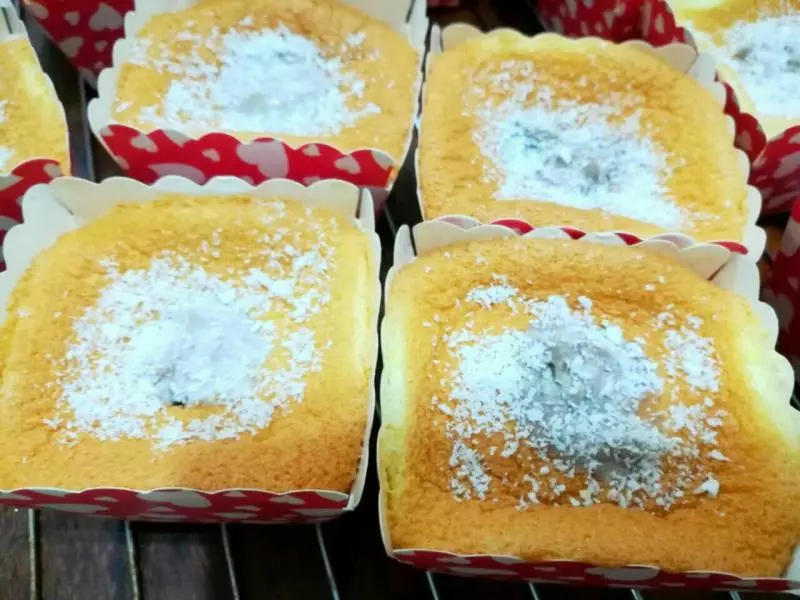
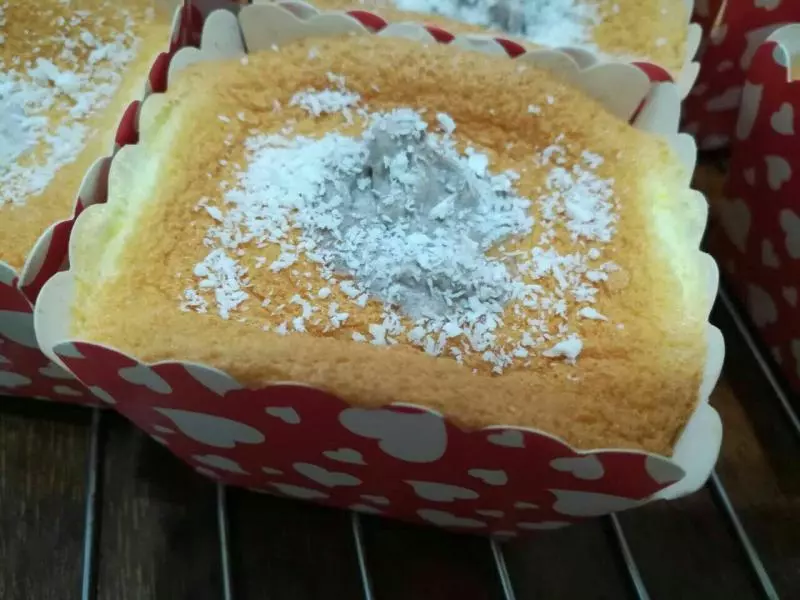
9表面可以洒上糖粉,椰蓉等装饰
小技巧
1.蛋糕馅可随自己喜欢配置。咸奶油不会腻,又有饼干的香味,非常好吃。 2.用裱花袋挤蛋糕浆到杯子中,操作更方便。 3.温度也要根据自己烤箱定。 4.这种蛋糕是会塌陷的,靠奶油馅撑起来。