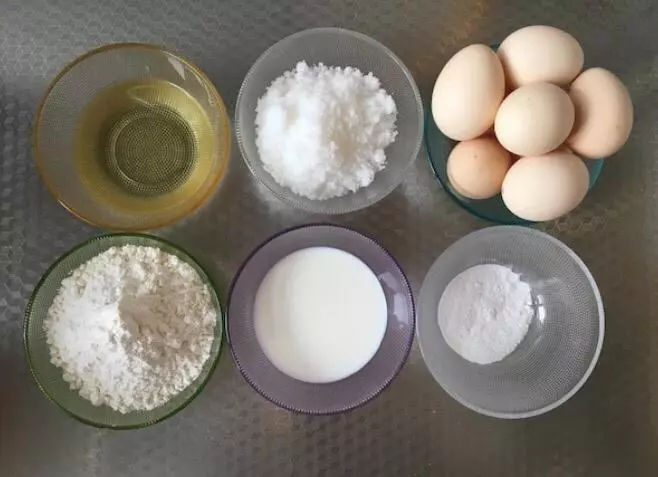
原料
低筋面粉: 127克, 鸡蛋: 8个, 植物油: 78克, 牛奶: 78克, 细砂糖(蛋白): 70克, 细砂糖(蛋黄): 25克, 盐: 1.5克, 柠檬汁或白醋: 几滴, 泡打粉(没有可不放): 2克
步骤
1将所有食材称好备用。
2准备两个无油无水的打蛋盆将蛋白,蛋黄分离。
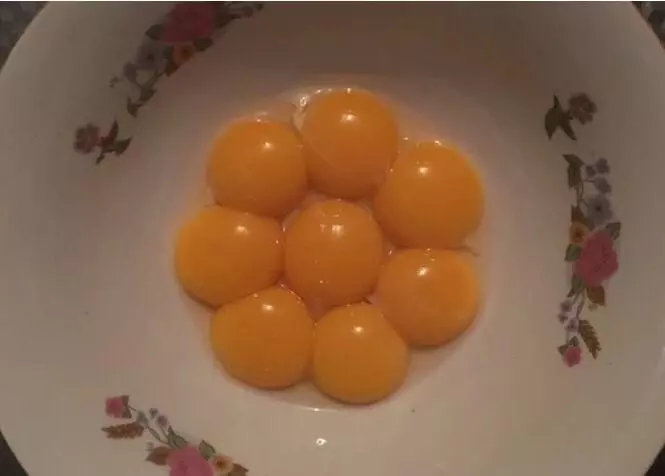
3蛋黄部分加入25克细砂糖,翻拌均匀,加入78克植物油,翻拌均匀,再加入78克牛奶,翻拌均匀。(注意:每加入一种食材之后都要翻拌均匀才可以加入下一食材哦^_^)
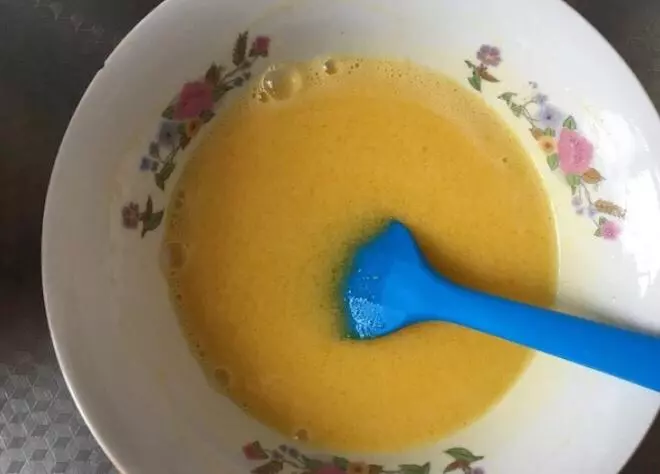
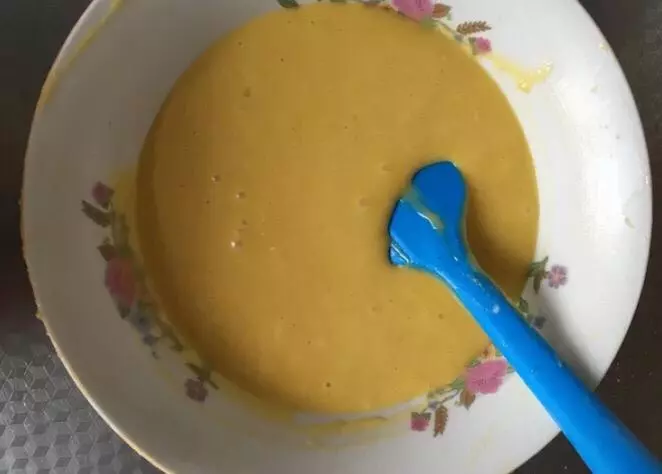
4将1.5克盐倒入127克低筋面粉干粉中,翻拌均匀,过筛后加入到蛋黄中,翻拌至没有干粉的状态,这样蛋黄糊就做好了。(注意:一定要用翻拌的手法,不能搅拌,否则会使面粉起筋哦!)将做好的面糊再过一下筛,这样做出来的戚风蛋糕不会有结块会更加的细腻(想发懒的也可以不过筛^_^)
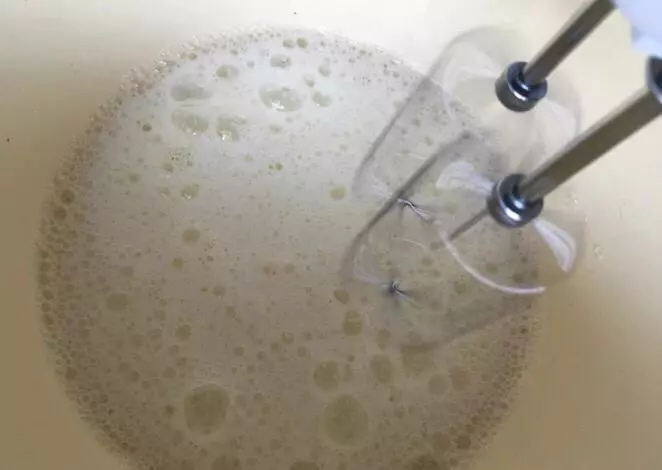
5蛋白部分的细砂糖分三次加入,首先用自动打蛋器的最低档将蛋白打发至鱼眼状态,这时第一次加入细砂糖,加入后打蛋器改用高速打发蛋白。
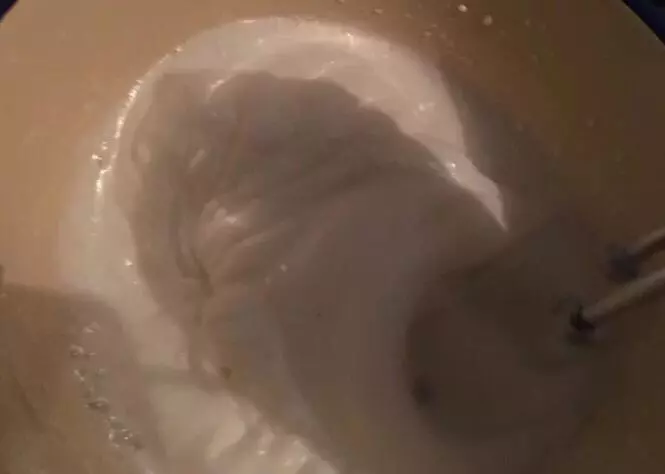
6蛋白打发至稀稠糊状,加入第二次细砂糖,继续高速打发。

7蛋白打发至轻微纹路时,第三次加入细砂糖,继续高速打发。
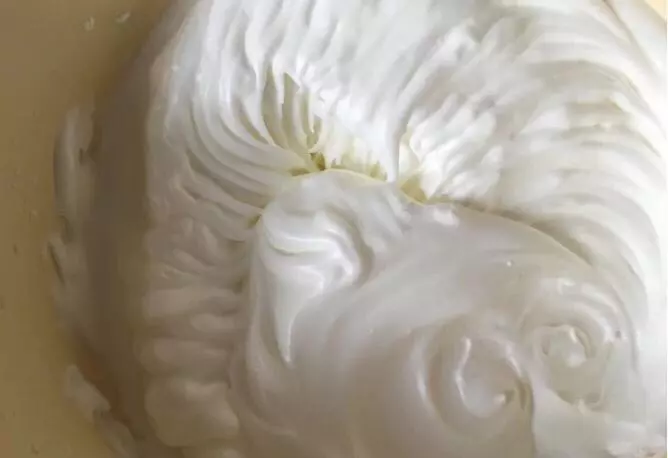
8持续高速打发蛋白出现清晰纹路,这时蛋白就打发好喽!
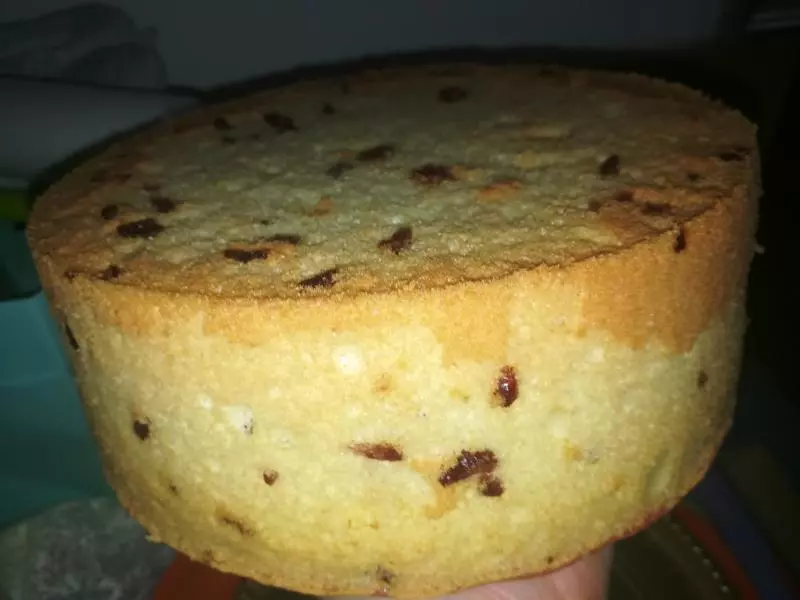
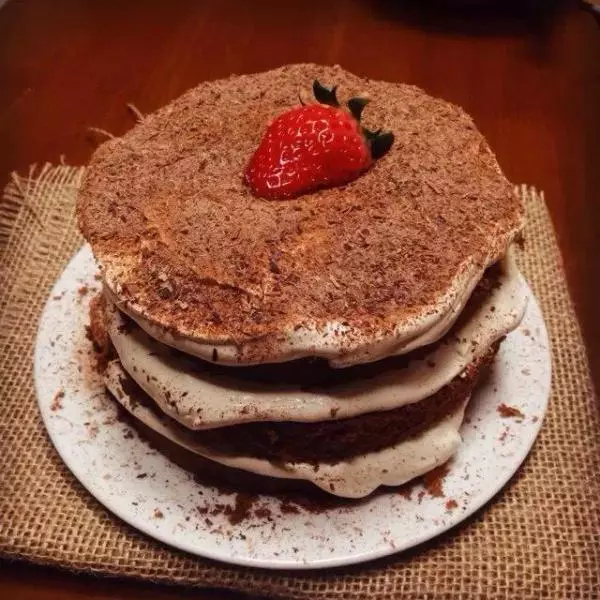
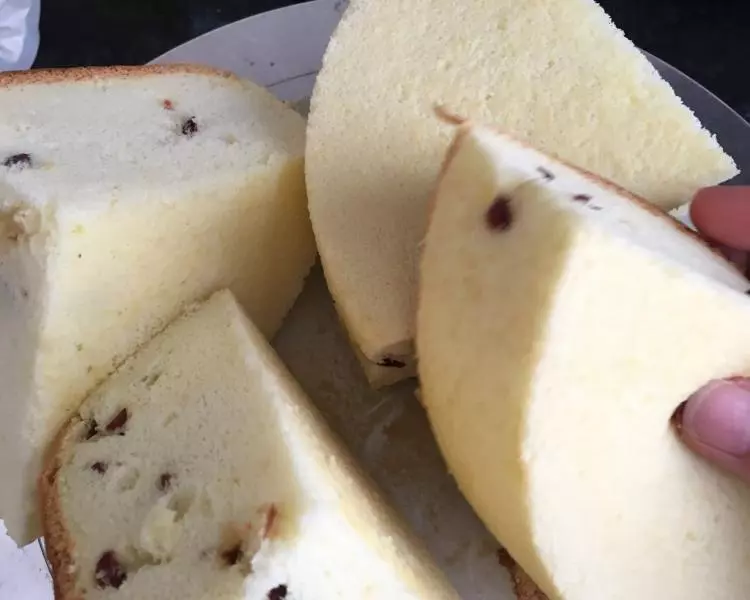
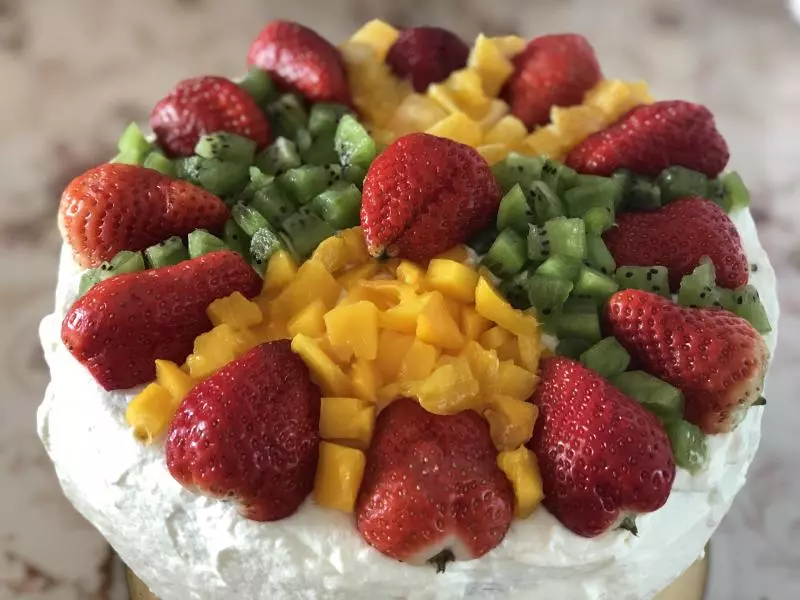
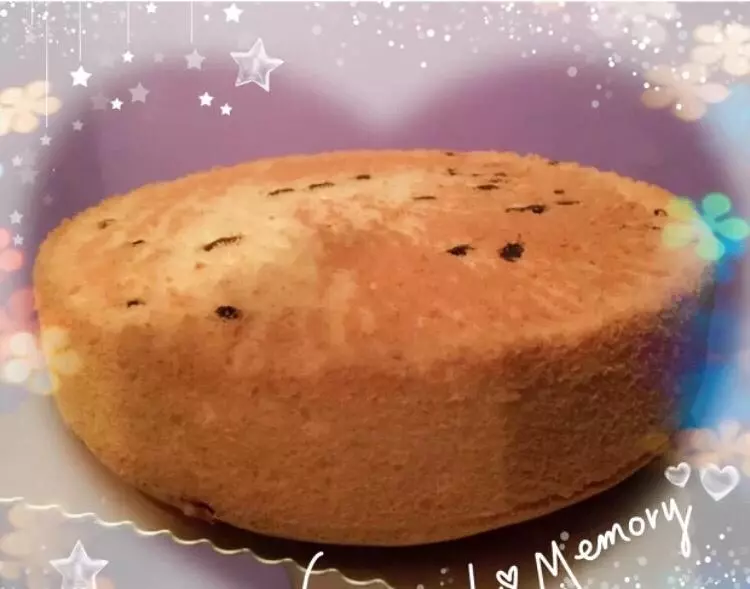
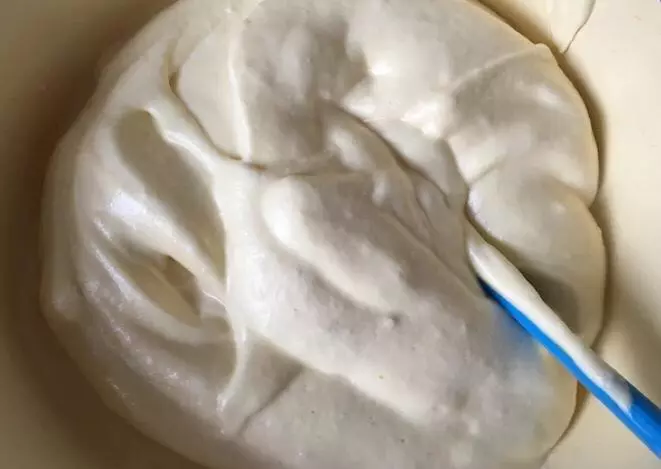
9将蛋黄糊分两次倒入蛋白糊中,翻拌均匀,这样面糊就做好了!(如果喜欢葡萄干、椰蓉口味可以将做好的面糊中放入无水的葡萄干或者椰蓉哦!)
10烤箱预热140度,上下火,10分钟。
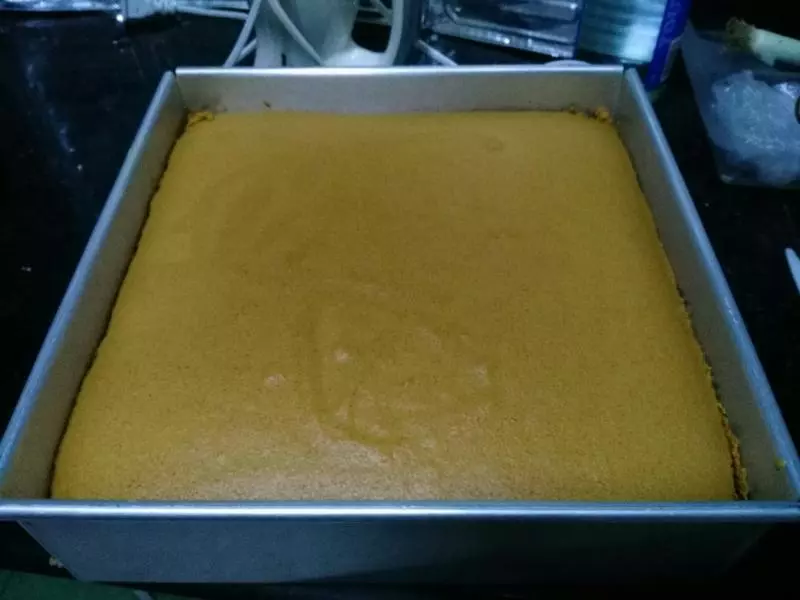
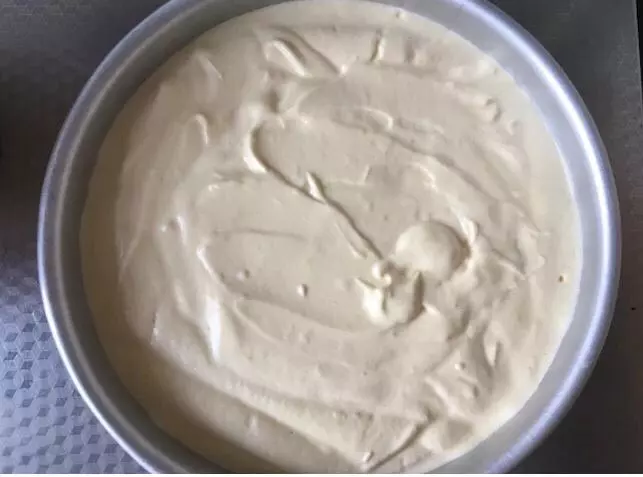
11将面糊倒入无油无水的十寸戚风蛋糕模具中,用刮刀抹平,在桌子上轻轻震几下,将面糊中的气泡震出。(注意:最好不要用不粘模具,否则会影响面糊的爬升哦!)
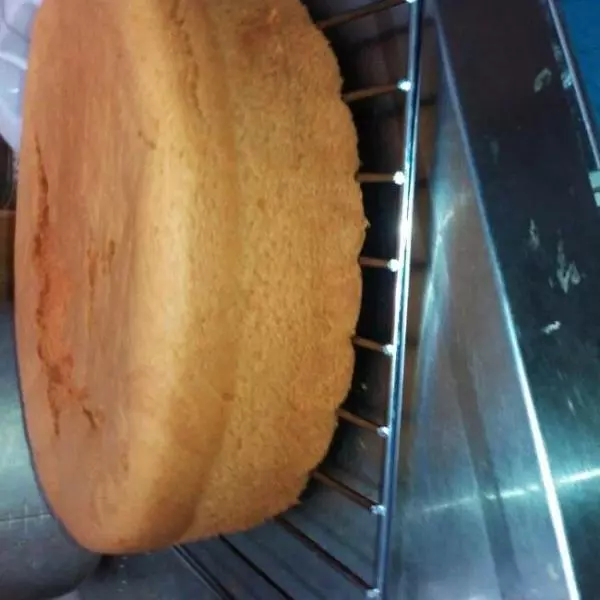
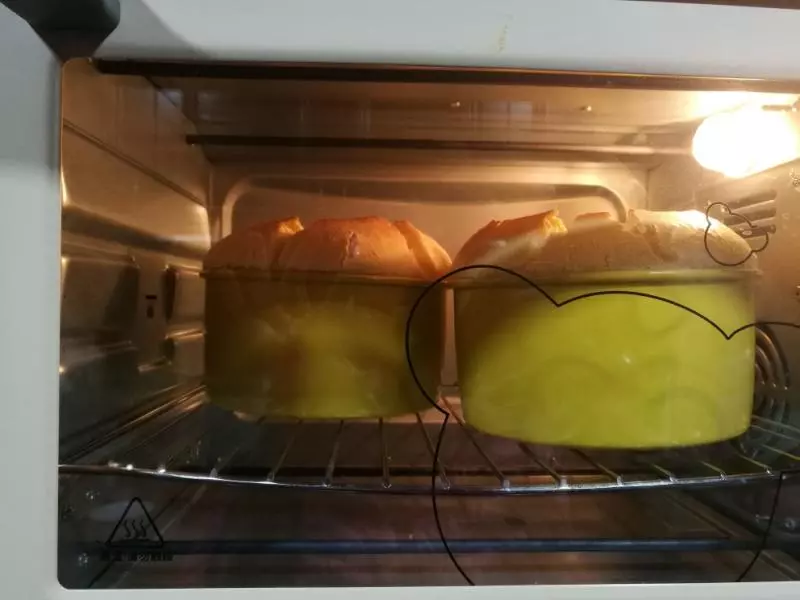
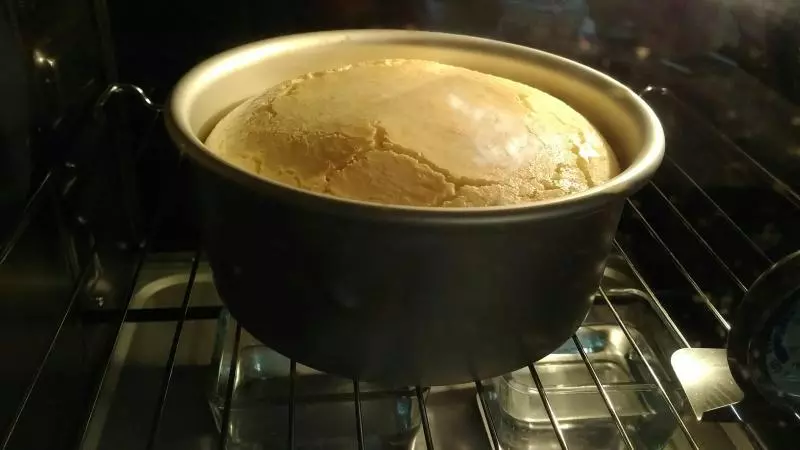
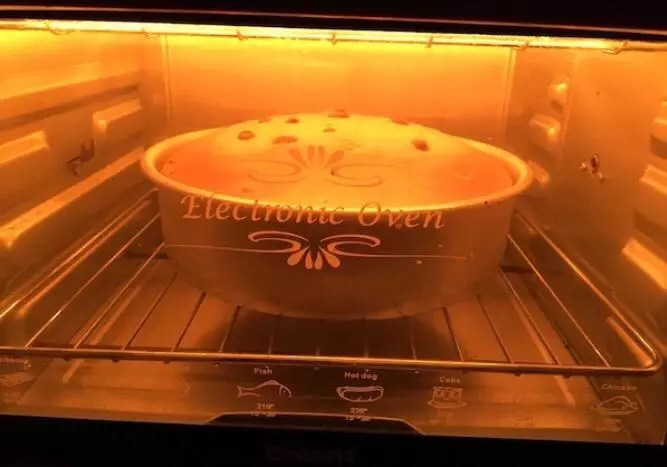
12将模具放入烤箱最底层,150度,上下火,60分钟。
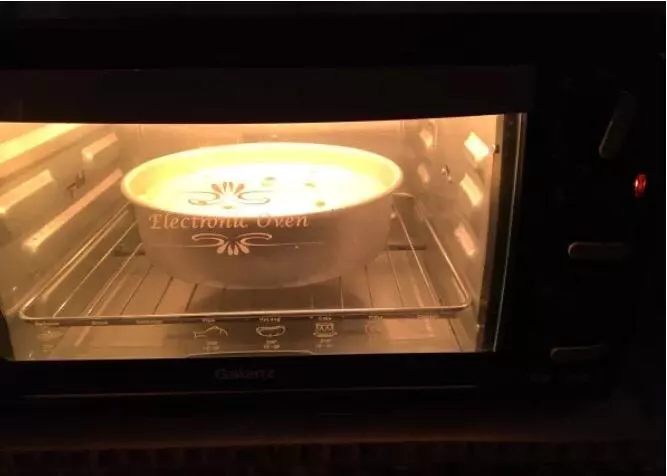
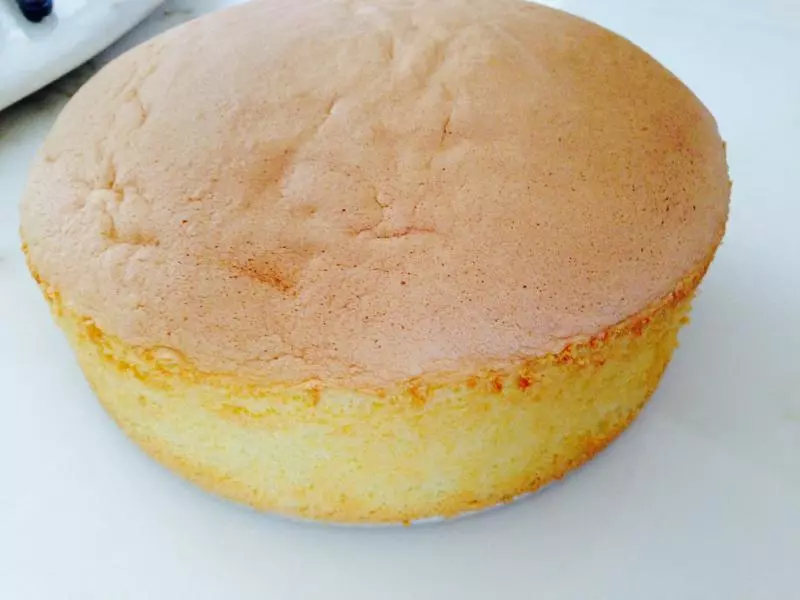
13半小时左右攀爬至满模!
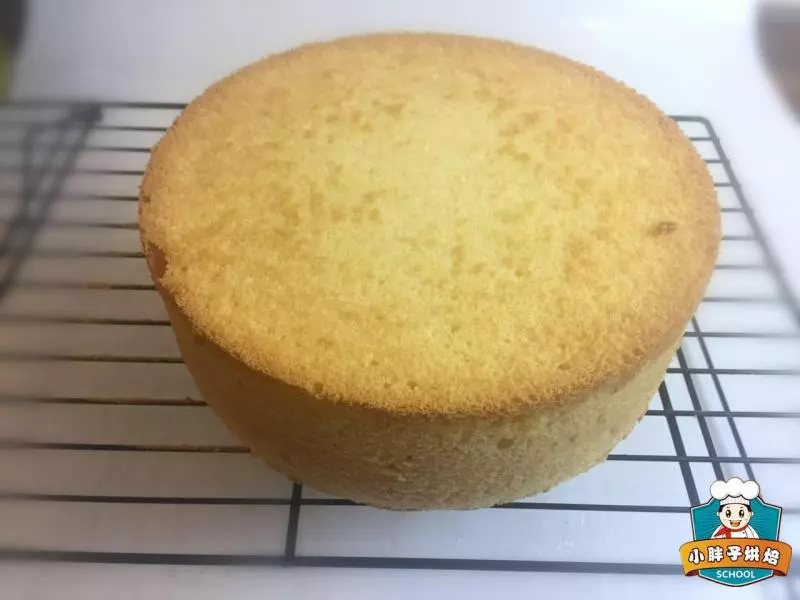
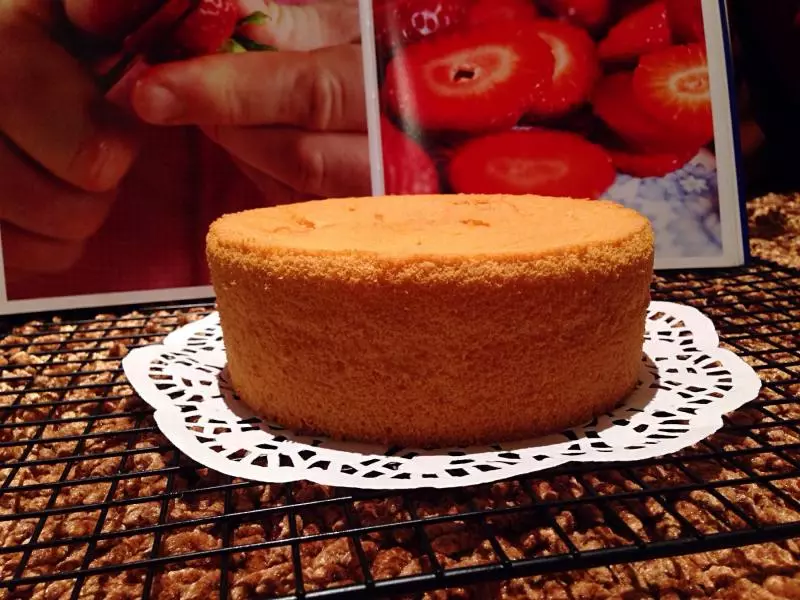
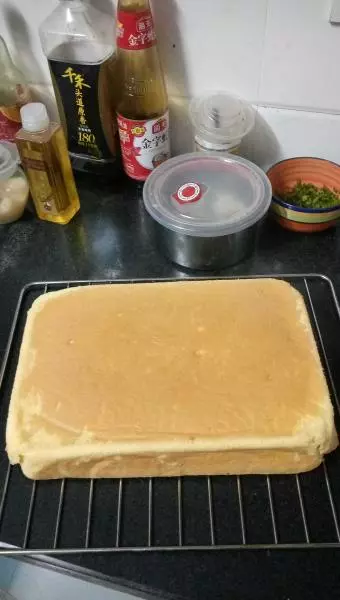
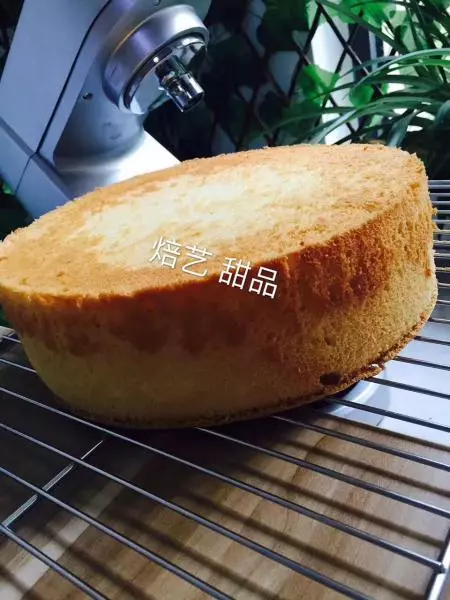
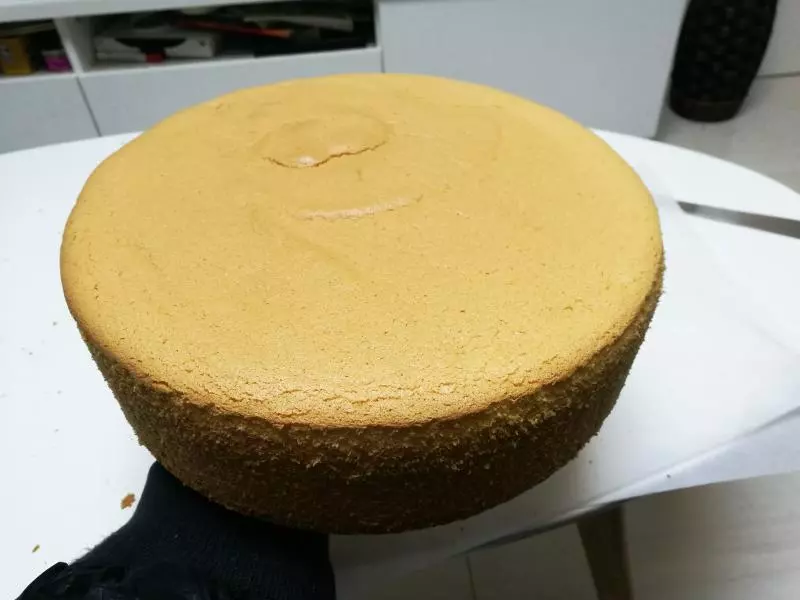
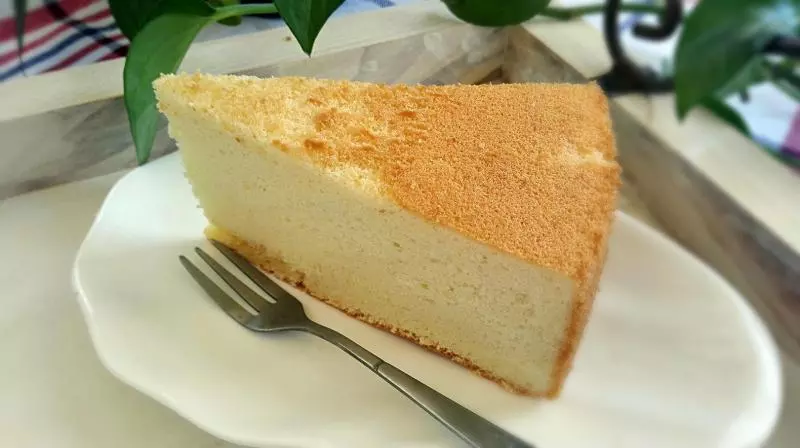
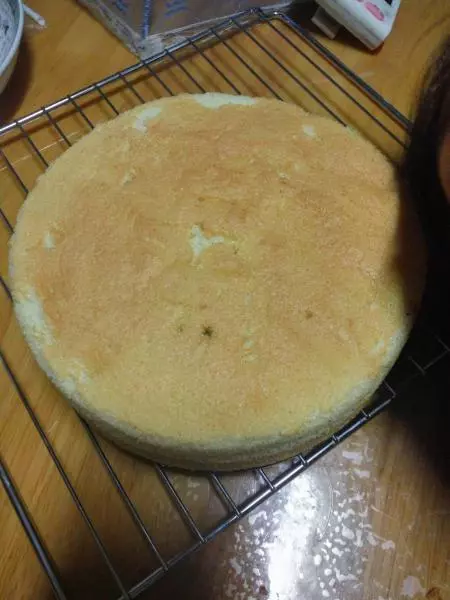
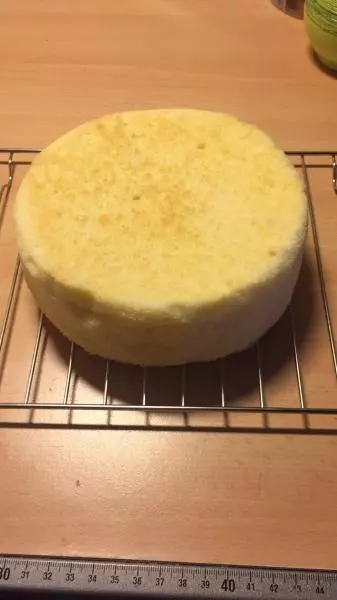
14烤好后趁热取出模具,倒扣等待冷却。
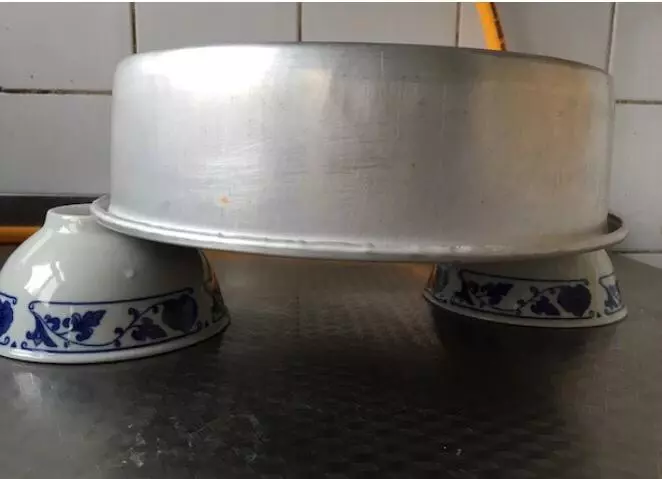
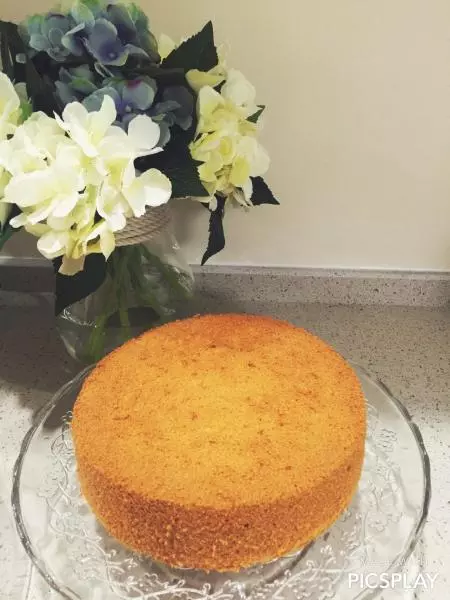
15冷却后脱模!
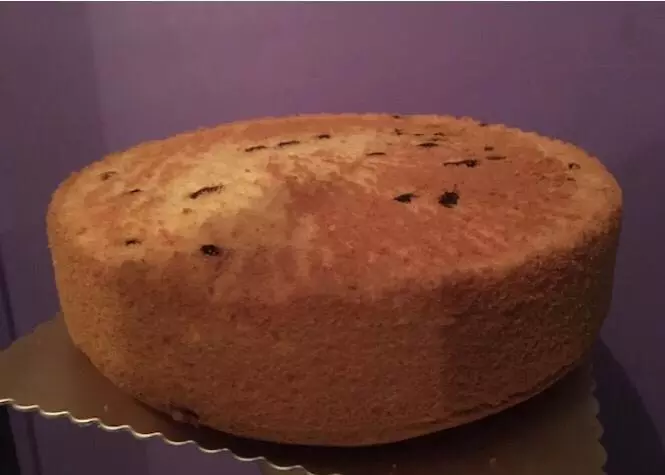
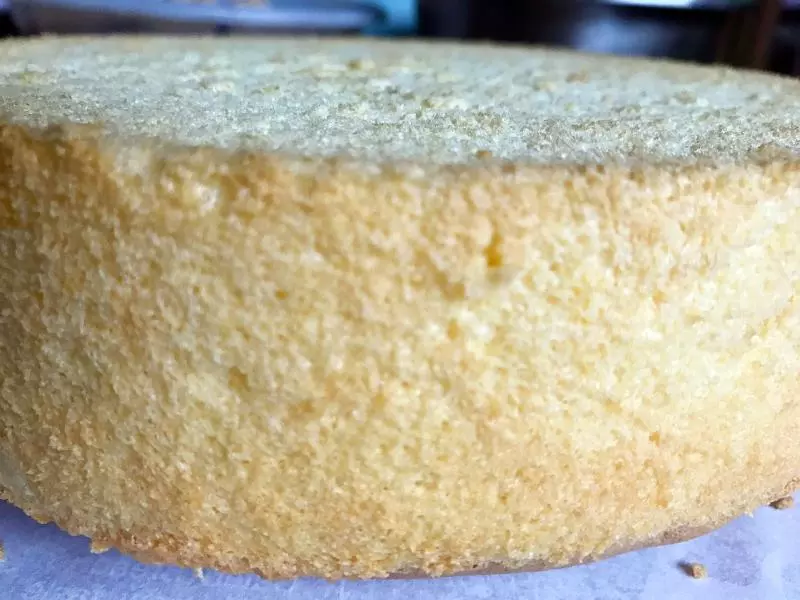
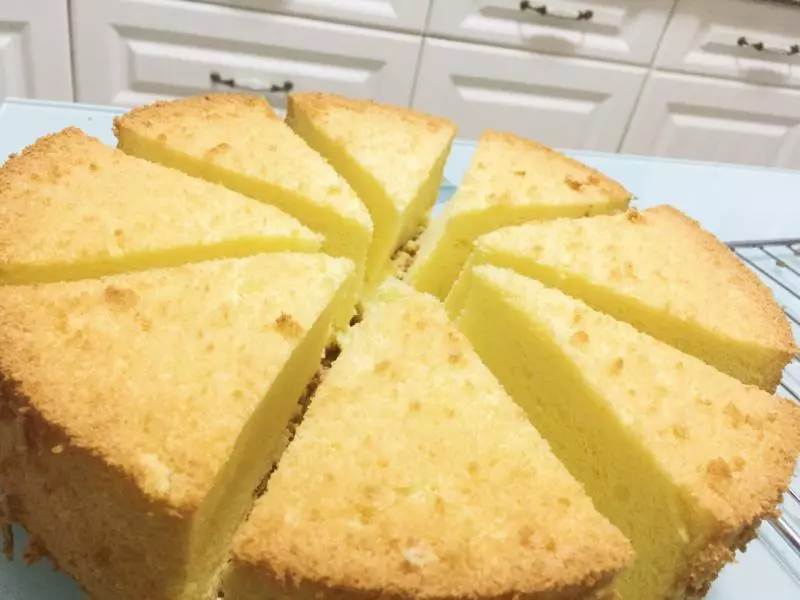
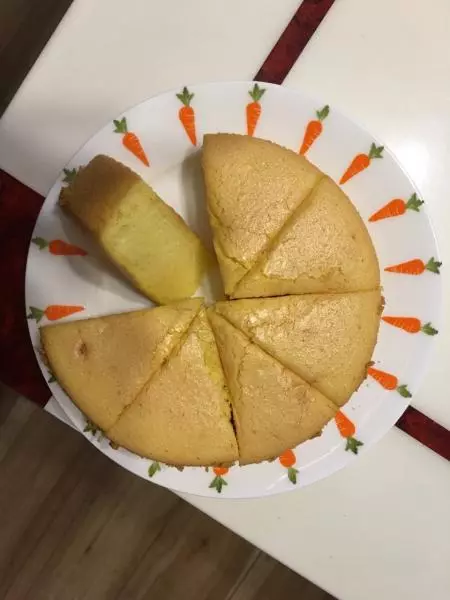
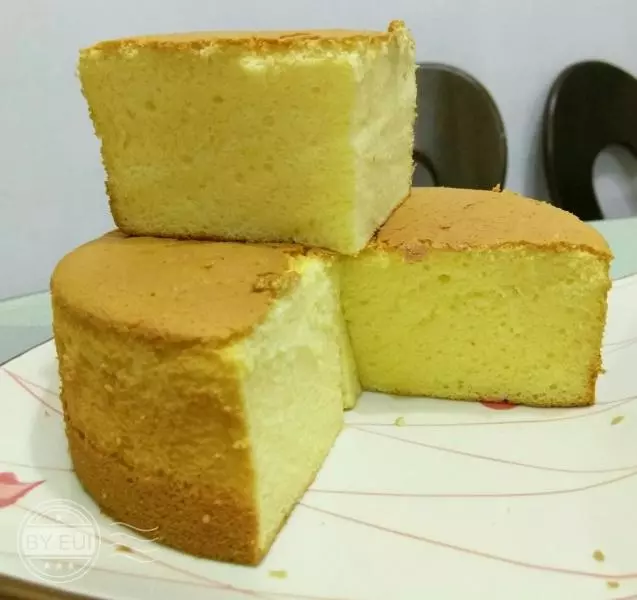
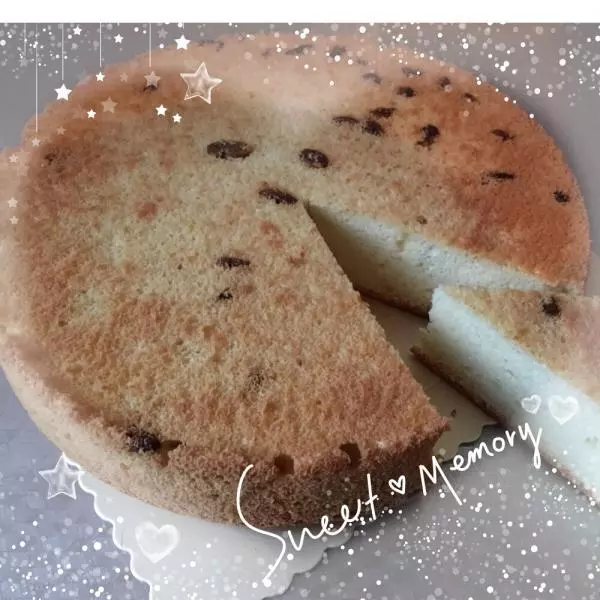
16完美的侧切图^_^
小技巧
1、蛋白不要打发的太过,太硬,否则烤出的戚风容易开裂的。 2、不论是蛋黄糊还是面糊一定要使用翻拌的手法,不要搅拌,否则面糊会消泡起筋的。 3、鸡蛋大个的可以放7个,中小个的放8个。 4、大家也可以根据自己的喜好在面糊中放一些葡萄干,椰蓉之类的做出不同口味的戚风蛋糕,但是葡萄干一定不要撒在面糊的表面,那样会将葡萄干烤的黑黑糊糊的。