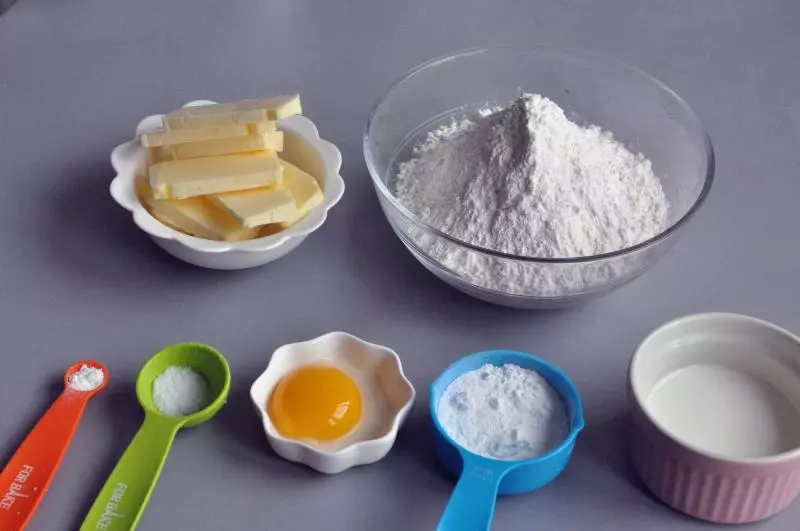
原料
派皮: , 低筋面粉: 240克, 黄油: 120克, 蛋黄: 1个, 牛奶: 55克, 盐: 2克, 糖粉: 30克, 泡打粉: 1克, 菠萝馅: , 菠萝: 500克, 砂糖: 50克, 低筋面粉: 12克, 玉米淀粉: 8克, 黄油: 15克
步骤
1准备材料
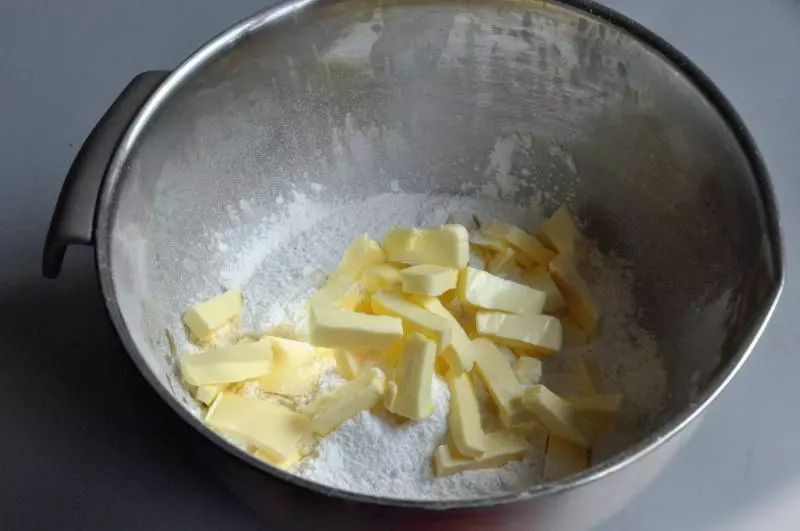
2将低筋面粉,糖粉,盐和泡打粉提前混合过筛,加入切成小块的黄油。
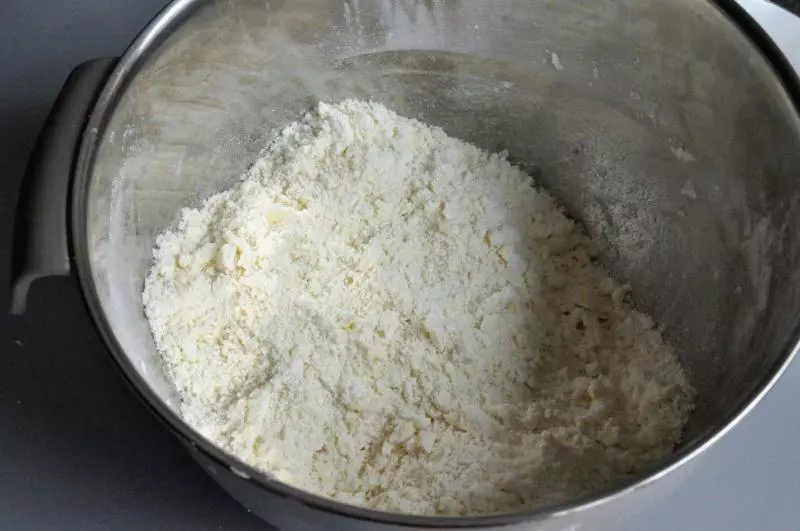
3搓成粗玉米屑状。
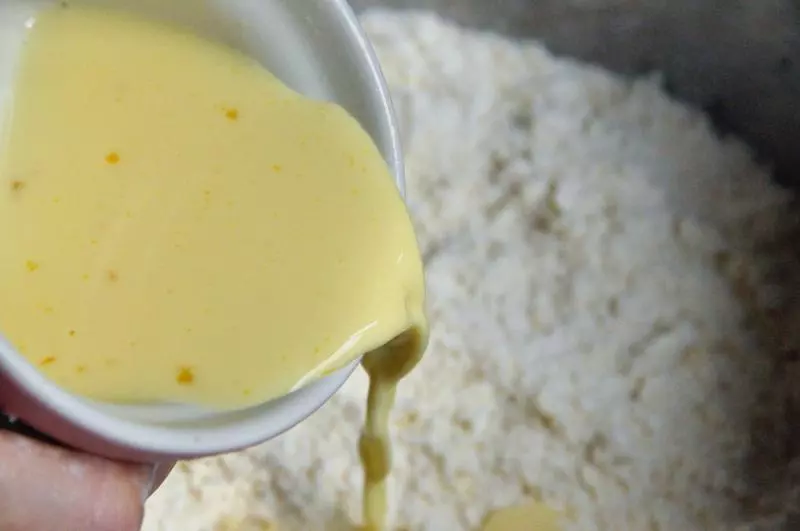
4取一个小碗将鸡蛋和牛奶混合均匀,倒入盆中,揉成面团。
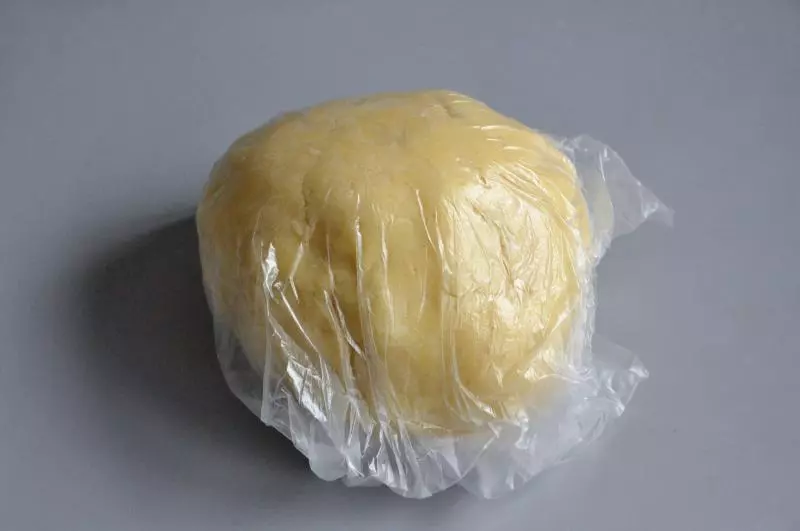
5将混合好的面团装入保鲜袋,放入冰箱冷藏1小时以上。
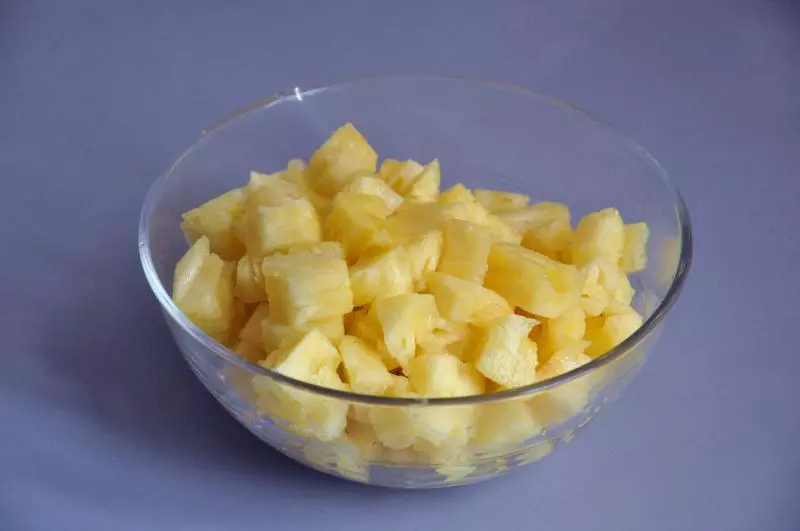
6将菠萝切成小块。
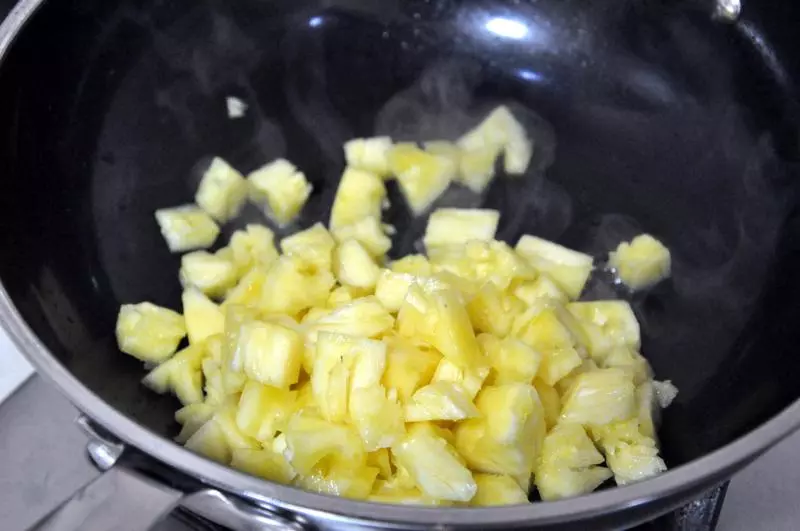
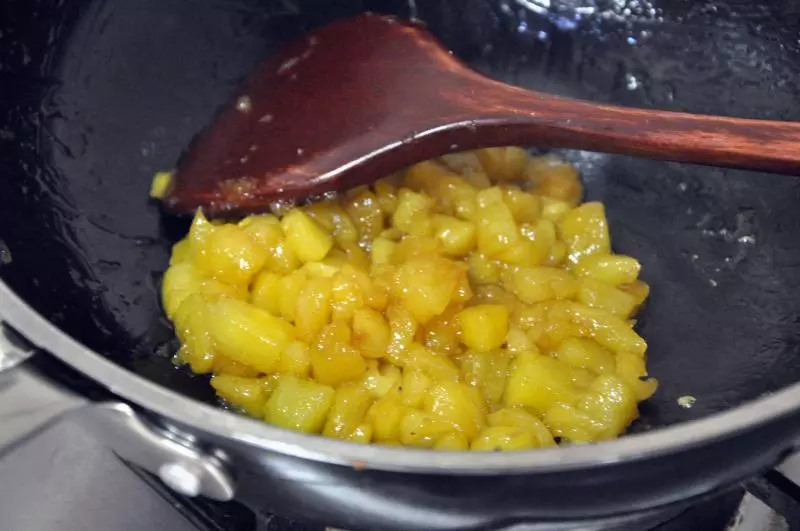
7锅中放入黄油,融化黄油。

8倒入菠萝小火翻炒。
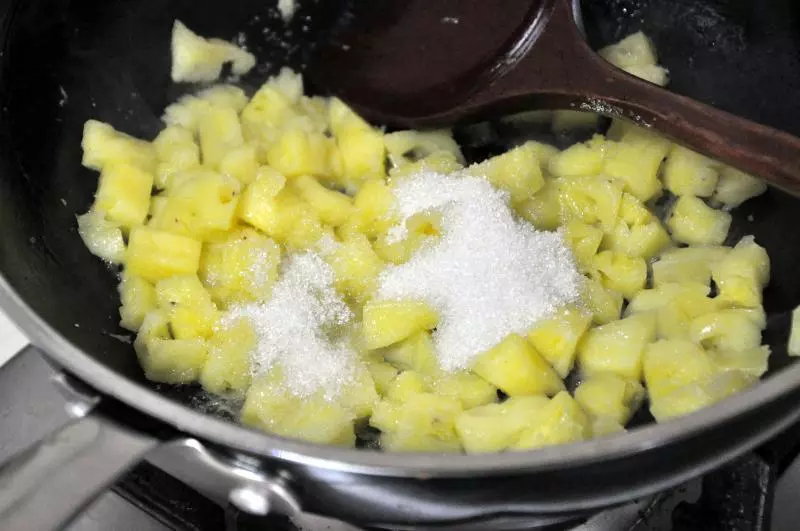
9倒入白砂糖,继续翻炒。
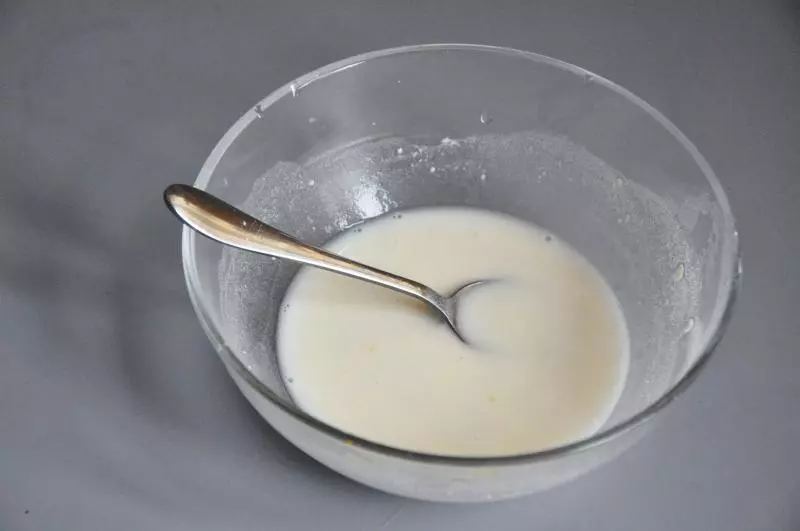
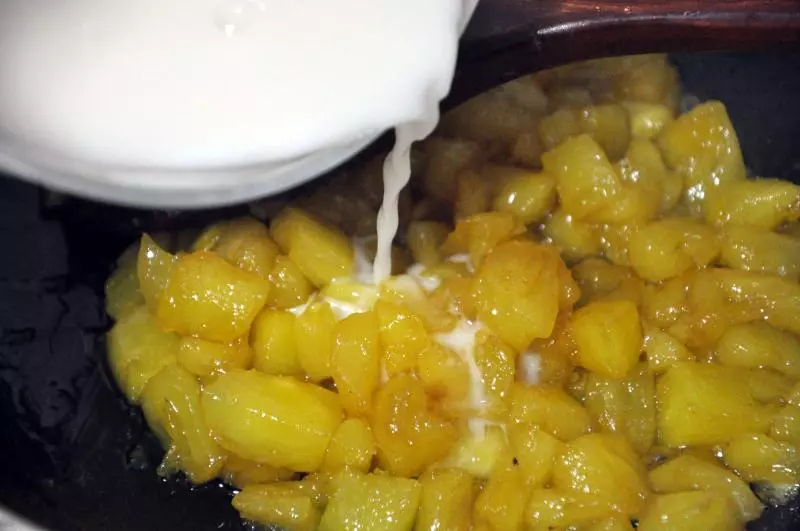
10将低筋面粉和玉米淀粉放入小碗中,倒入30ml水,将它们化开。
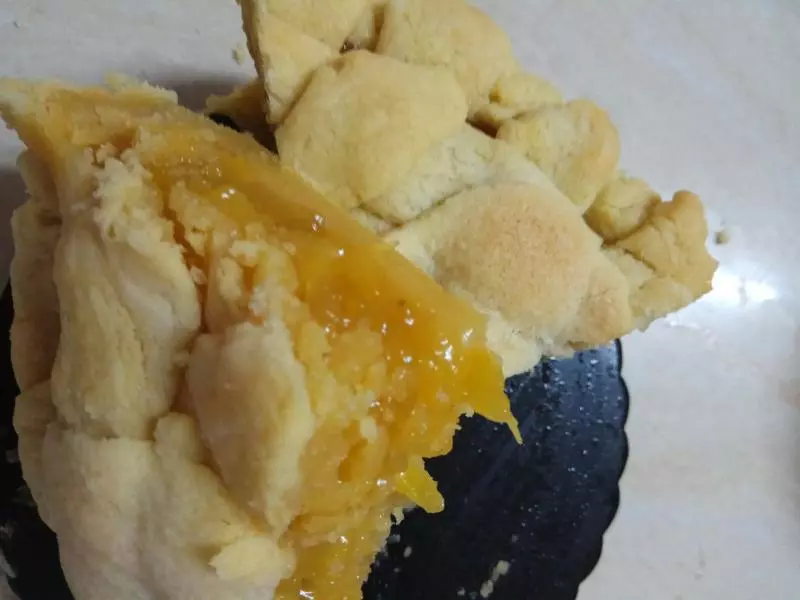
11菠萝炒软,水分已经收干。
12倒入稀面糊,继续翻炒,收干水分。
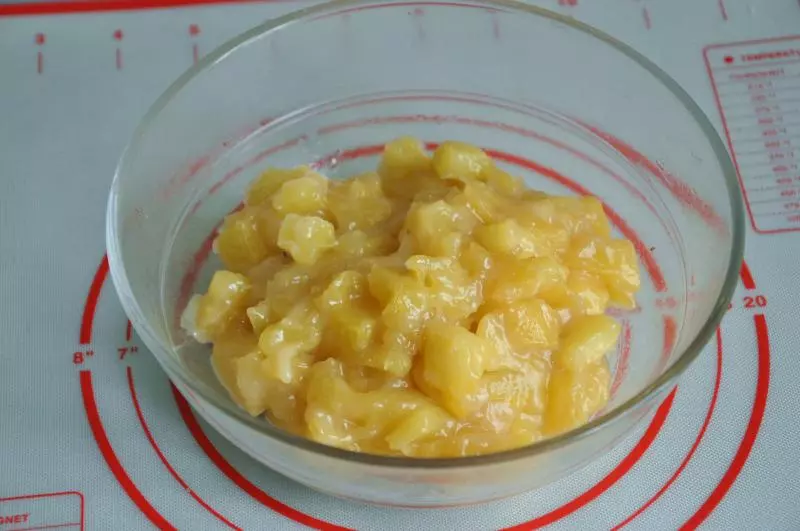
13炒好的菠萝馅。
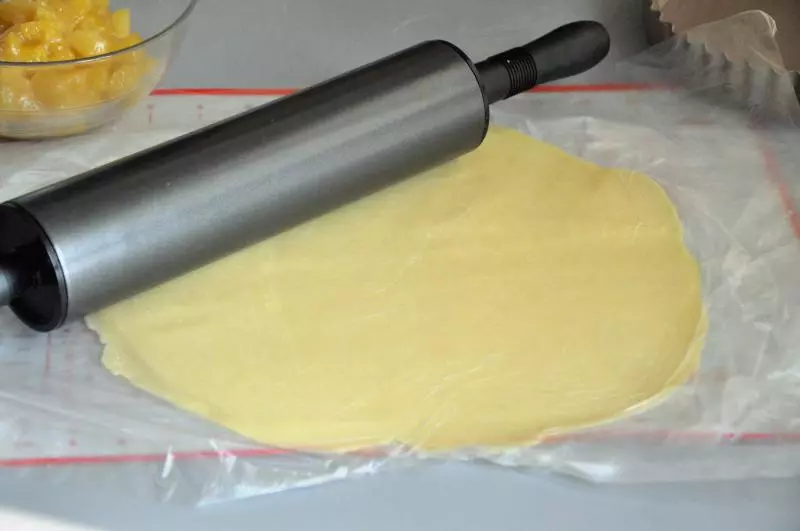
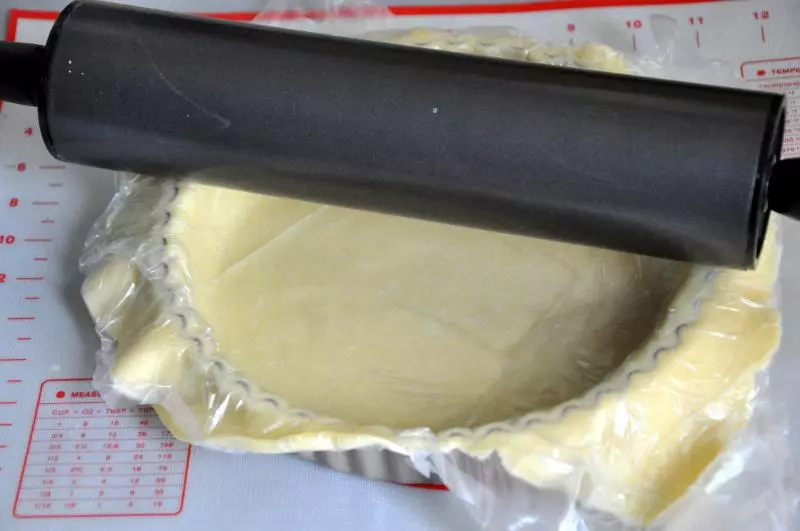
14将冷藏好的面团分成两份,5分之2+5分之3,取大的那份,在面团上下各放一个保鲜膜,隔着保鲜膜将面团擀开,擀成比较薄的面皮。
15将派皮压在8寸派盘上,用擀面杖把多余的派皮压掉。
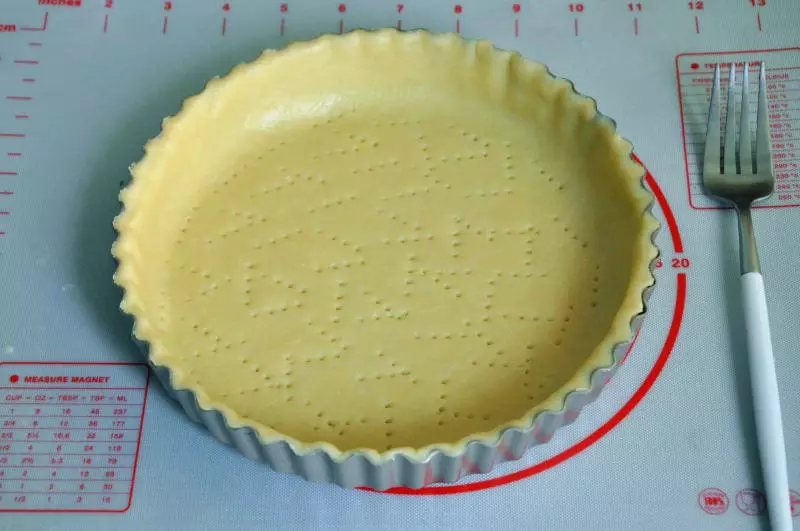
16用叉子或者牙签在派皮上扎上小孔,避免在烤的过程上派皮膨胀。
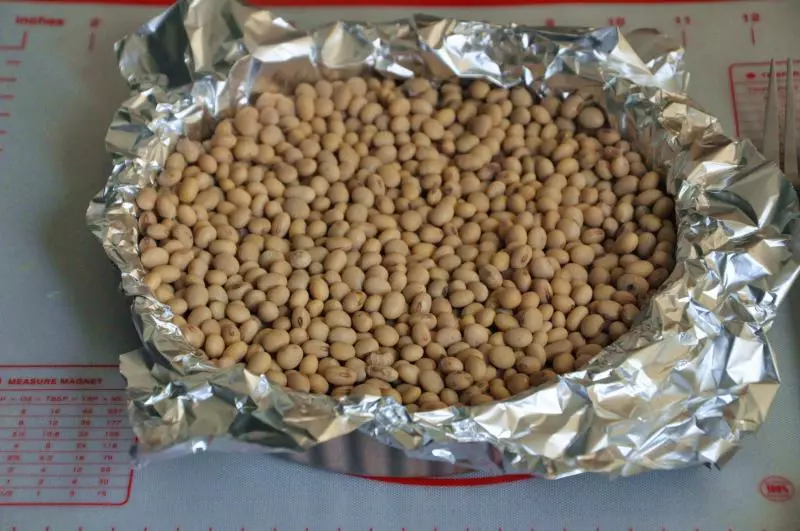
17在派皮上放上一张油纸或者锡纸,压上石子或者豆子.
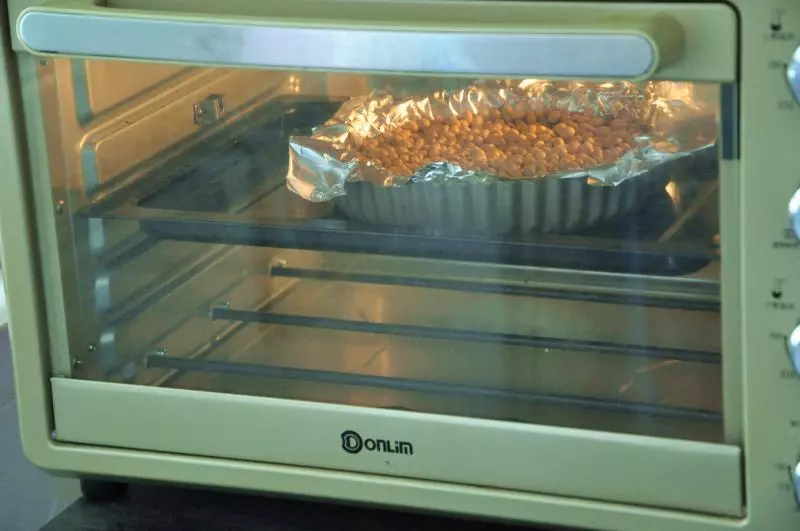
18烤箱预热200度,烤15分钟。
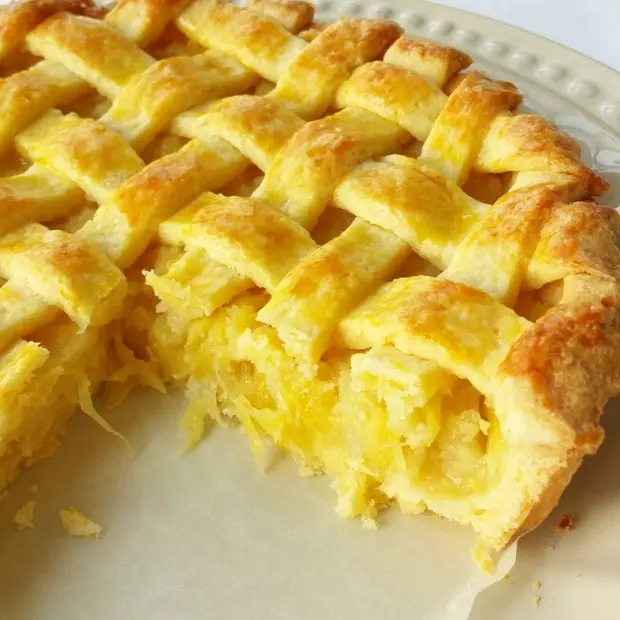
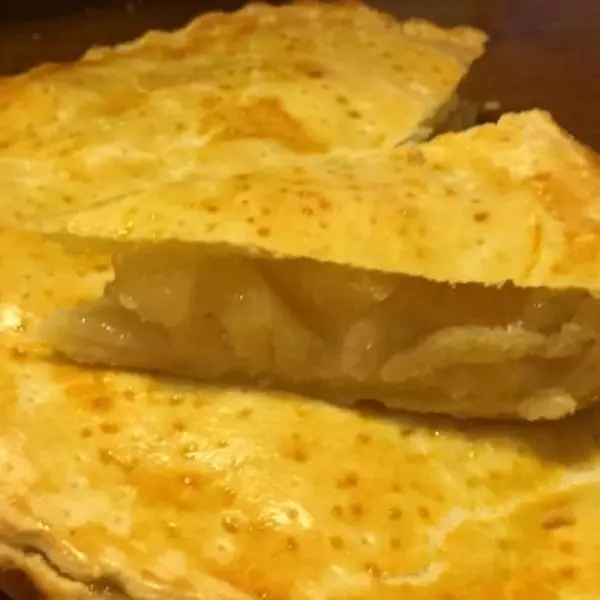
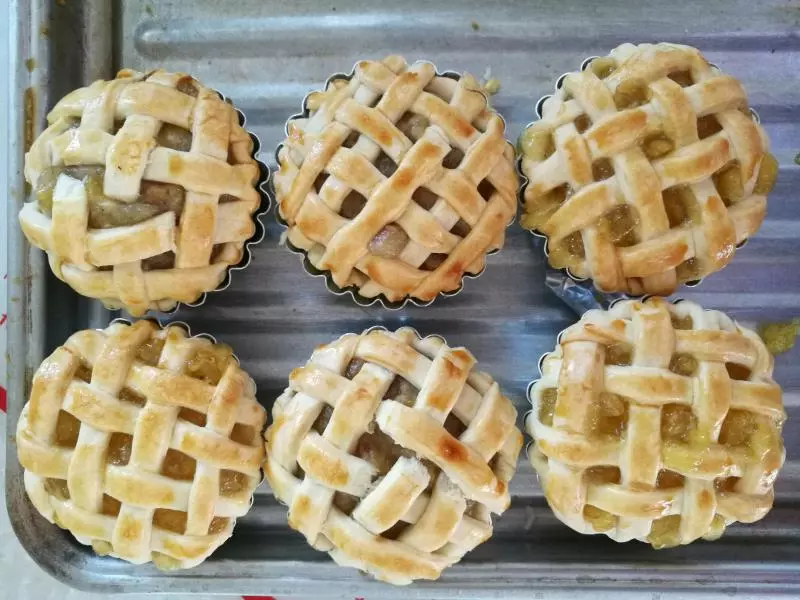
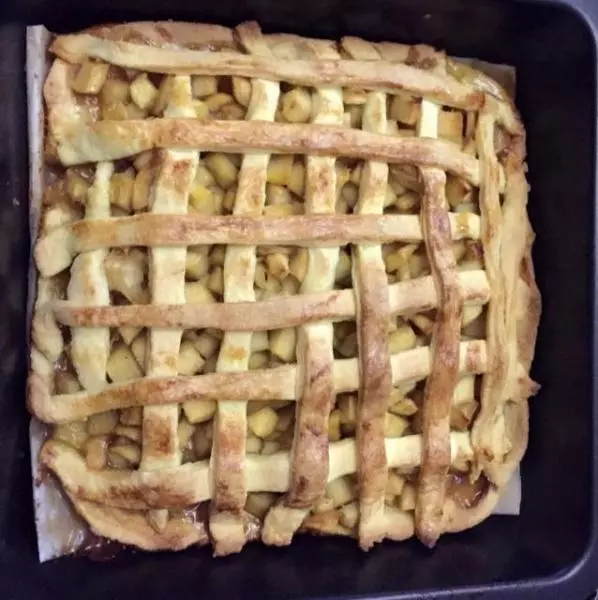
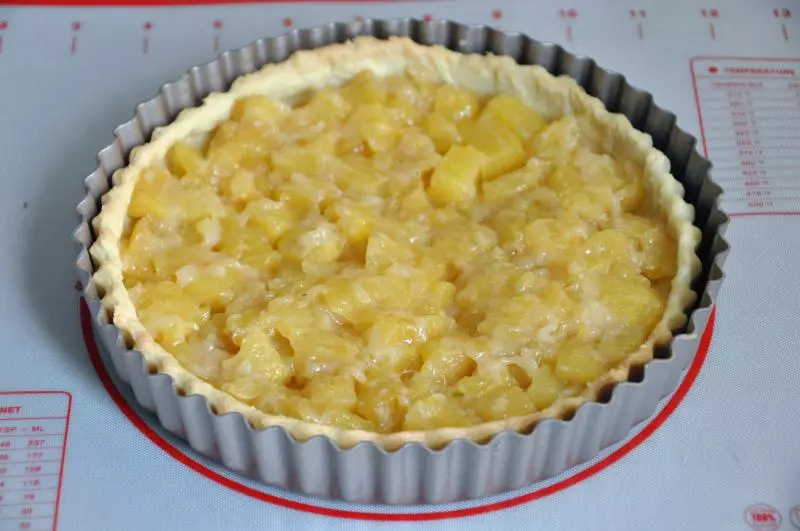
19派皮烤好后,将菠萝馅装进去。
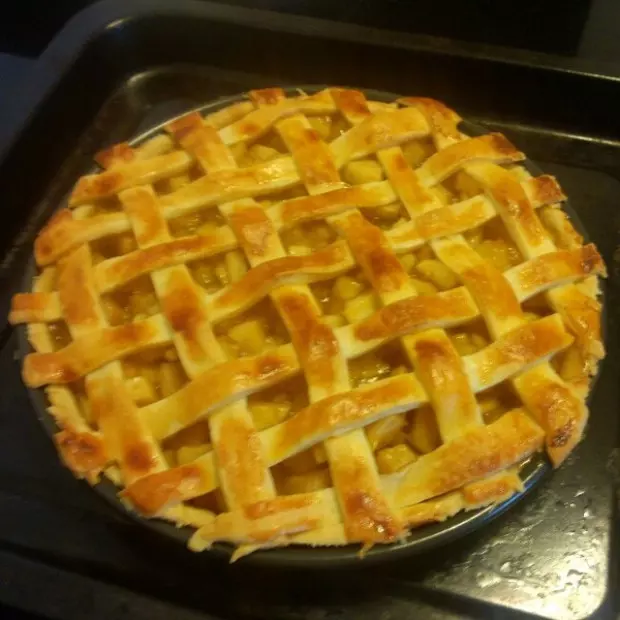
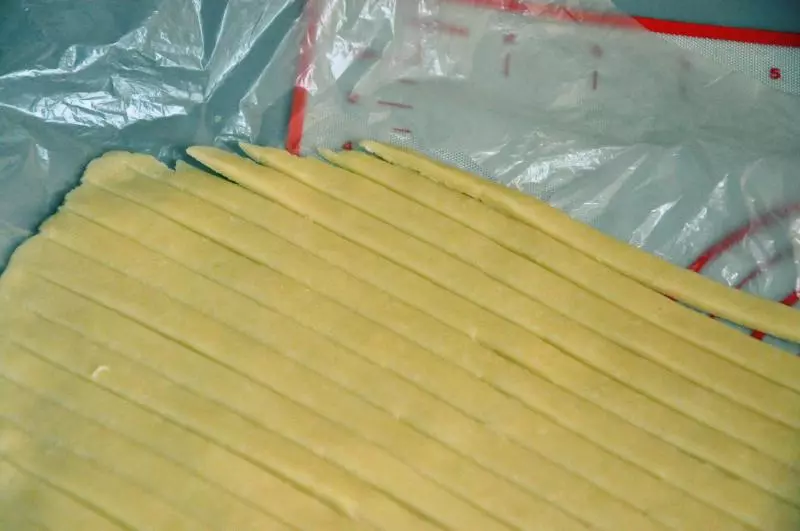
20将剩下的派皮也擀成薄片,切成条。
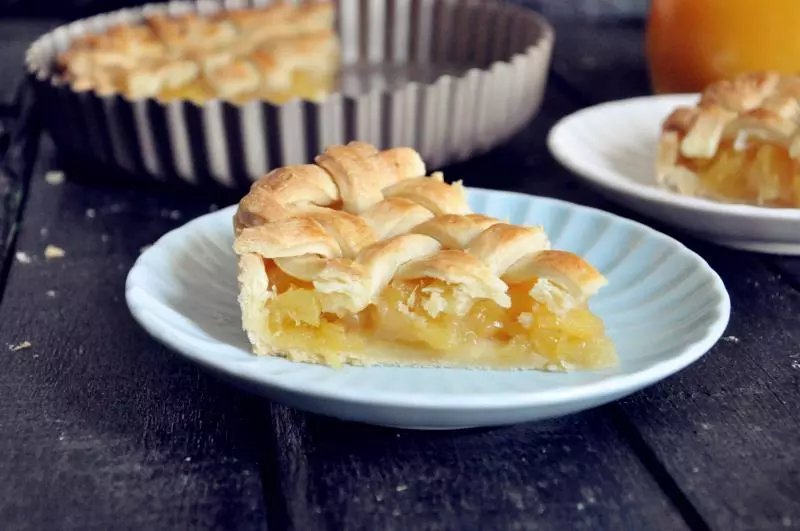
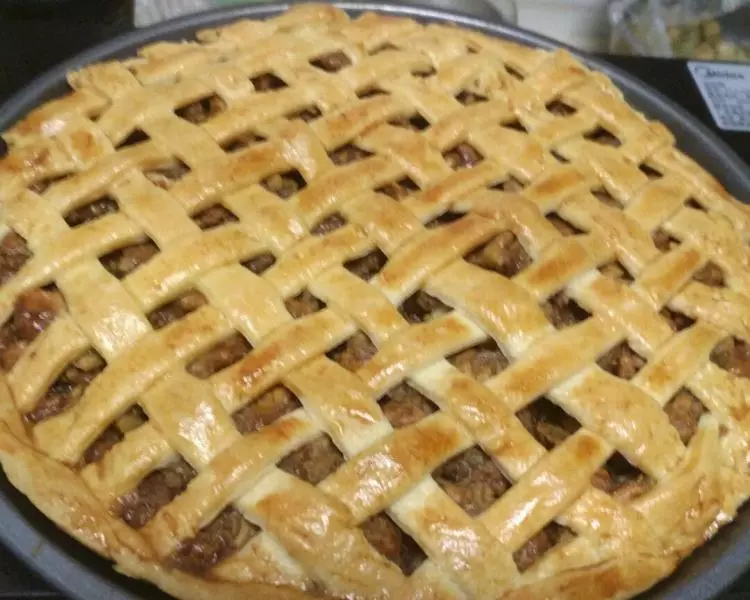
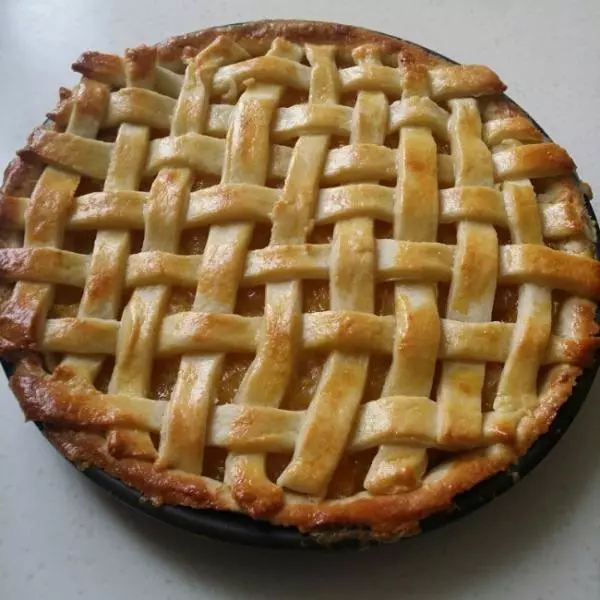
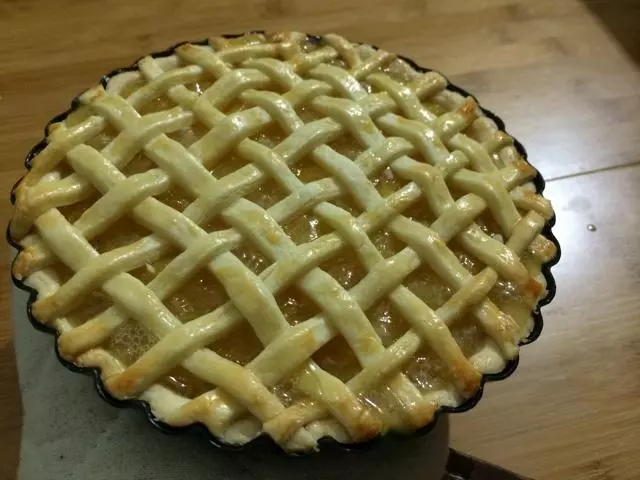
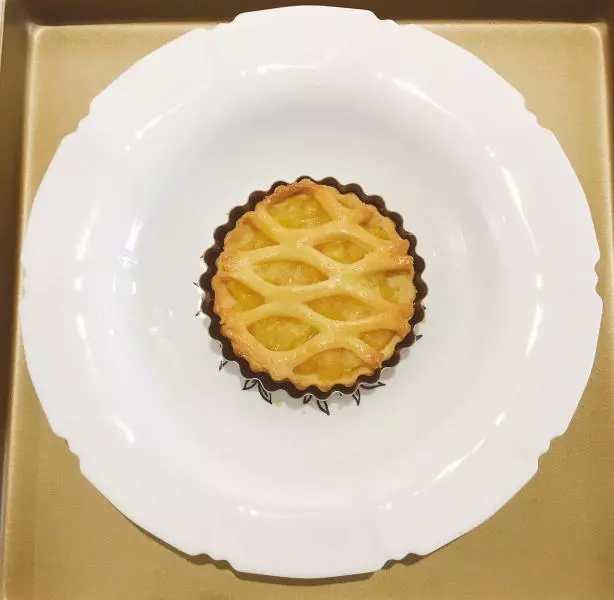
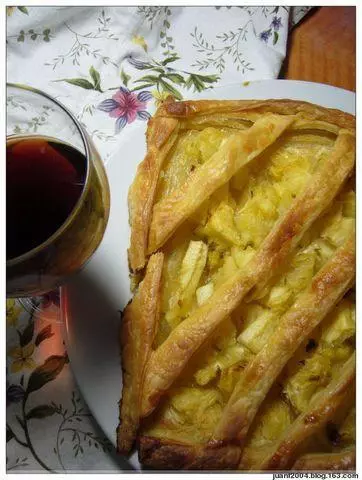
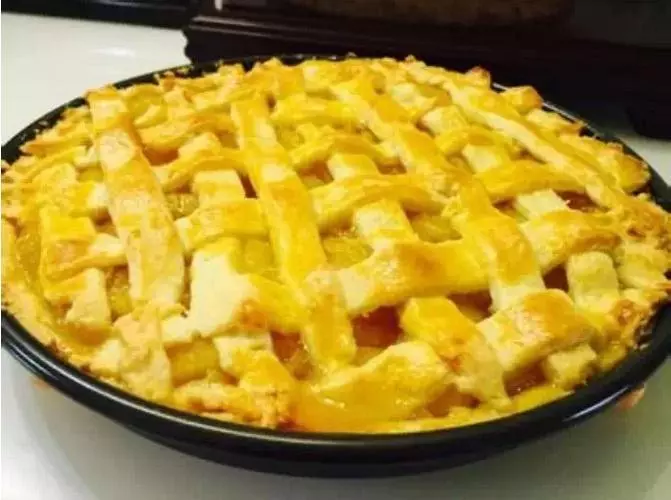
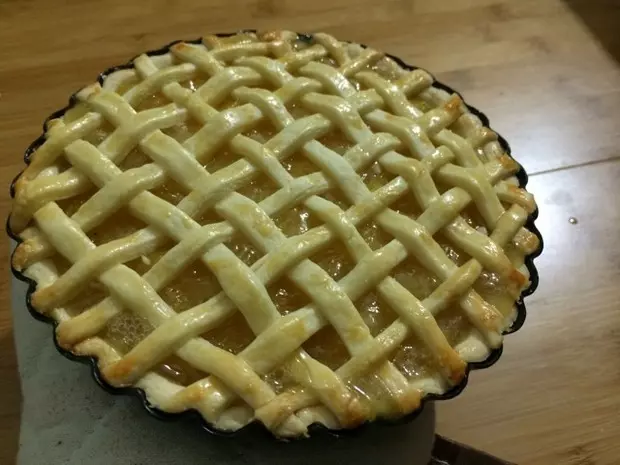
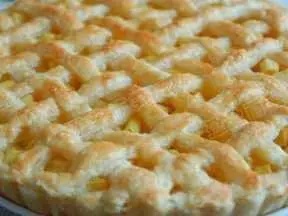
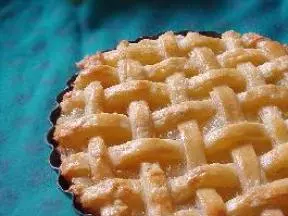
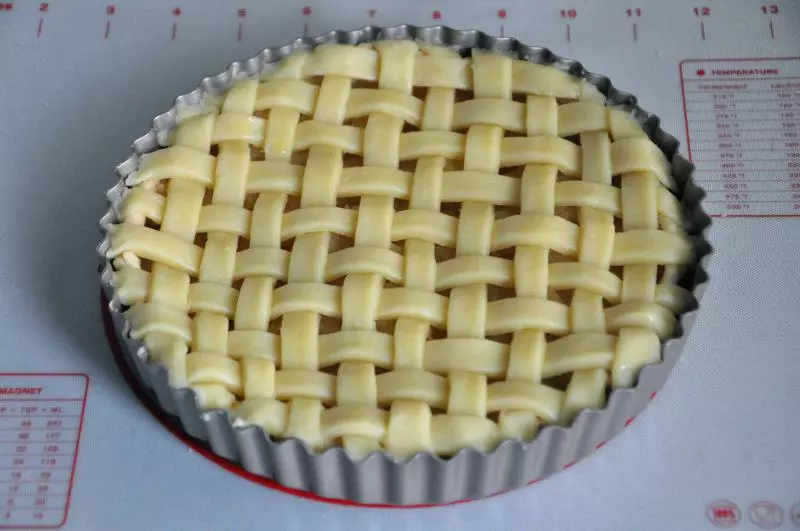
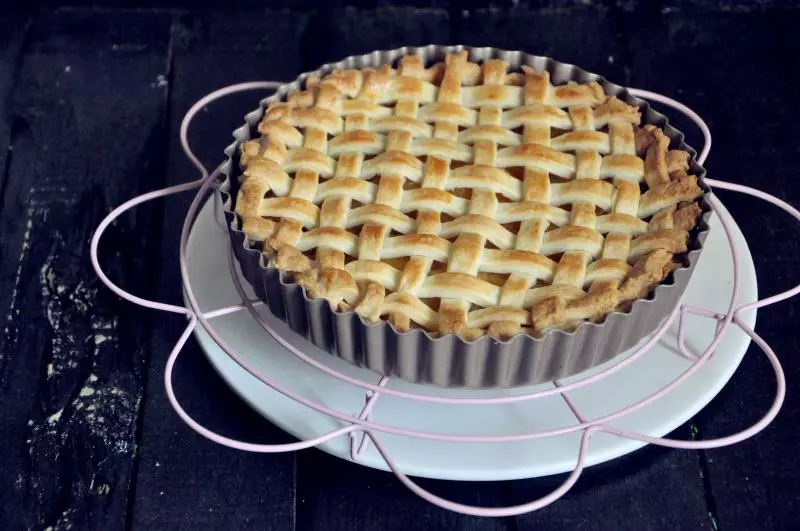
21像编篮子一样编好,表面刷蛋黄液。
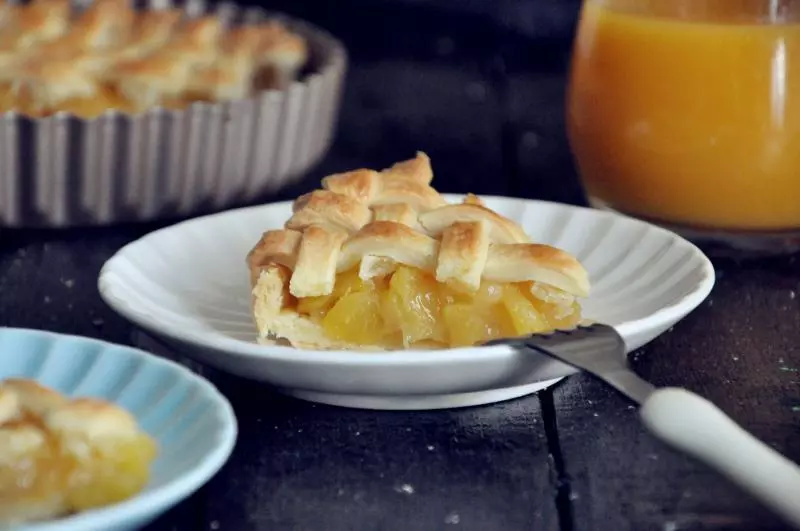
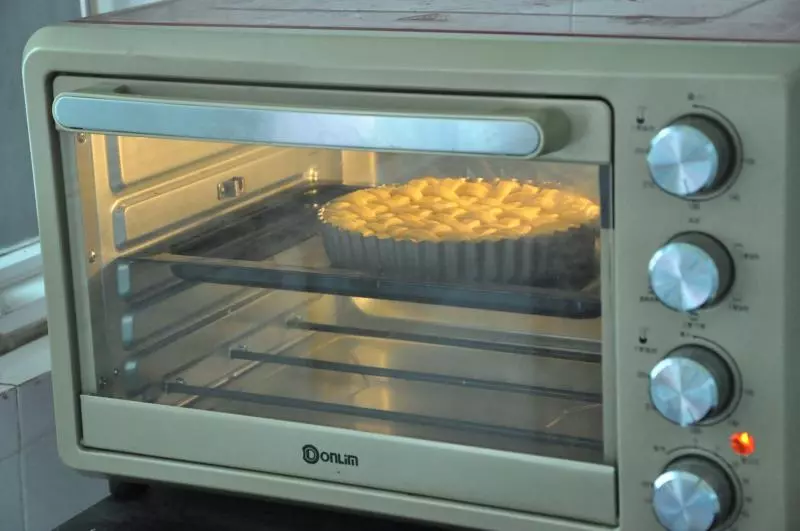
22放进提前预热好的烤箱,180度烤25分钟,烤到表面金黄为止。
23满屋子的菠萝味儿,超好闻。
24酸酸甜甜,香酥可口,菠萝季一定不要错过它。
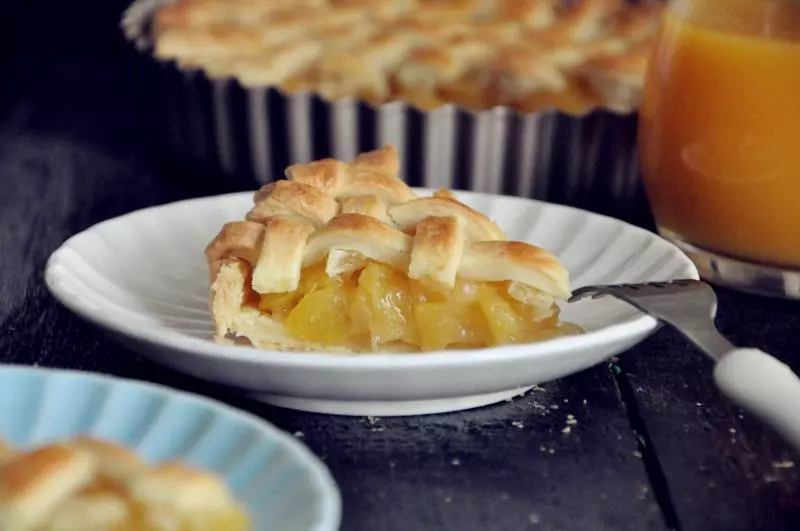
25不能错过的美味下午茶。