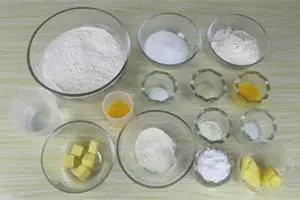
原料
高筋面粉: 200克, 乳粉: 10克, 酵母: 2克, 盐: 3克, 细砂糖: 40克, 全蛋液: 20克, 水: 80克, 黄油: 20克, 低筋面粉: 65克, 糖粉: 35克, 盐: 1克, 全蛋液: 15克, 乳粉: 5克, 黄油: 30克
步骤
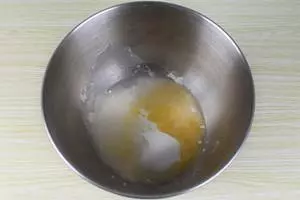
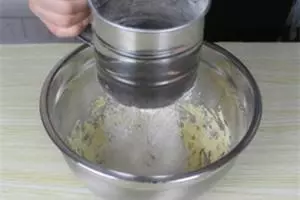
1准备好所需要的原料,黄油室温软化
2除黄油外的所有材料放入和面机中,揉成面团
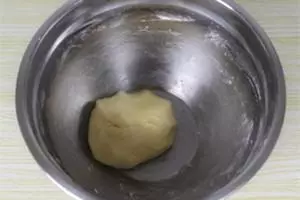
3当面团揉到起筋后加入黄油继续揉,一直揉到完全阶段
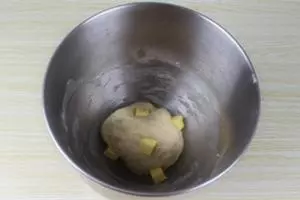
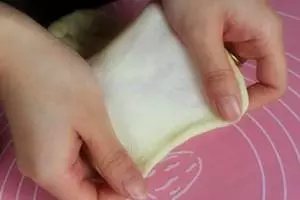
4揉好的面团可以抻开非常坚韧的薄膜,且不易破裂
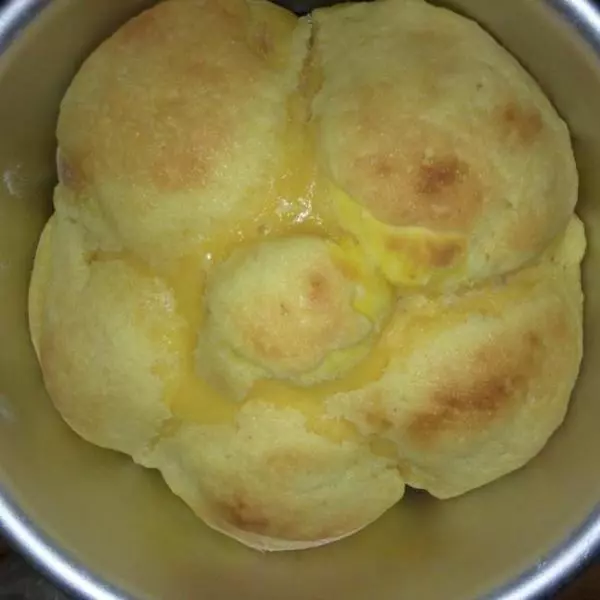
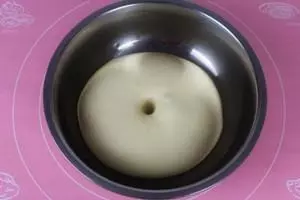
5面团放到盆中,盖上保鲜膜,放到烤箱开启发酵功能,发酵1-2小时左右,发至面团两倍大。(烤箱没有发酵功能,就放到温暖的地方发酵至两倍大)
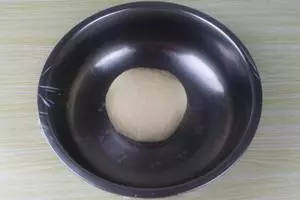
6发酵好的面团用手指沾高粉插入面团中,面团上的手指孔不回缩,这样面团就发酵好了
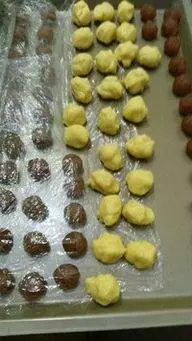
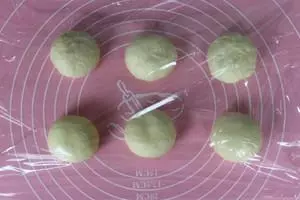
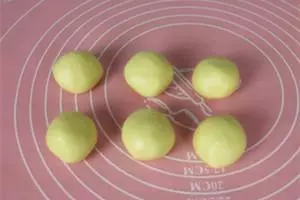
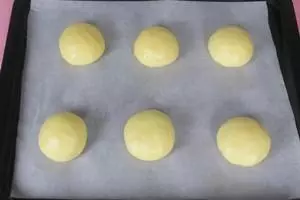
7把面团中的空气排出后,分割成等量的小面团,揉圆,盖上保鲜膜室温醒发15分钟
8现在开始做菠萝皮。 软化好的黄油中加入糖粉,用打蛋器打发至黄油颜色发白
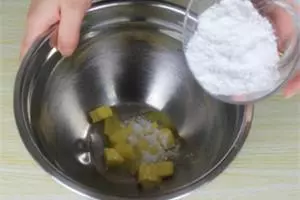
9倒入乳粉、盐,搅拌均匀

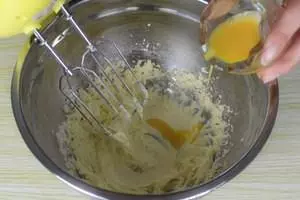
10分次加入蛋液,每一次都要搅打均匀后再加下一次,搅拌至黄油与蛋液完全融合
11低筋面粉过筛到10中
12用手拌匀,轻轻揉搓成不粘手的酥皮面团
13把菠萝皮分成均匀的6份
14取一份菠萝皮压扁,再将面团压在菠萝皮上面
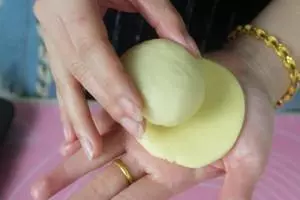
15菠萝皮慢慢向上推挤,同时旋转面团

16菠萝皮包住面团约3/4即可
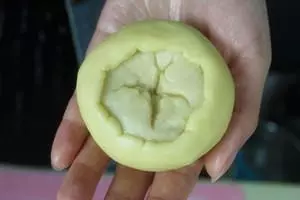
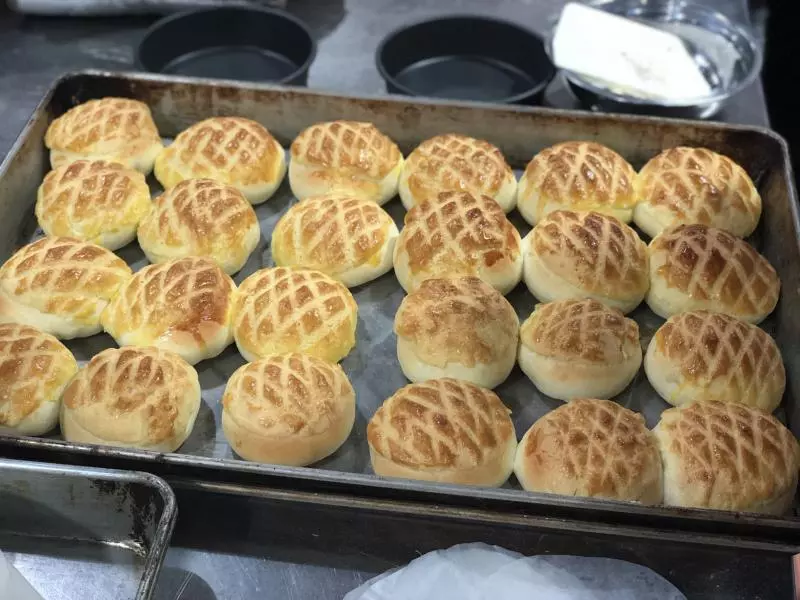
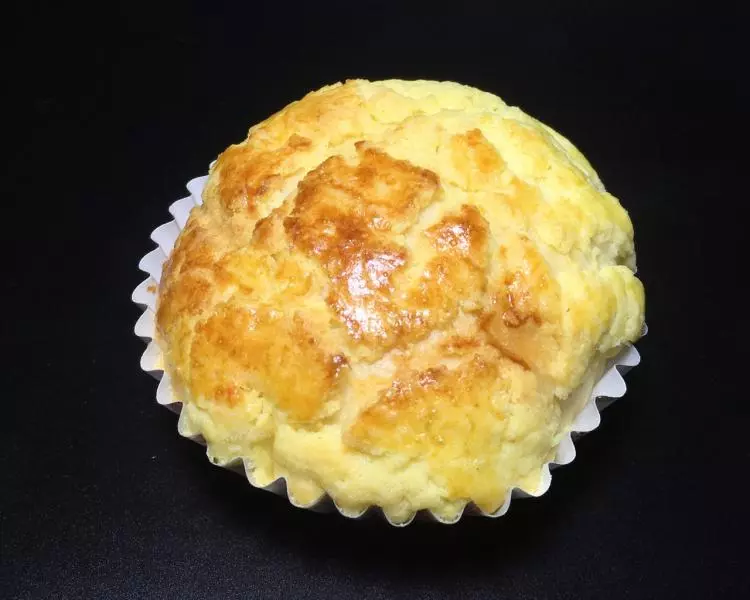
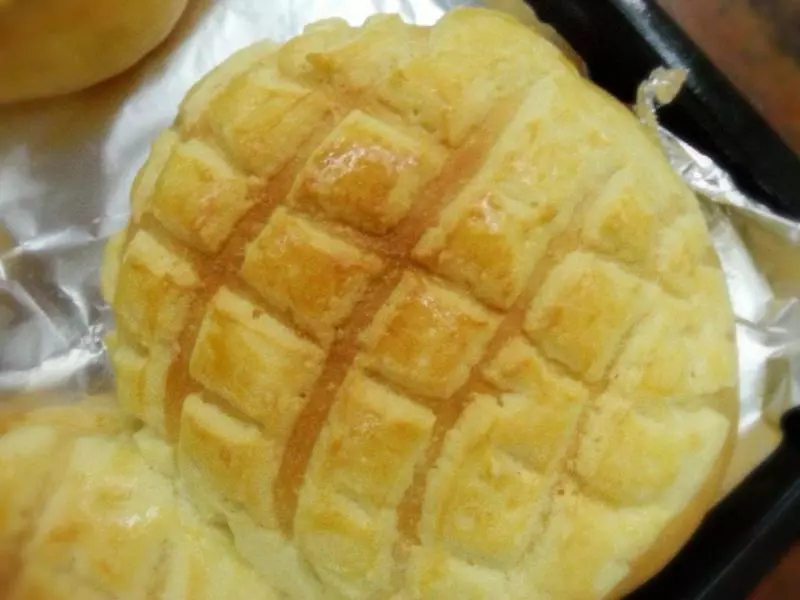
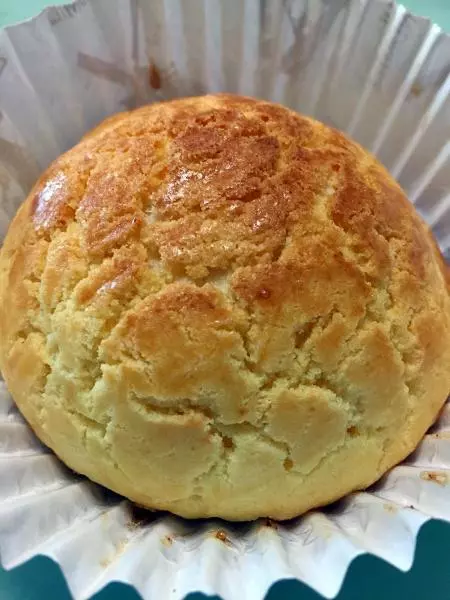
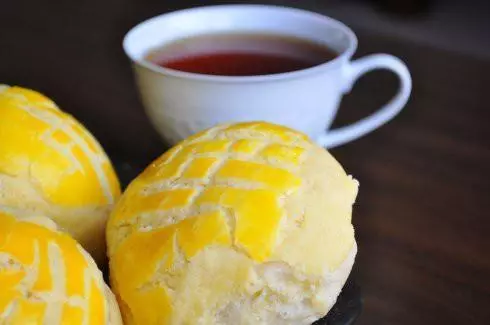
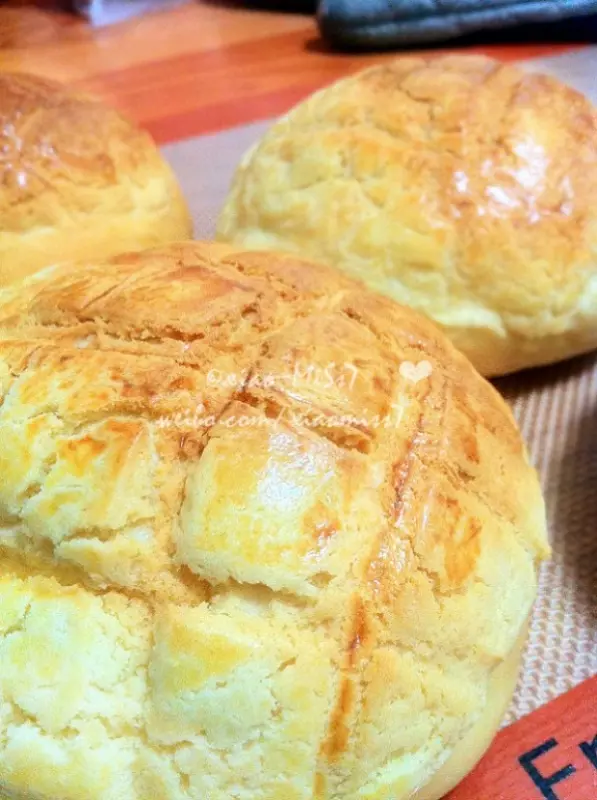
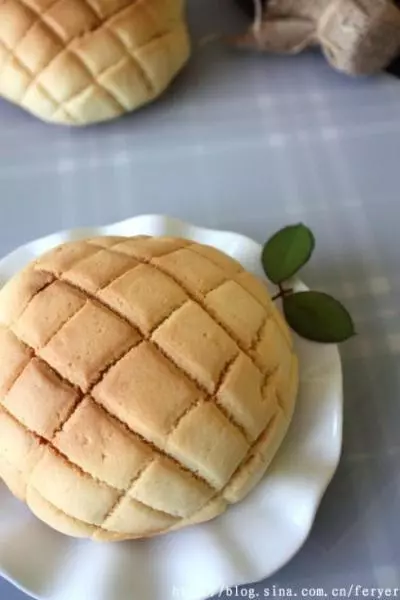
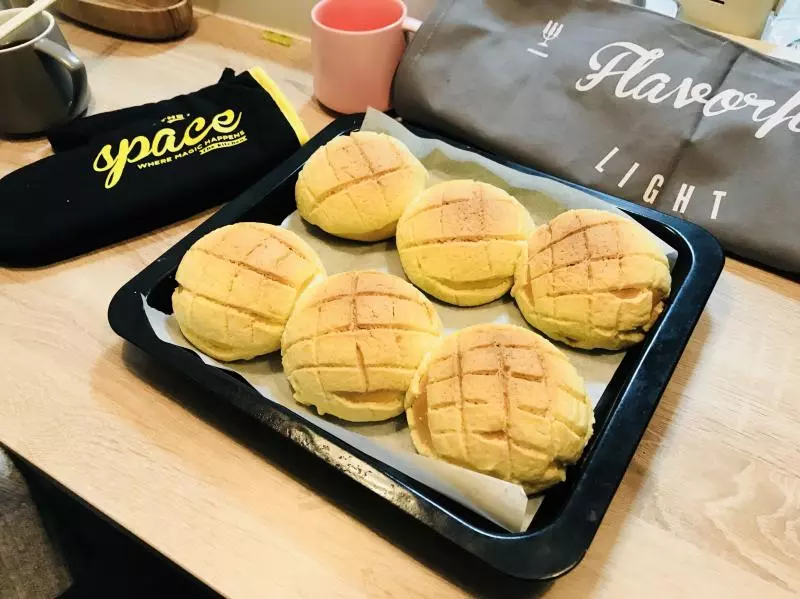
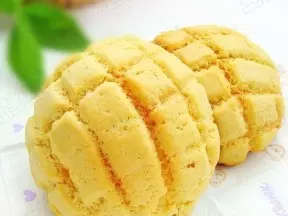
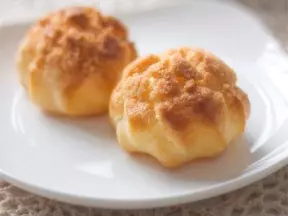
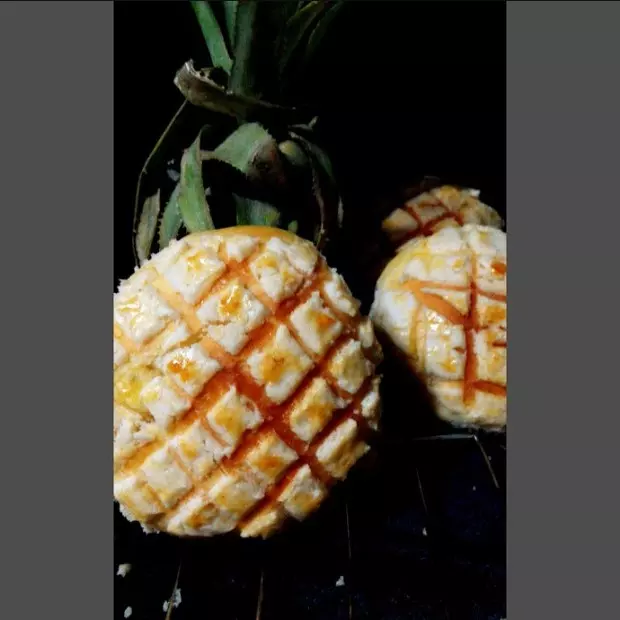
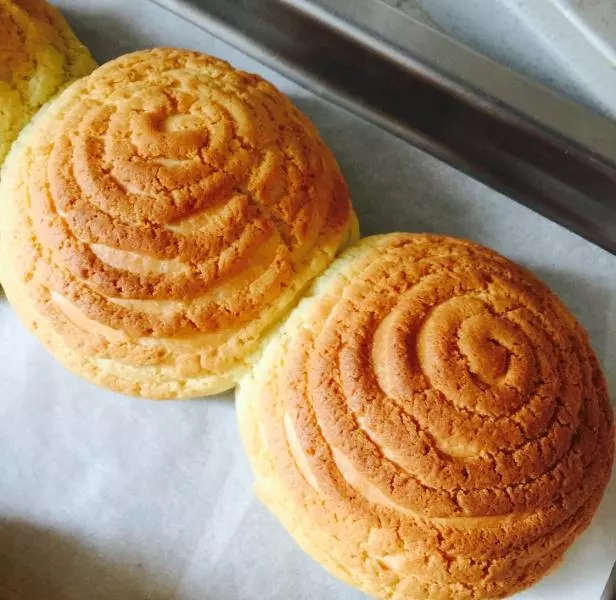
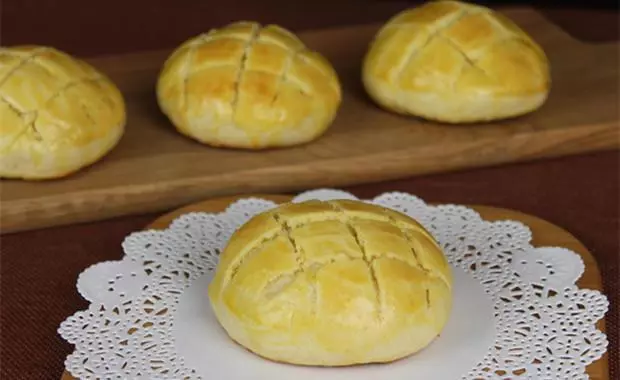
17将菠萝皮面朝上,收口向下,放在铺好油纸的烤盘上
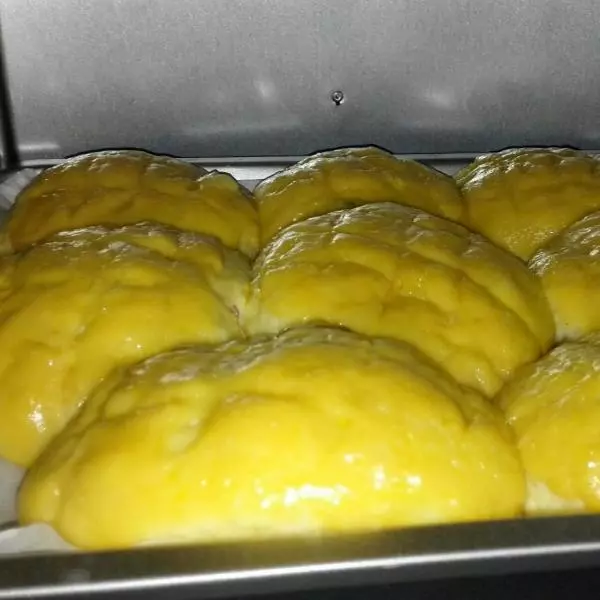
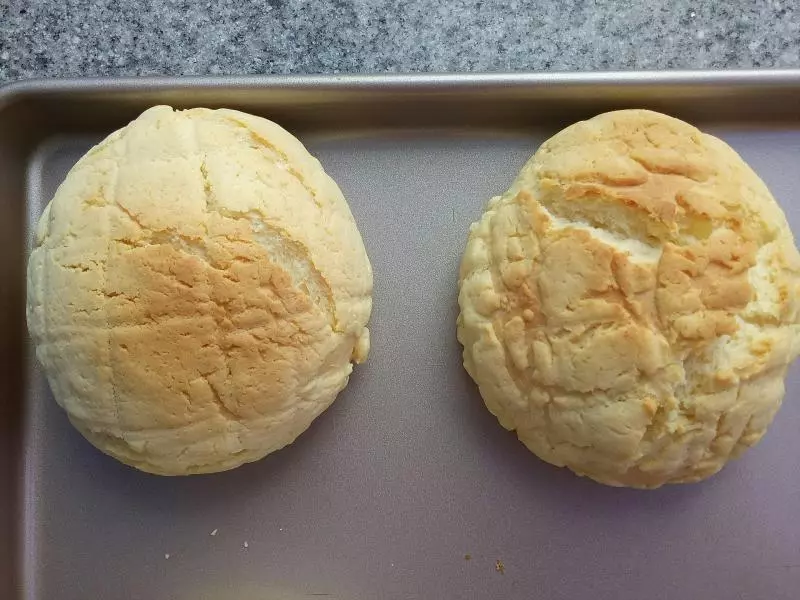
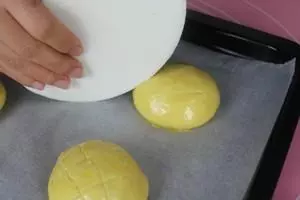
18菠萝皮表面轻轻刷上蛋液

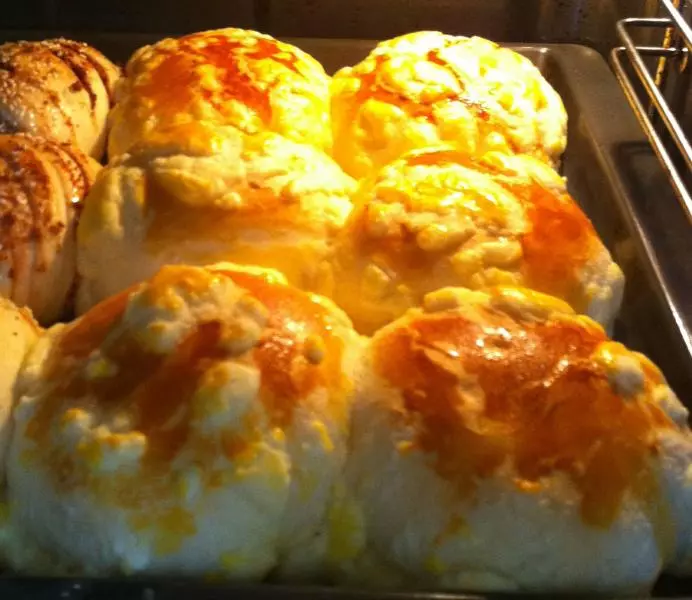
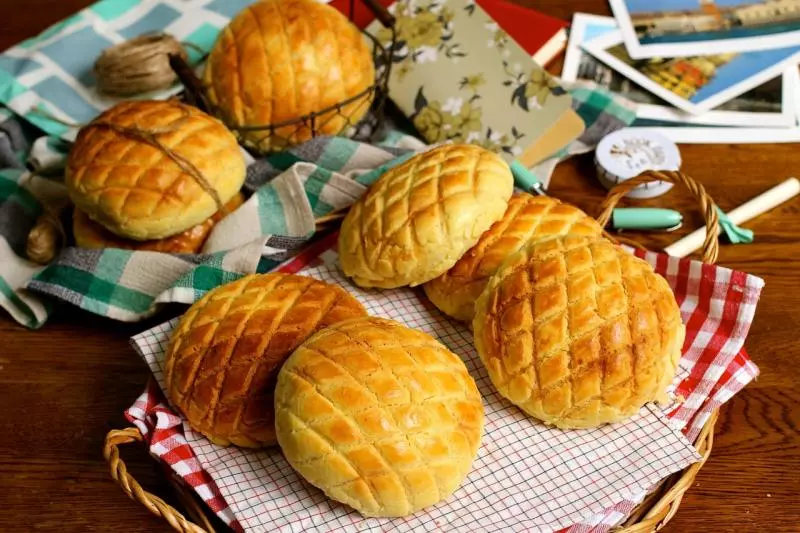
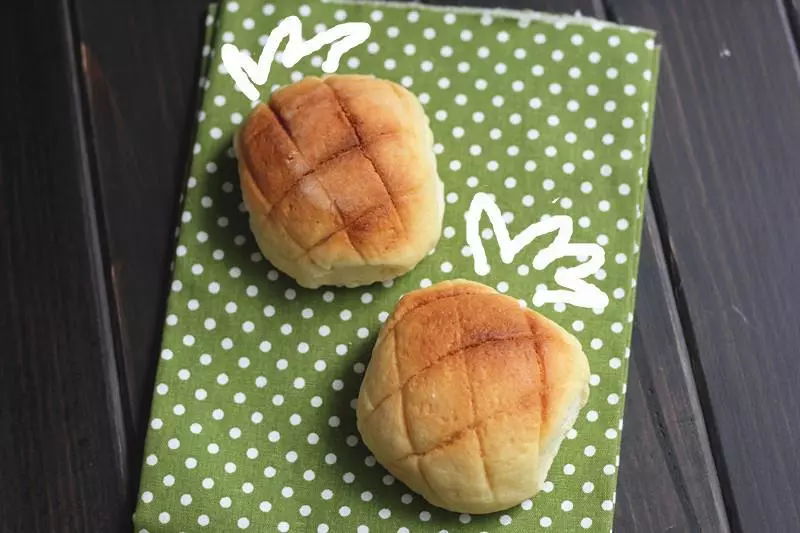
19用刮板在菠萝皮面上划出网纹,放入烤箱,开启发酵功能进行最后发酵。发酵2.5倍左右大即可。 发酵好后取出,将烤箱预热上下火180度,10分钟。 放入预热好的烤箱中层,180度烘烤15分钟左右,烤制菠萝皮表面上色即可。
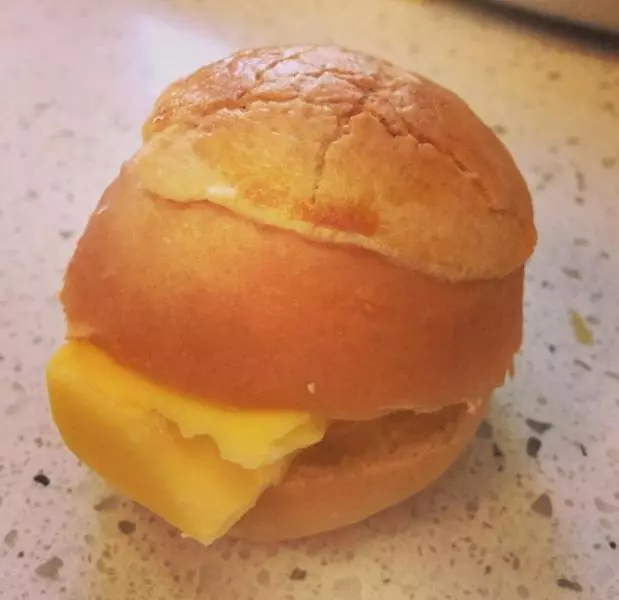
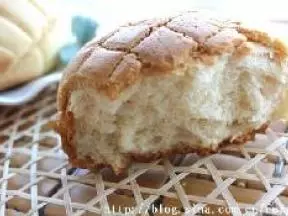
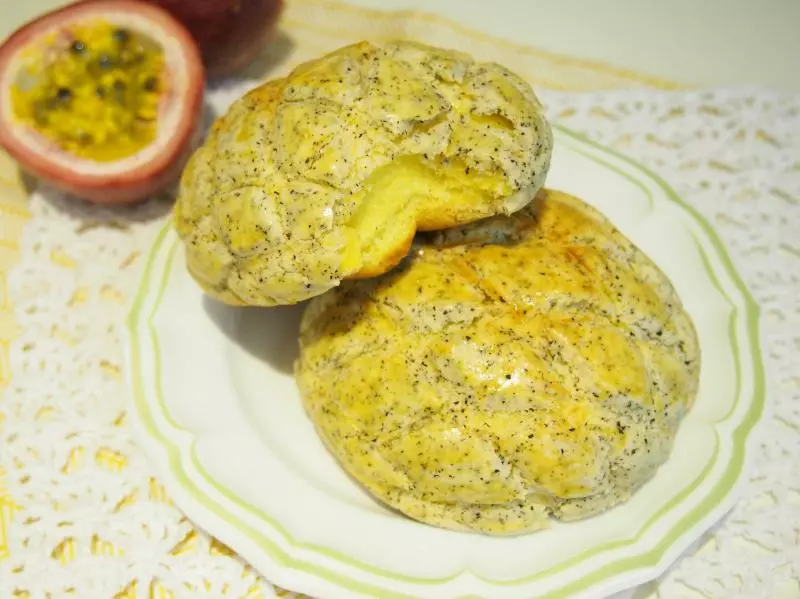
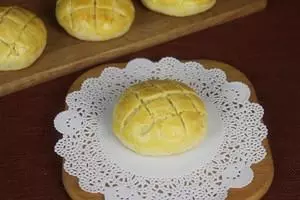
20菠萝包烤好了,趁热吃,非常好吃!
小技巧
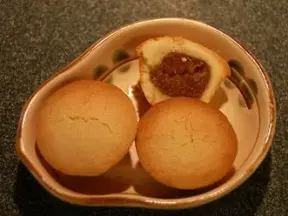
1 传统菠萝包是没有夹馅的,如果您喜欢吃夹馅,可以根据个人喜欢加入豆沙馅、水果馅、奶黄馅等等 2 如果做好的菠萝皮很粘,可以适量加些低筋面粉。以菠萝皮刚好不粘手为宜 3 烤的时候,如果菠萝皮表面颜色已经上色了,就可以关掉上火,下火继续烘烤,等待时间结束。 4 各家烤箱温度不同,烘焙温度与时间要根据自家烤箱脾气适当调整~ 低筋面粉: 高筋面粉: 乳粉: 酵母: 黄油: 糖粉: