原料
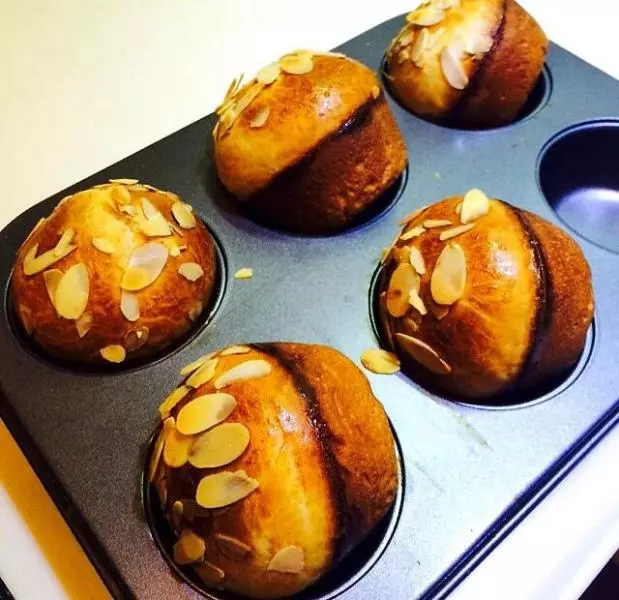
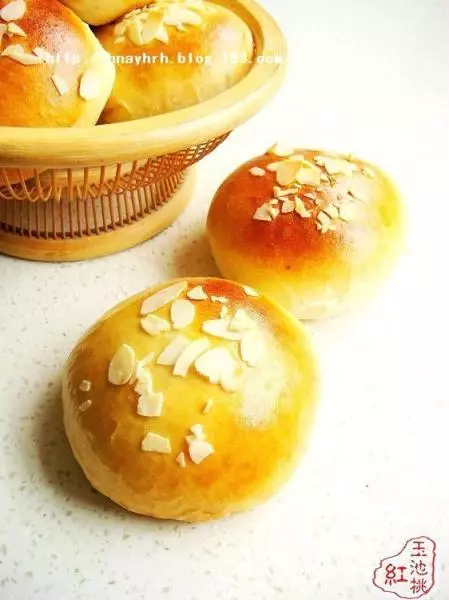
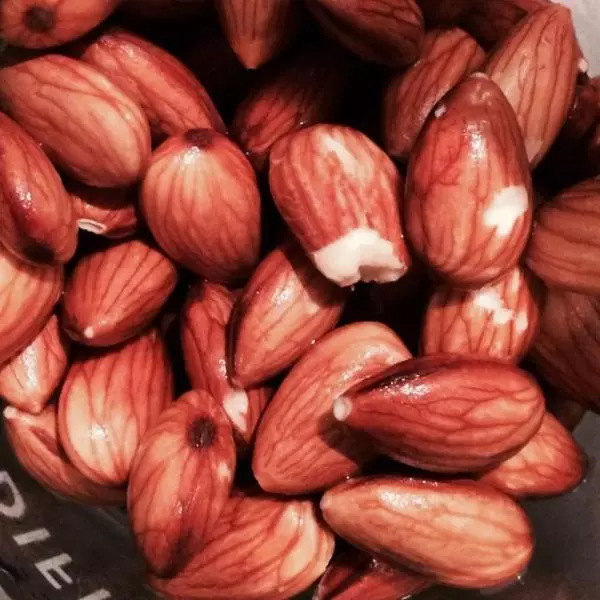
高粉: 270克, 低粉: 50克, 鸡蛋: 1个(50克), 牛奶: 60克, 糖: 35克, 盐: 1克, 酵母: 3克, 黄油: 25克, 温水: 50克, 杏仁片: 适量, 模具: 28X28金盘, 烘烤温度 时长: 上下火175℃ 20分钟
步骤
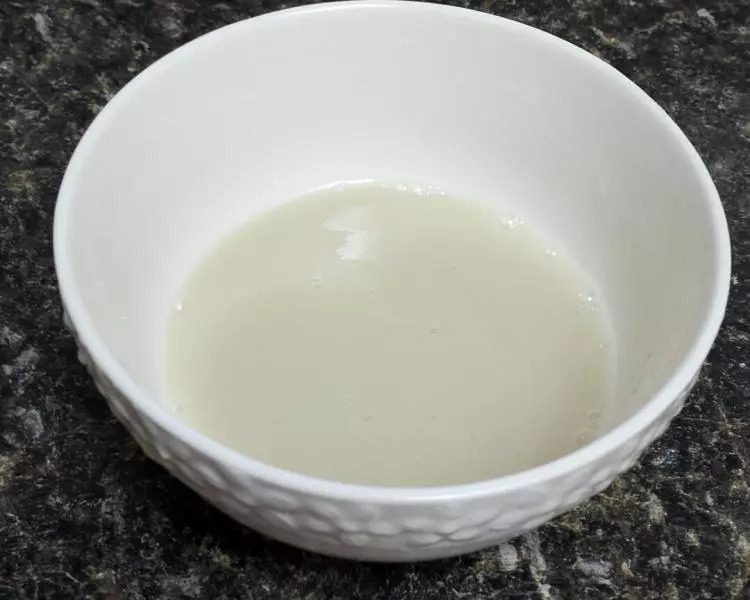
1将酵母与50克温水混合,静置十分钟。
2将除黄油之外的所有材料放入厨师机,加入已经激活的酵母,先低速、后高速揉成光滑的面团。

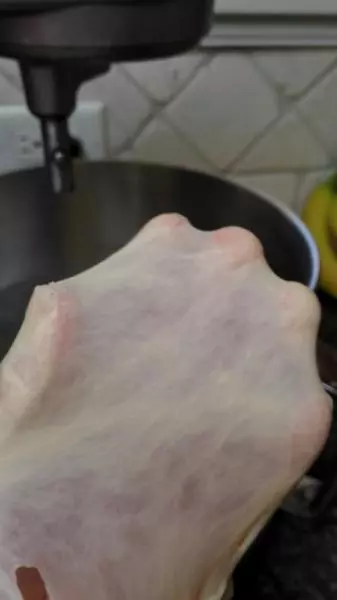
3加入软化的黄油继续揉至扩展阶段,出现薄膜。
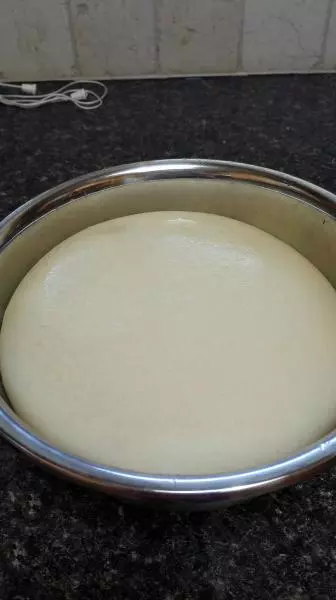
4揉好的面团覆盖保鲜膜室温发酵。
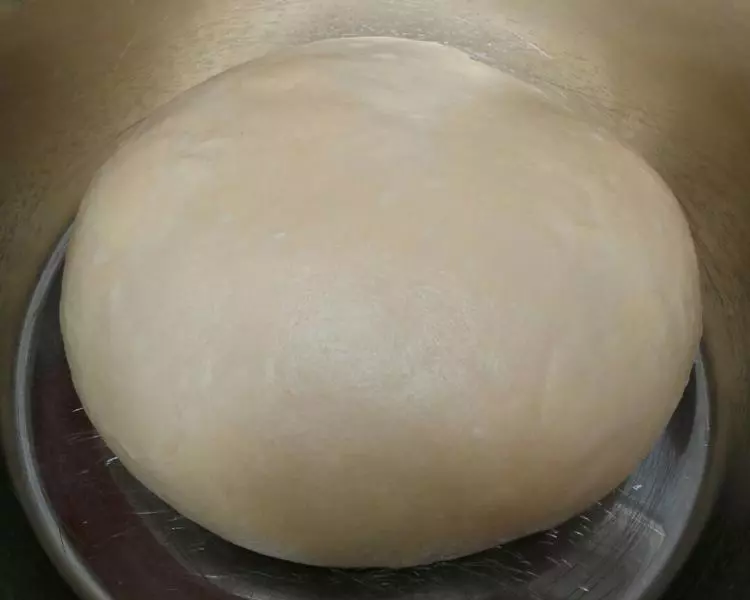
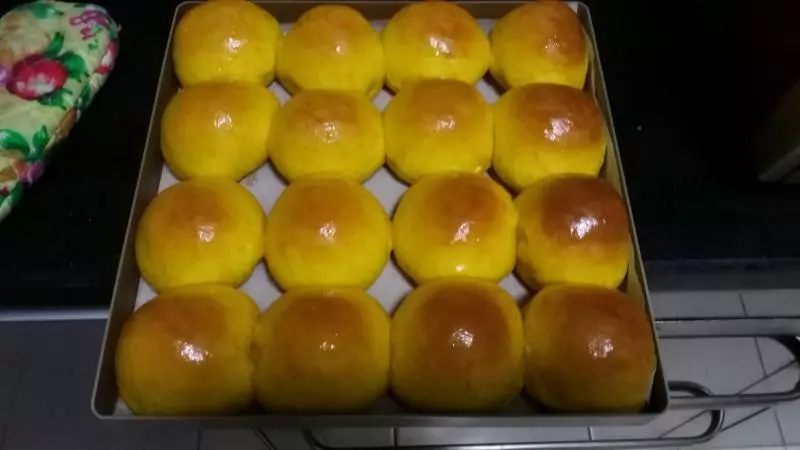
5面团发酵至两倍大即可。
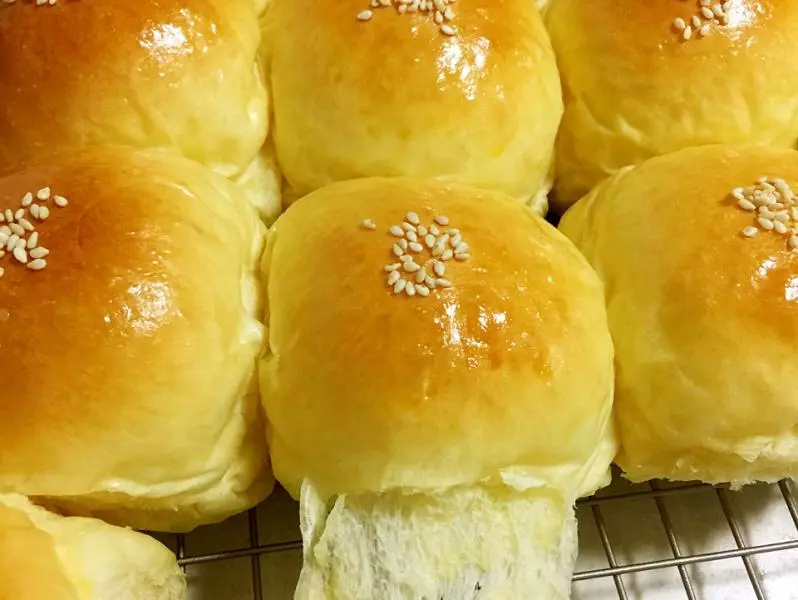
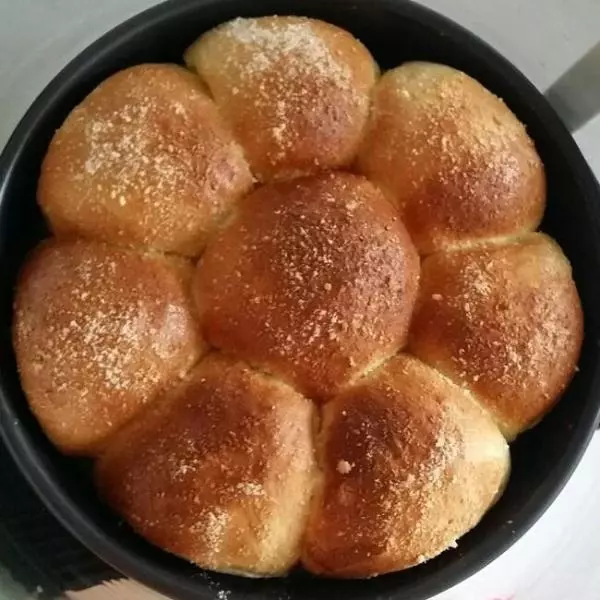
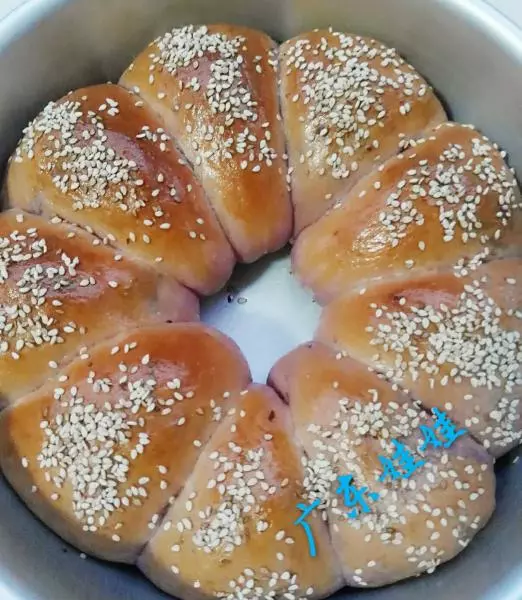
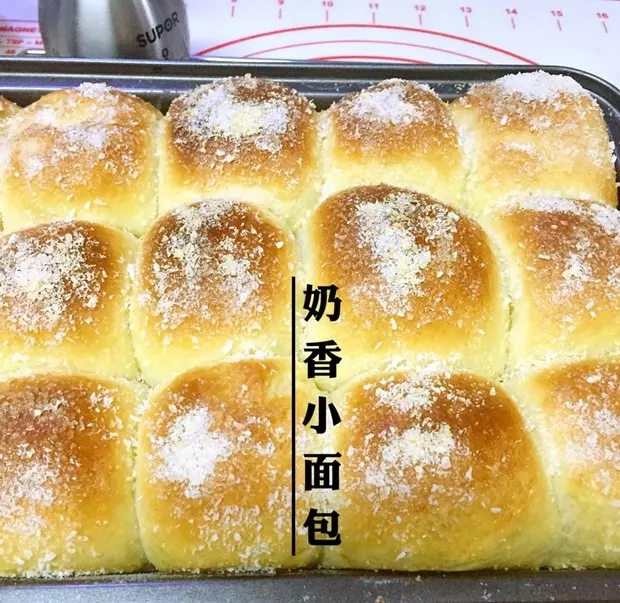
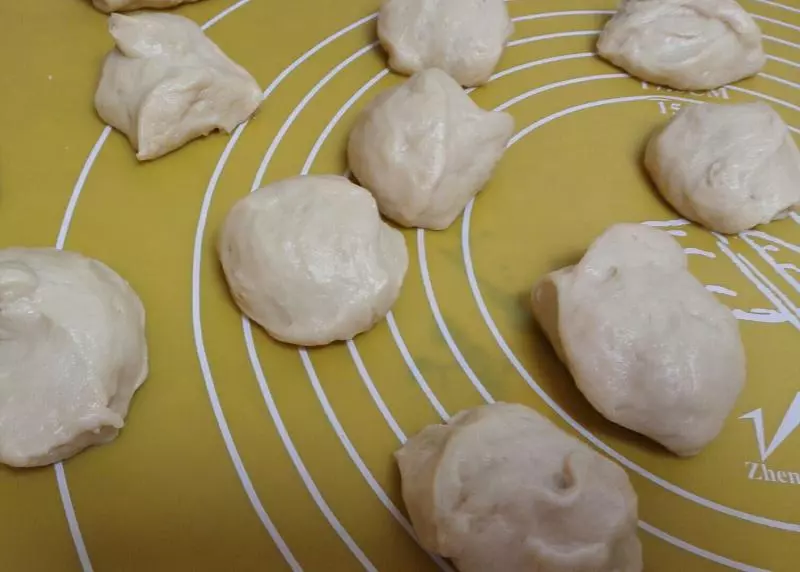
6将面团排气称重分割成等量的9个小面团。
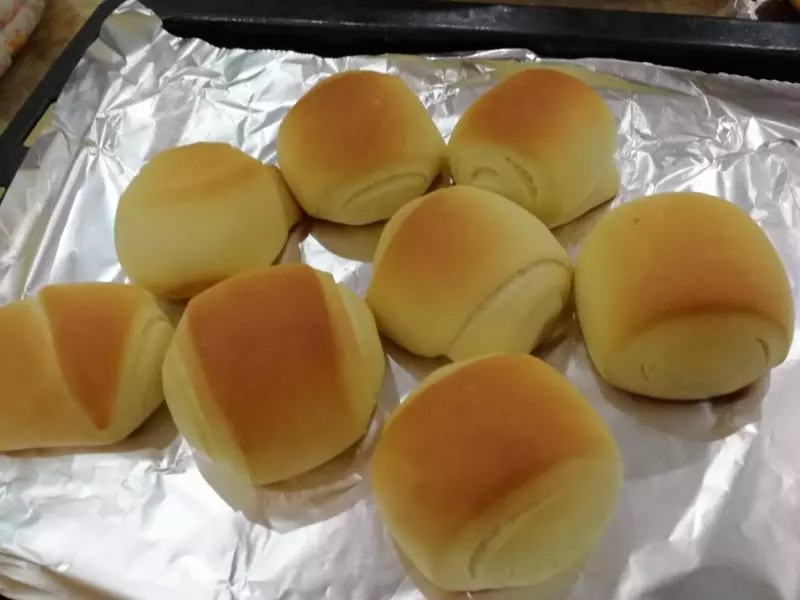
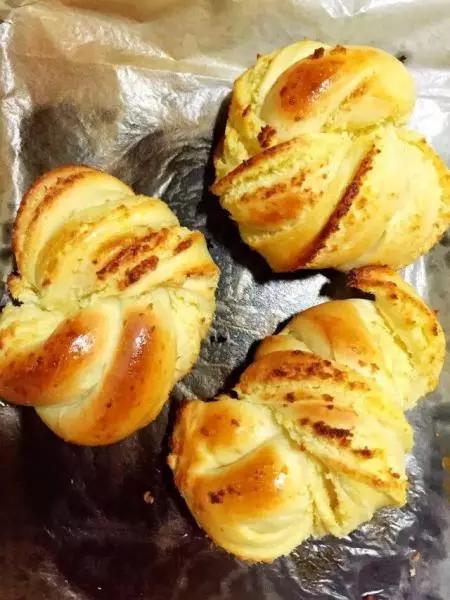
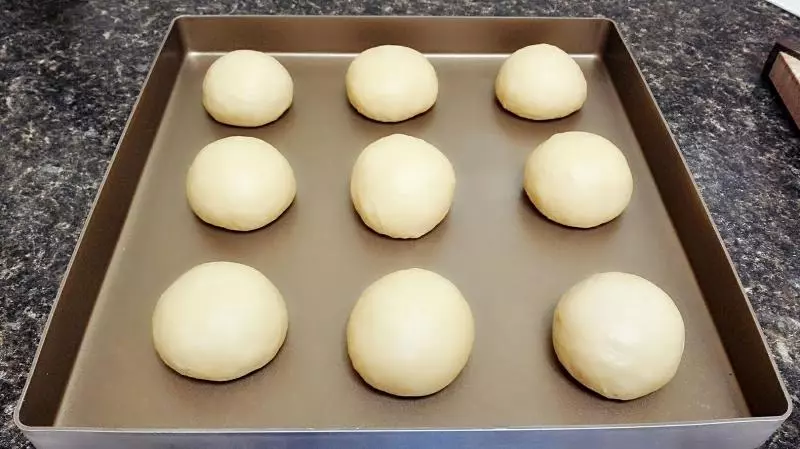
7将小面团逐个揉匀滚圆等距放入烤盘在温暖湿润处二次发酵。我仍然用烤箱放盘热水方式发酵。
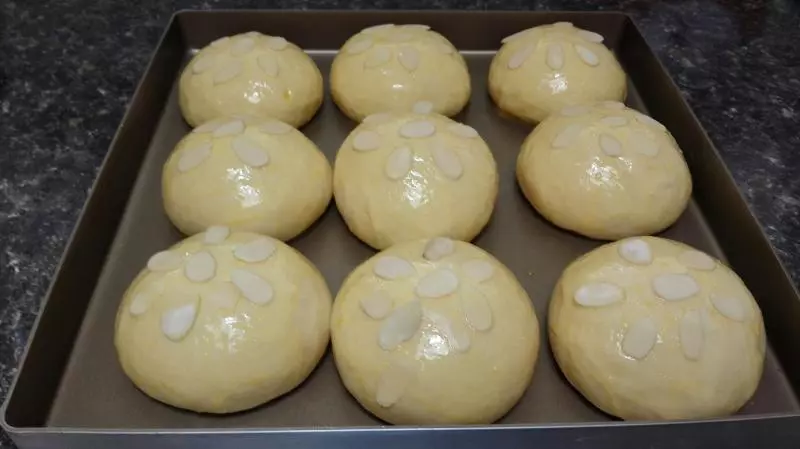
8直至面团发酵至两倍大取出,开始预热烤箱上下火175℃。

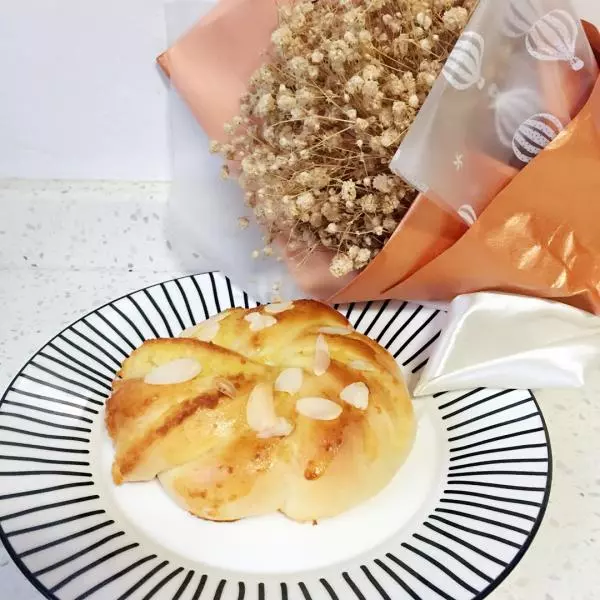
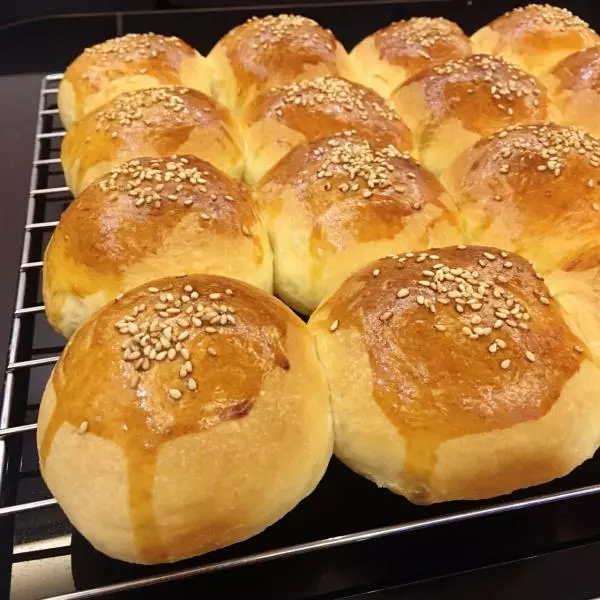
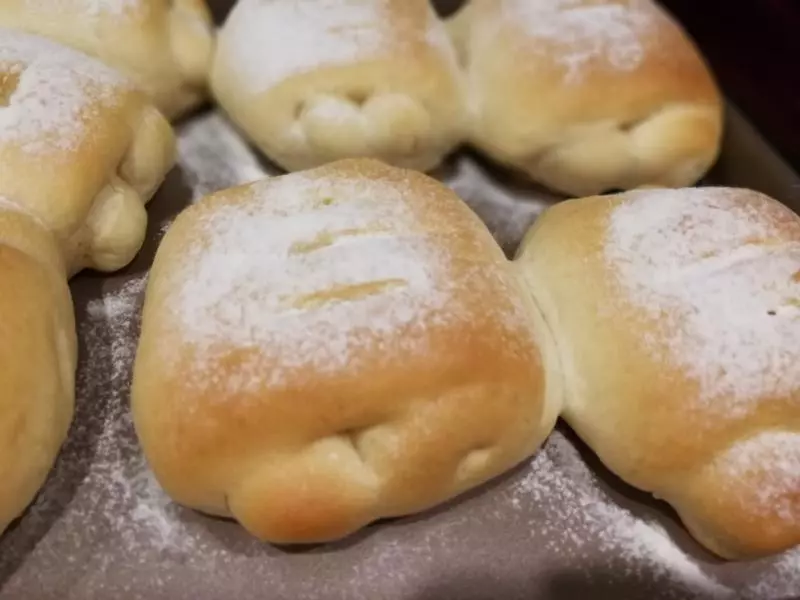
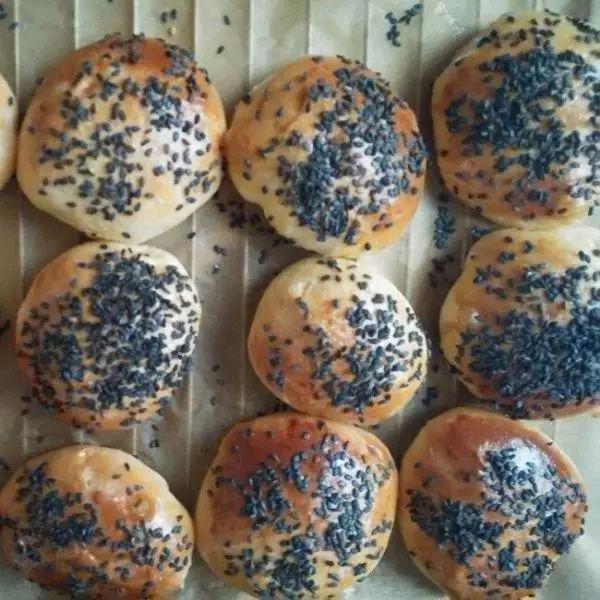
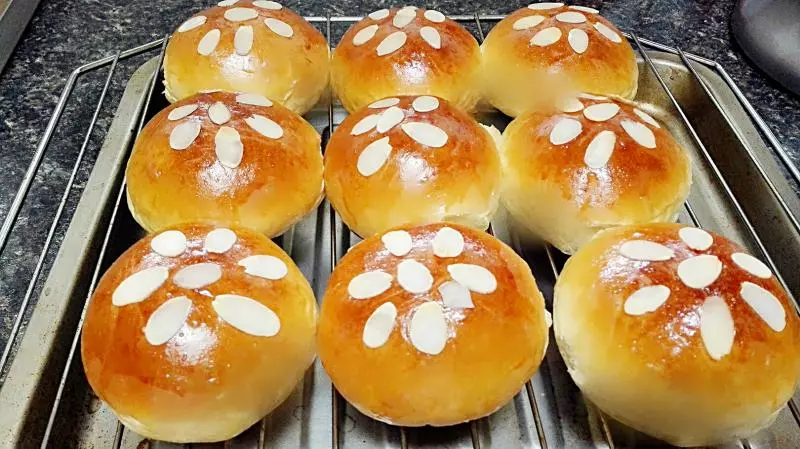
9在已经发较酵好的面团上刷蛋液,撒杏仁片。
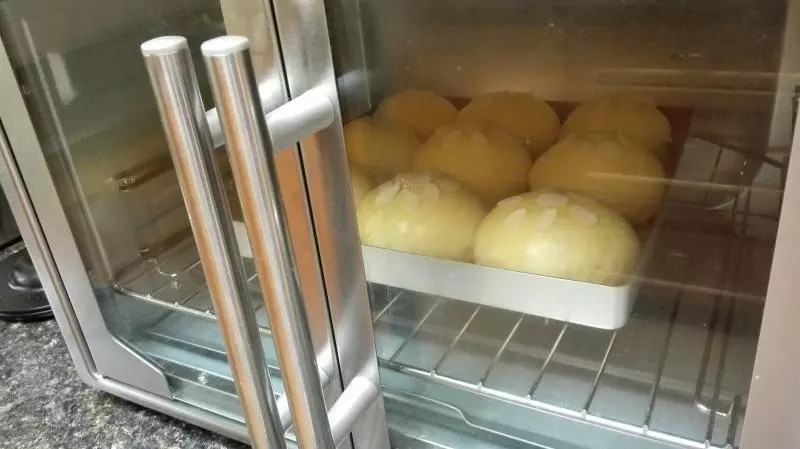
10放入完全预热好的烤箱中下层,烤二十分钟,随时注意上色情况,及时加盖锡纸。
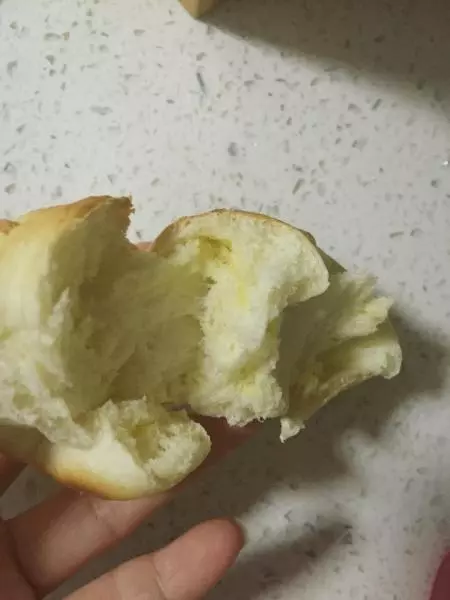
11烤好后移出烤盘,在烤网上冷却,吃不完放入保鲜袋冷冻保存,随吃提前解冻。
小技巧
因面粉含水量不同,液体量请适度调整;烤箱温度差异很大,请酌情掌握。