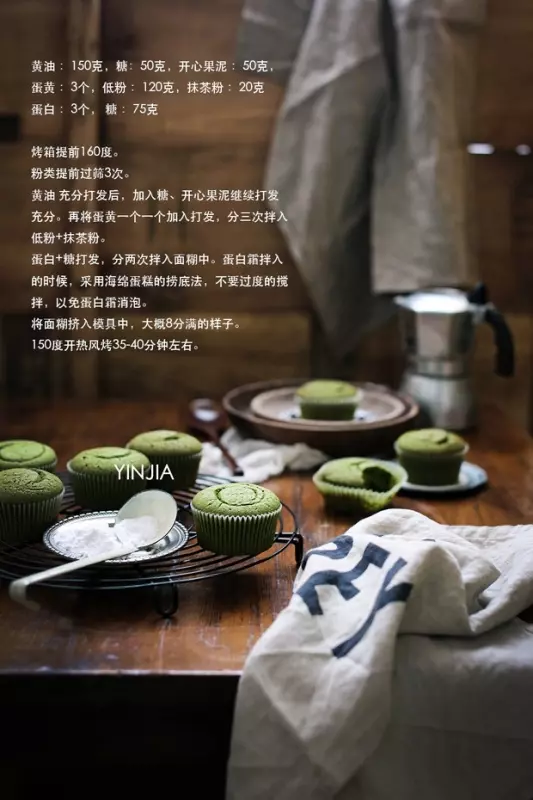
原料
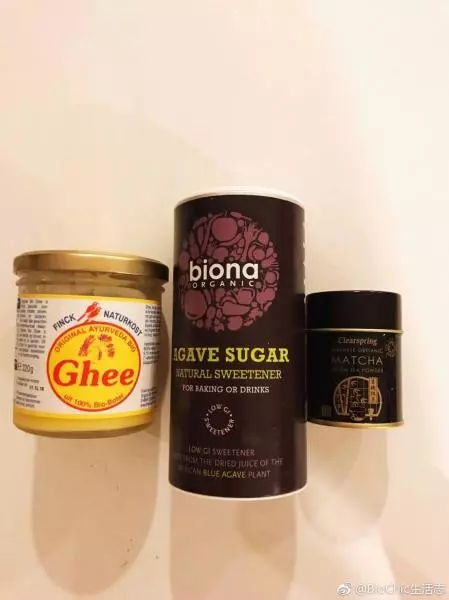
黄油: 100克, 糖粉: 100克, 全蛋液: 100克, 低粉: 90克, 抹茶粉: 10克, fluff棉花糖: 30克, 蜜红豆: 50克, 细砂糖: 16克, 水: 40克
步骤
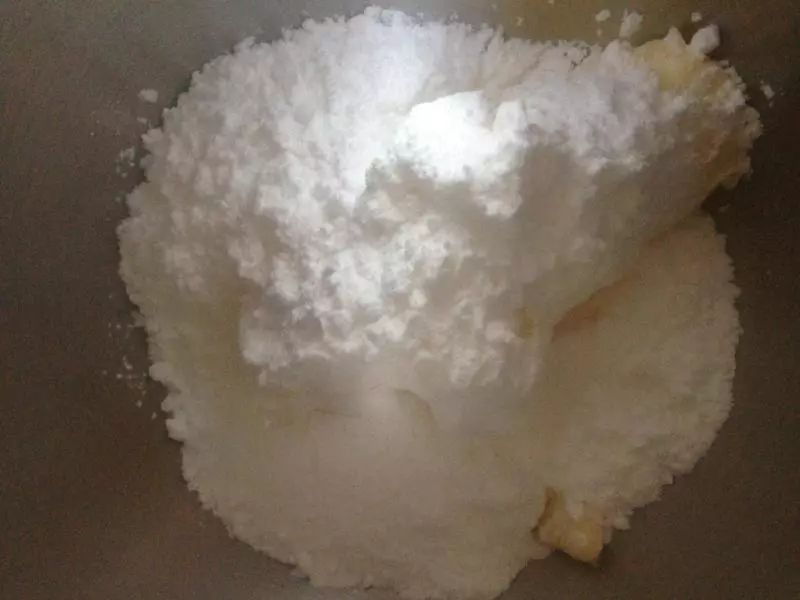
1糖粉加入黄油
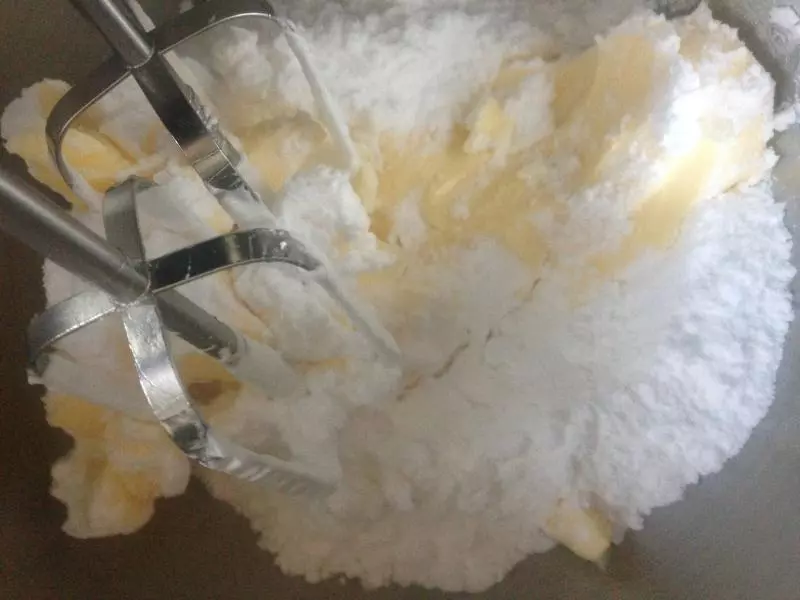
2先用打蛋器搅拌一下 再开电动打发 直接打会起烟雾 很呛
3打发到发白
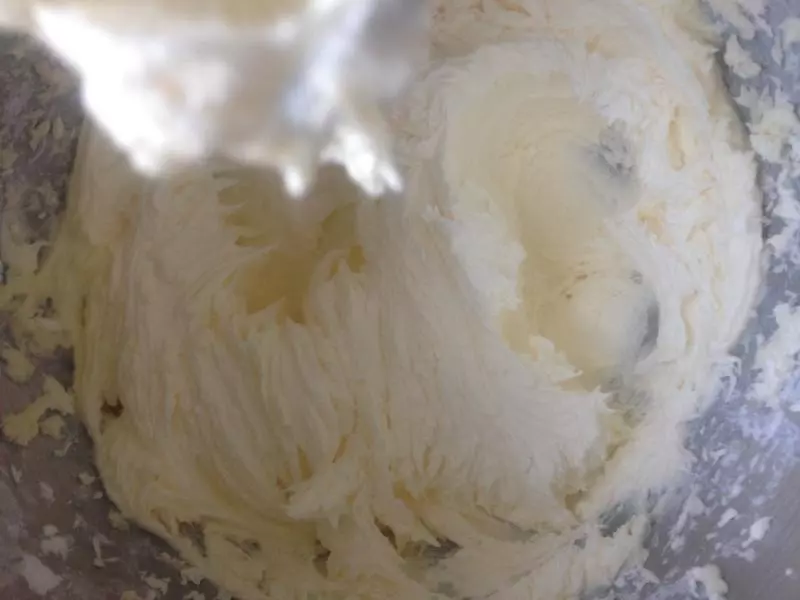
4成羽毛状
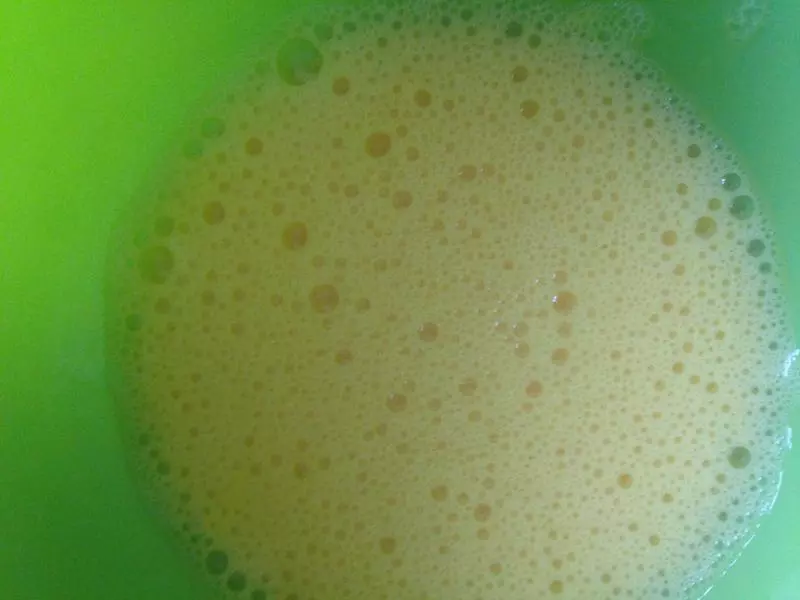
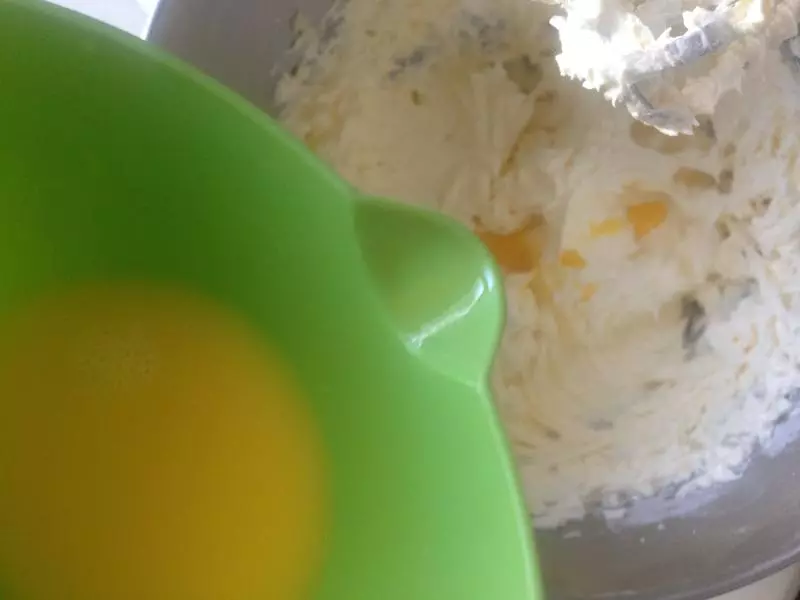
5常温鸡蛋打散
6少量加入打发好的黄油中
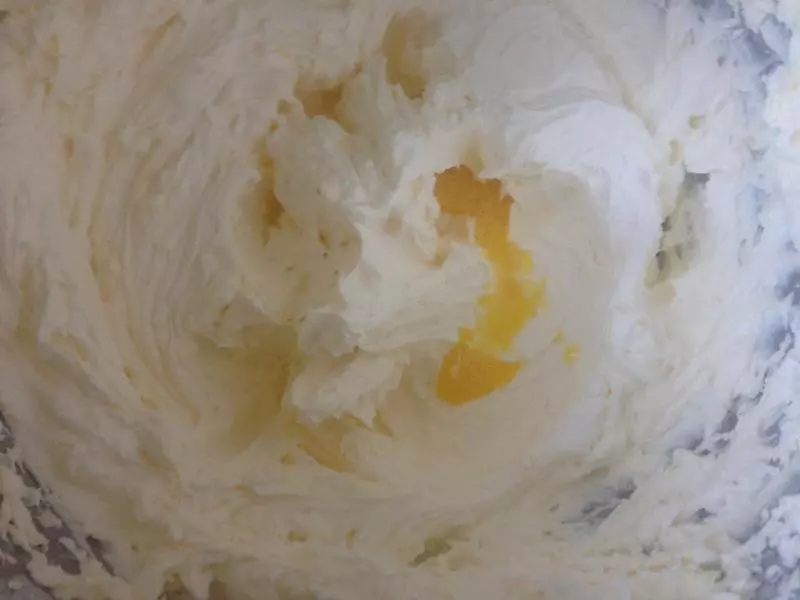
7打发至蛋液充分吸收 再加下一次蛋液
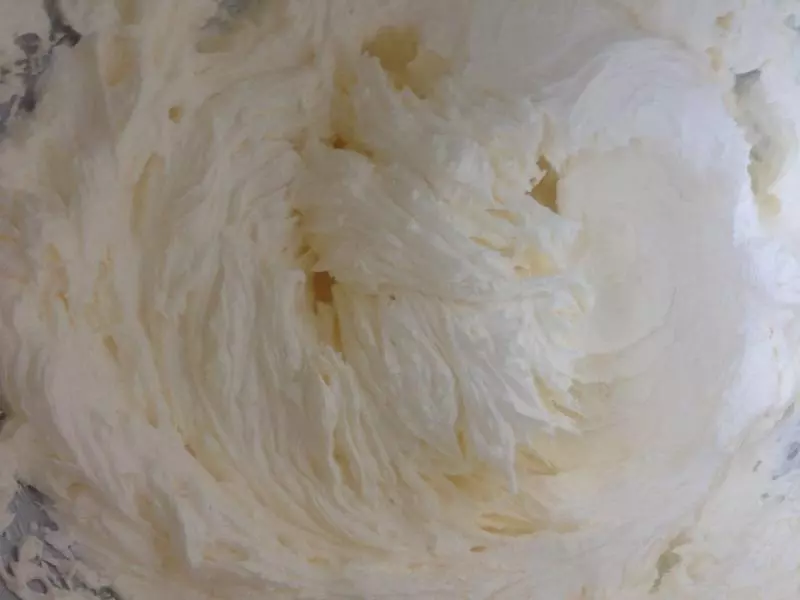
8全部加入以后 再充分打发 直蓬松轻盈 没有液体

9面粉过筛
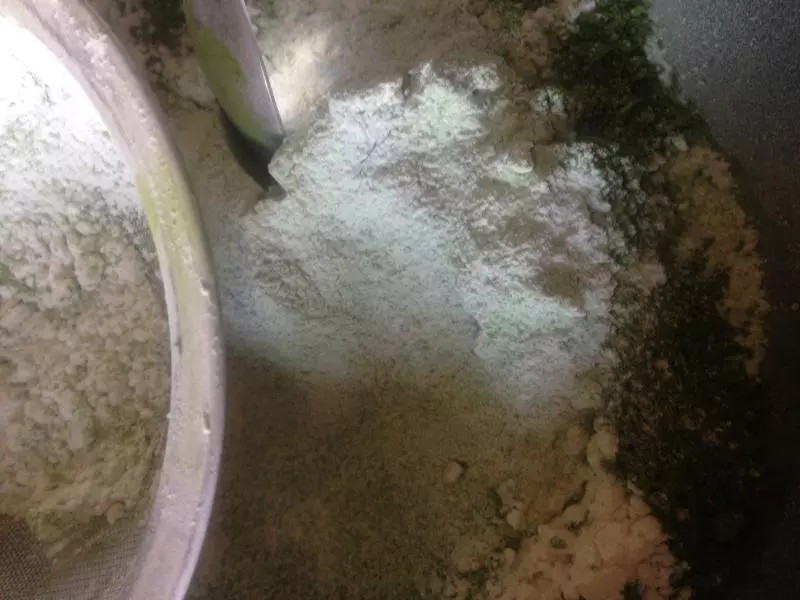
10取抹茶粉 一起再过一次筛 抹茶粉尽量选好一点的 颜色比较漂亮

11过筛的混合粉类 筛入黄油糊中
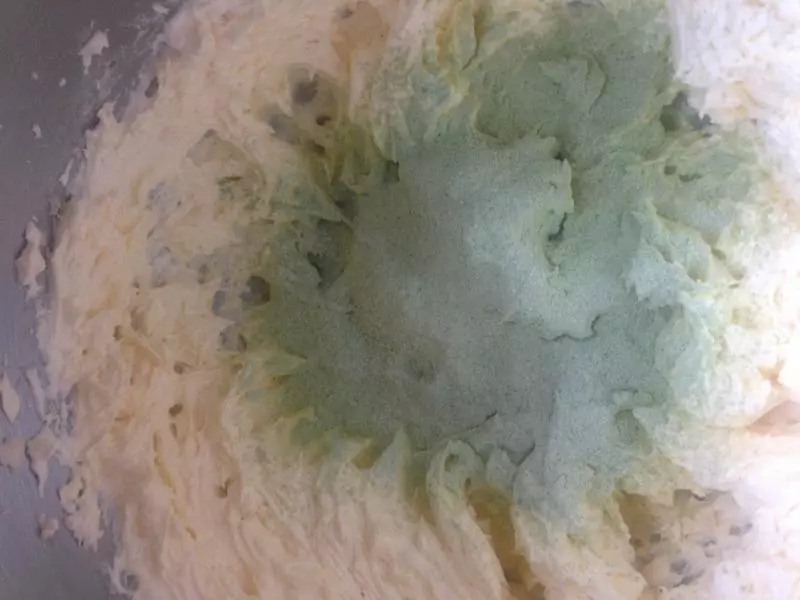
12可以全部筛进去 也可以分两次 翻拌
13面糊的翻拌 用捞起 再摔下的办法 只要前期黄油打发充分 不是压拌 一般都没有问题
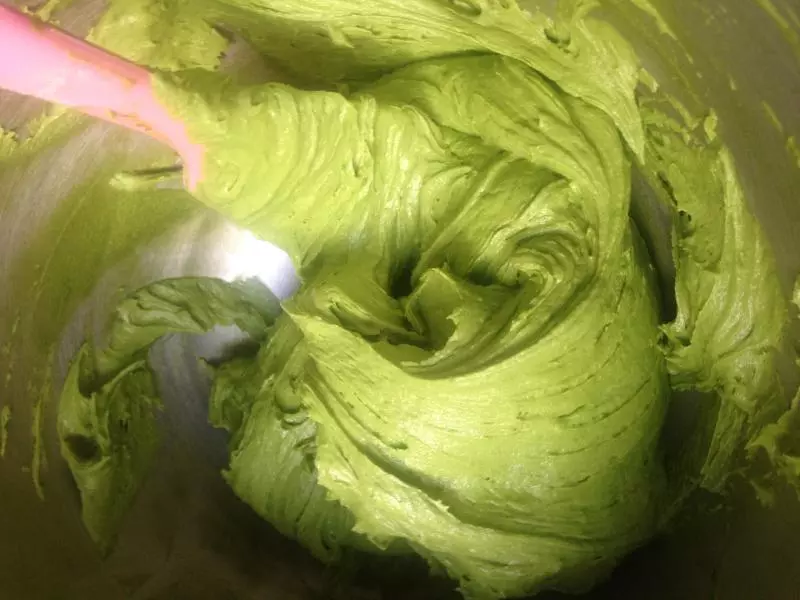
14面糊翻拌到这样的状态
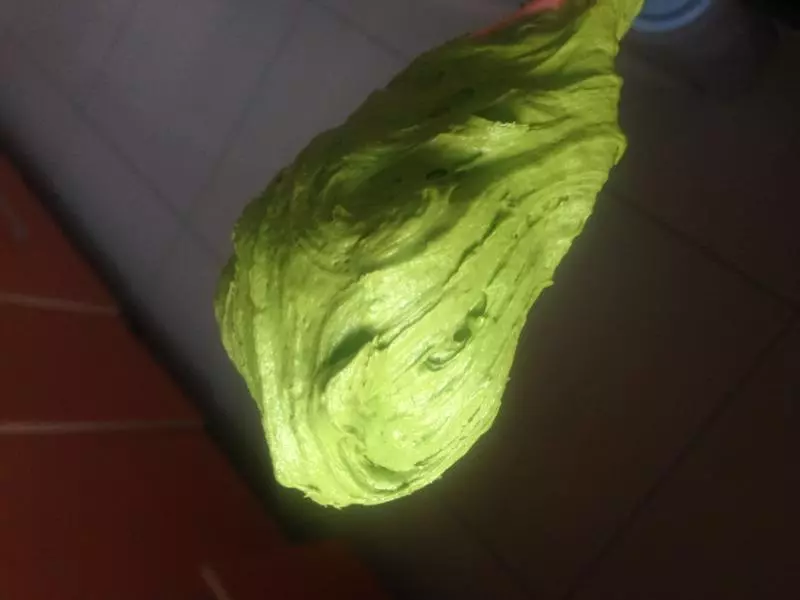
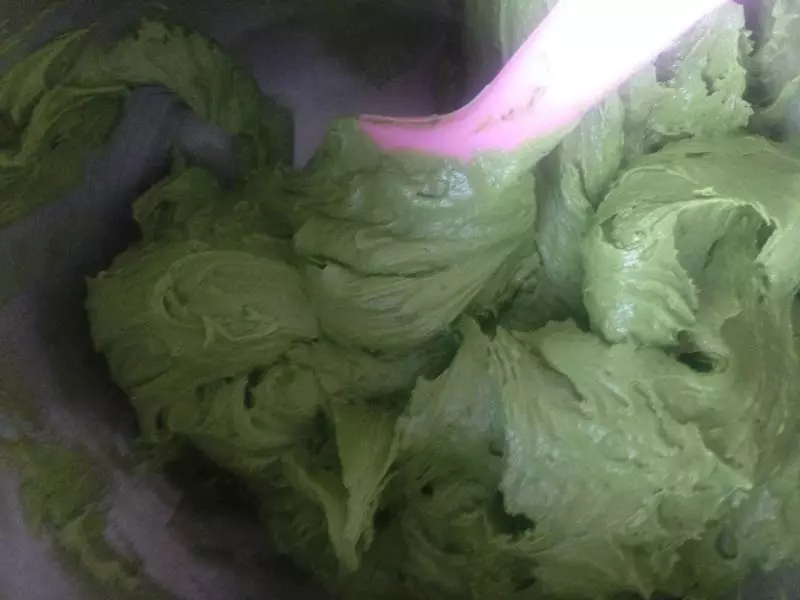
15加入fluff棉花糖 可以增加成品的湿润度 成品更细腻 口感很绵润 不用刷糖水 都不会干噎

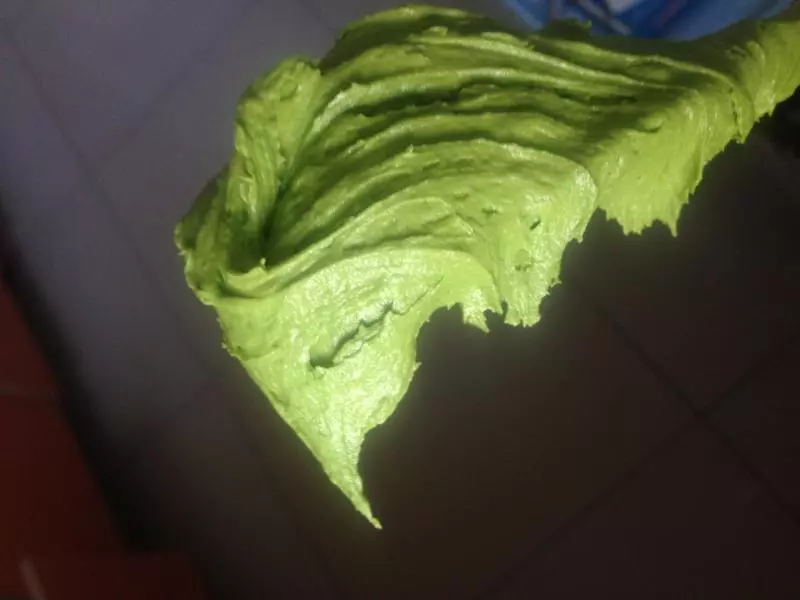
16继续翻拌到可以面糊光泽细腻 没有干粉
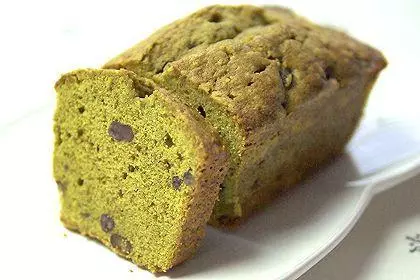
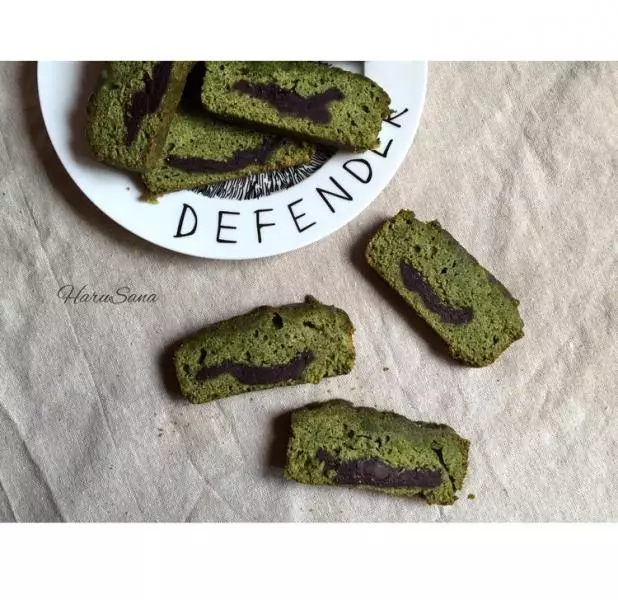
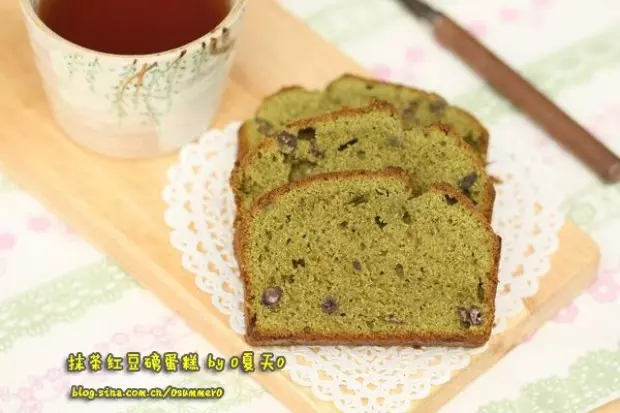
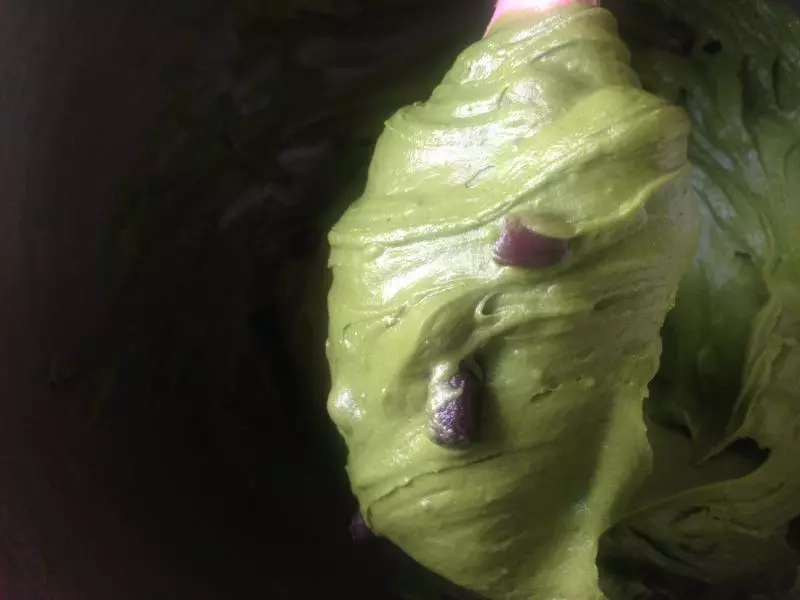
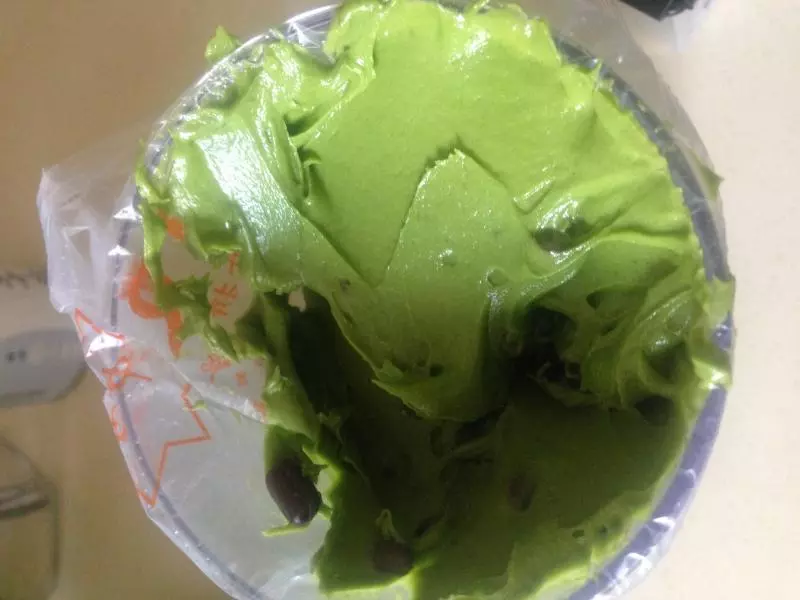
17加入蜜豆
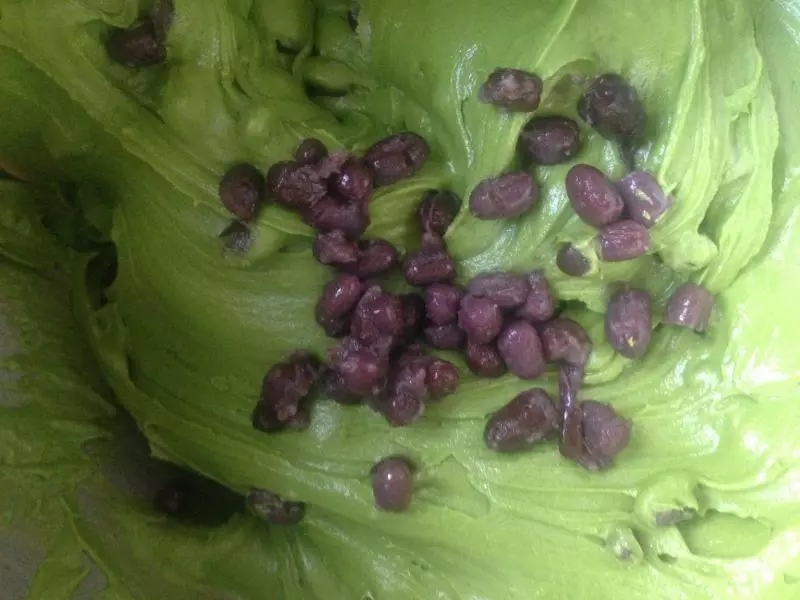
18翻拌均匀即可
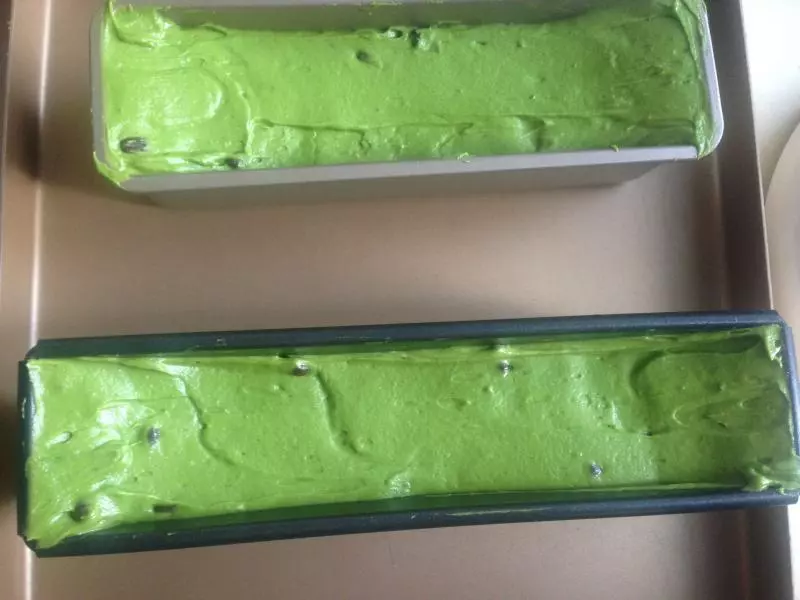
19取一个裱花袋 把拌好的面糊装入裱花袋
20挤进磅蛋糕模具 用刮刀抹成两边高 中间低的状态 方便烤出漂亮的裂痕 我用不沾模具 直接挤 如果是普通模具 记得用油纸在模具内测贴好 方便脱模
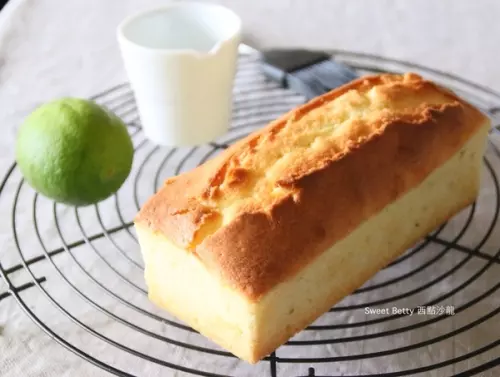
21烤箱预热170度 烤30分钟 裂口充分 就可以盖锡纸 避免上色过重
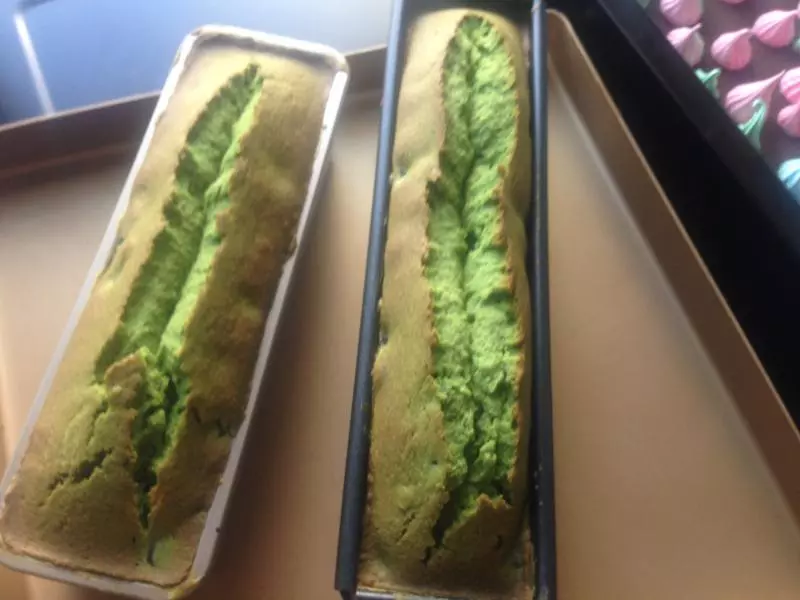
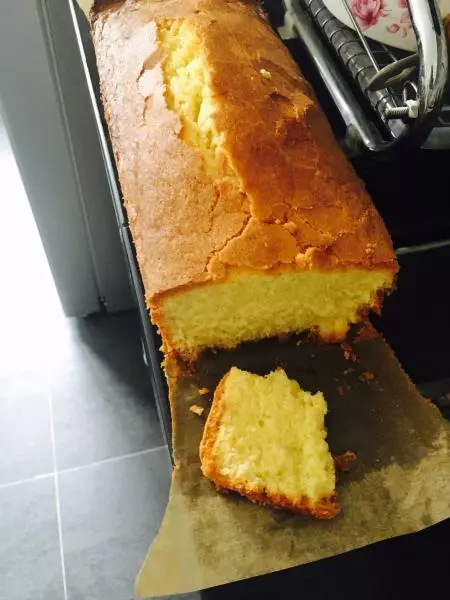
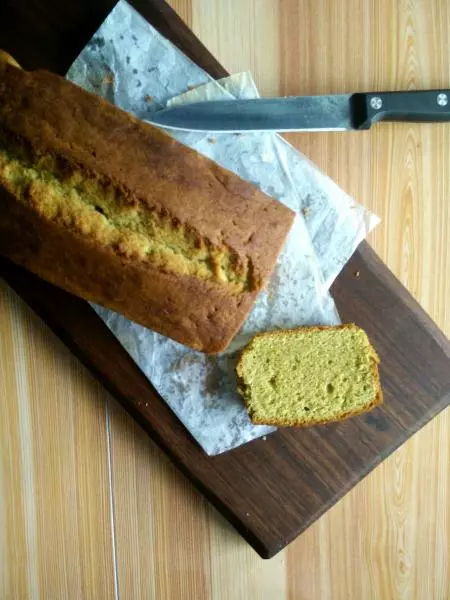
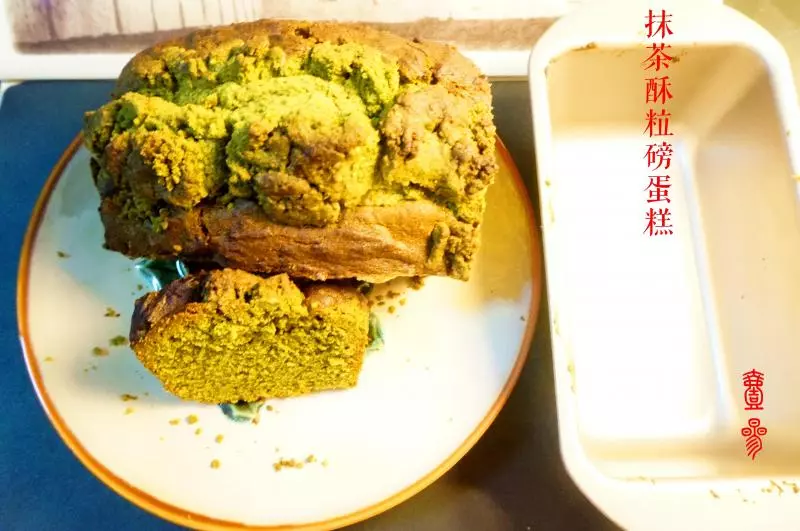
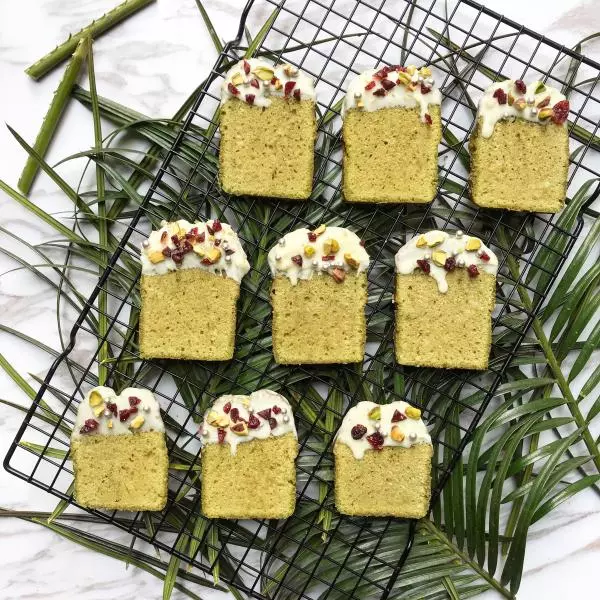
22烤好 趁热脱模 倒在晾网上 如果要刷糖水 趁热刷 变角的地方多刷一点 这个方子 我做过几次 不刷也很好吃 到温热的时候 装保鲜袋 或是用油纸包好

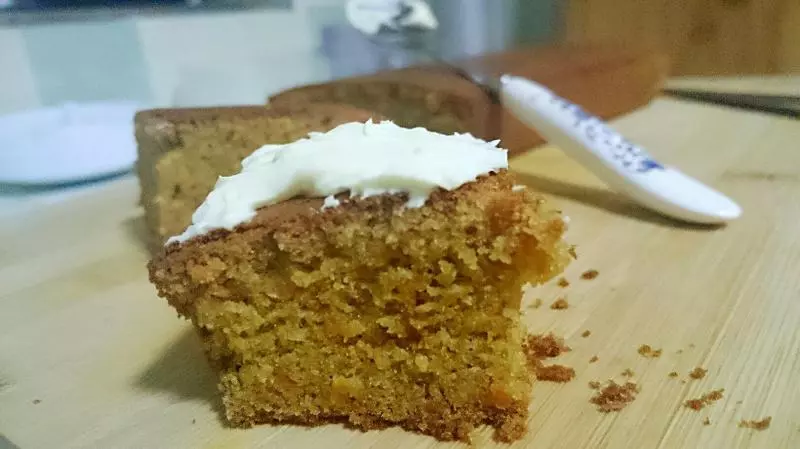
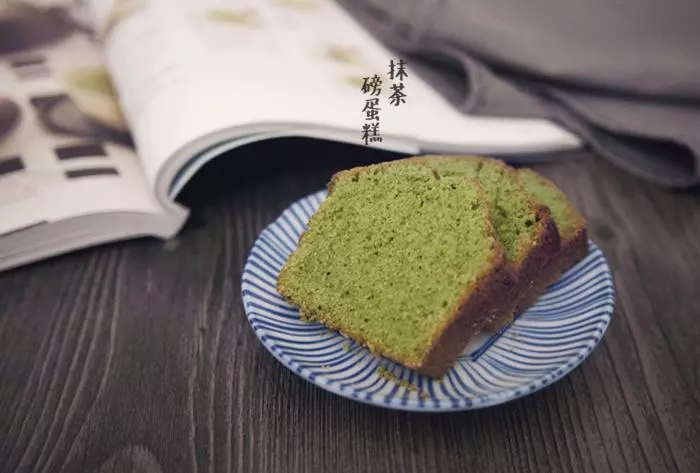
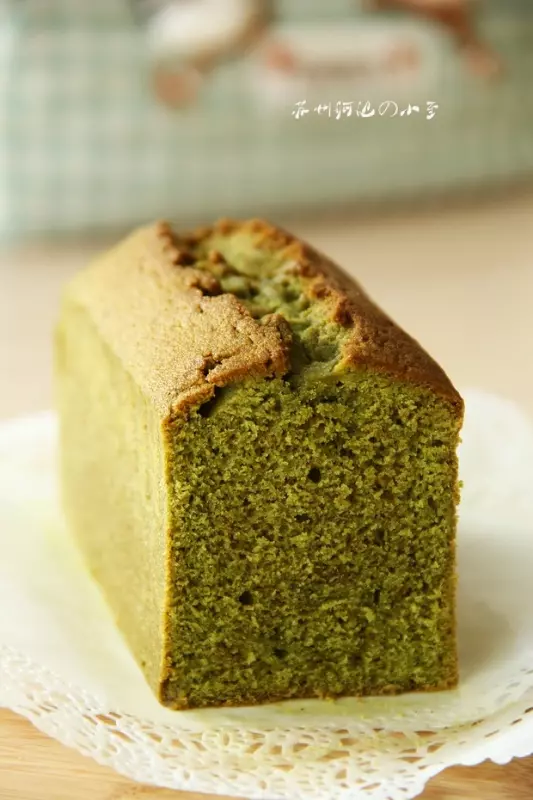
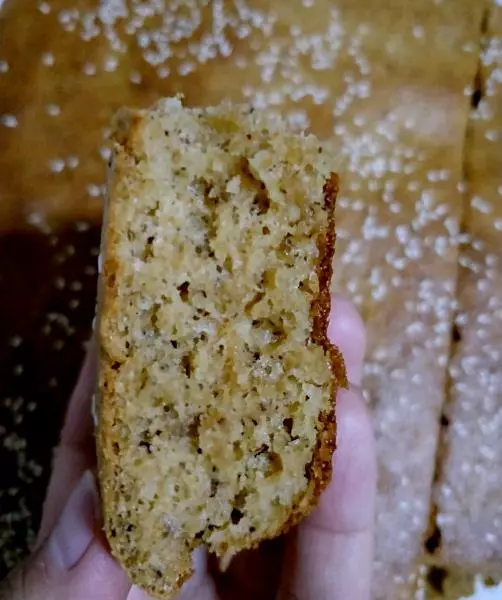
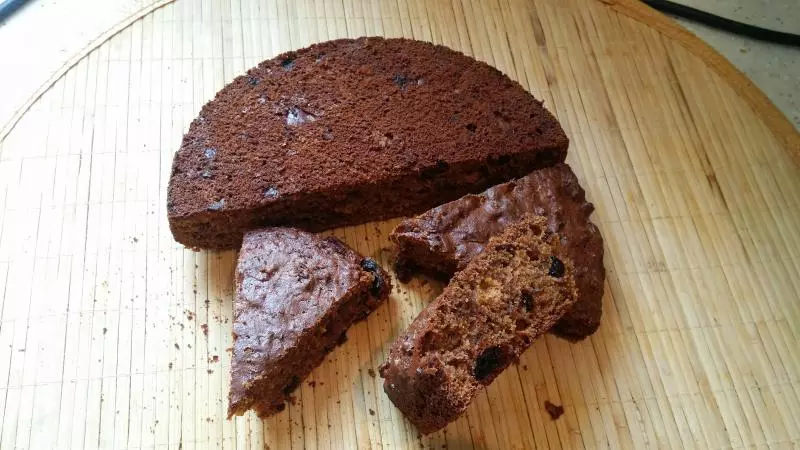
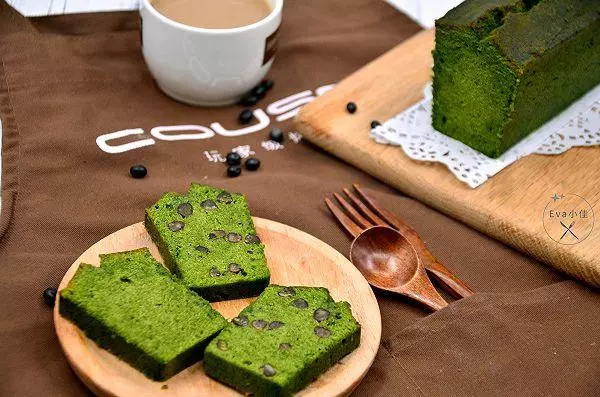
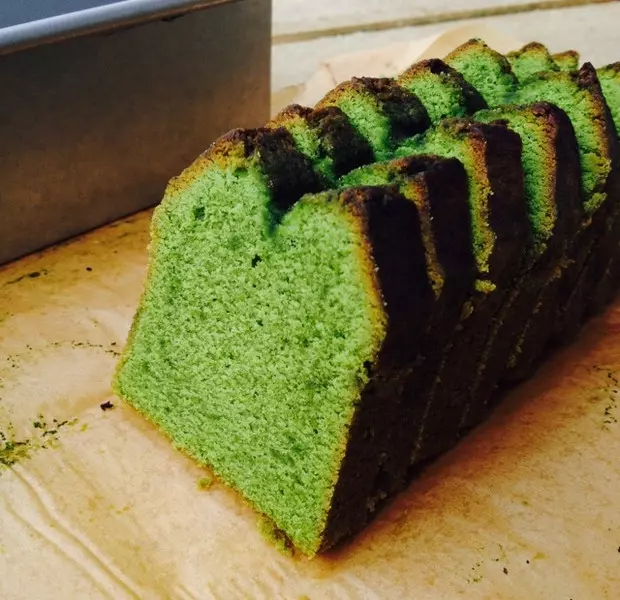
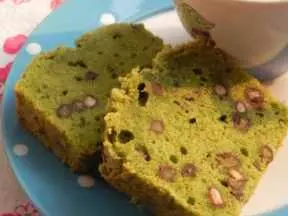
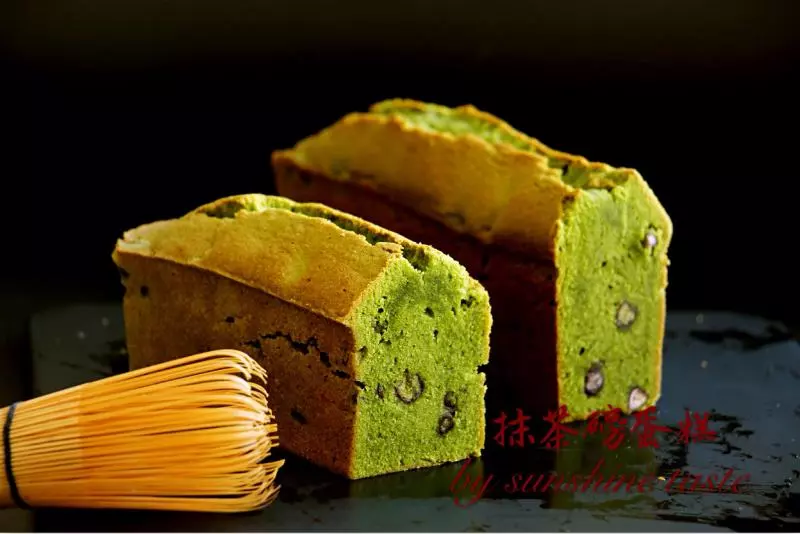
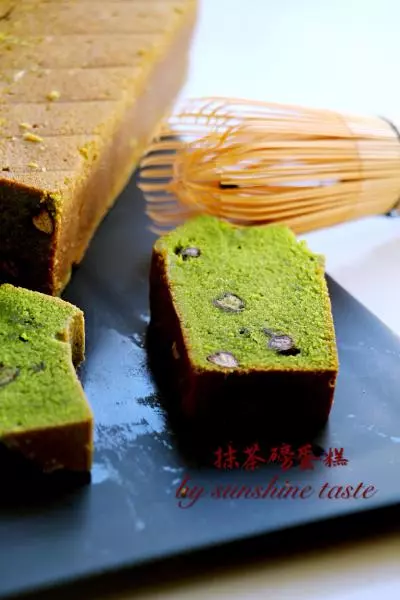
23看看切片 是不是很细腻 回油的磅蛋糕更好吃 味道更加融合 甜味也更柔和
小技巧
做磅蛋糕 温度很重要 太冷的天气做 很容易油水分离 黄油必须打发充分 因为没有泡打粉 完全依靠打发的黄油来达到蛋糕的松软 黄油尽量选纯一点的 不止是差在味道上 鸡蛋液一点点加 每一次必须打发充分 抹茶的磅蛋糕烤的时候 比别的温度相对低一些 但是一定要烤熟透 要不然出炉回缩 给出的温度也是参考温度 根据个人的烤箱调节