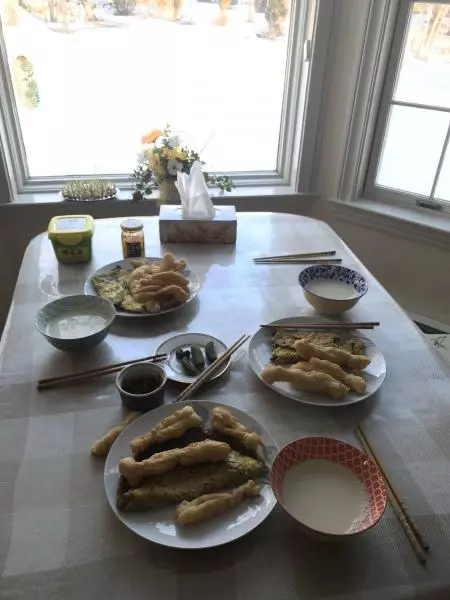
原料
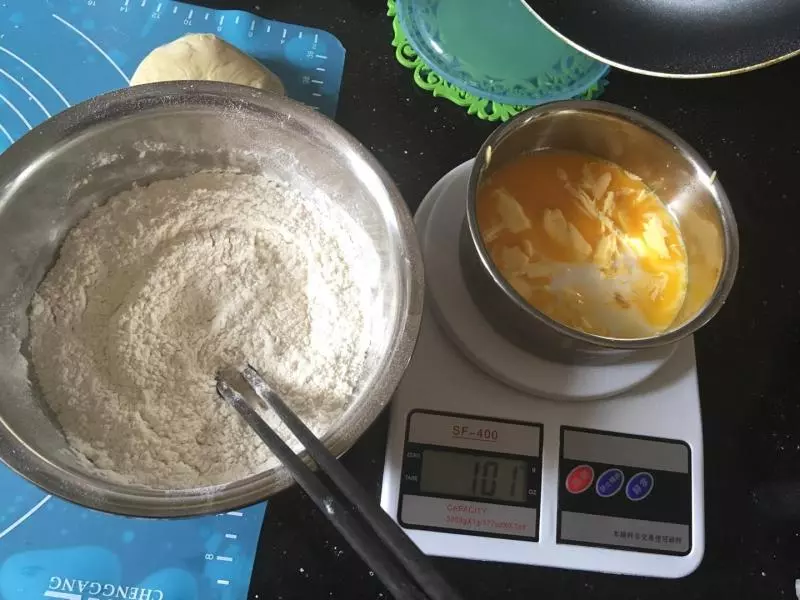
鸡蛋: 1只, 面粉: 200g, 盐: 2g, 植物油: 25g, 酵母: 4g, 小苏打: 2g, 水: 80ml, 牛奶: 70ml
步骤
1对不起大家我用了做面包的配料图,我就是想告诉大家所有需要的目录里的材料都这样一股脑儿的放盆里称上
2面粉放在案上,使足了力气各种揉一定是揉来回的,我穿背心短裤就是给自己营造一个彪形大汉的样子,揉到面团有光感就行
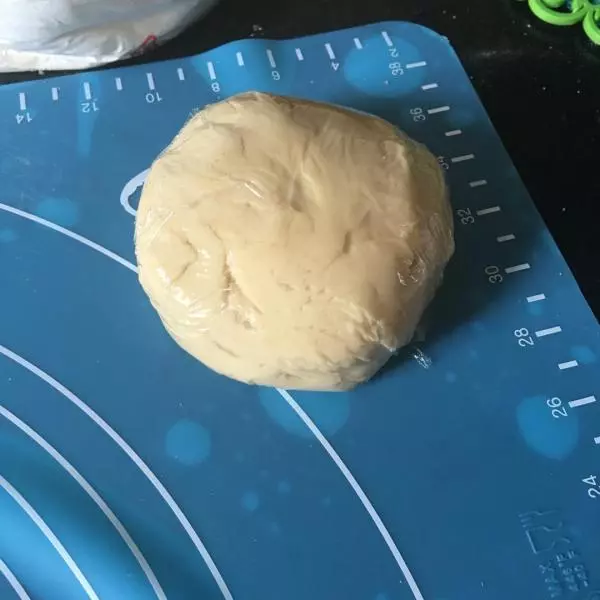
3保鲜膜包着静置,虽然里面有酵母但是不想想着它是个馒头会发成两倍大,最好放在冰箱冷藏一晚上目的就是让面更加筋道。我这里放冰箱三小时。
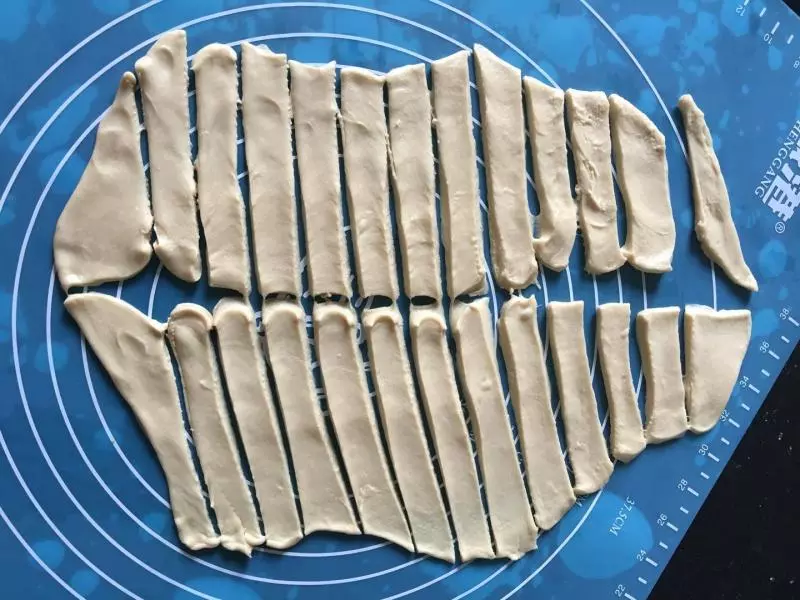
4案上抹油,擀面杖铺平,切成如图这样
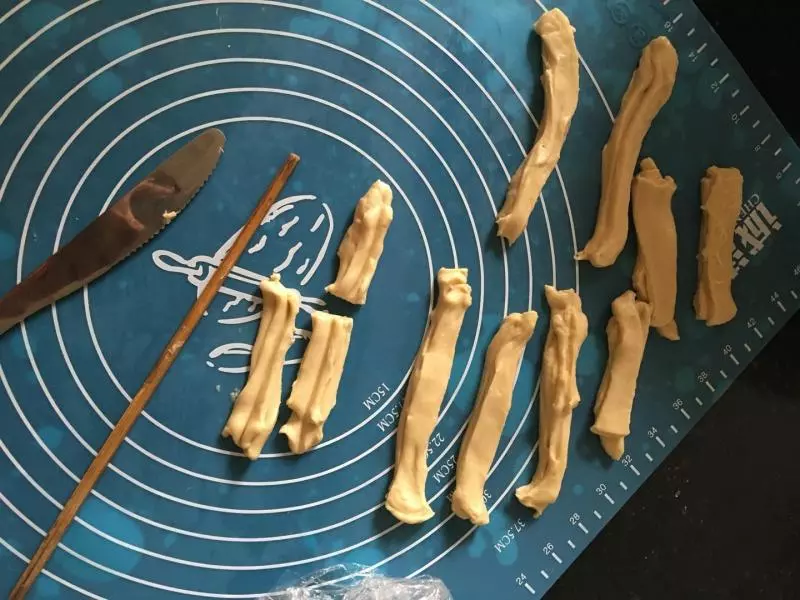
5两条叠加起来,用筷子压,但凡早上吃过油条的都明白,就是没吃过猪肉也见过猪跑了
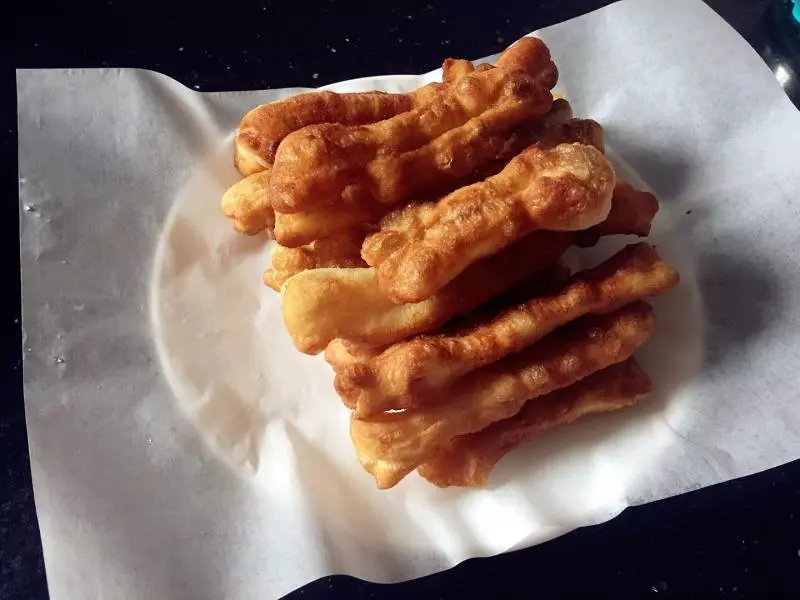
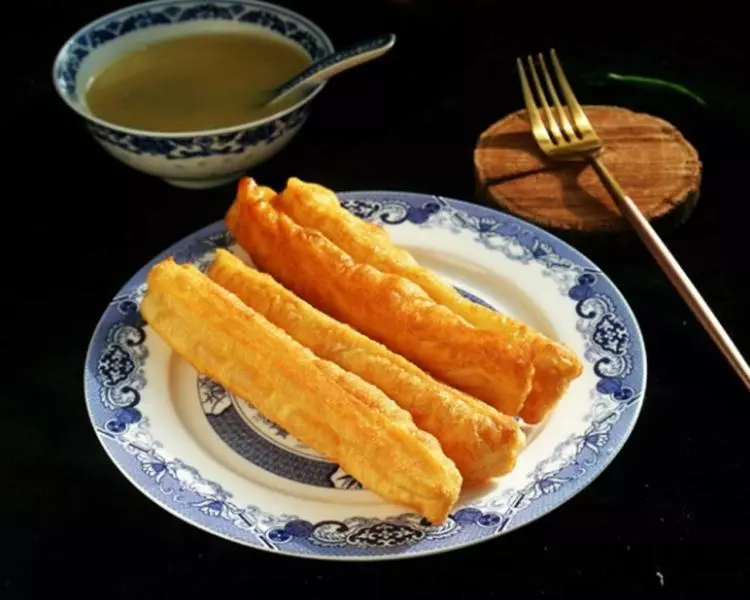
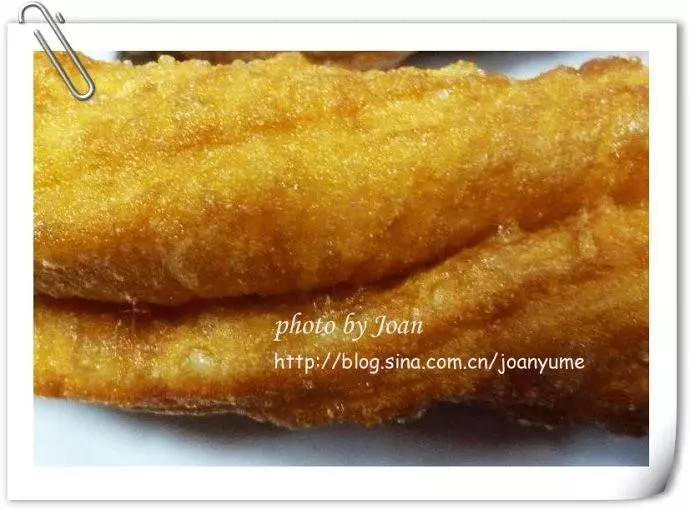
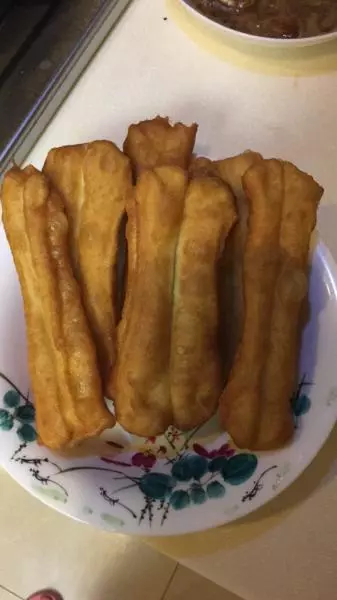
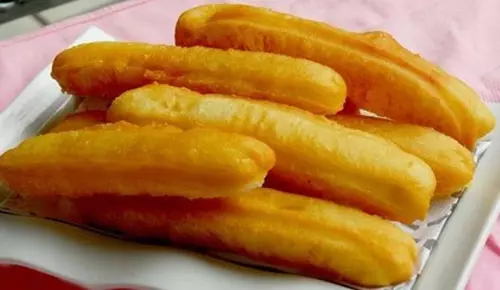
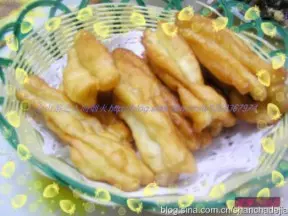
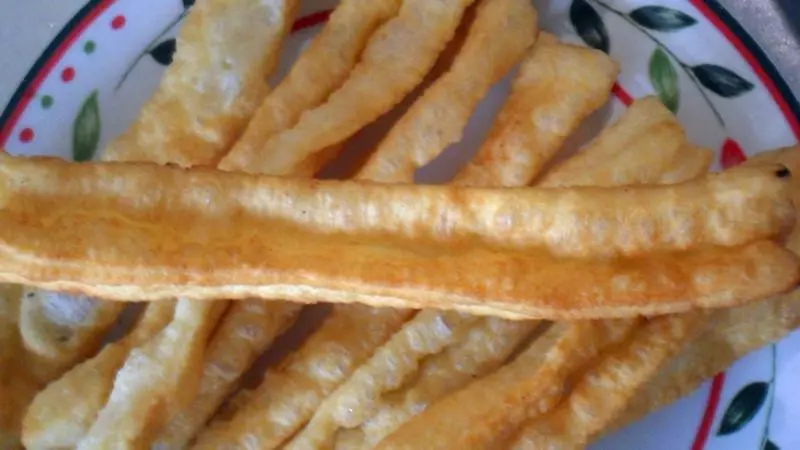
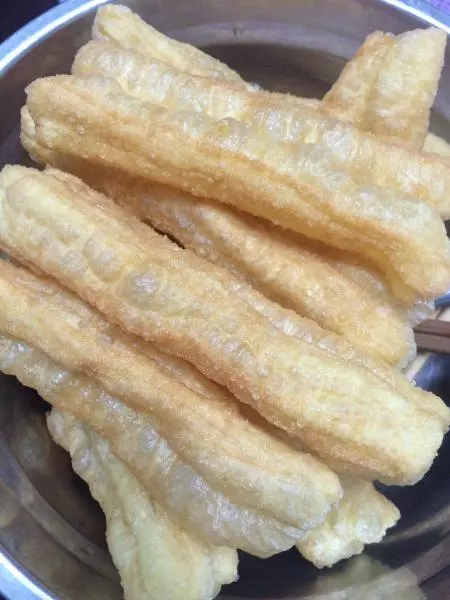
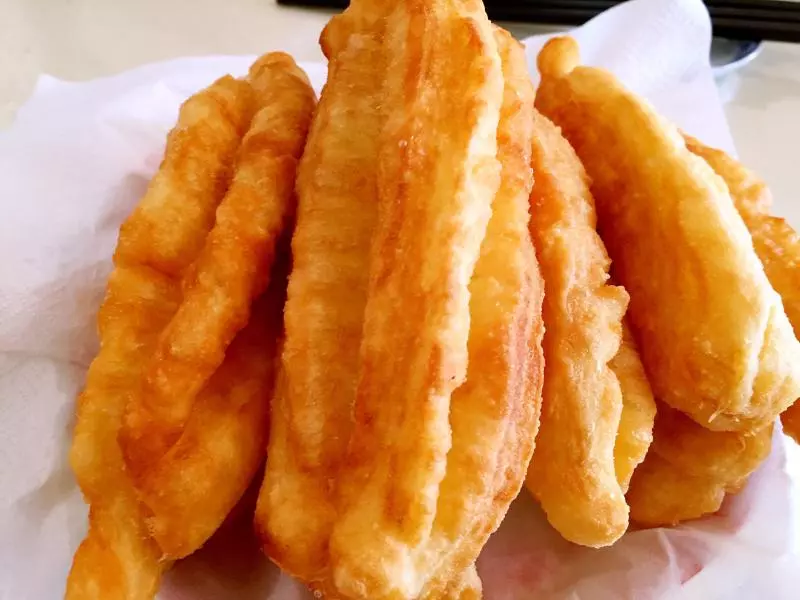
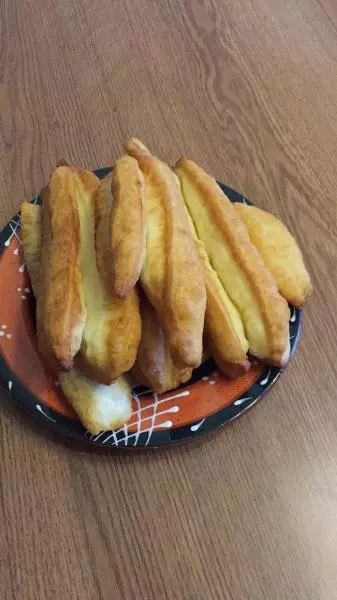
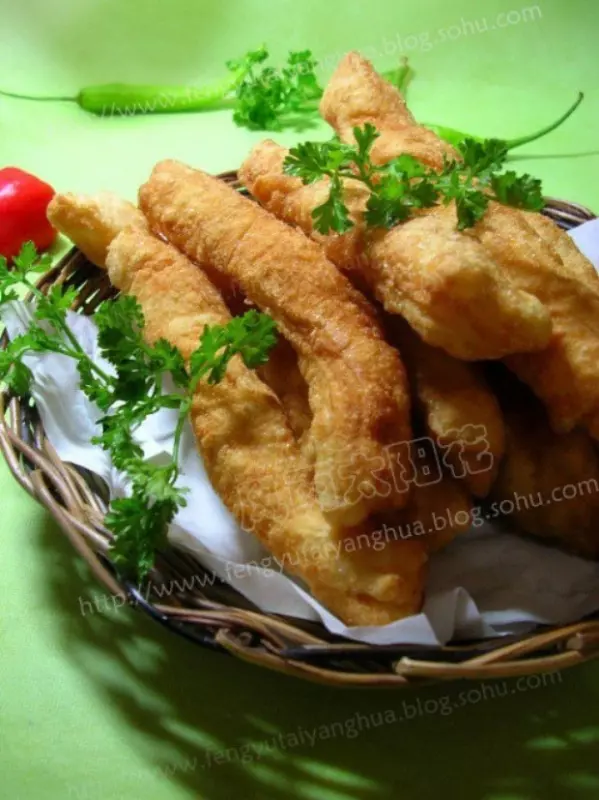
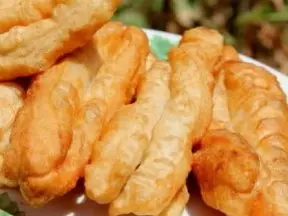
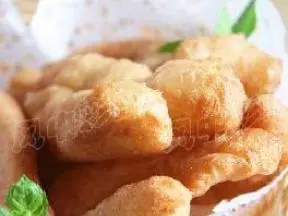
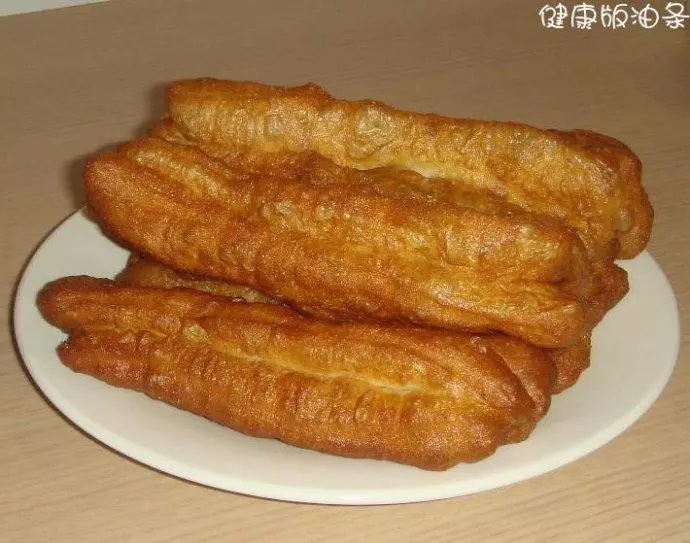
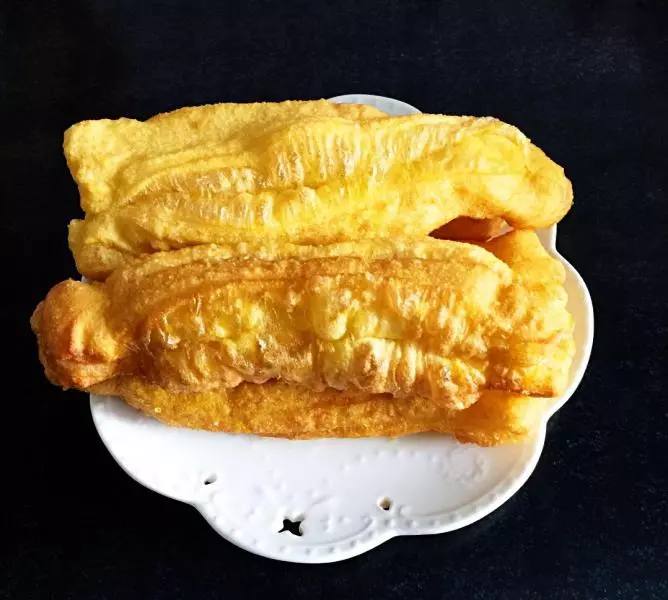
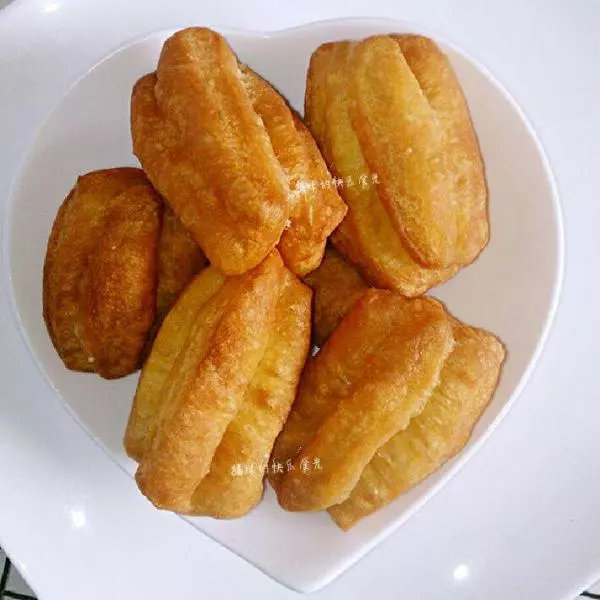
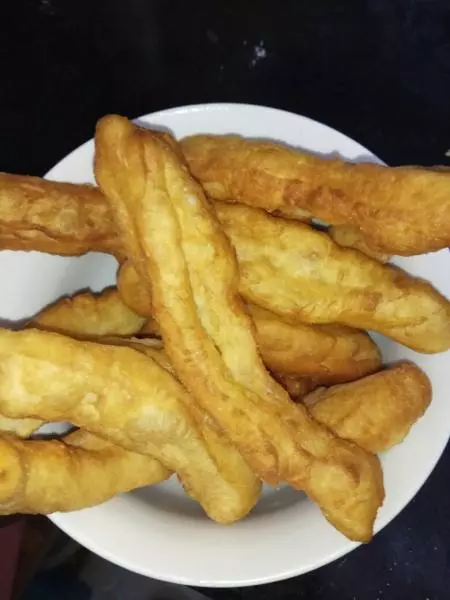
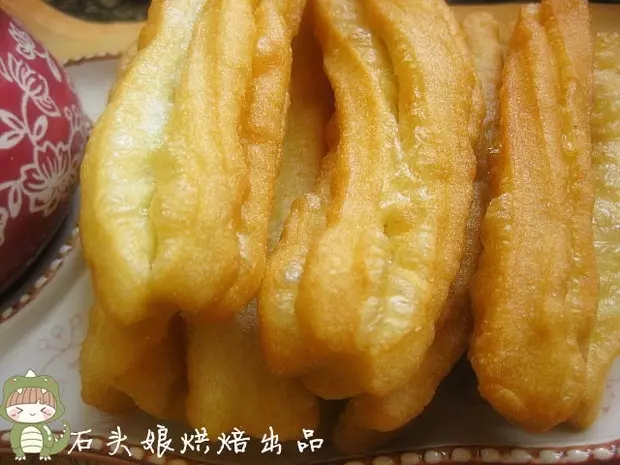
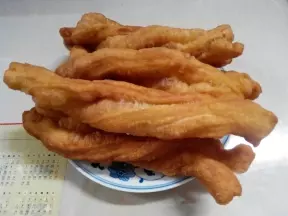
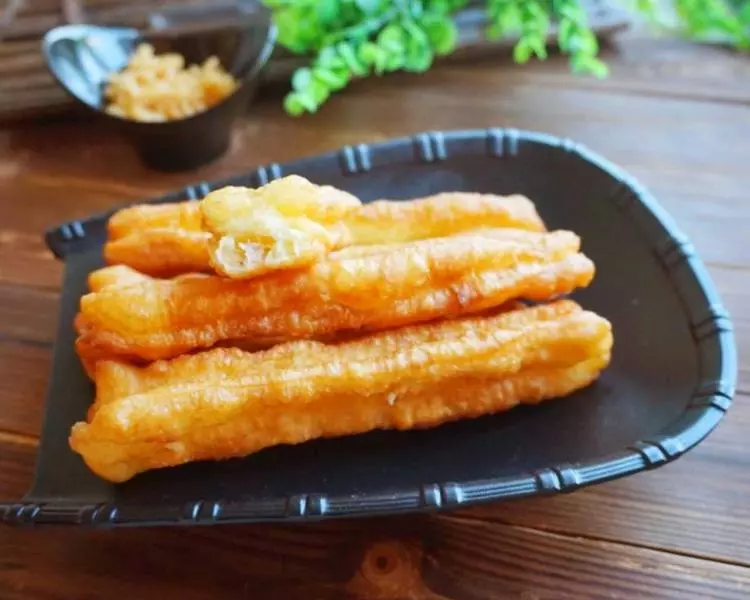
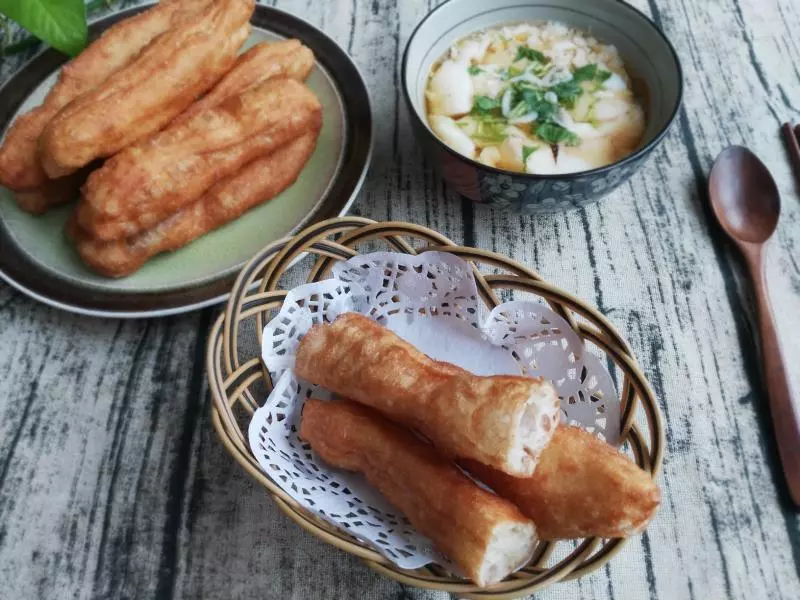
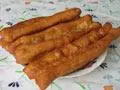
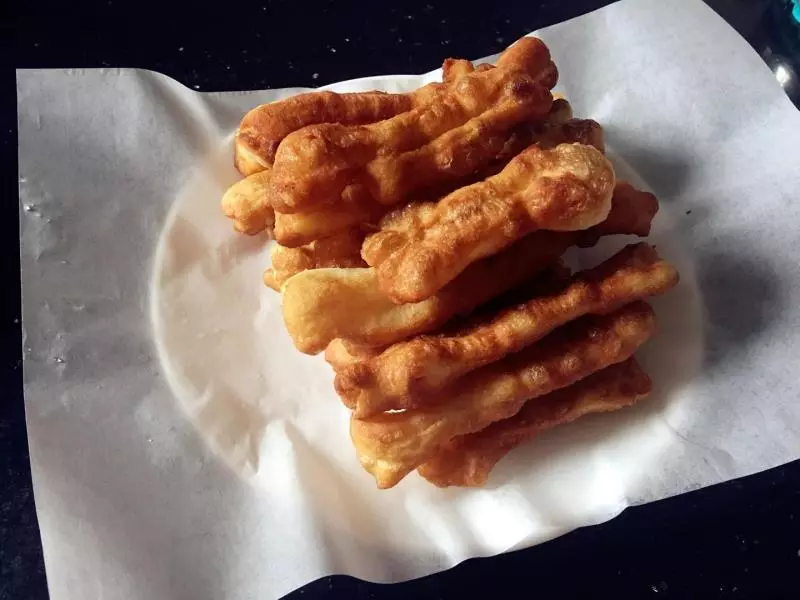
6以后一个关键工序—炸!油温要高,油条放下去立马用筷子翻腾,炸鼓起来金黄色捞出
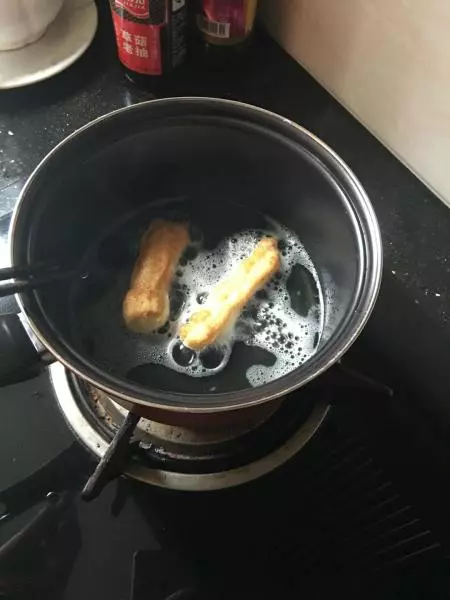
7重点来了,吸油纸比练摊的大爷那个过滤网好太多了。这个无添加剂无明矾无循环油的油条就出锅啦