原料
面糊材料: 卡士达酱材料, 水:180克: 蛋黄:3个, 砂糖:10克: 黄油:15克, 黄油:90克: 细砂糖:60克, 低筋面粉:120克: 低筋面粉:24克, 可可粉:5克: 牛奶:240克, 鸡蛋:3个: , 泡芙菠萝皮材料: , 可可粉:3克: , 低筋面粉:60克: , 黄油:50克: , 细砂糖:40克:
步骤
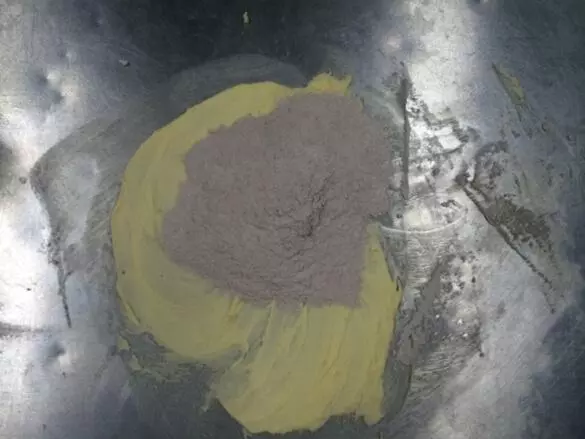
1菠萝皮操作步骤 低筋面粉和可可粉混合过筛备用 黄油软化后加入白糖混合放在案板上搓磨均匀
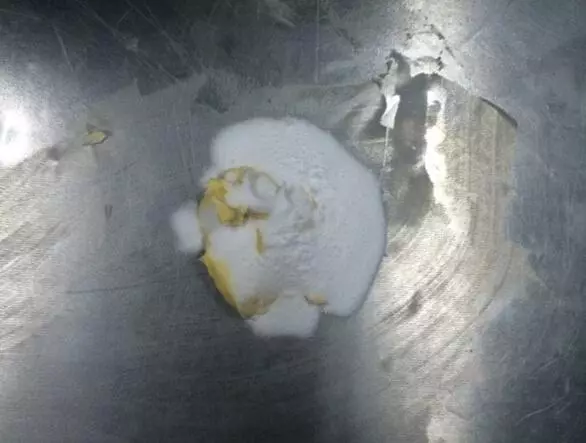
2加入过筛的粉类,翻拌均匀,整形成圆柱体,放冰箱冷冻一个小时,备用
3泡芙体操作步骤 低筋面粉和可可粉混合过筛备用 黄油、水、白糖倒入小锅中,用中火煮开
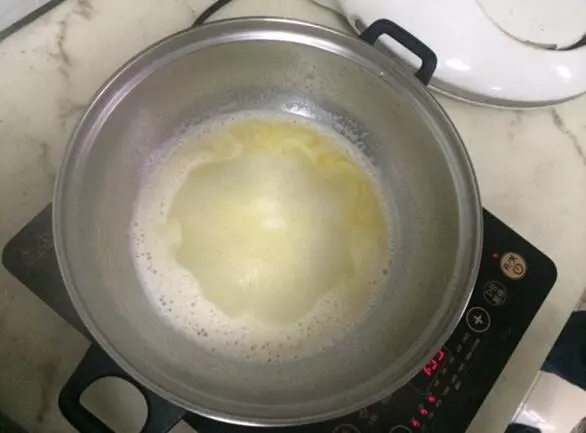
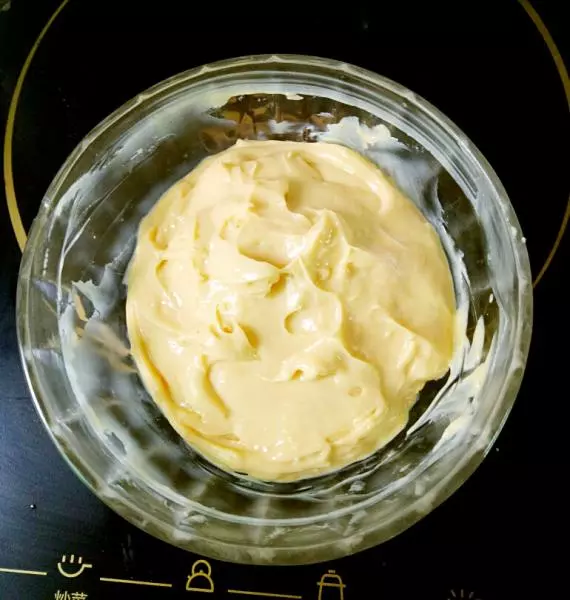
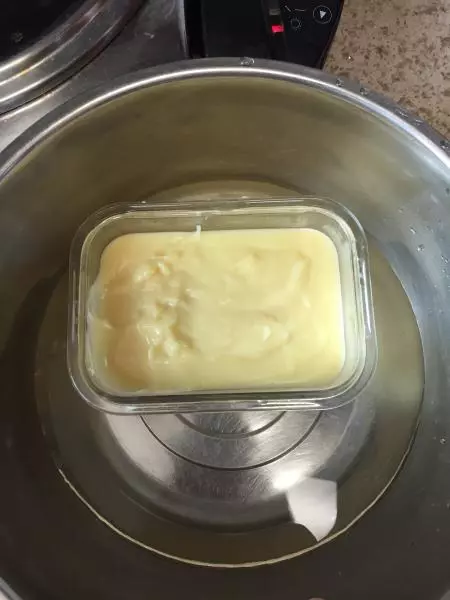
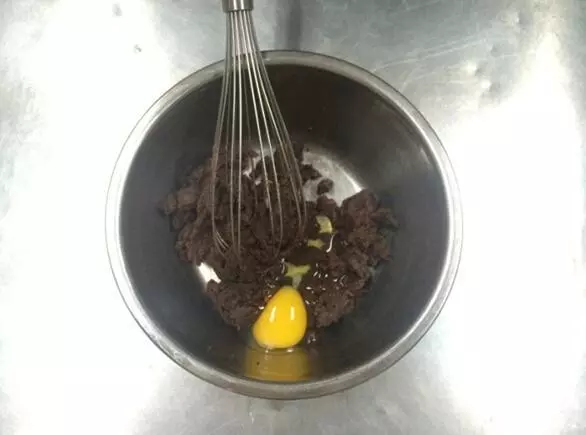
4加入过筛的粉类,用蛋抽搅拌均匀,搅拌至锅底出现薄膜后关火 然后冷却后分次加入鸡蛋,用蛋抽搅拌均匀即可
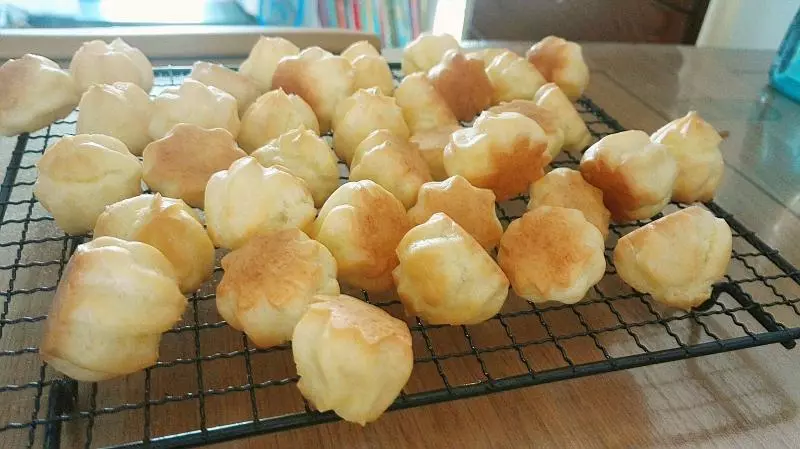
5拌好的面糊装入裱花袋,挤在铺有油纸的烤盘里
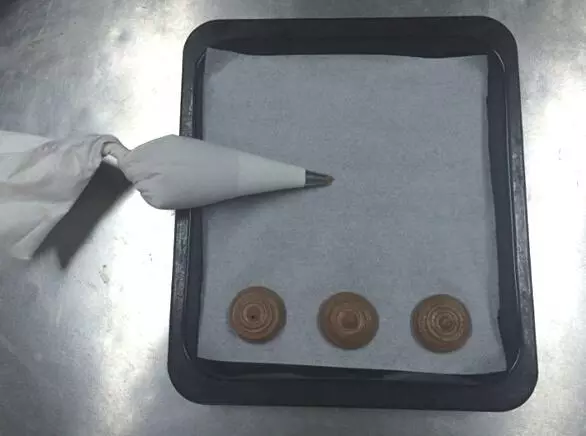
6将做好的菠萝皮取出回温后切成薄片,铺到挤好的泡芙上

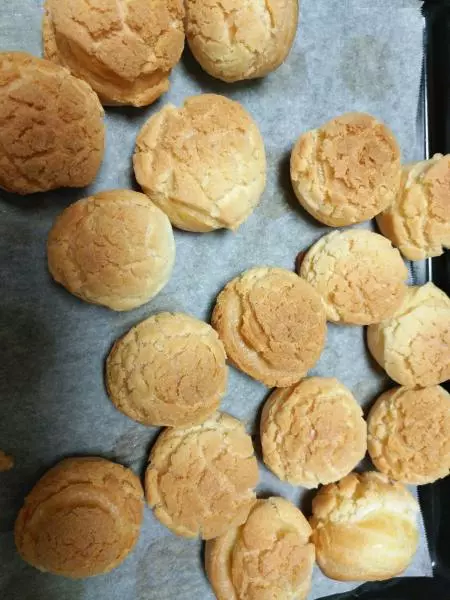
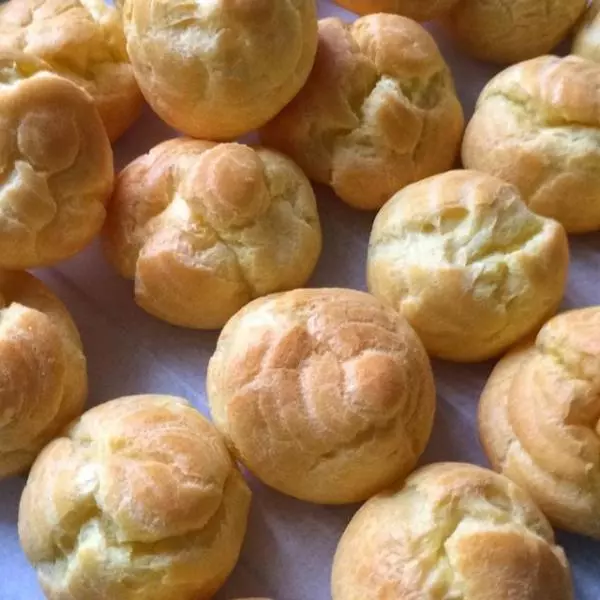
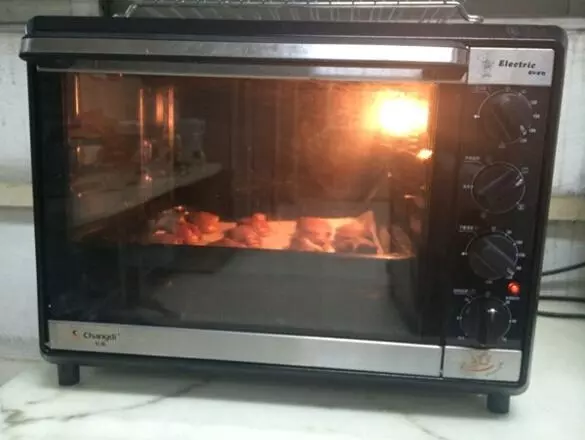
7放入预热好的烤箱烘烤,上火200度,下火180度,烤25分钟即可
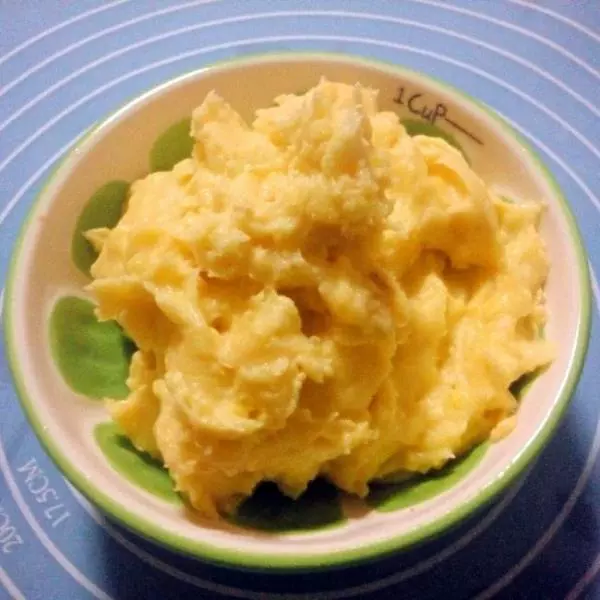
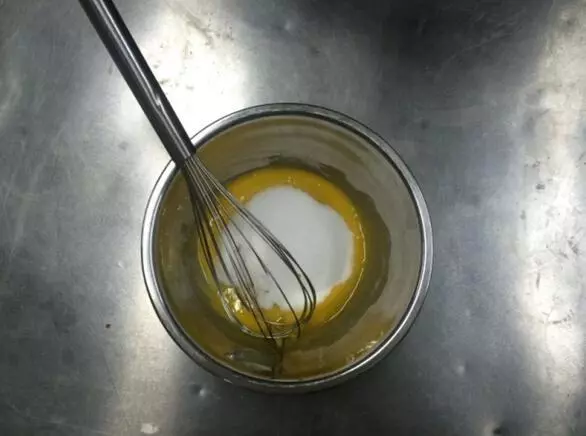
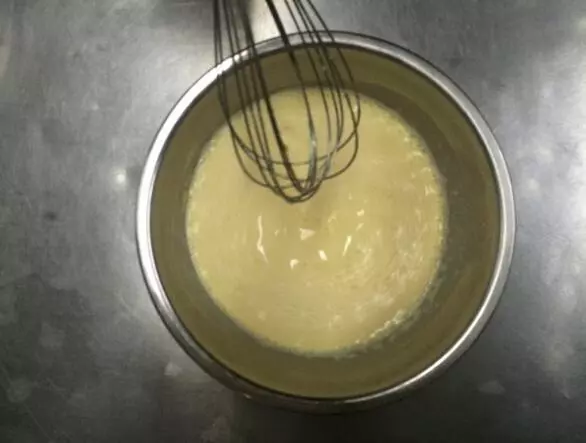
8卡士酱操作步骤 蛋黄加入白糖,打至发白
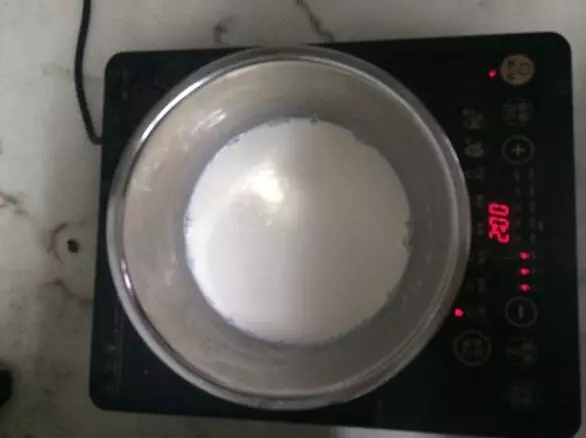
9牛奶倒入奶锅加热,煮至微开
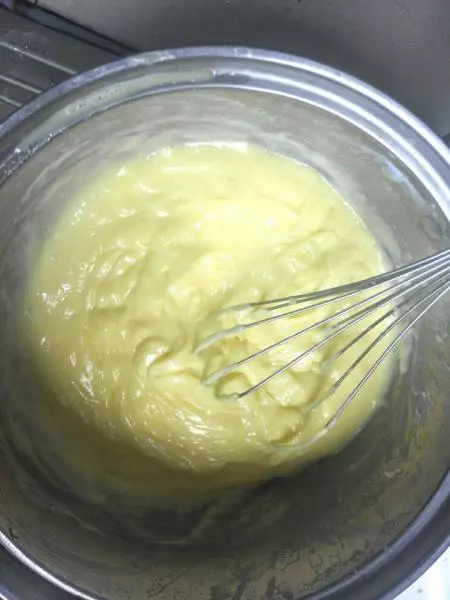
10将牛奶加入蛋黄中用蛋抽搅拌均匀
11加入过筛的低筋面粉,搅拌均匀
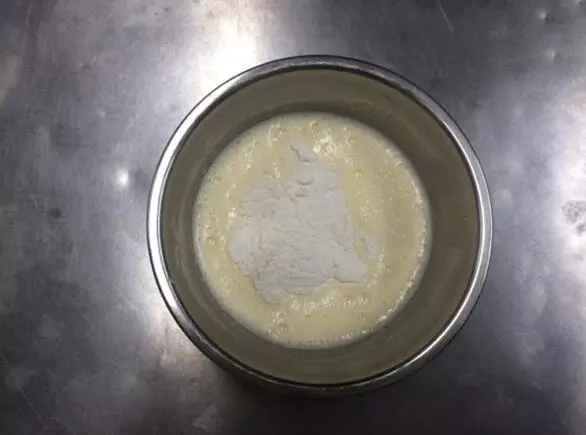
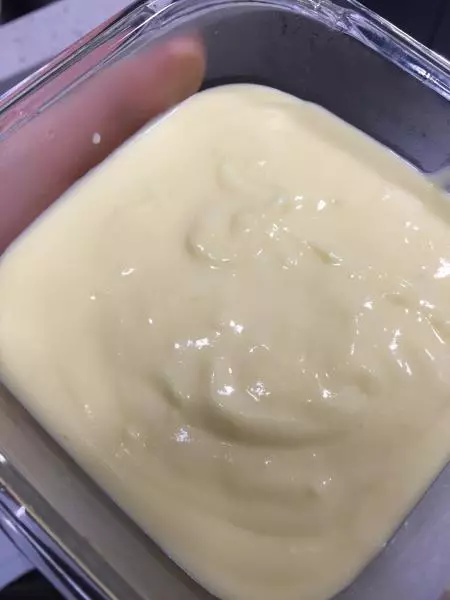
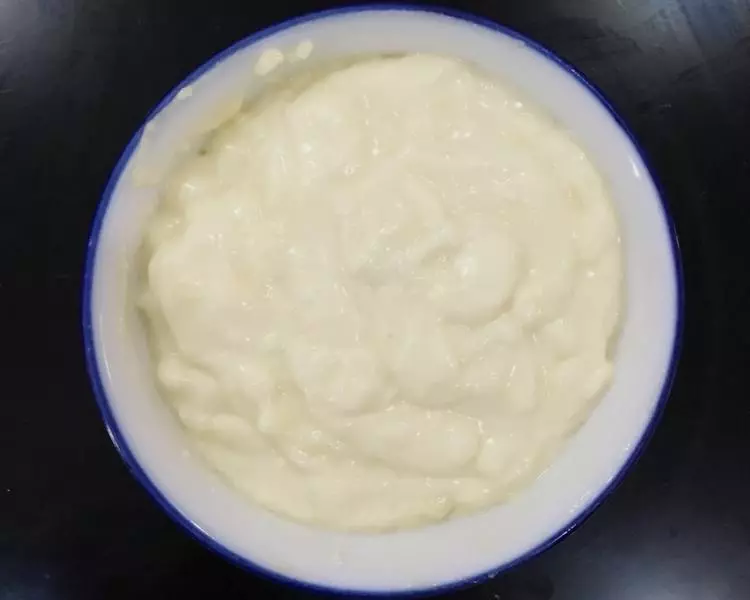
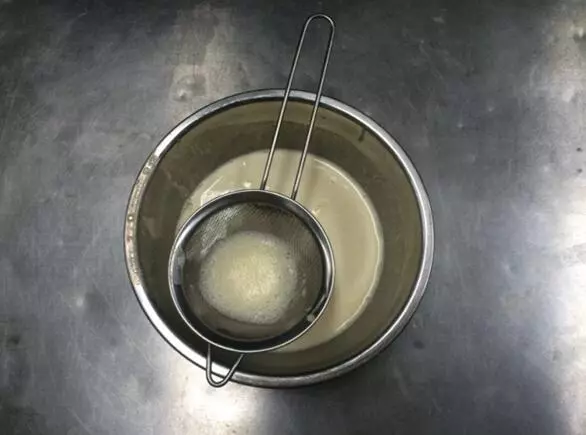
12搅拌成稀面糊后过筛一次,去掉杂质
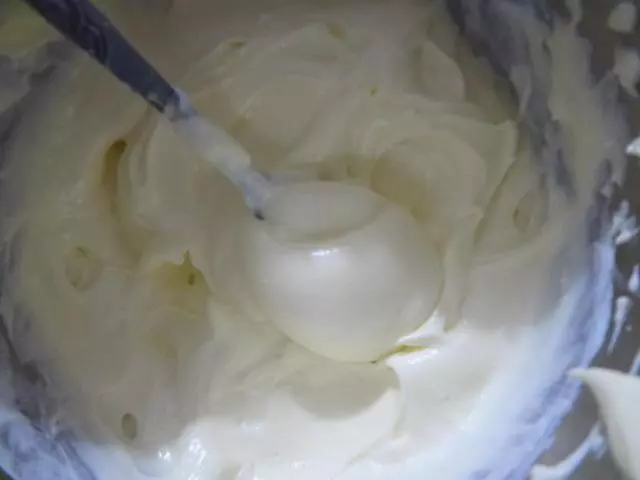
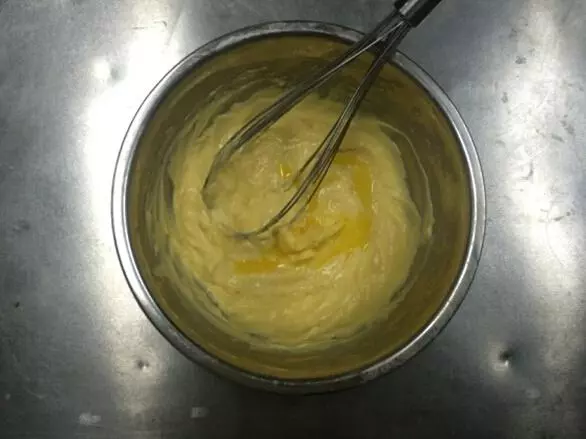
13然后再小火进行加热,搅拌顺滑,稠状;关火后,加入黄油搅拌均匀即可
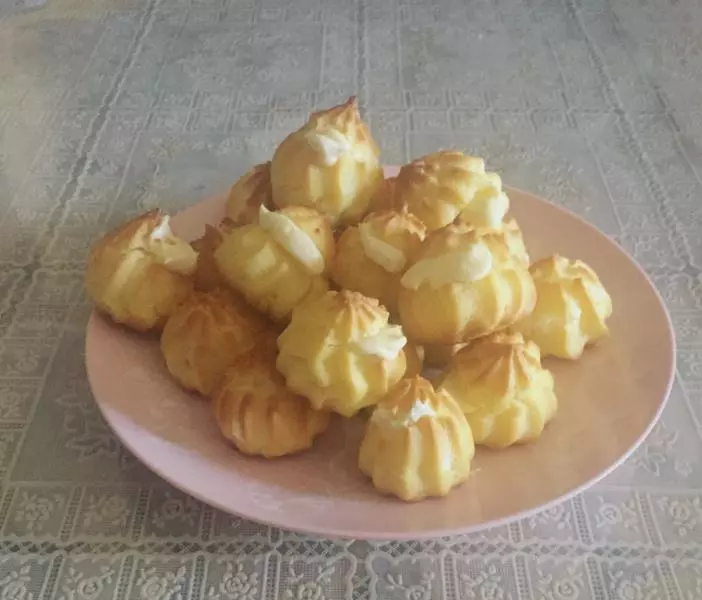
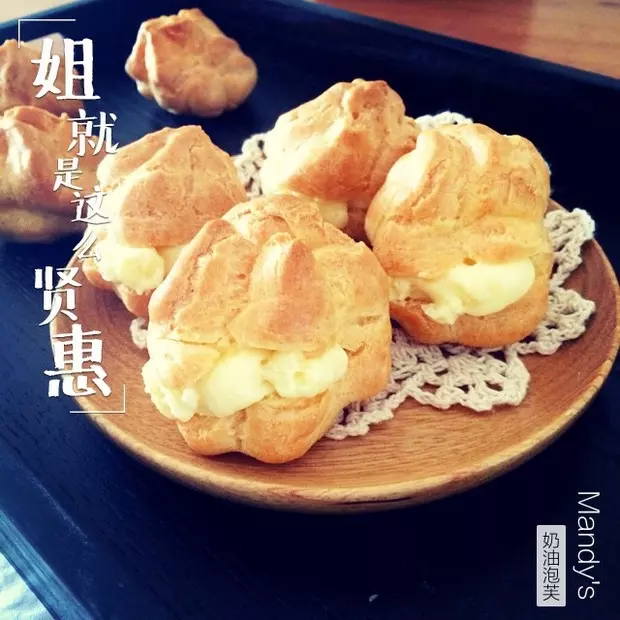
14拌好的卡士达酱冷却后,装入裱花袋,挤入烤好的泡芙中即可