原料
鸡蛋: 2只, 细砂糖: 40g, 牛奶: 40g, 玉米油: 30g, 低筋面粉: 50g, 柠檬汁: 5g
步骤
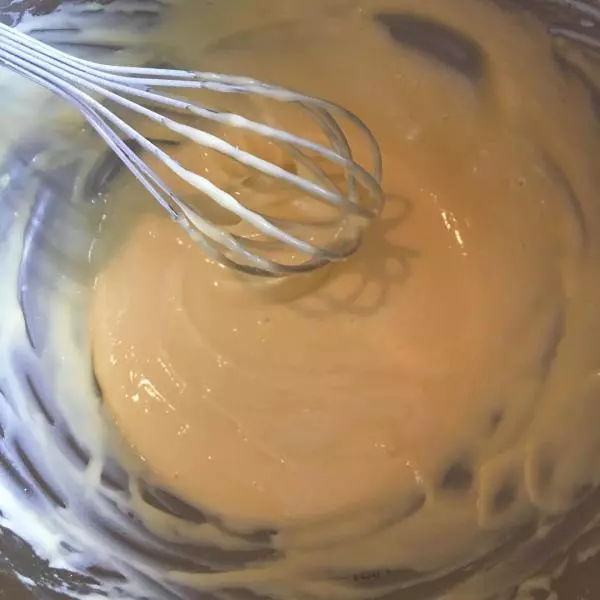
1蛋清分离,打蛋盆中加入蛋黄+牛奶+玉米油搅拌均匀后,筛入低筋面粉,用手动打蛋器搅拌均匀至无颗粒顺滑的状态
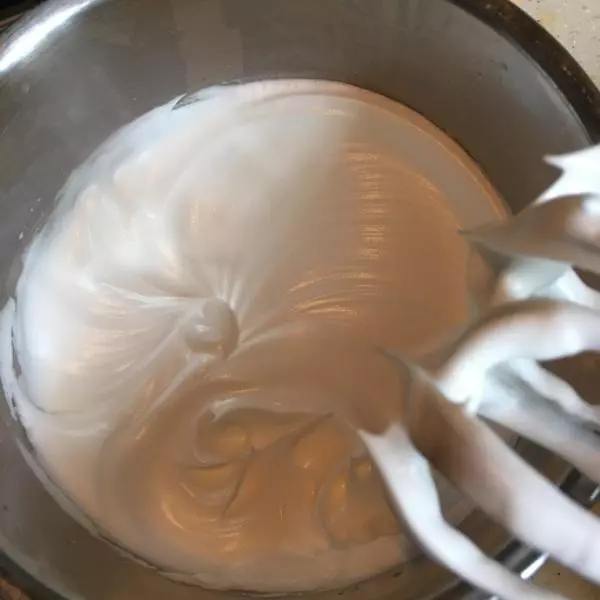
2蛋清加入柠檬汁后用电动打蛋器低速搅打至粗泡状态加入1/3细砂糖,再开高速打至乳白大弯勾状态加入剩下的1/2细砂糖,再转低速打至出现纹路但不硬挺加入最后的细砂糖,至九分则停止打发。这时候蛋白的状态是出现纹路且硬挺,有光泽感,提起打蛋器蛋白逞小尖角,打蛋盆倒扣蛋白不会倒出。⚠️注意蛋白不能打发太干,新手低速打比较保险。
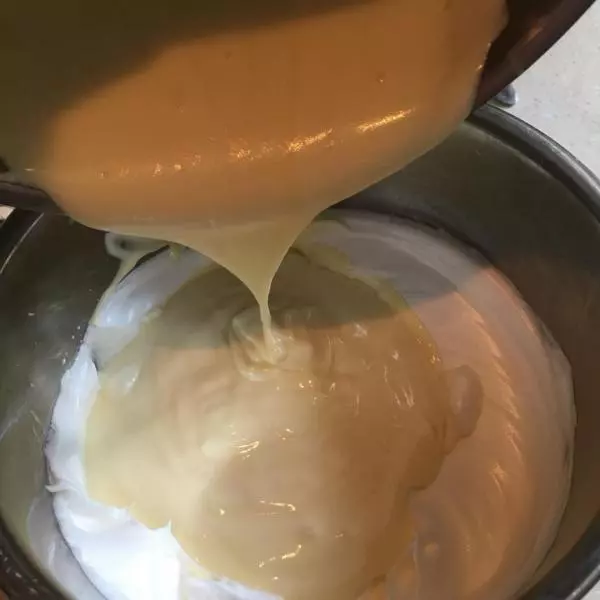
3取1/3蛋白加入蛋黄糊中 用上下翻拌的手法搅拌均匀
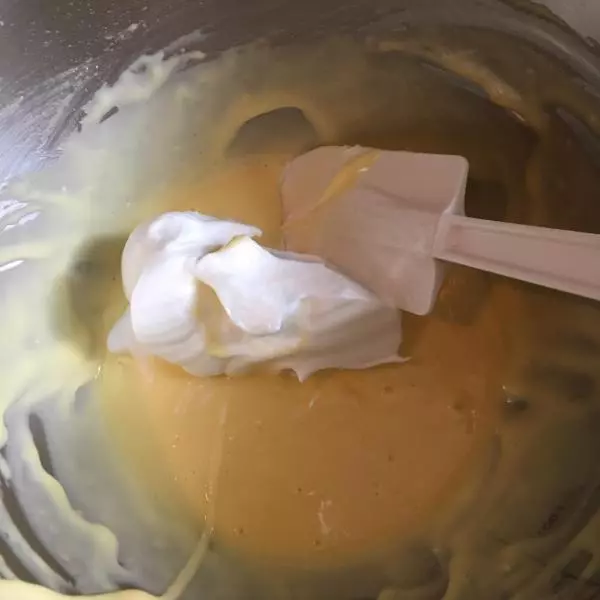
4再取剩下的1/2蛋白加入蛋黄糊,同样用上下翻拌的手法搅拌均匀

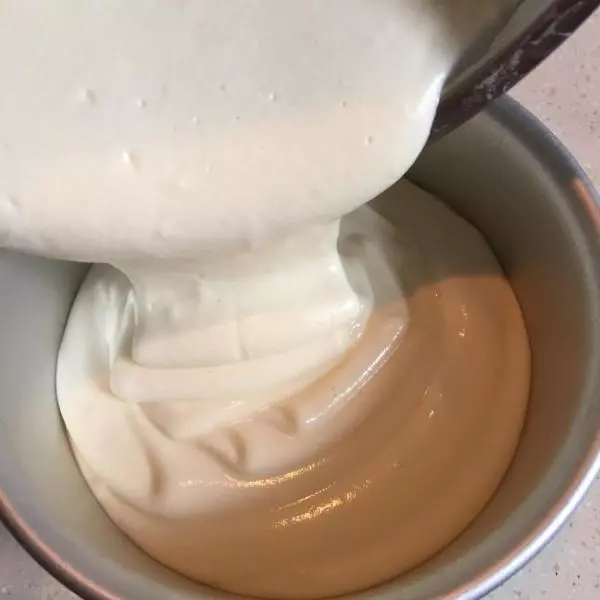
5最后把前两次拌好的蛋糕糊倒回蛋白盆中,用和上面一样的手法搅拌均匀
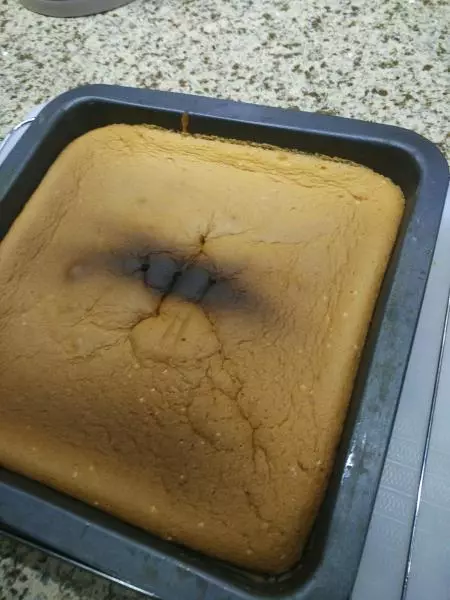
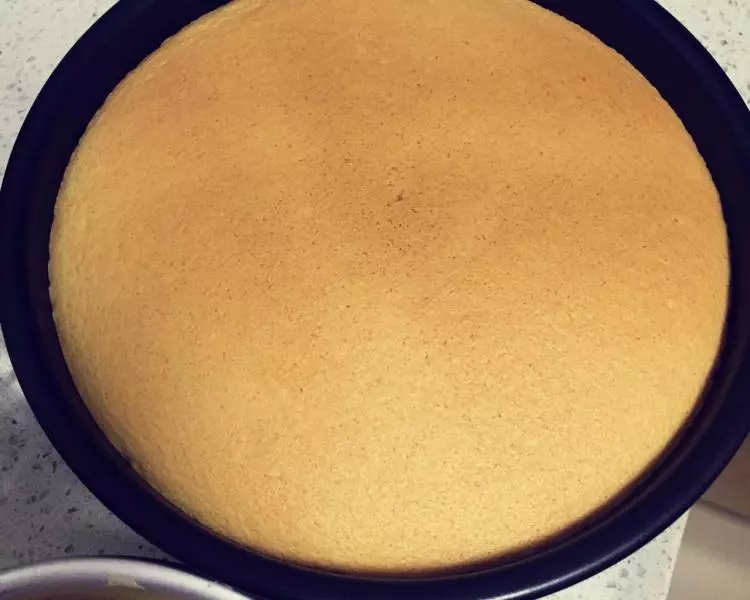
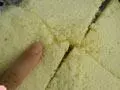
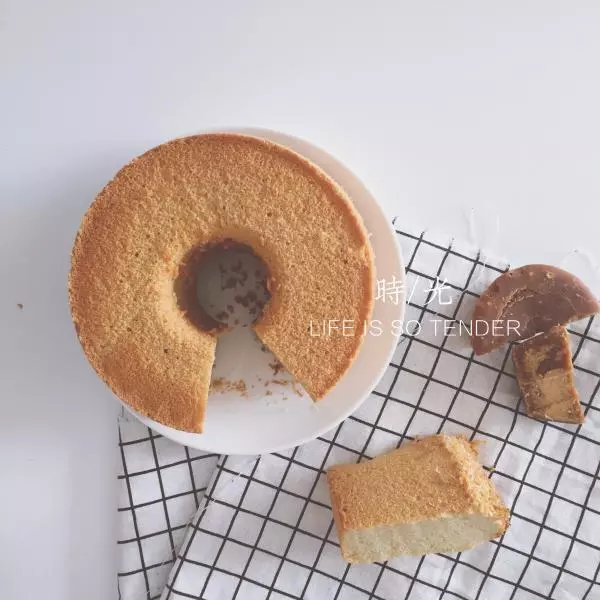
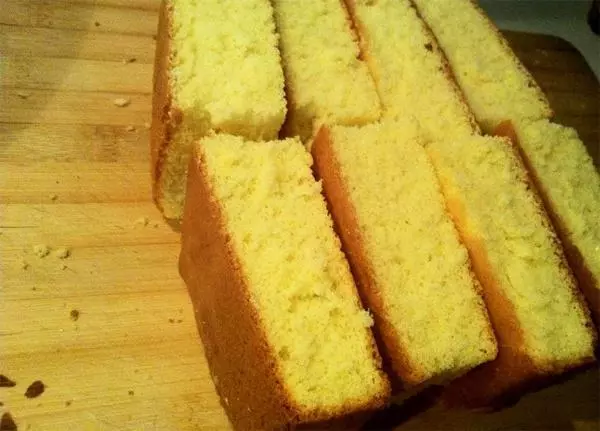
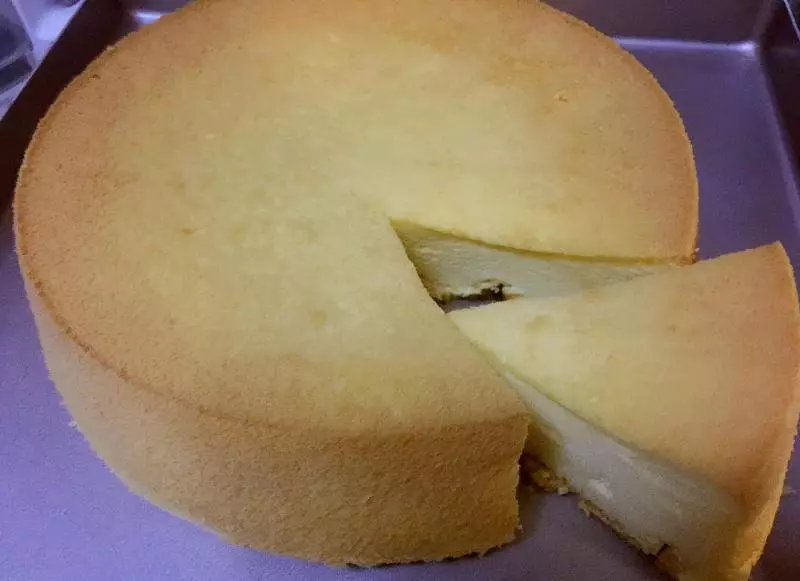
6将拌好的蛋糕糊倒入模具中,然后在离操作台20cm高处多次摔下,震出气泡,这里是为了让组织更加细密。入烤箱150°c,55分钟(因烤箱大小不同还需自行调节,这里使用的是21L烤箱。)
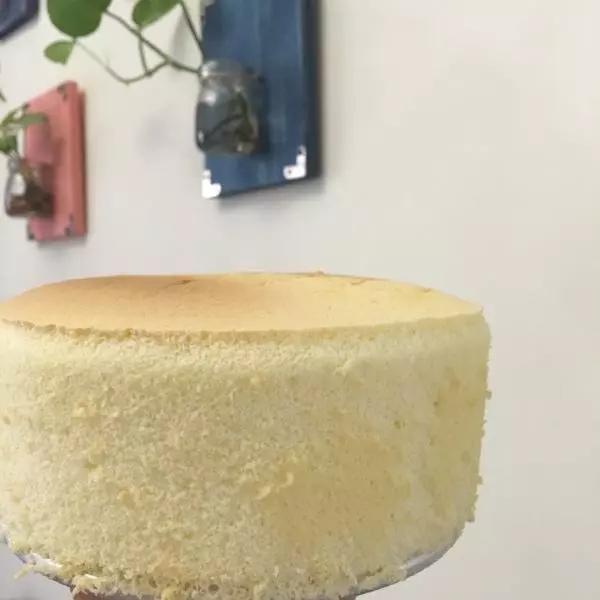
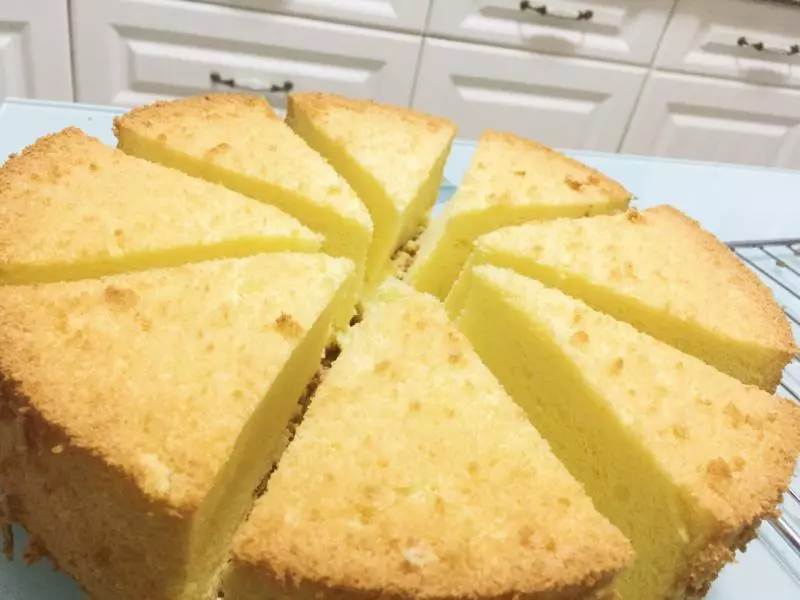
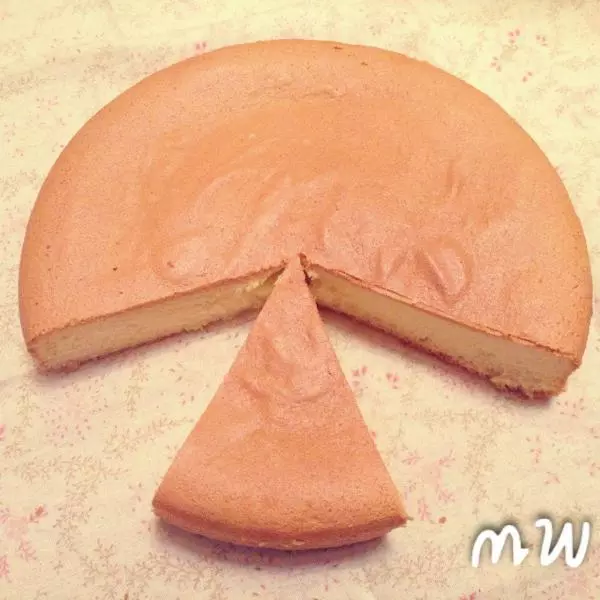
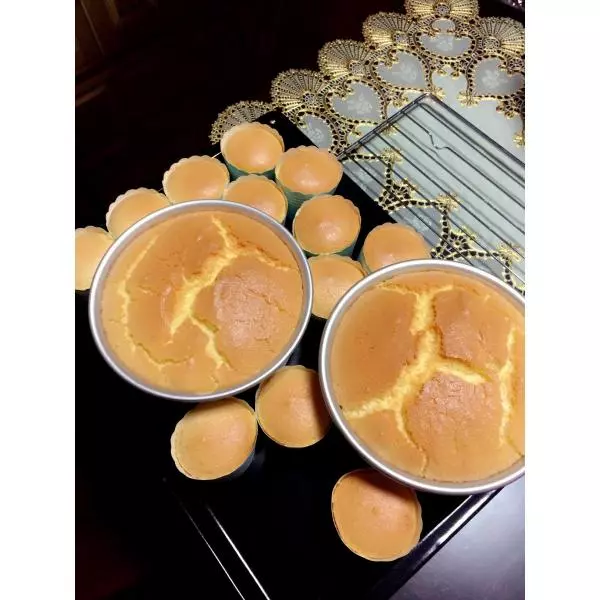
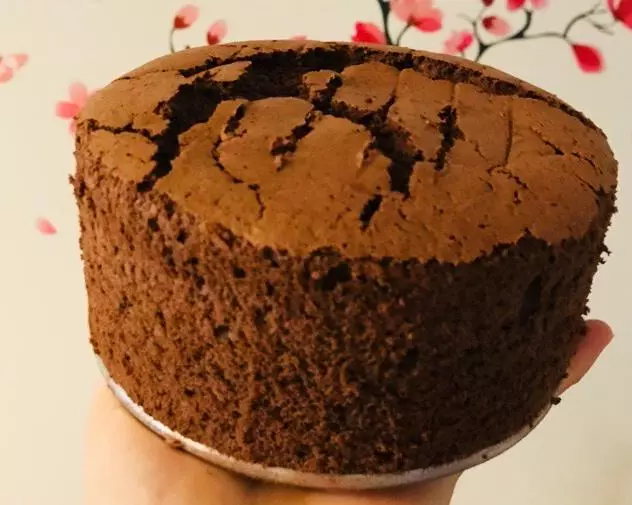
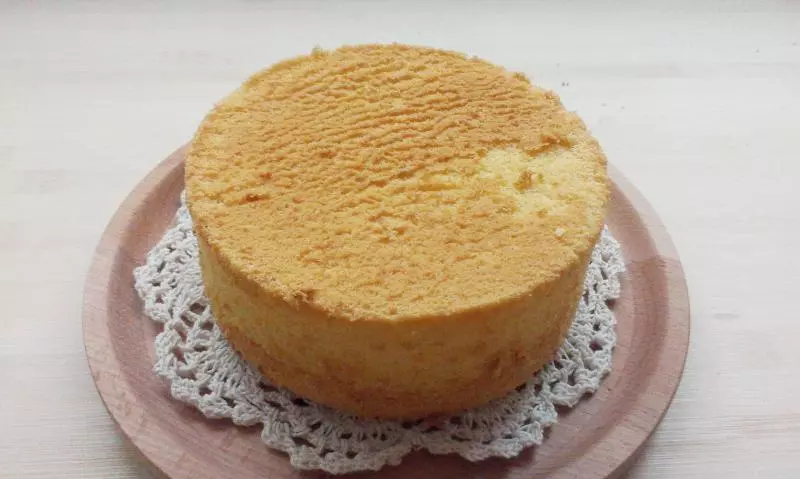
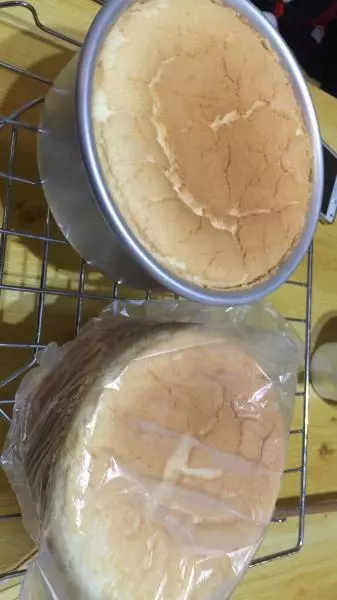
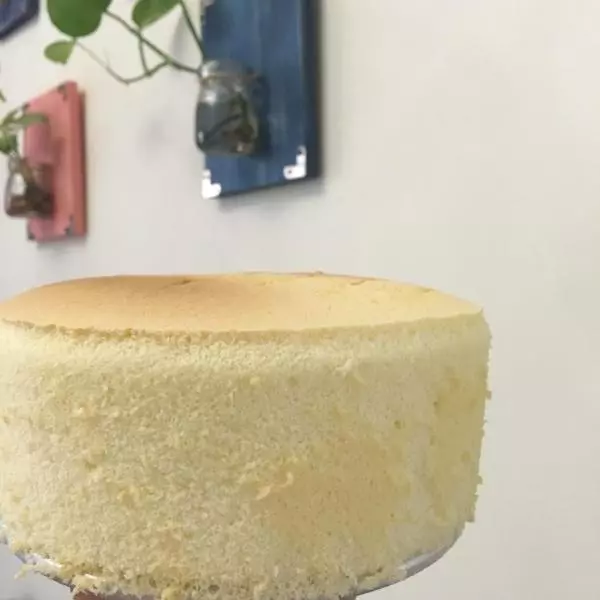
7烤好后在离操作台30cm高处摔下,方便脱模,然后倒扣于蛋糕架上放凉。