原料
玉米粉: 75克, 面粉: 25克, 牛奶: 55-65克, 鸡蛋: 2个, 白砂糖: 15克(加入蛋清), 绵白糖: 15克
步骤
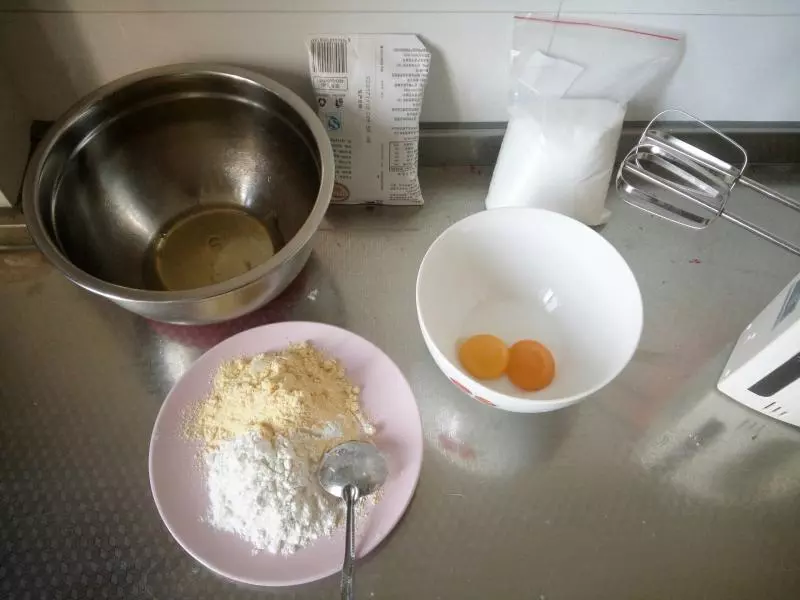
1准备好所有材料,蛋黄蛋白分开。(蛋黄偏红的是土鸡蛋,为了对比和普通鸡蛋的区别)
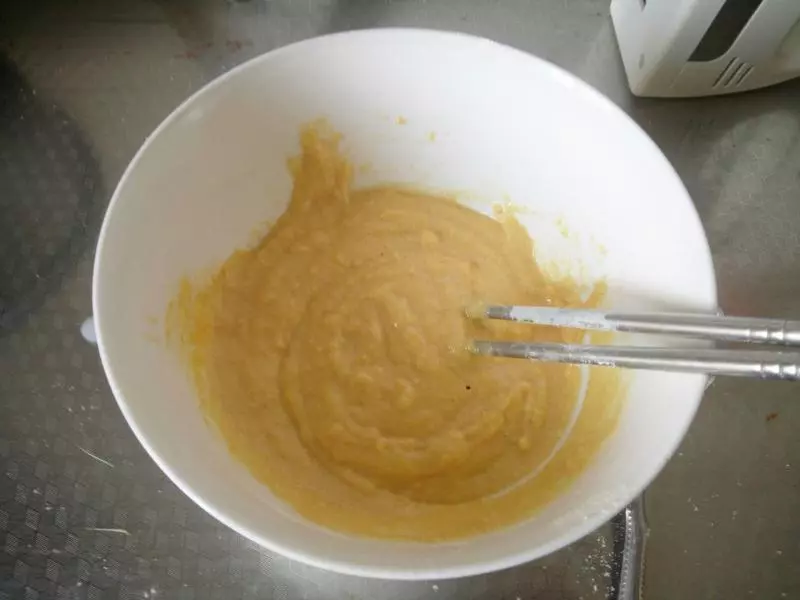
2将蛋黄搅拌后与玉米粉、面粉混合(加入面粉是为了口感更细腻些,单纯玉米粉个人担心口感会比较粗糙),加入15g白糖,加入牛奶搅拌成面糊。牛奶的量根据面糊程度自行调整,太干可适当增加。
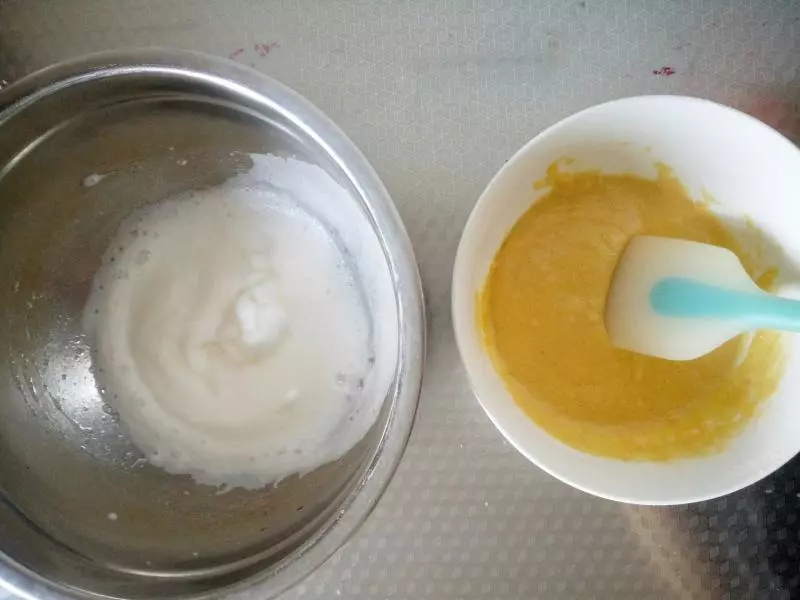
3将15克白砂糖分两次加入蛋清打发到上图模样。(打发蛋白主要起到小饼松软口感,应该是这么回事儿)

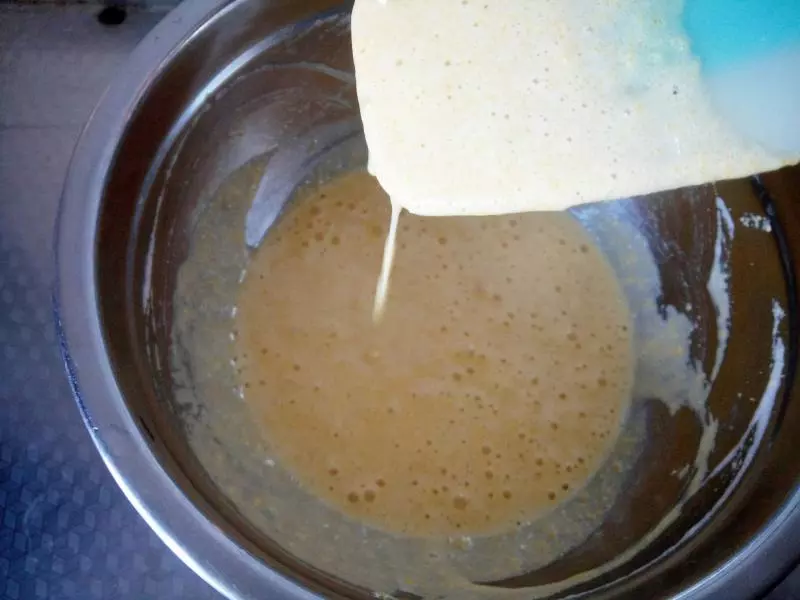
4打发的蛋清与面糊混合
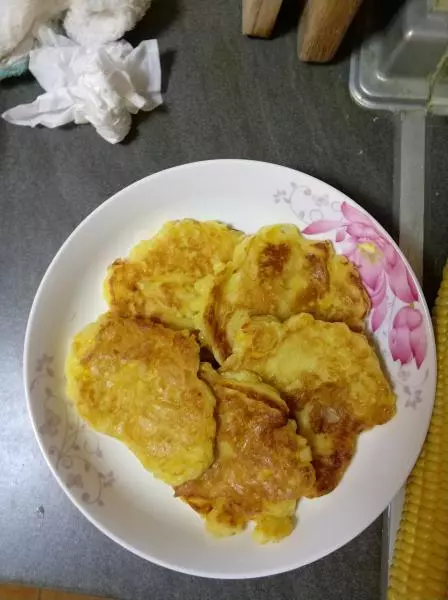
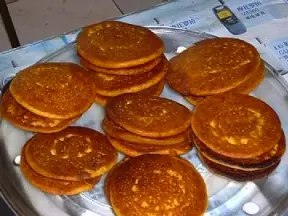
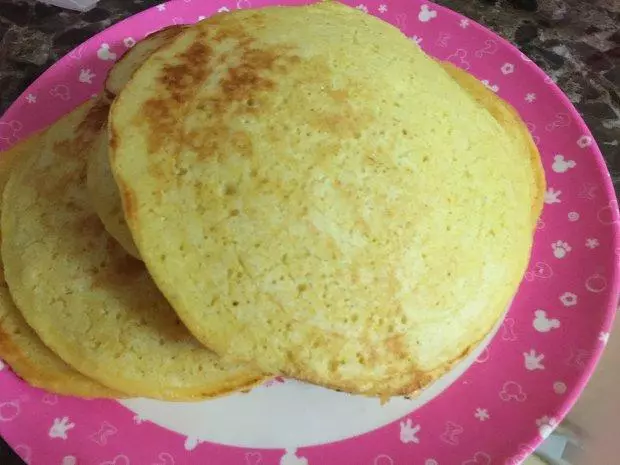
5大概这种程度做出来的小饼口感还不赖。
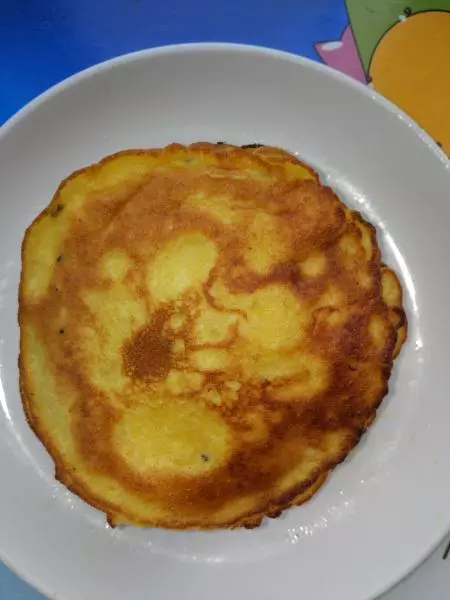
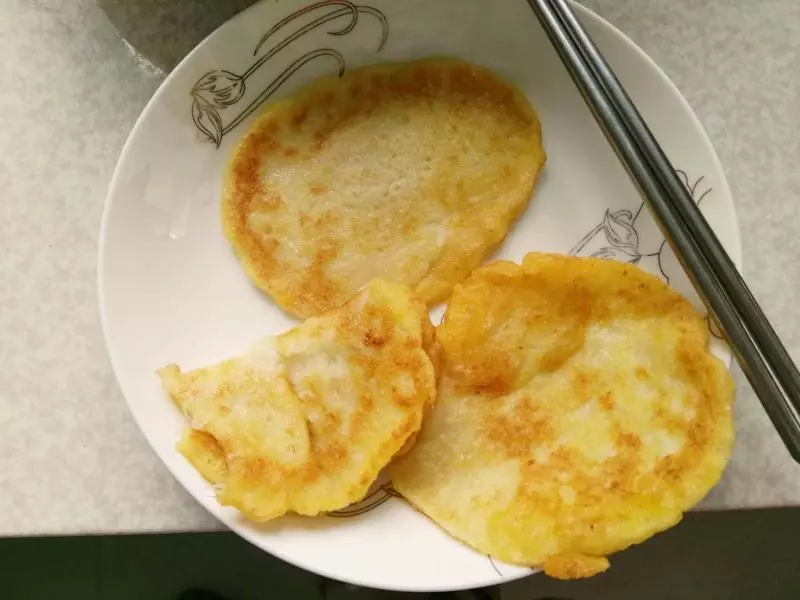
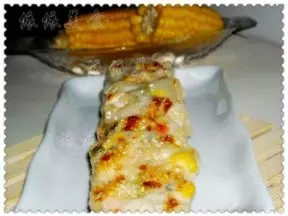
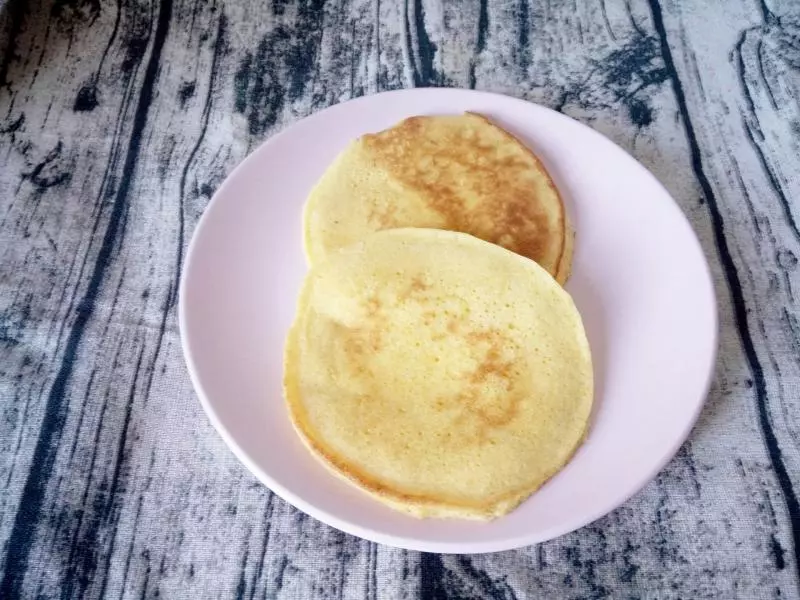
6锅中倒一丢丢油,摊饼过程一定要小火,来不及拍照,直接上成品图,开始享用吧!
小技巧
1、此糖量略甜,个人偏爱甜食,根据自己口味酌情增减 2、一定要小火煎,翻面时就看个人手法啦