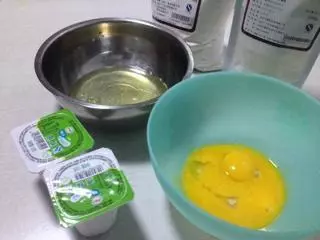
原料
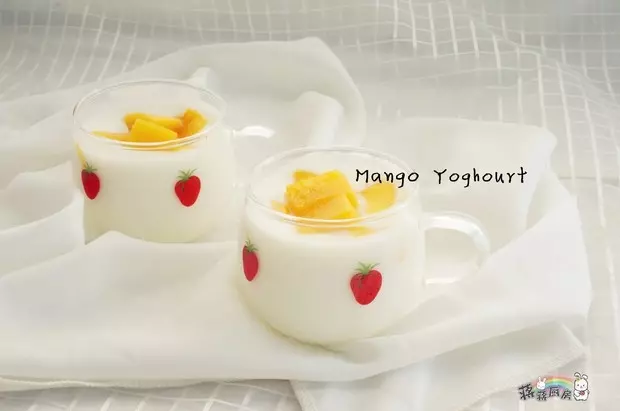
鸡蛋: 四只, 酸奶: 150克, 黄油: 20克, 低筋面粉: 75克, 砂糖: 60克, 柠檬汁: 3、4滴
步骤
1鸡蛋分离,蛋黄➕150克酸奶、20克糖、20克黄油搅拌均匀,75克低筋面粉过筛拌匀。
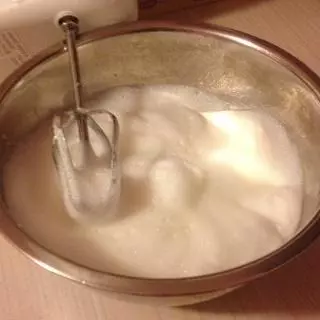
2蛋白打成干性发泡,中间分三次加入40克白砂糖和几滴柠檬汁。
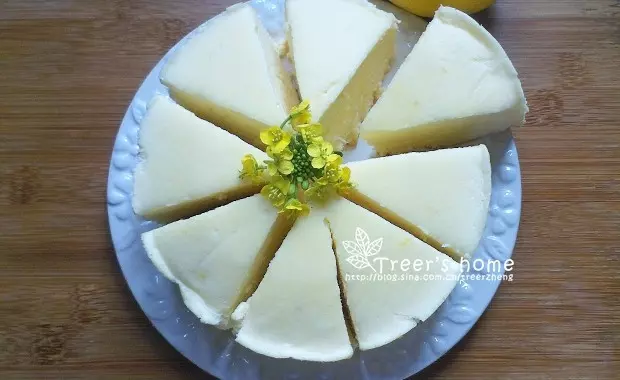
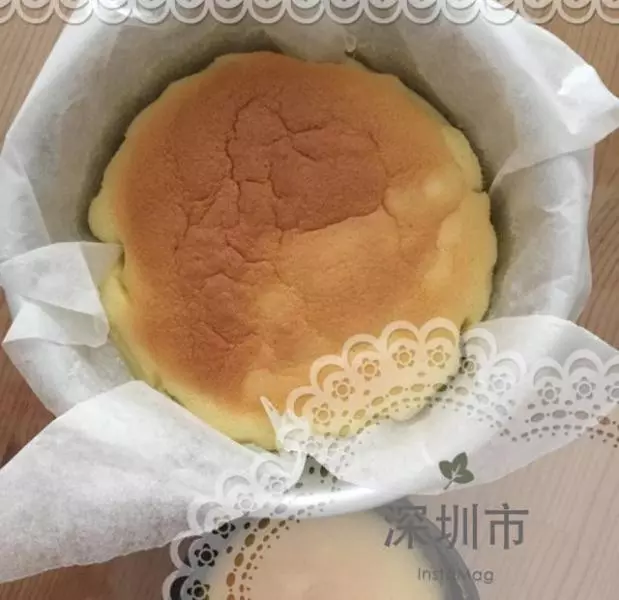
3分三次把蛋白➕搅拌好的蛋黄糊中,从下往上搅拌均匀,倒入6寸封好锡纸的模具中震掉气泡。
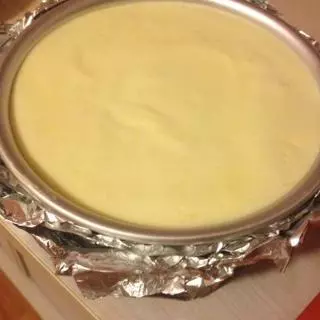
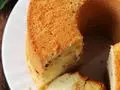
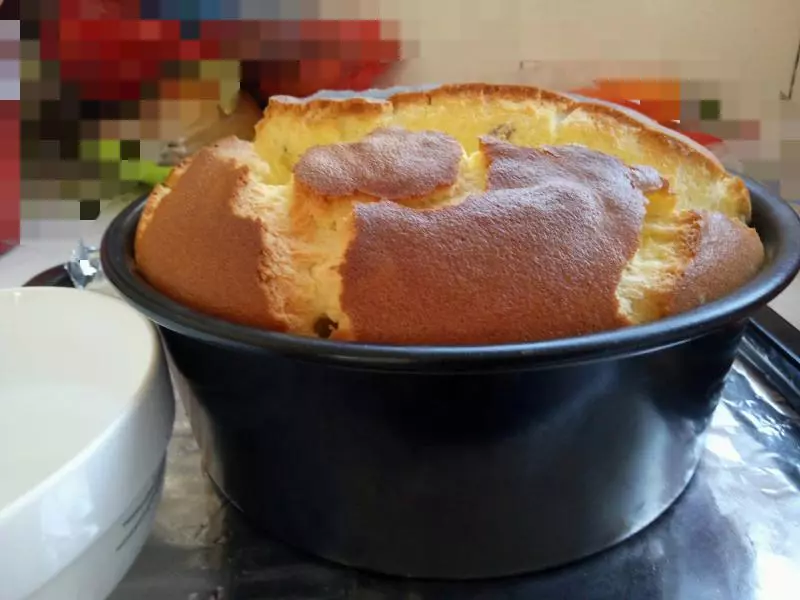
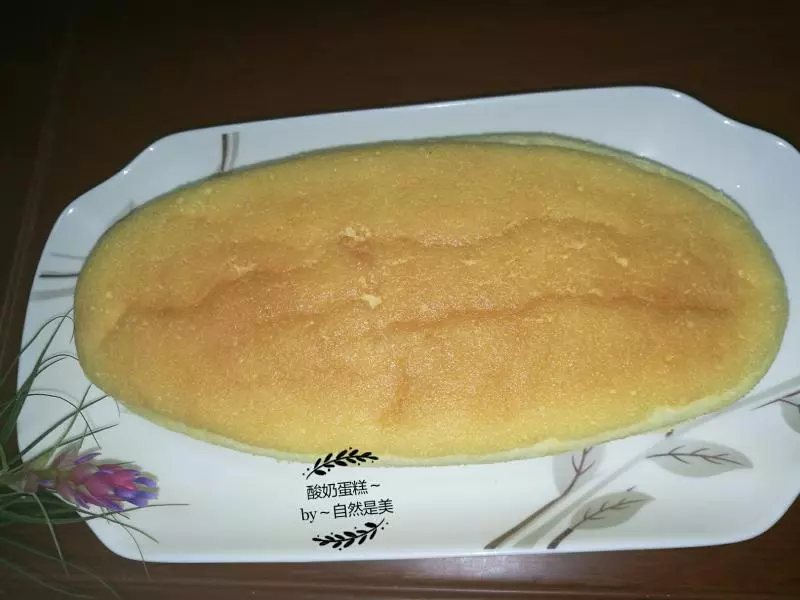
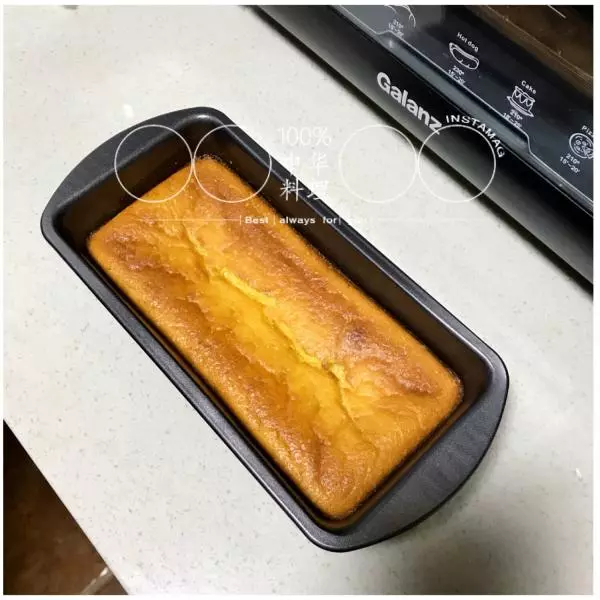
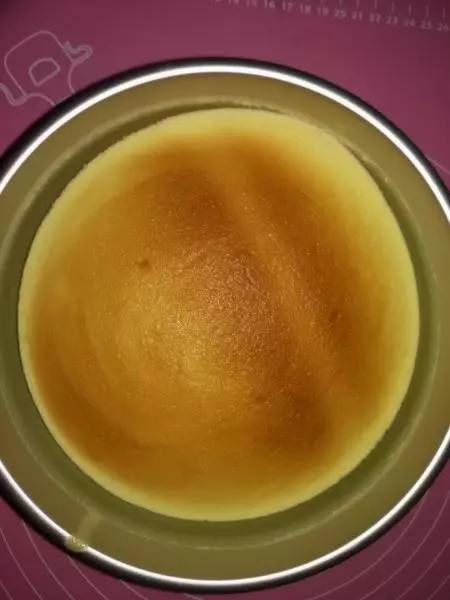
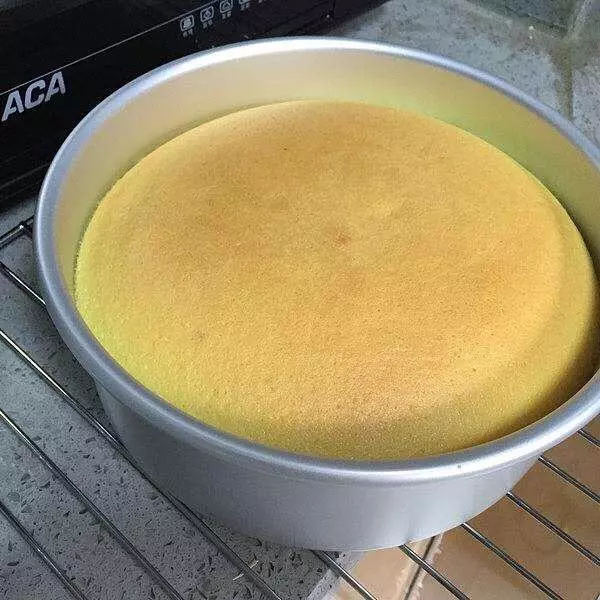
4烤箱预热,烤盘中加水,蛋糕模具放入烤盘中。(ps:烤盘中水末过蛋糕体一半以上)150度60分钟。冰箱冷藏脱模。
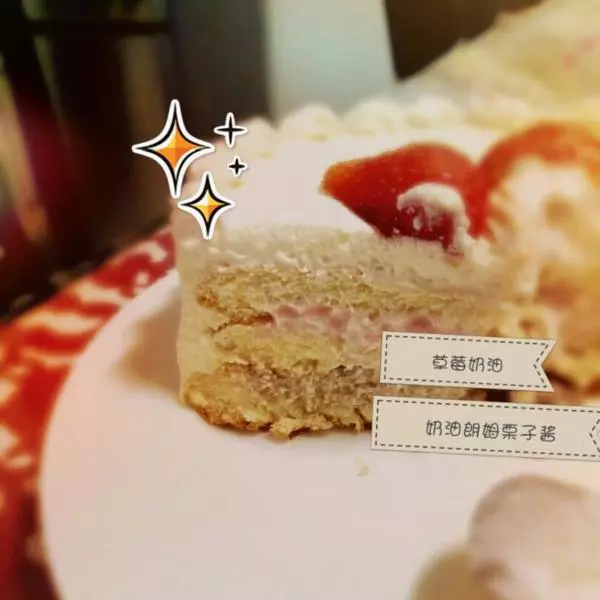
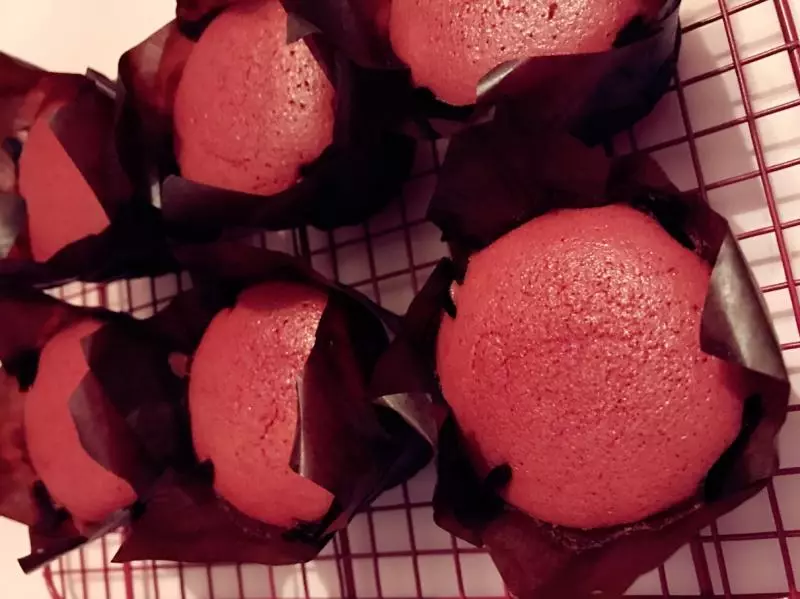
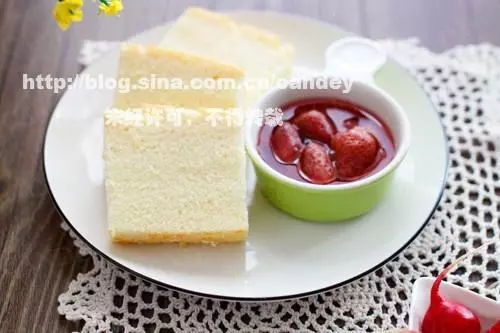
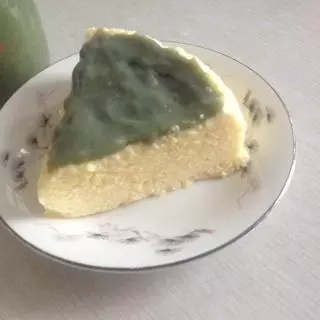
5为弥补粗心大意,做了抹茶牛奶酱填补了酸奶
小技巧
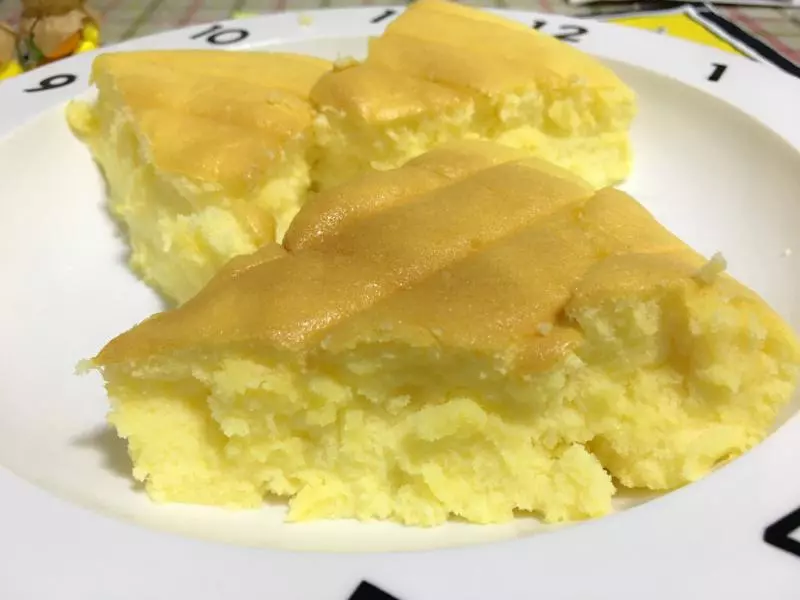
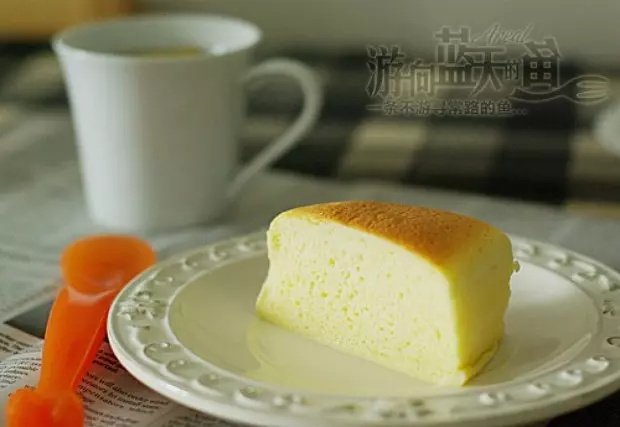
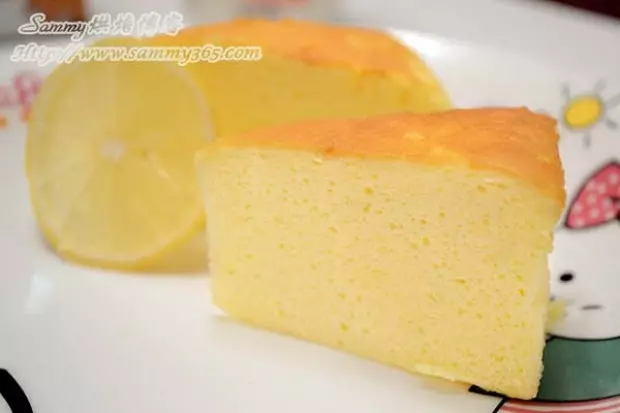
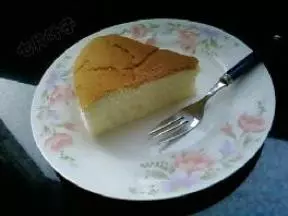
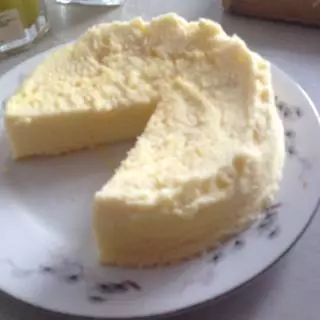
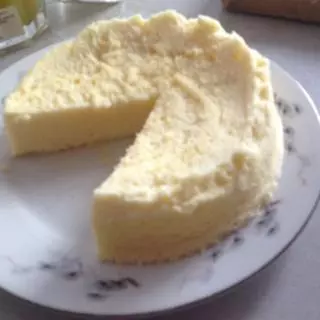
由于本人粗心大意开始时温度过高导致蛋糕表面差强人意,中途拿出已把表面切掉,所以比较像免烤芝士,哇咔咔!切记在烘烤半小时后表面加一张锡纸防止表面糊里面夹生。为防止水分蒸发,随烘烤过程自主添加凉水。