原料
普通面粉: 250克, 花生仁(烤熟去掉红衣的): 50克, 玉米油: 100克, 白糖: 80克, 盐: 1克, 小苏打: 2克, 鸡蛋: 1个, 芝麻(黑白芝麻都可以哈): 适量
步骤
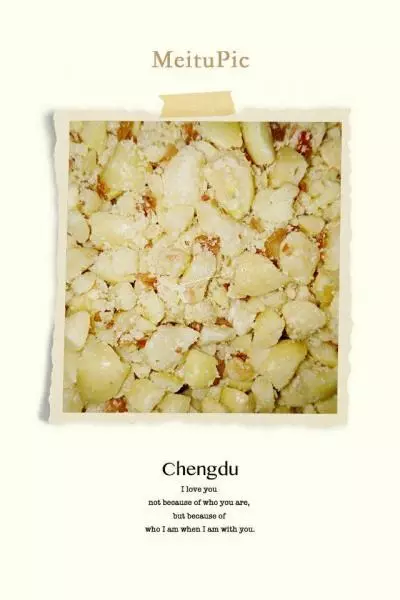
1将花生仁放入保鲜袋用擀面杖擀成小碎粒。
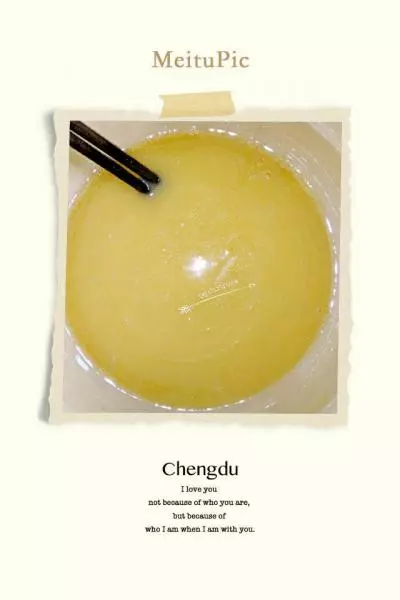
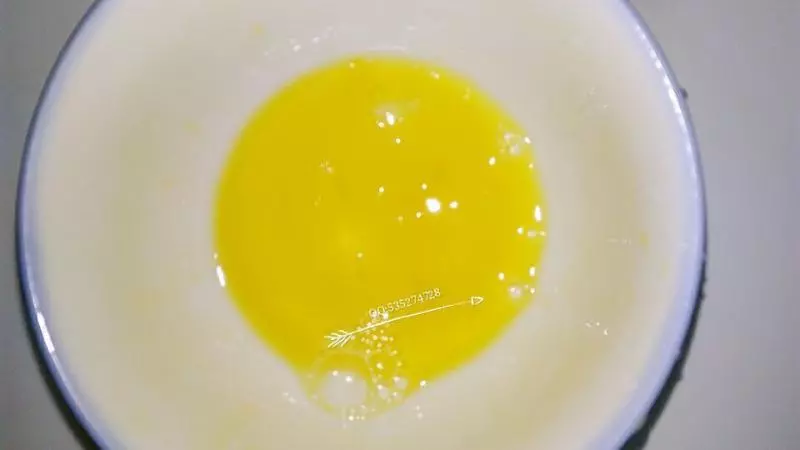
2将玉米油放入容器中。
3放入鸡蛋(留一点蛋液之后刷面用)。
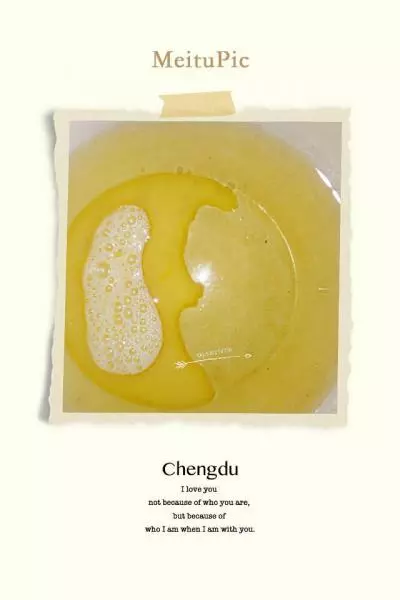
4搅拌均匀。
5放入白糖、盐。

6混合均匀。

7筛入面粉和小苏打。
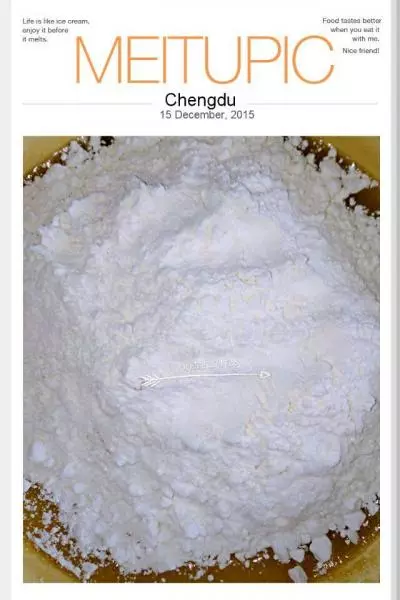
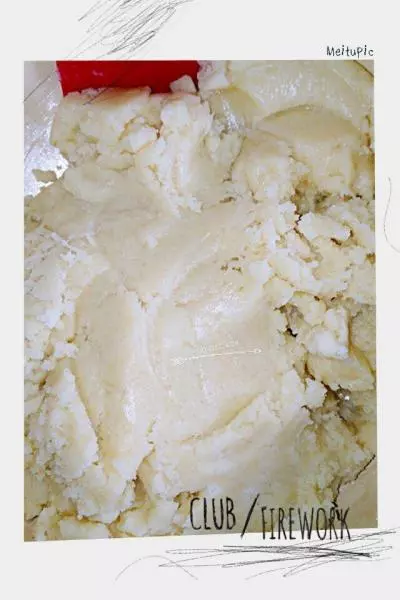
8用刮刀J字型翻拌(不要搅拌),大概混合一下。
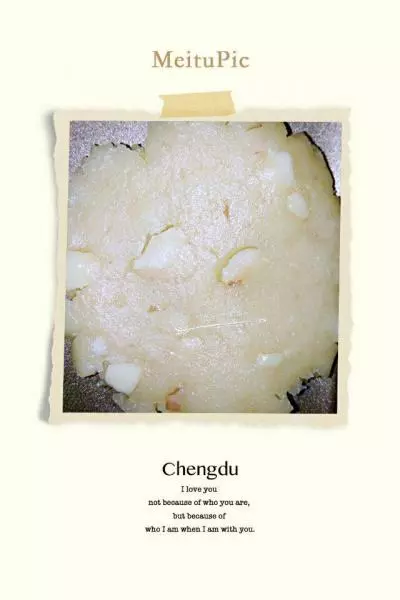
9放入花生碎(可以换成核桃仁,也可以什么也不放)。
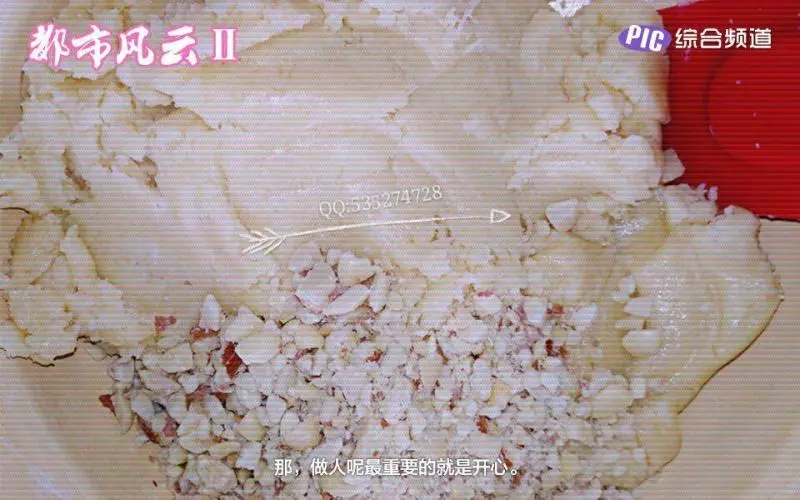
10用手抓捏成团即可,不要使劲的揉面哈,以免起筋。 将面团分成每个20克的小面团。
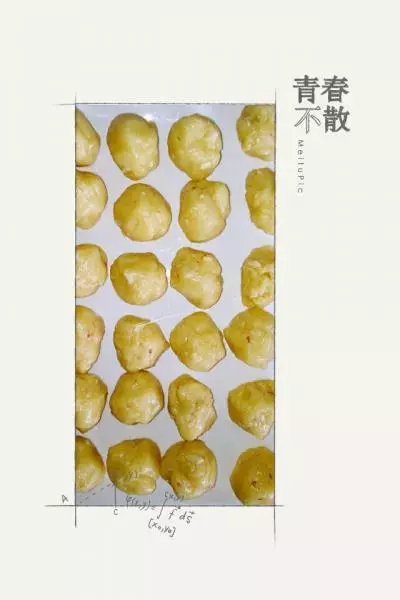
11取一个20克的小面团,在掌心揉圆。

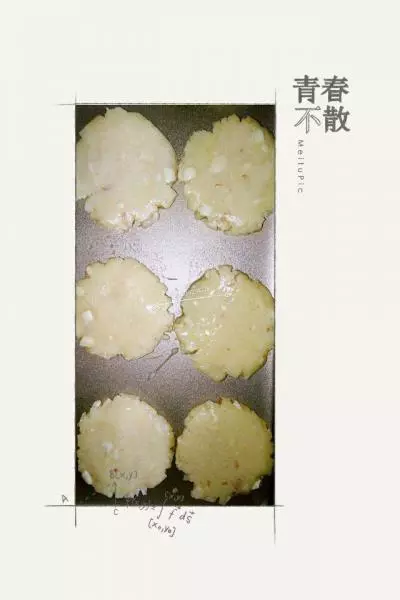
12将小球轻轻压扁,让四周有自然的开裂,然后放入烤盘。
13重复上面的动作直到全部完成。
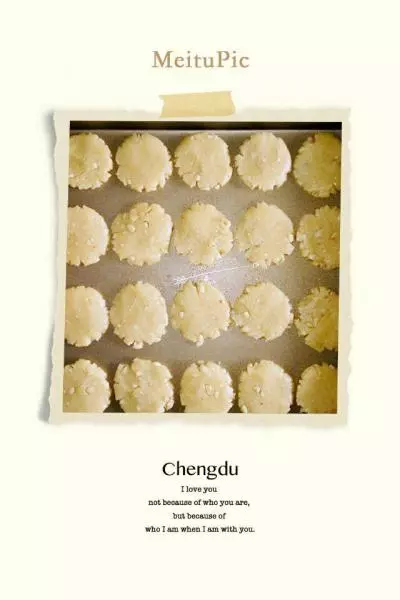
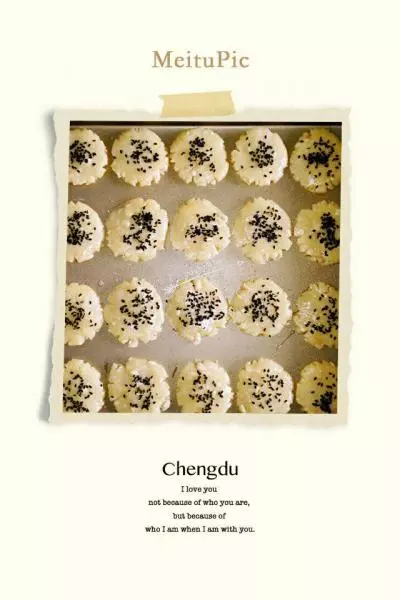
14用毛刷蘸取一点全蛋液。
15在表面上刷一层。
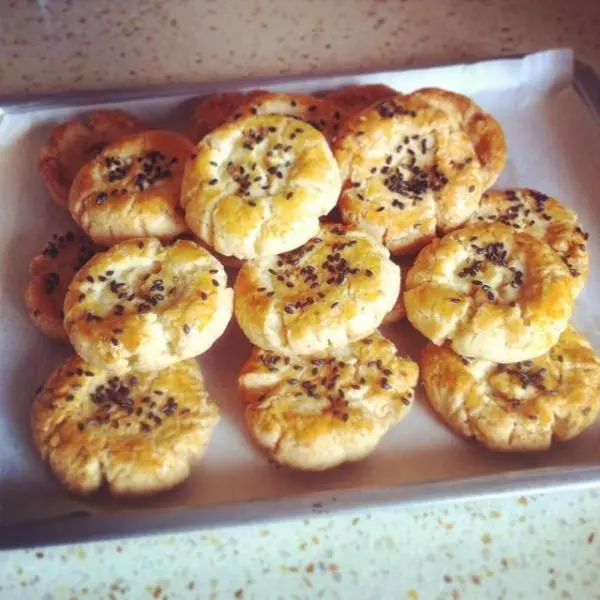
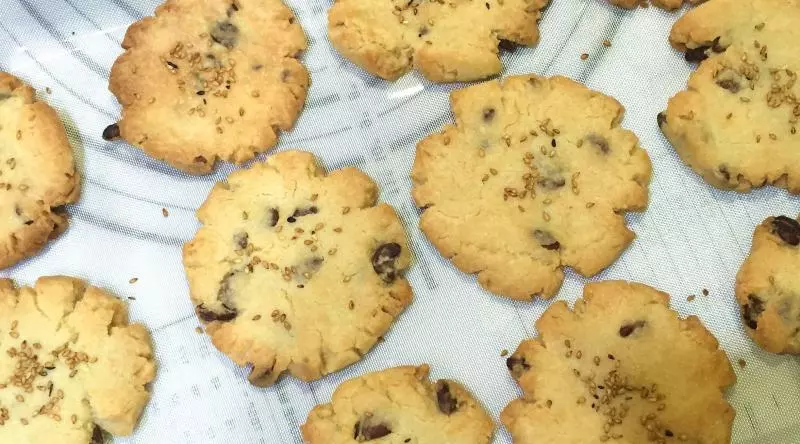
16洒上黑芝麻。
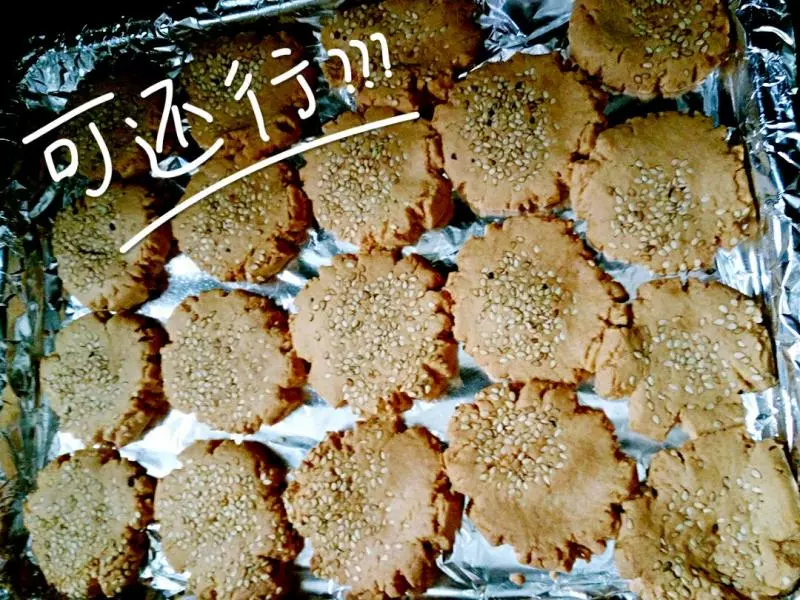
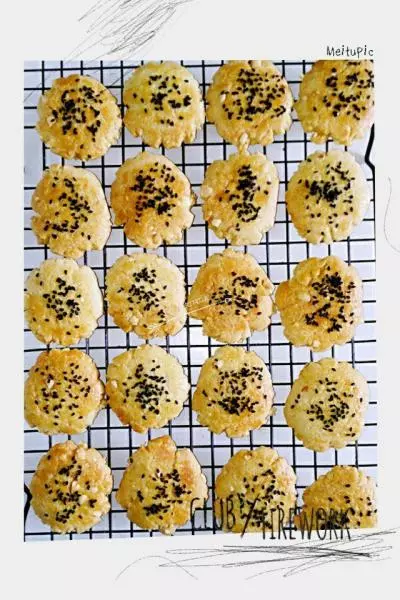
17烤箱预热200度,中上层烤20分钟,烤到表面金黄色即可。

18烤好后取出晾凉。
19密封保存即可。

小技巧
1、烤箱不同温度也不同,亲们请根据自己烤箱的情况自行调整温度。 2、烘烤时要注意观察哦,桃酥上色稍微深一点点就可以了喔。