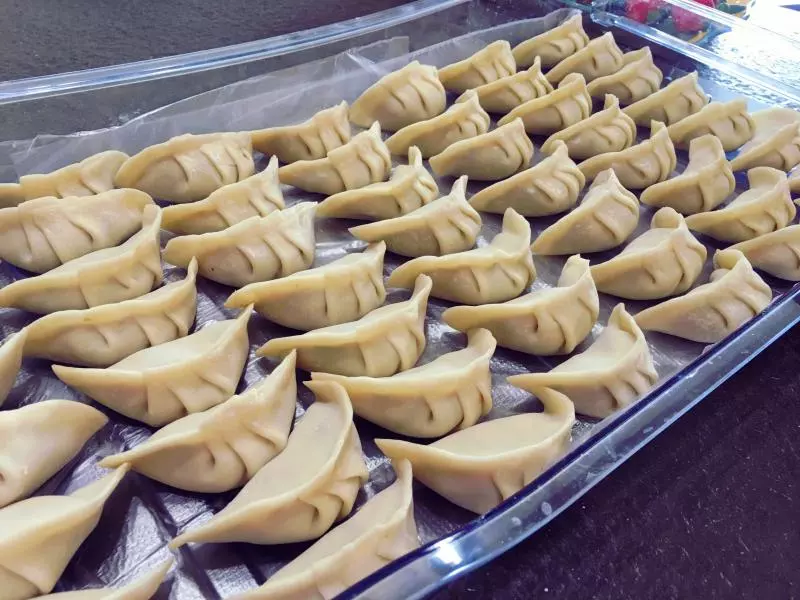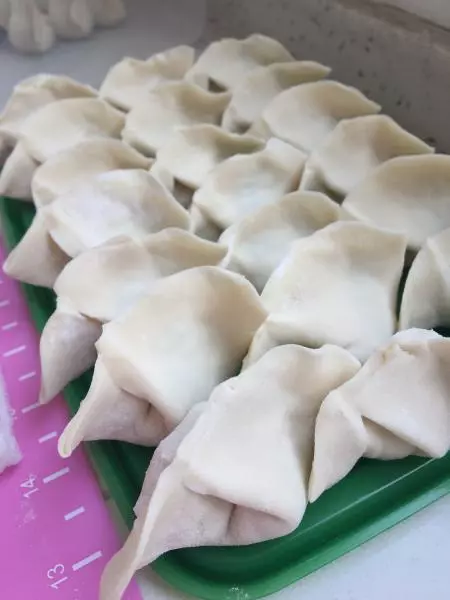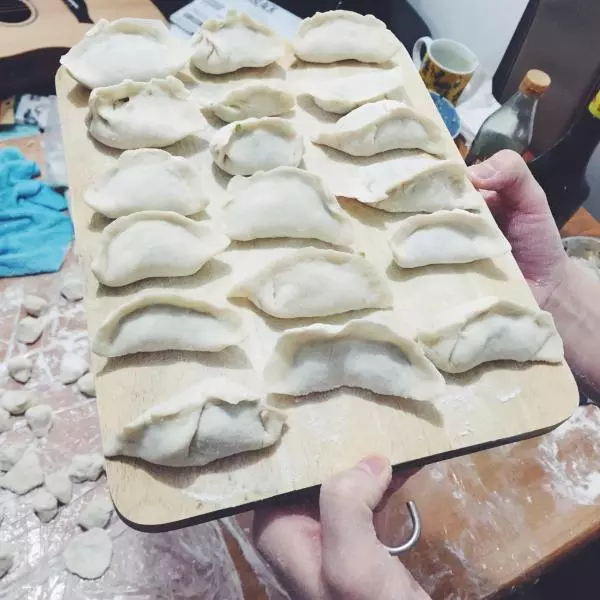
原料
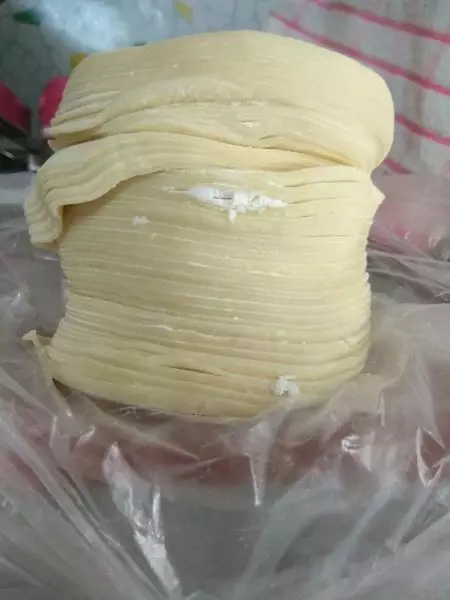
饺子皮: 59张, 韭菜: 2斤, 猪肉: 1斤半, 香油: 适量, 盐: 适量
步骤
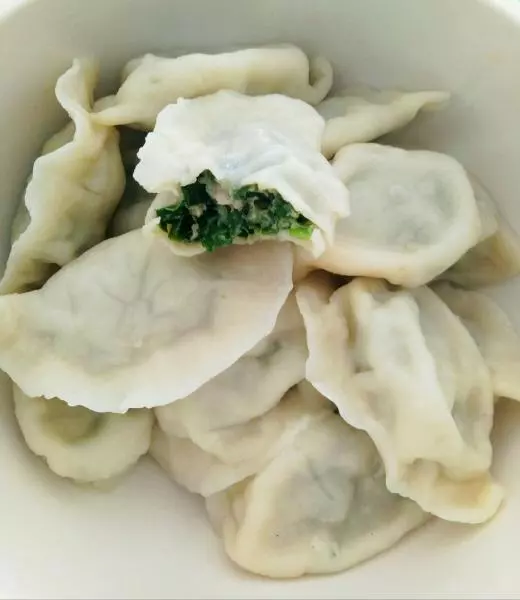
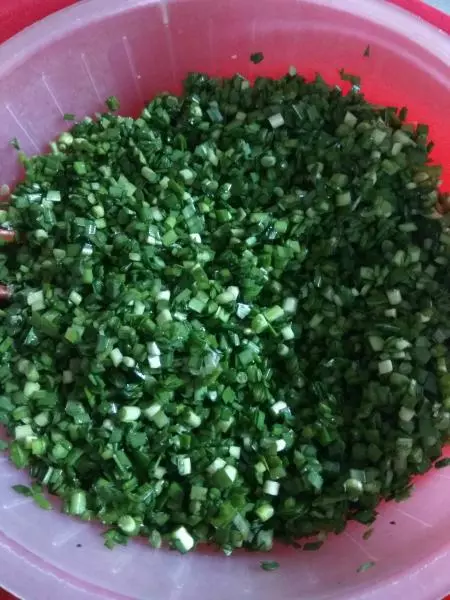
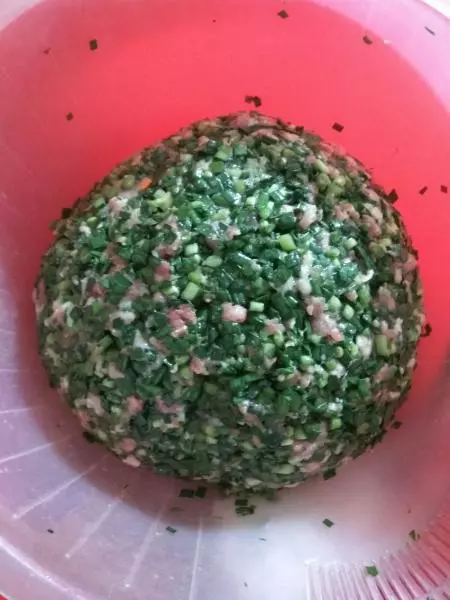
1韭菜洗净切碎,加适量的盐,搅拌均匀! 注:这里加盐可以让韭菜脱干水分
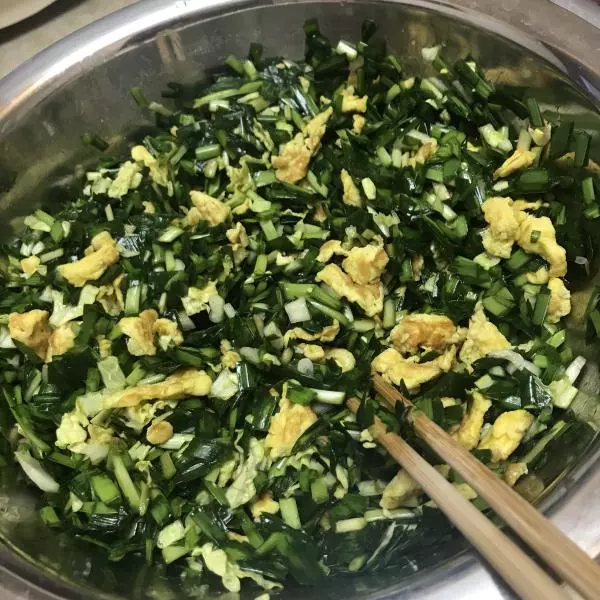
2加入肉沫,香油,盐,鸡精!搅拌均匀待用
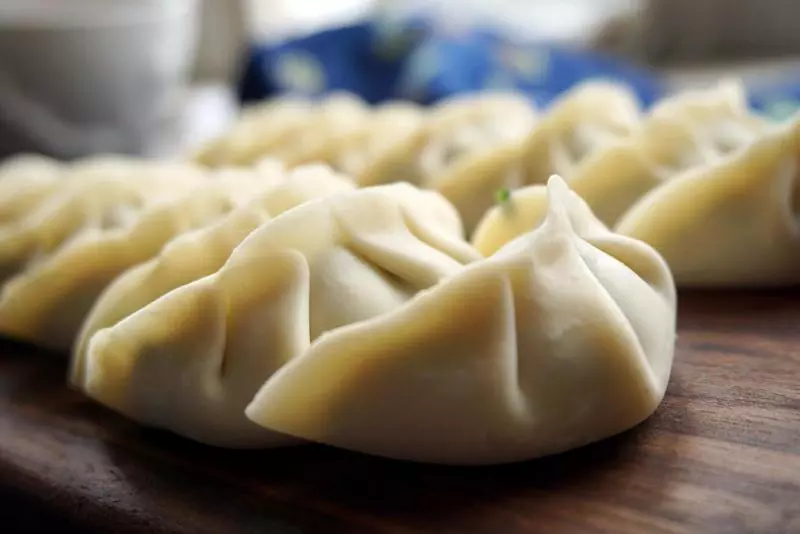
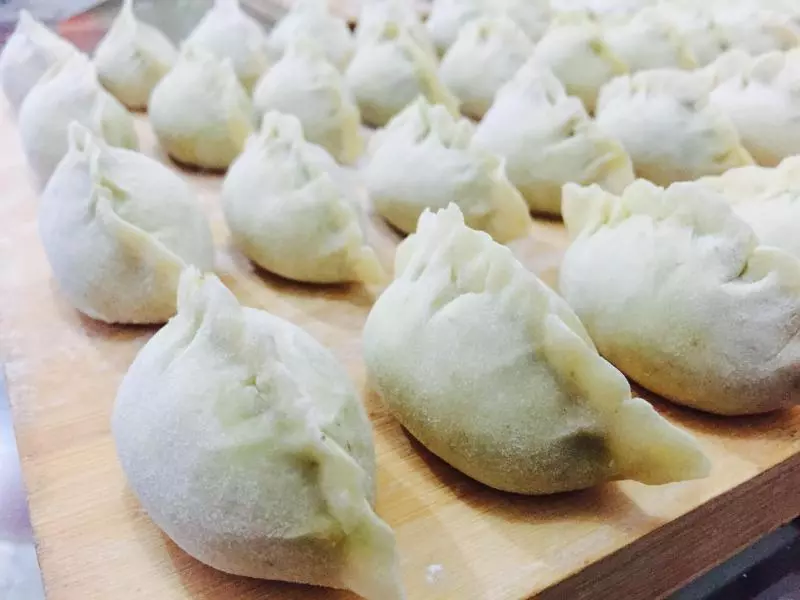
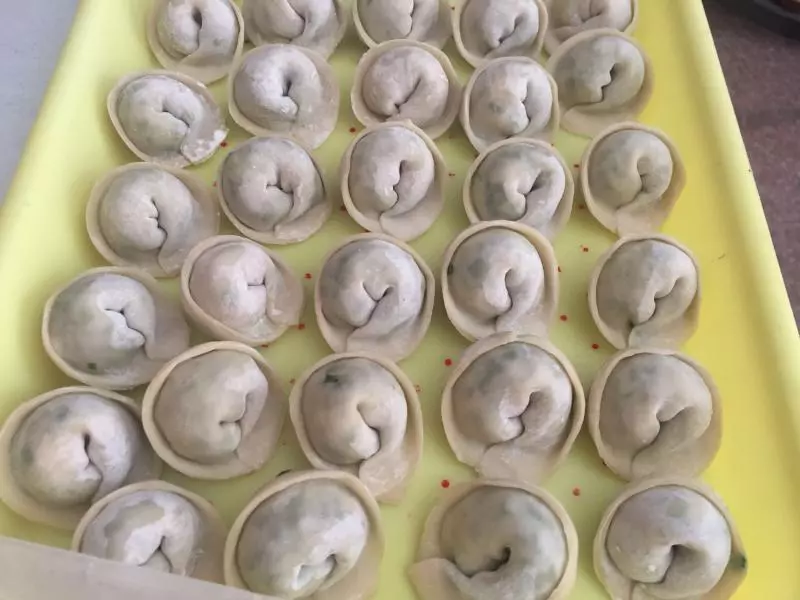
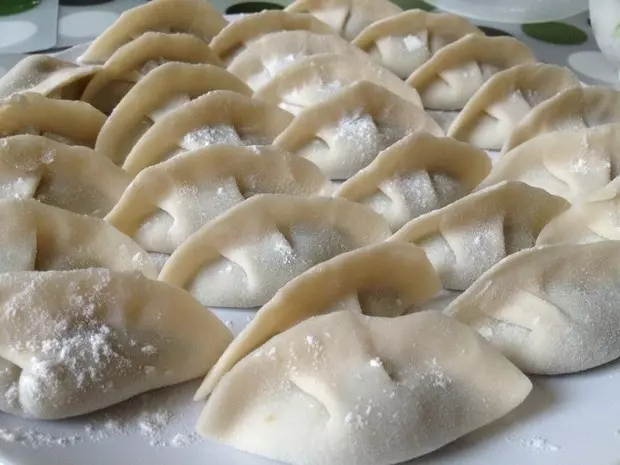
3怕饺子皮不好包!在捻花时可以用指腹沾水敷下饺子皮边沿!
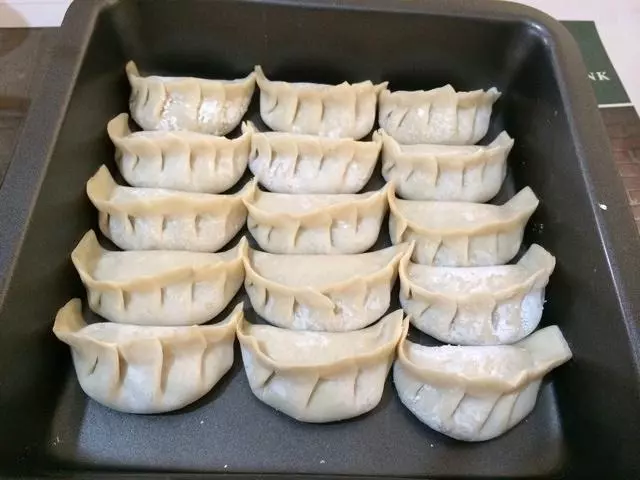
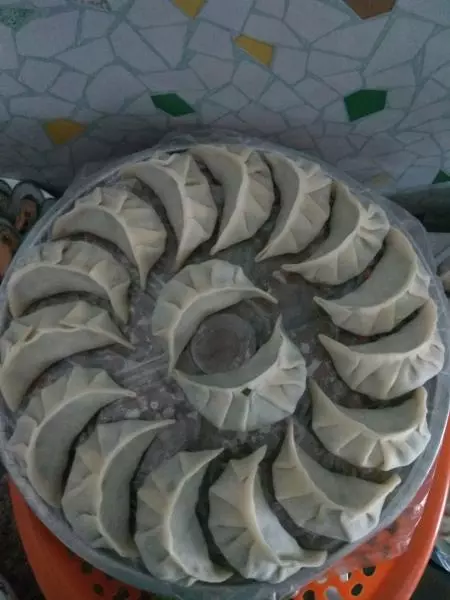
4蒸笼可以直接涮油,这样蒸出来饺子不沾低!这里垫了保鲜袋是为了方便清洗,同样也是底部要刷油!
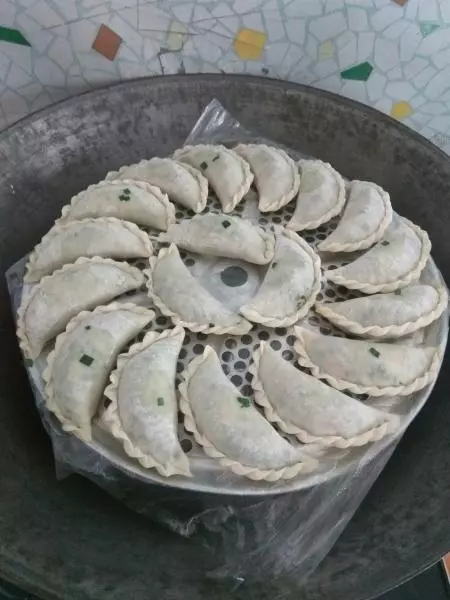
5韭菜馅饺子蒸15分钟就能熟透!为了让饺子吃起来更柔软!蒸到10分钟的时候要开盖给饺子洒水!再蒸5分钟!就可以起锅了

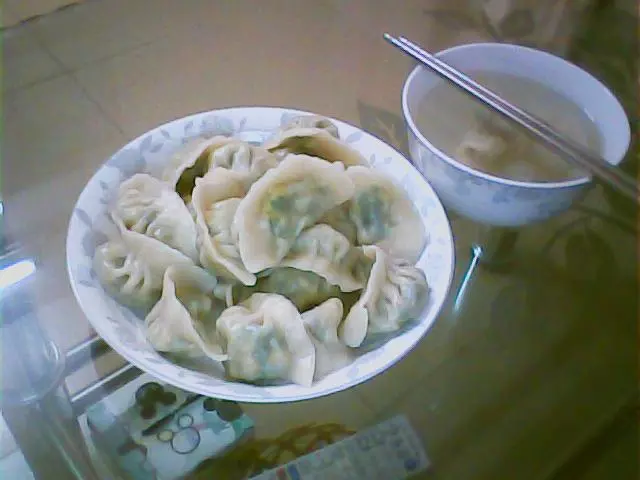
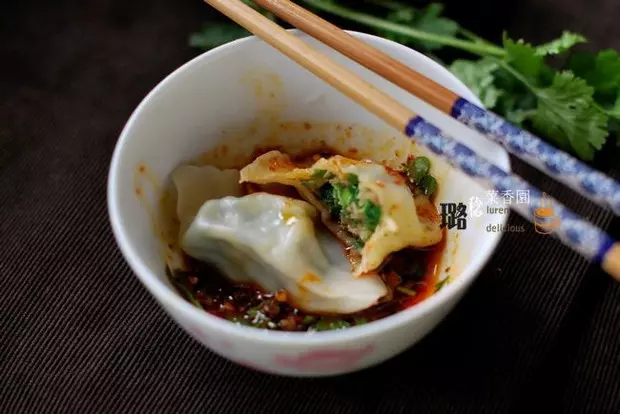
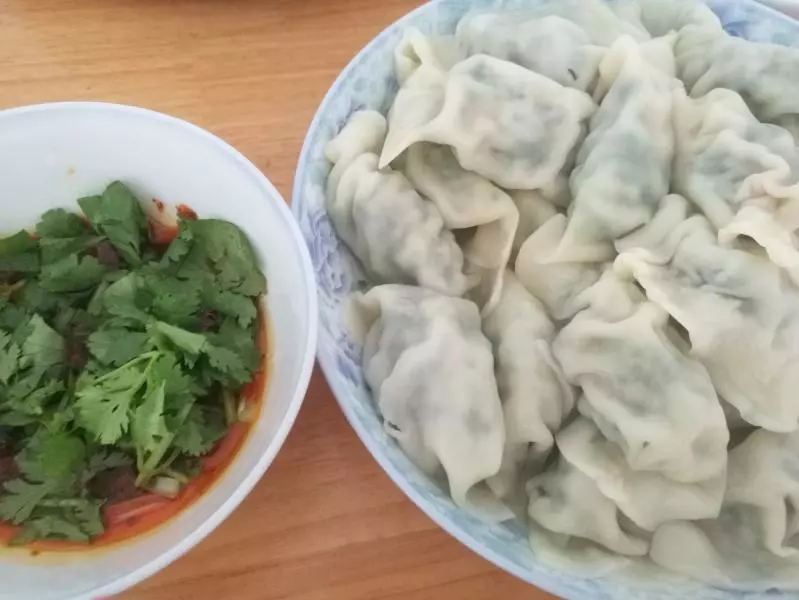
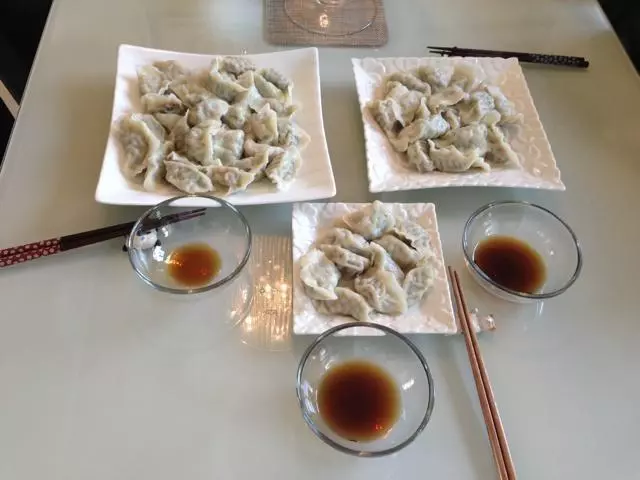
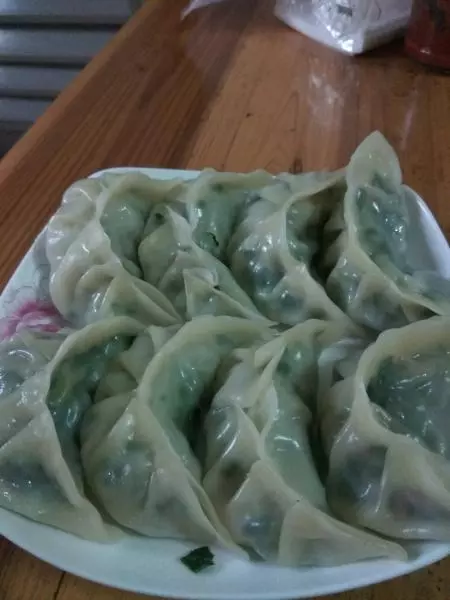
6最后就是加上你自己喜欢的辣酱,一个一个的把它吃掉!
小技巧
重要的事情重复说:蒸到10分钟必须开盖给饺子洒水,再蒸5分钟!切记!切记!