原料
蛋 白: 170g(五个蛋), 细 砂 糖: 70g+30g, 玉米淀粉: 10g, 白醋或柠檬汁: 3-5滴, 蛋 黄: 90g(五个蛋), 玉 米 油: 60g, 低筋面粉: 85g, 纯 牛 奶: 75g, 奶 粉: 10g, 泡 打 粉: 10g, 可 可 粉: 20g, 盐: 3-5g, 淡 奶 油: 500g, 细 砂 糖: 40g, 火 龙 果: 适量, 猕 猴 桃: 适量, 菠 萝: 适量, 葡 萄: 适量, 草莓果酱: 适量
步骤
1[蛋糕制作部分] 准备好所有原材料,必须确保工具无油无水干净的

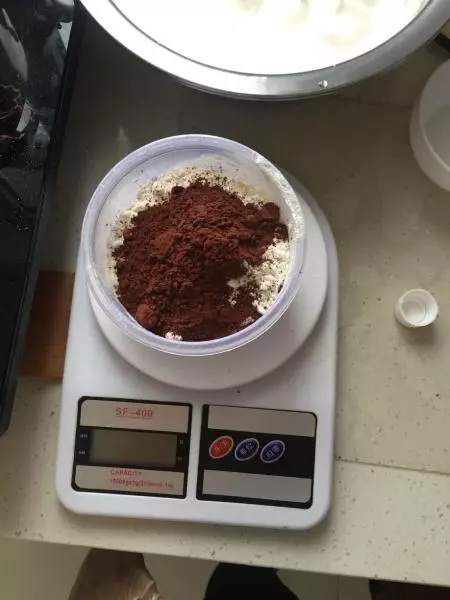
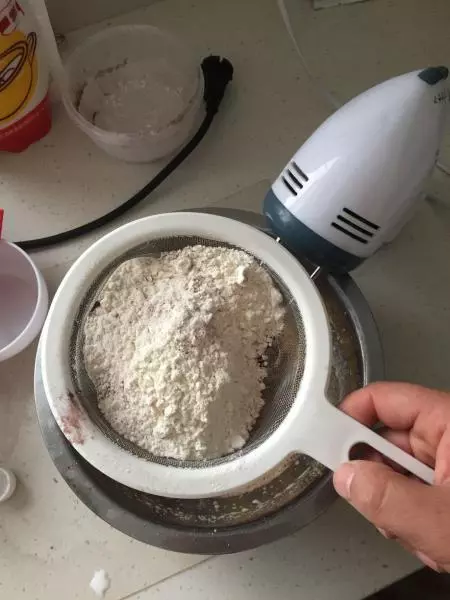
2除玉米淀粉外的所有粉类承重后放在一起备用
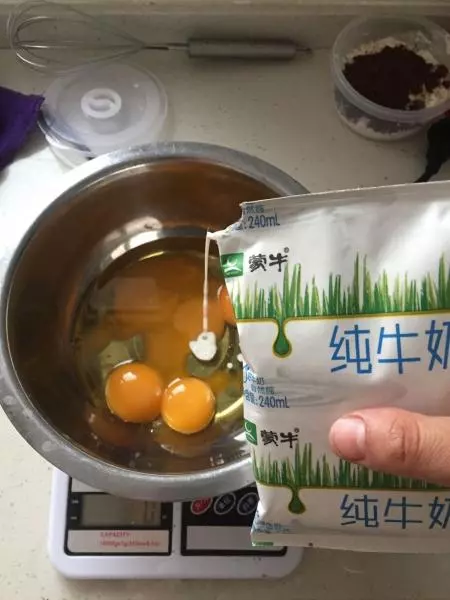
3分离蛋清和蛋黄,可以直接用蛋壳分蛋,不熟悉的朋友也可以用分蛋器辅助,确保蛋清里面没有任何蛋黄

4把纯牛奶和玉米油倒入蛋黄里面,轻轻晃动一下,让纯牛奶和玉米油包裹住蛋黄,这蛋黄不会因为裸露在空气中的时间久了而结皮,把它放一旁备用
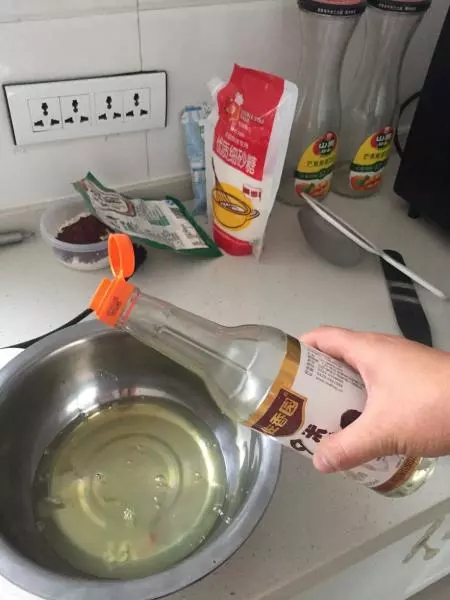
5接下来打发蛋白,准备好细砂糖,蛋清中加入几滴白醋或柠檬汁,用电动的打蛋器先低速开始打,把一块块的蛋白打散,打散后转高速,打到透明的蛋白打发至白色,提起打蛋器有一个小尖勾时可以开始加砂糖
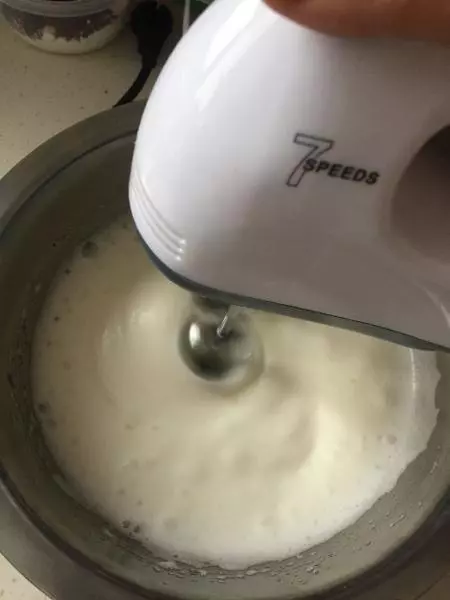
6[第一次加糖]砂糖分3次加进去,先加入3分之1,继续开高速打发,细砂糖加入之后的蛋白霜会变软,蛋白霜发泡之后会慢慢变硬,然后蛋白霜开始有阻力,打蛋器会慢慢变重,一直打发到提起形成尖勾的发泡程度
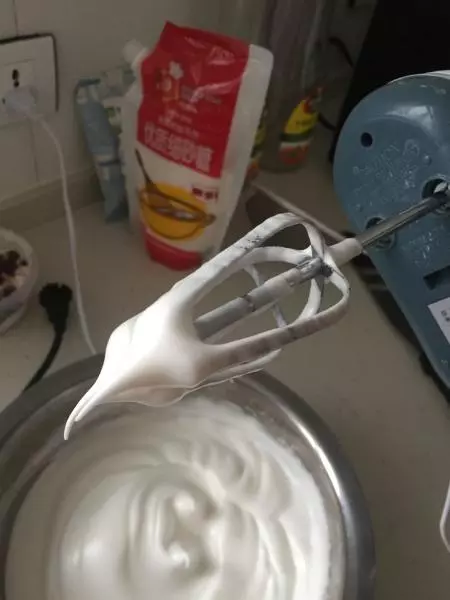
7[第二次加糖] 再将剩余的2分之1的细砂糖倒进去,高速打发,一边转动打蛋器,一边打发到再次出现尖勾,细砂糖完全融化之后提起蛋头再次出现尖勾,但这次的尖勾比第一次的细腻多了
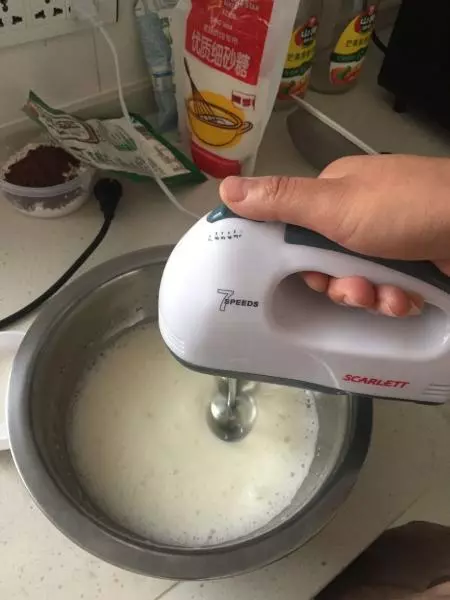
8[第三次加糖] 最后把剩余的细砂糖和玉米淀粉一起加进去,搅拌一下再开中速,直到玉米淀粉搅拌均匀,这个时候你能看见蛋白霜还有未融化的细砂糖,用刮刀把边缘不均匀的蛋白霜刮进去,混合均匀
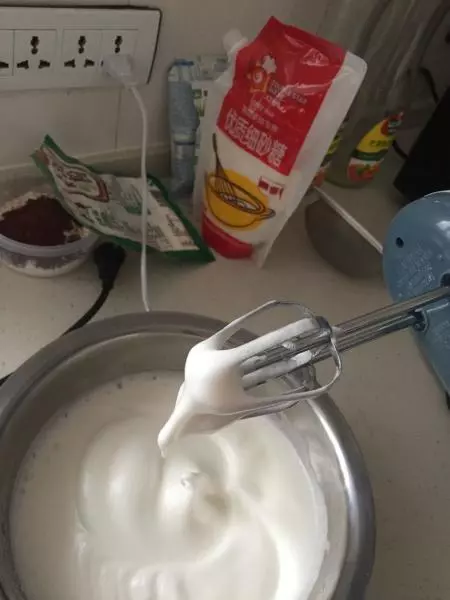
9最好再转低速,打蛋器垂直对着蛋盆,在蛋盆中间画圈圈慢慢搅打,这是为了使蛋白霜形成均匀的小气泡,把大气泡都吸走,每打几圈就要提起看看尖勾的状态,以及蛋白霜是否均匀细腻有光泽,千万不要打发过度了,蛋白霜打发好之后我们需要放在一旁静置一会(大概2~3分钟)
10蛋白霜打好之后我们就要把烤箱上下火160度预热(预热是指烤箱在设定的温度之后,保持通电状态,让蛋糕进去烤箱的时候,烤箱内部温度达到我们所需的温度)
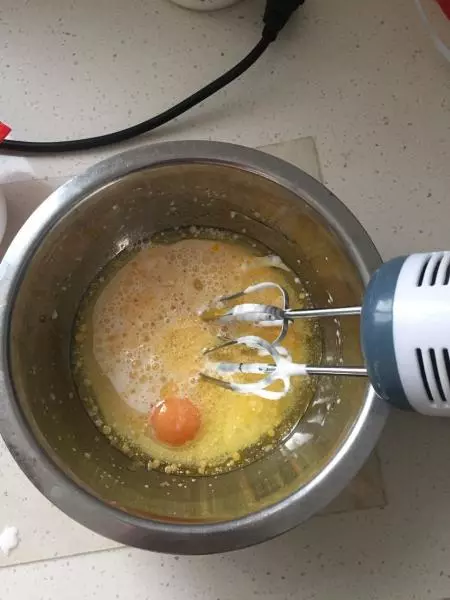
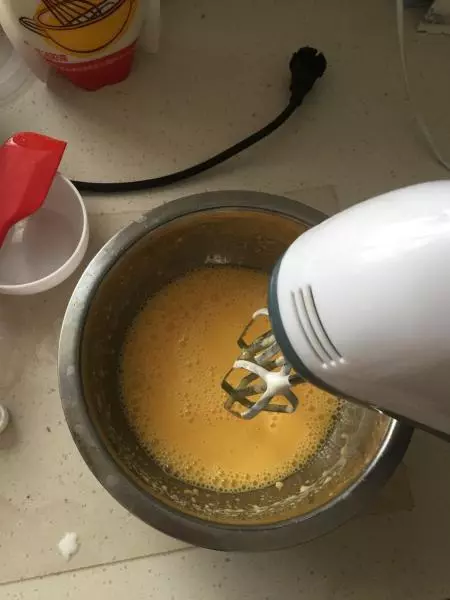
11利用白霜静置的时间来打发蛋黄糊,刚才已经把牛奶和玉米油倒蛋黄里面了,在加入30g砂糖,然后用手动的打蛋器把材料都搅拌均匀,做乳化作业。
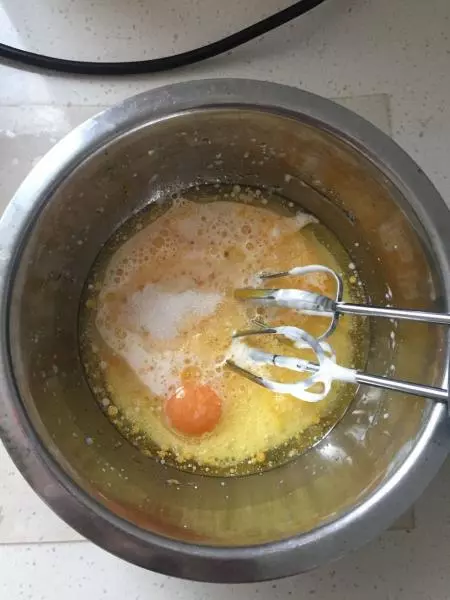
12乳化后是这个样子的
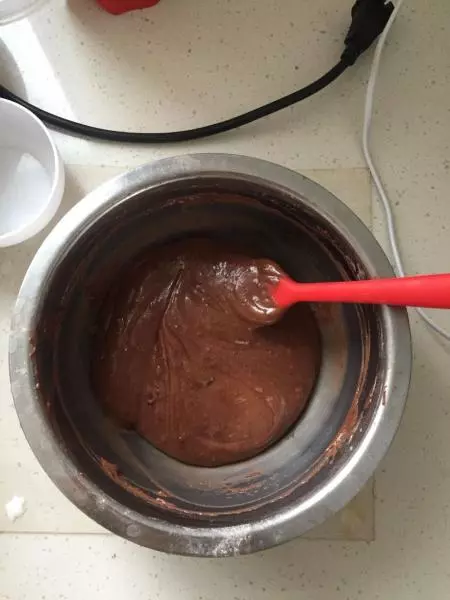
13把之前混合好的粉类加进去,直到面粉和其它材料完全混合均匀,使面糊产生粘性,可以画圈圈,这样才能快速的拌匀面粉,溅起的油一定要用刮刀拨下来,直至搅拌至蛋黄糊细腻,有粘性,无颗粒,这样蛋黄糊就做好了
14混合后的蛋黄糊是这个样子的
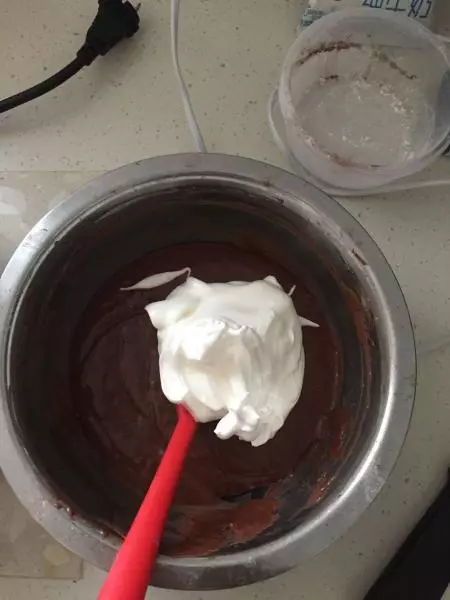
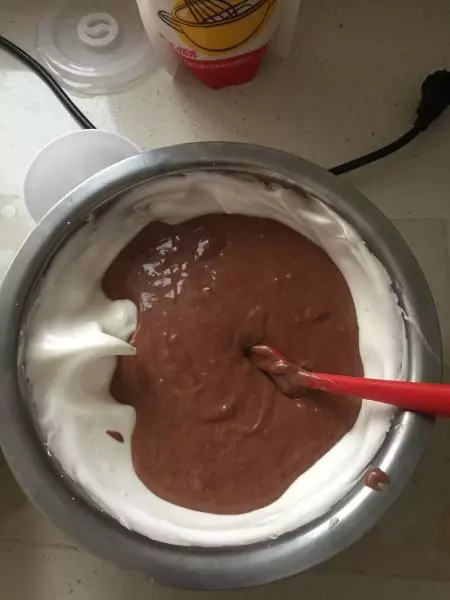
15混合蛋白和蛋黄糊,分一些蛋白霜到蛋黄糊这里,用切拌的手法,把这部分的面糊混合均匀
16把混合均匀的面糊全部倒入剩余的蛋白霜里,用翻拌的手法拌匀这边的戚风面糊,先把边缘的蛋白霜刮进去,然后中间划入,抄起底部,转动蛋盆,往盆边提起,不断重复,直到戚风面糊拌匀至看不见白色的蛋白霜为止,拌好的面糊质地是细腻的,无明显大气泡的
17混合均匀的面糊是这个样子的
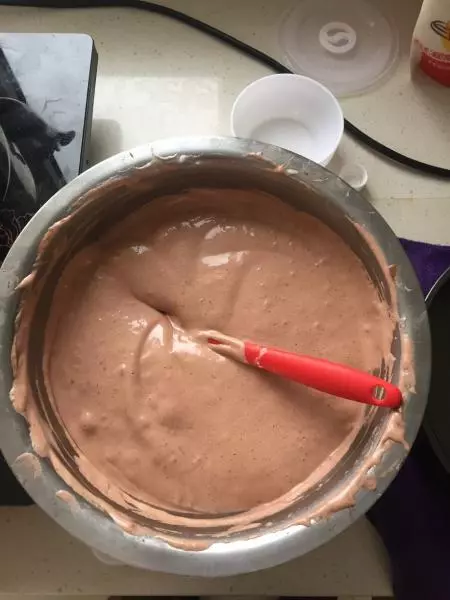
18拌匀的面糊我们倒入模具里,蛋盆离模具大概15厘米高倒入面糊,这样能使里面的大气泡自动消除,倒进去之后用刮刀稍微抹平,然后震动模具,把里面的大气泡震出来,再用个牙签,在把面糊表面的小气泡戳破,画圈圈也可以,速度要快,混合的好的戚风面糊要尽快送入烤箱,否则就算现在面糊是成功的,你放置的时间久了一样是会消泡的

19装入模具后的戚风面糊送入烤箱,上下火140度,中下层,烤大概50分钟,可以插根竹签进去,没有面糊带出来就表示烤好了
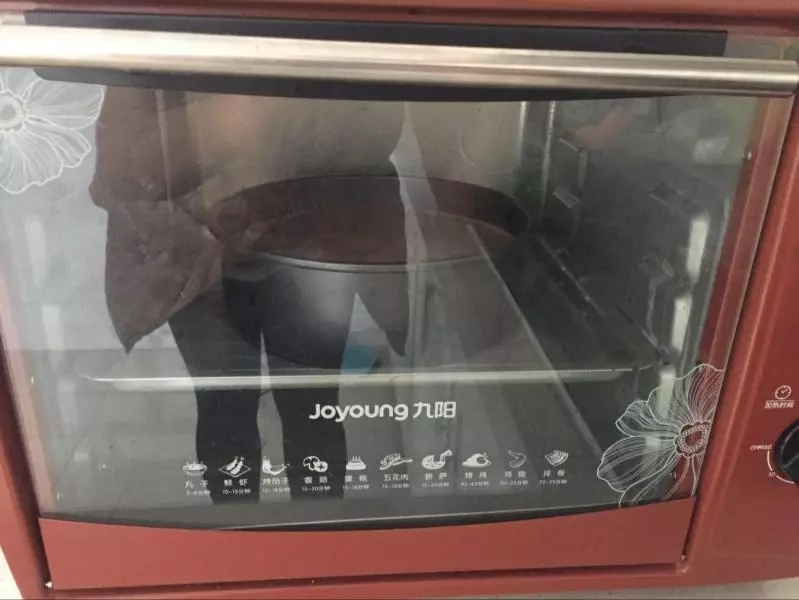
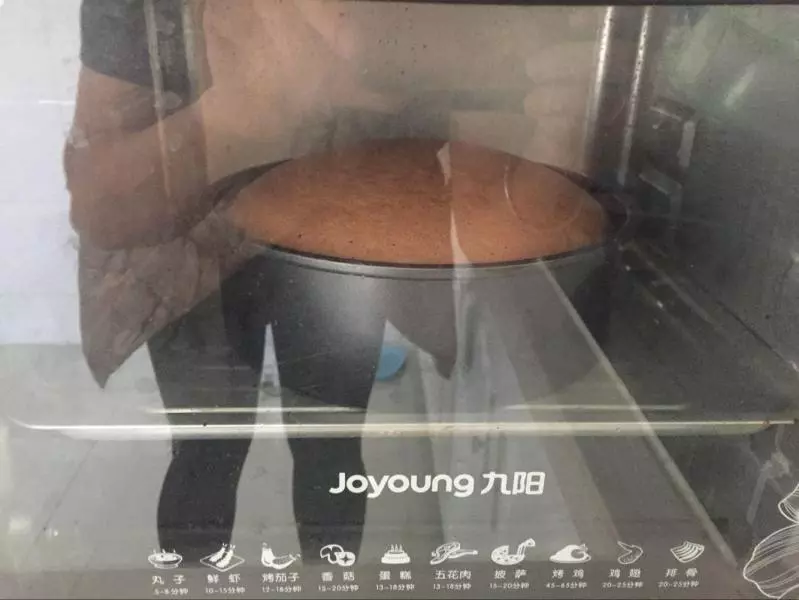
20烤20分钟时的样子
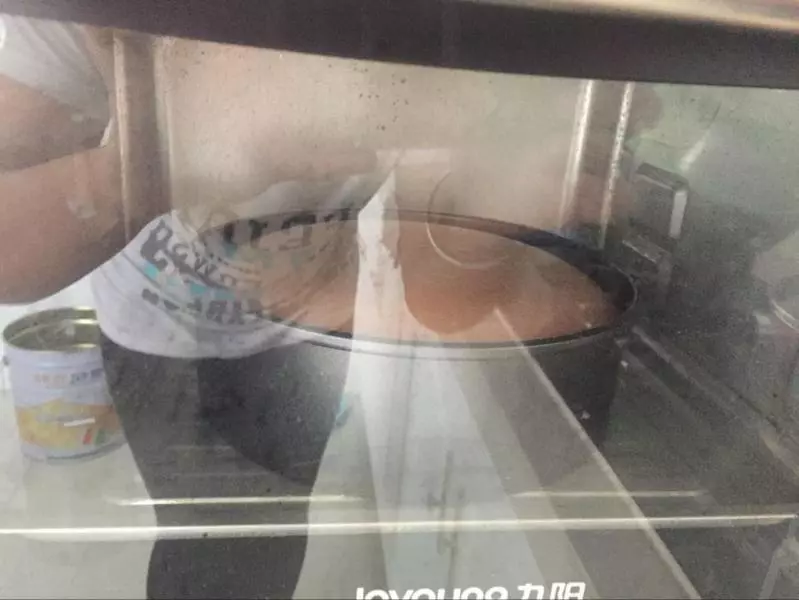
21烤40分钟时的样子
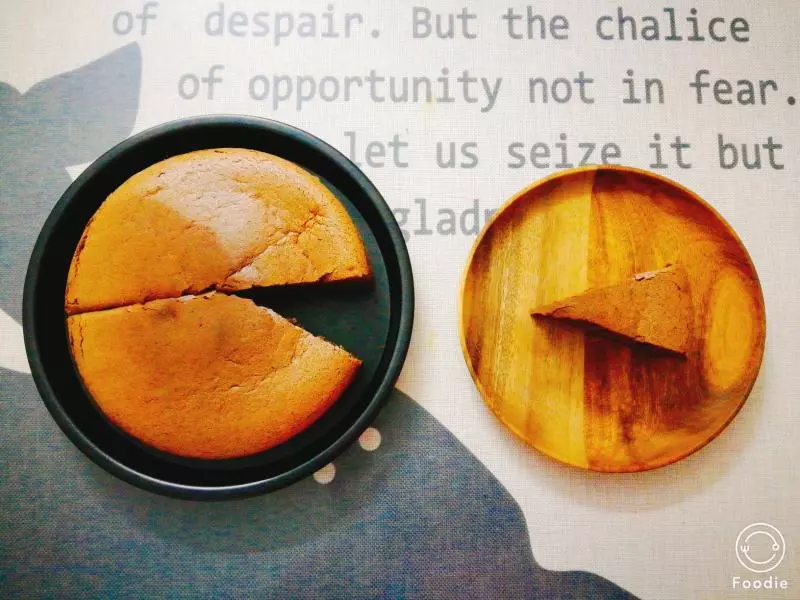
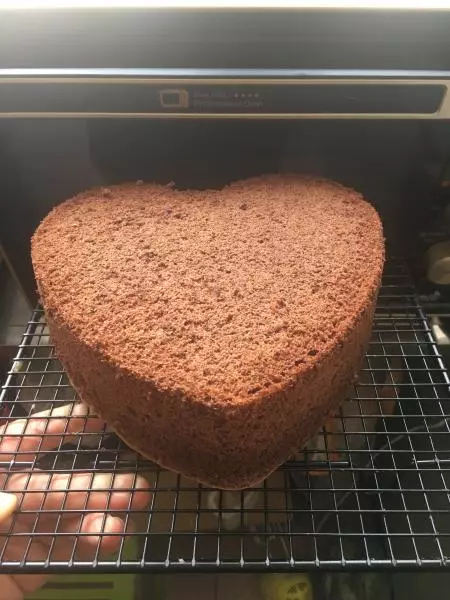
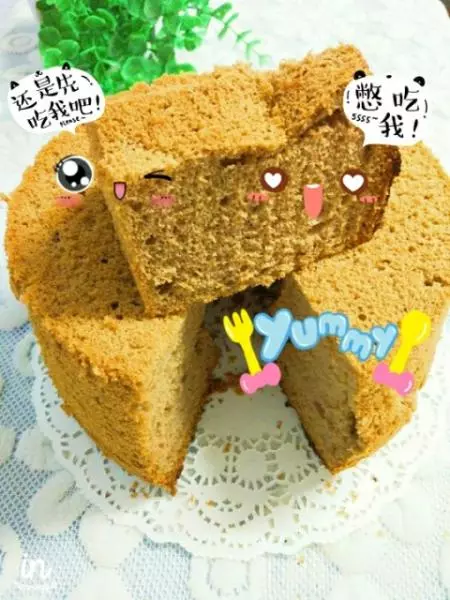
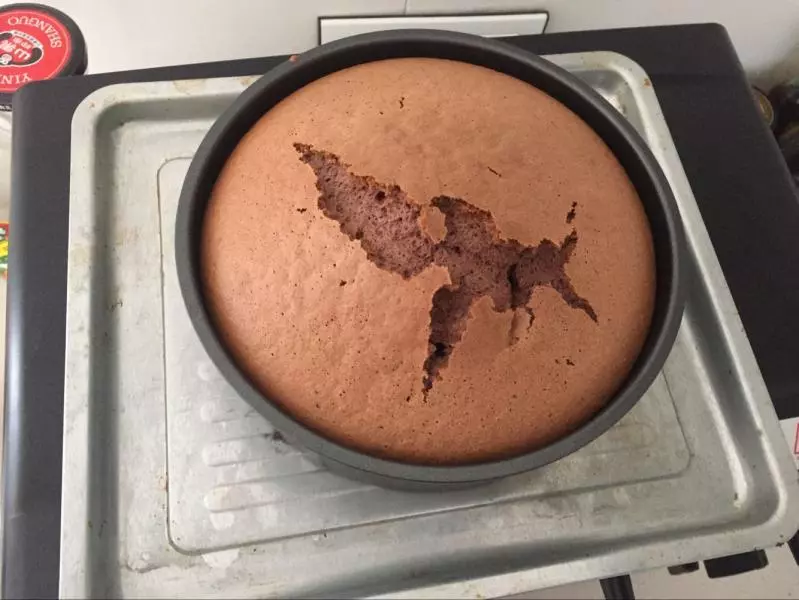
22烤好的戚风拿出来之后要在桌子上空15~20厘米高度摔下去,一两下就好了,不要拼命摔,这样子是为了把蛋糕里面多余的热气给震出来,然后倒扣在晾网上至完全放凉再脱模
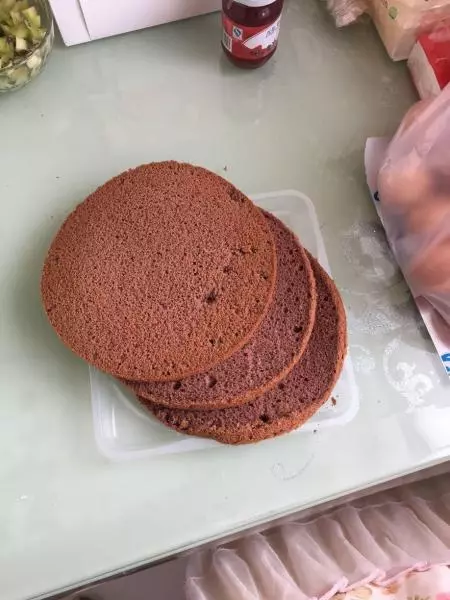
23[装饰部分] 把脱模后的蛋糕平均切成三片
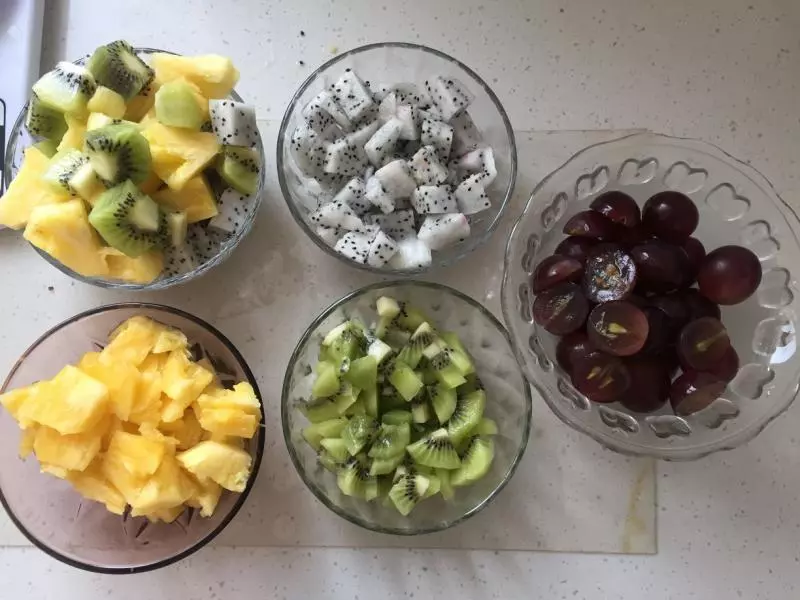
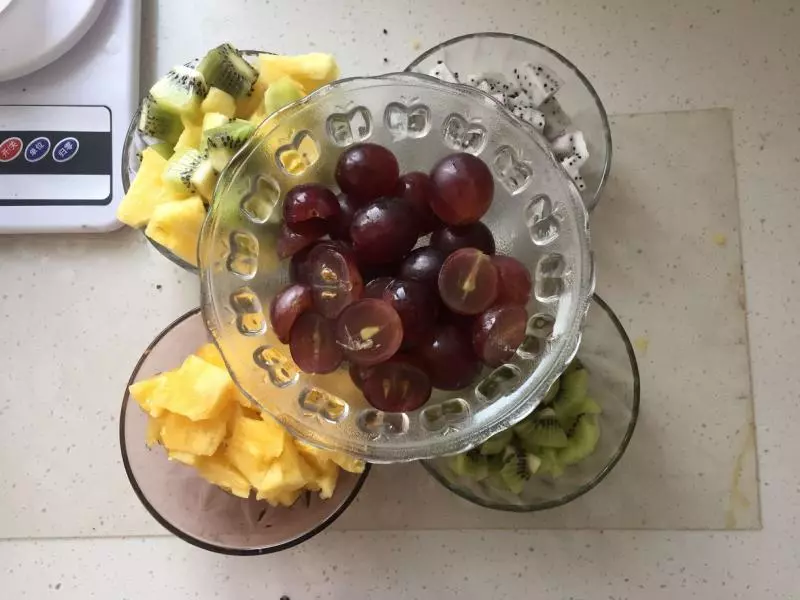
24把水果切成自己喜欢的形状
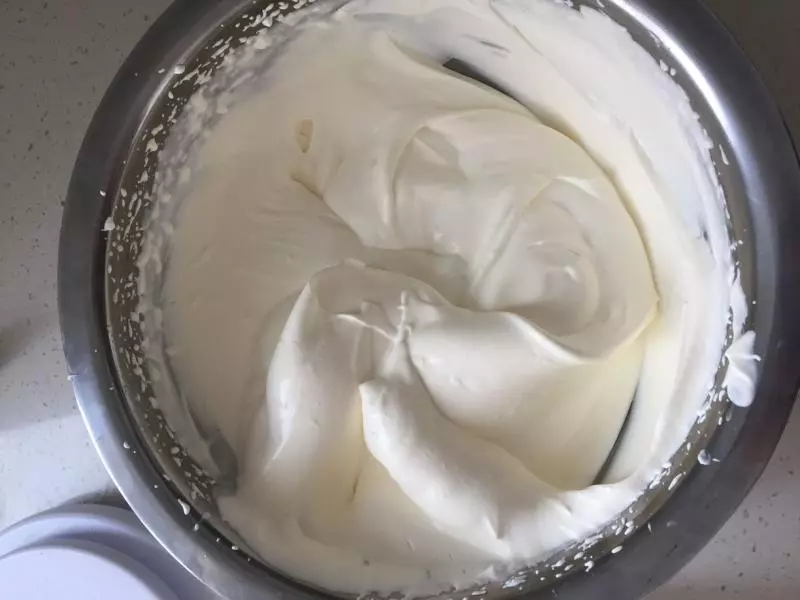
25然后淡奶油加糖打发至出现纹路不消失的状态,打好后的奶油装进裱花袋里
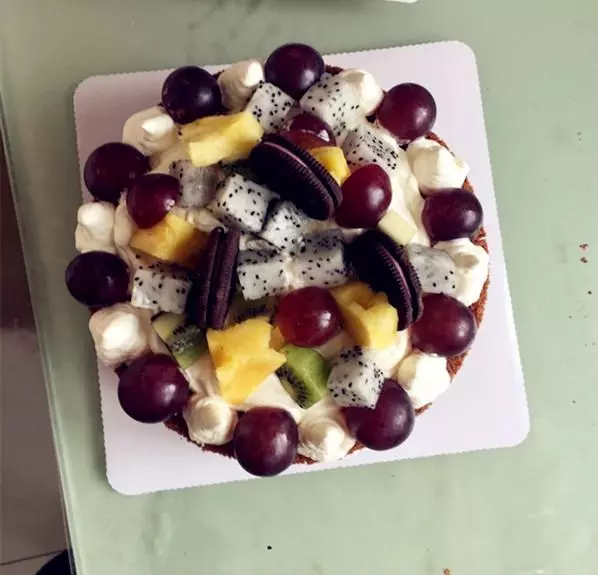
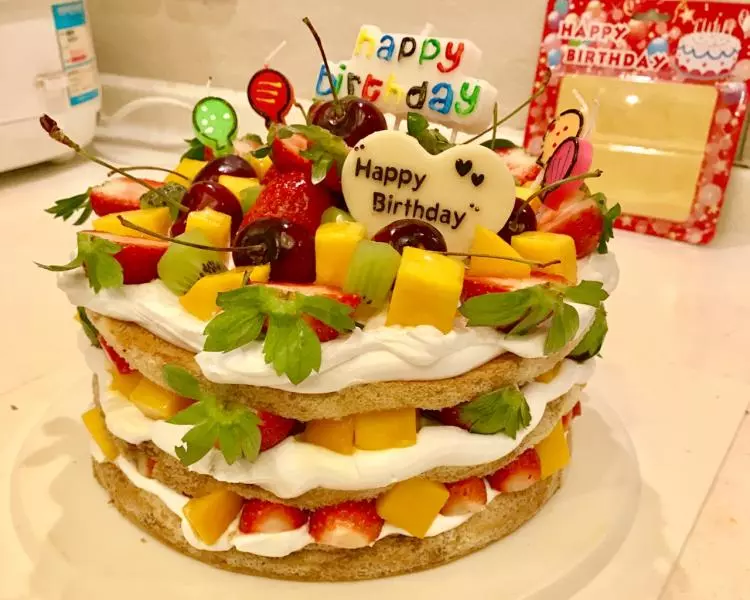
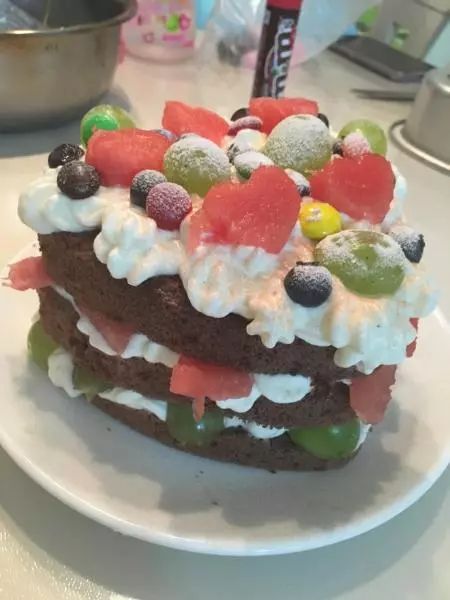
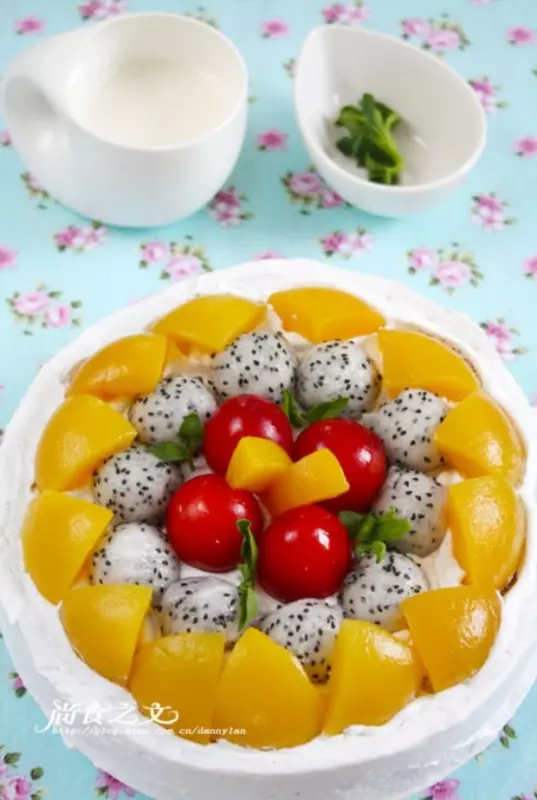
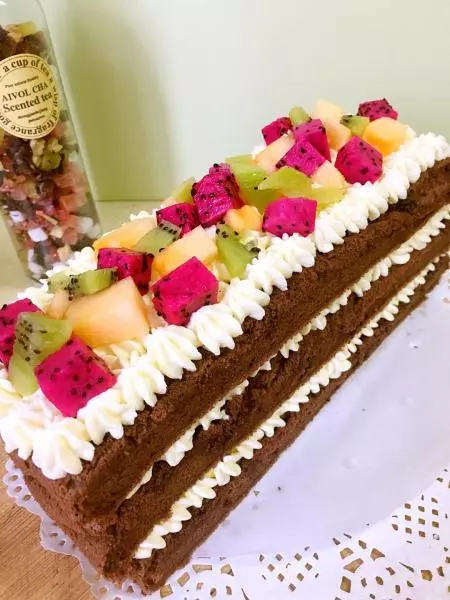
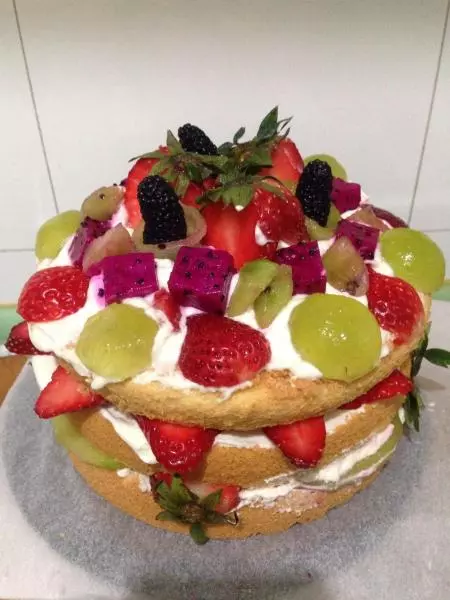
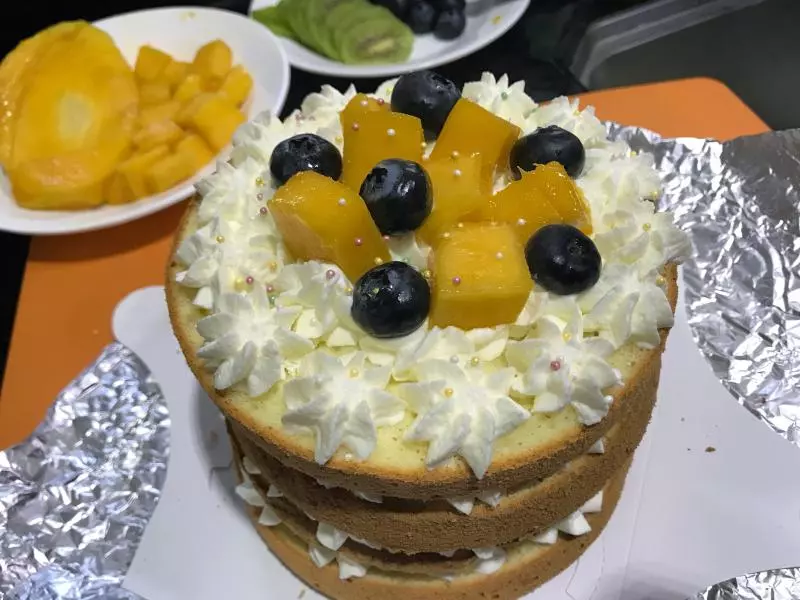
26把切好的一张蛋糕坯放到裱花台或者蛋糕托上,表面先涂一层草莓果酱,在挤一层薄薄的奶油,放上水果丁,在挤一层薄薄的奶油,把水果之间的空隙填满
27再放第二层蛋糕坯,表面先涂一层草莓果酱,在挤一层薄薄的奶油,放上水果丁,在挤一层薄薄的奶油,把水果之间的空隙填满
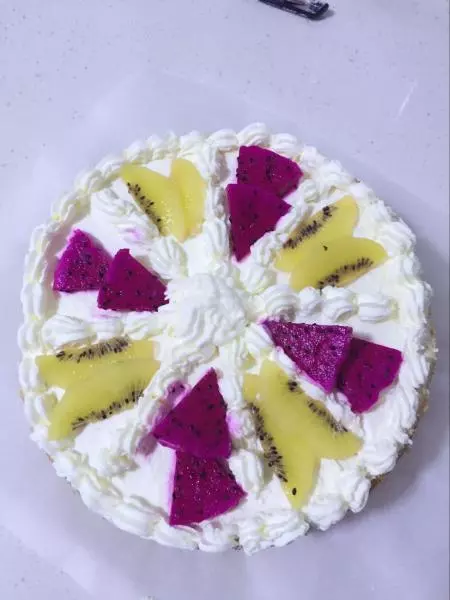
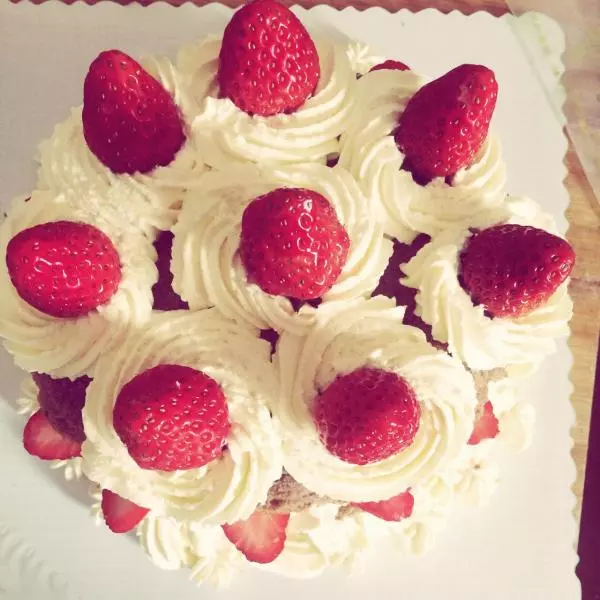
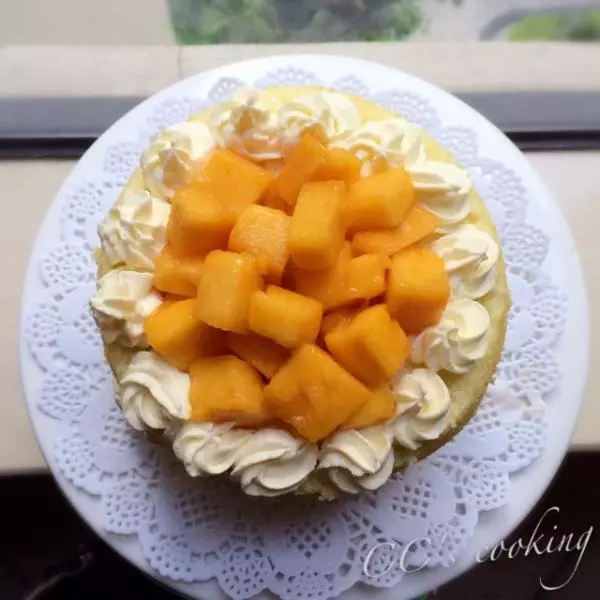
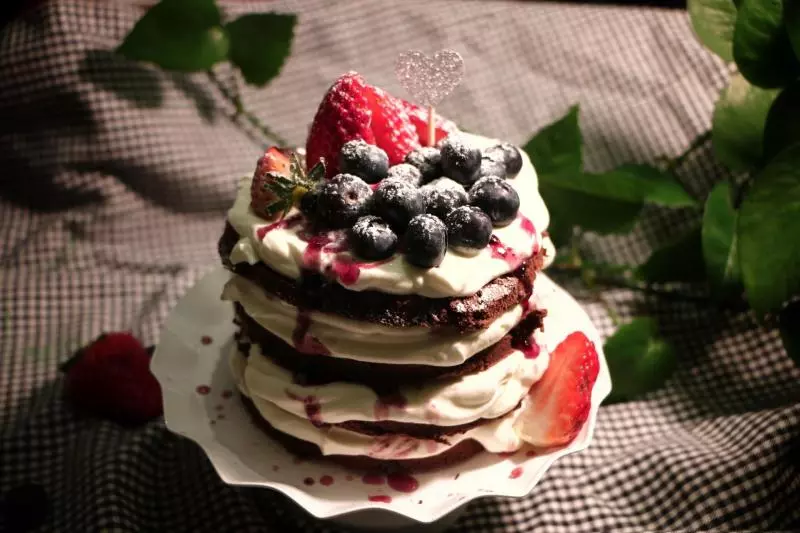
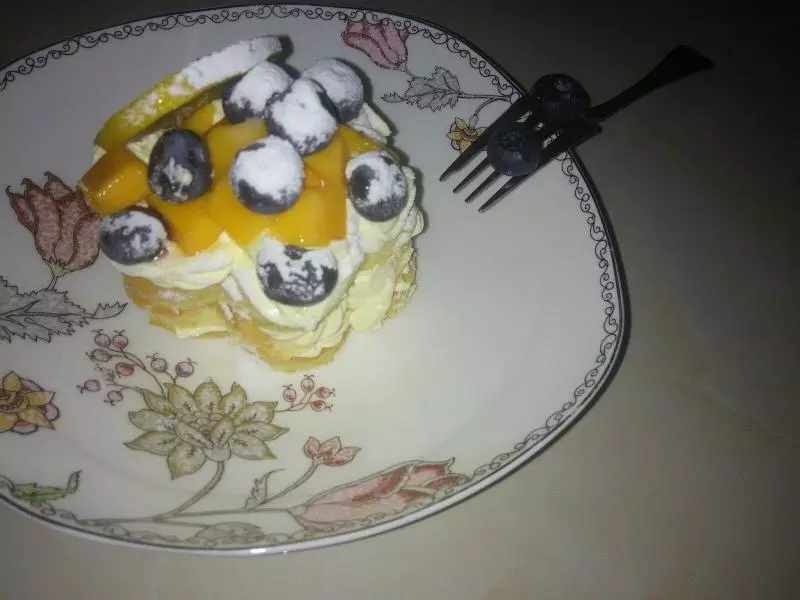
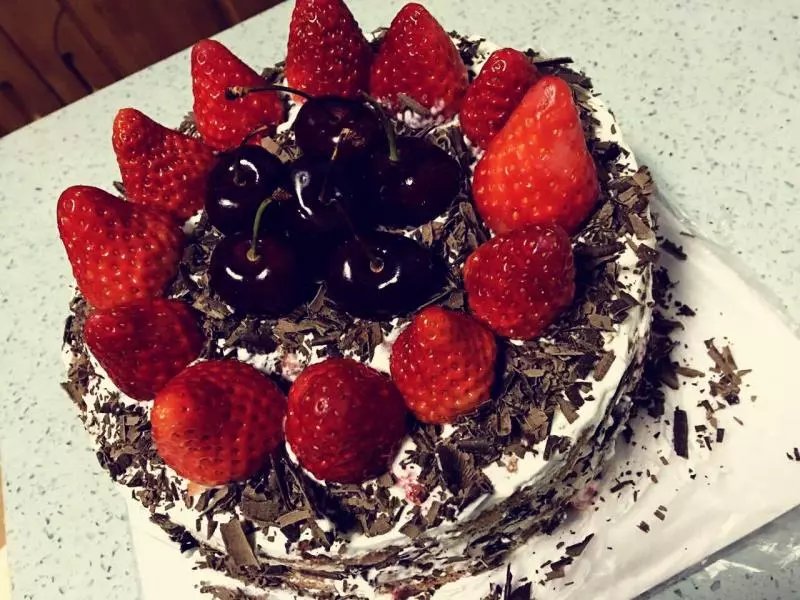
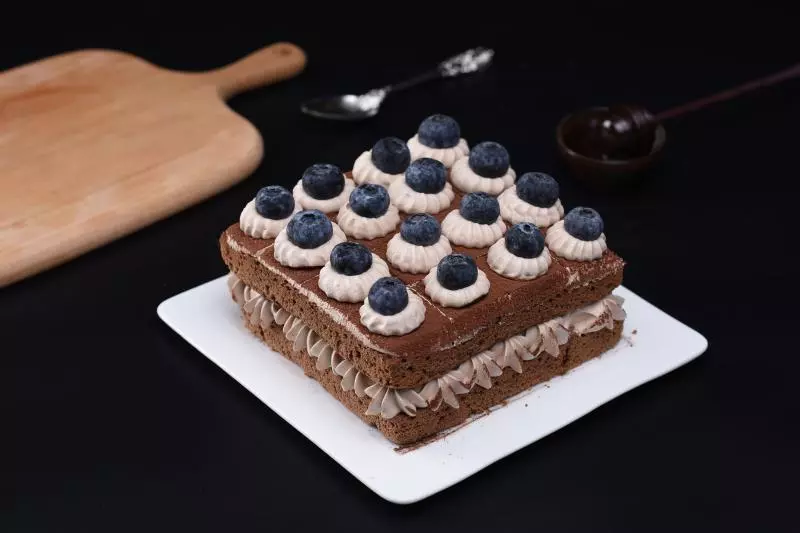
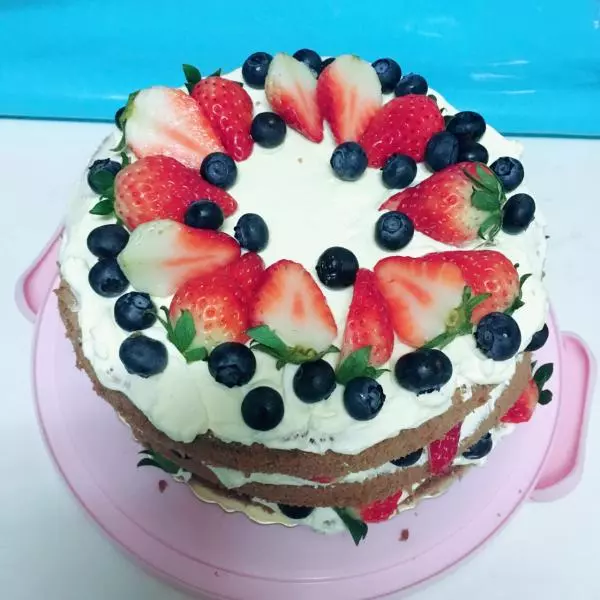
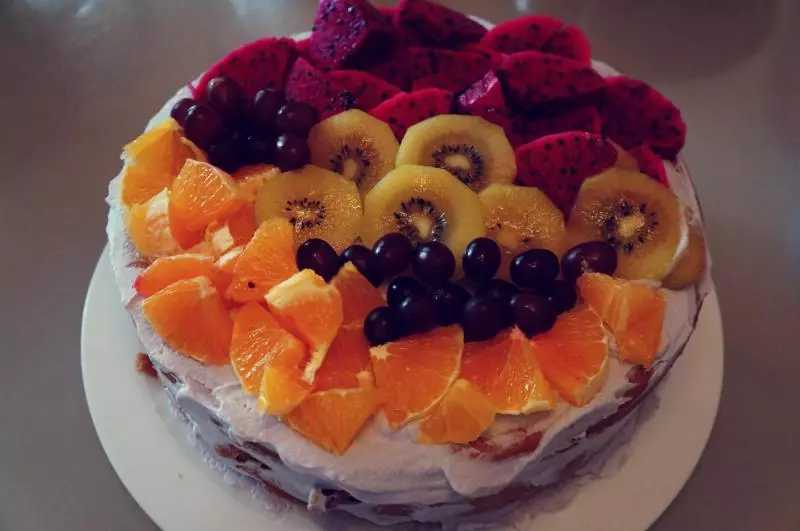
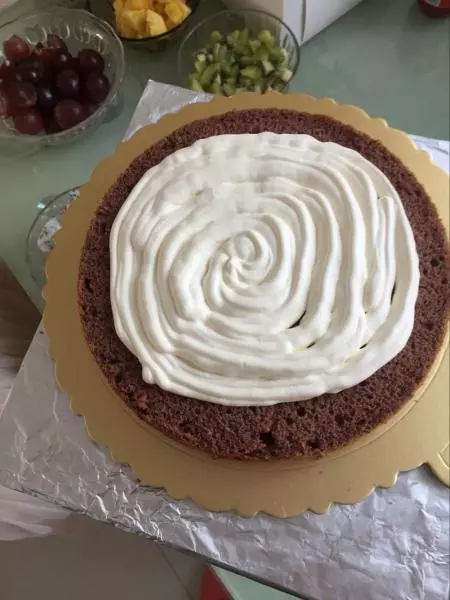
28放最后一层蛋糕坯,表面挤一层薄薄的奶油,在蛋糕表面挤出自己喜欢的造型,再堆放上水果,放入冰箱冷藏半小时就可以享用了