原料
巧克力蛋糕体材料: , 鸡蛋: 4个, 可可粉: 20克, 温水: 70克, 白砂糖: 40克, 低筋面粉: 50克, 食用油: 40克, 提拉米苏糊材料: , 淡奶油: 120克, 白砂糖: 70克, 鱼胶片: 4片(2.5克/片), Mascarpone芝士: 250克, 蛋黄: 4只, 水: 60克, 装饰材料: , 可可粉: 适量, 防潮糖粉: 适量
步骤
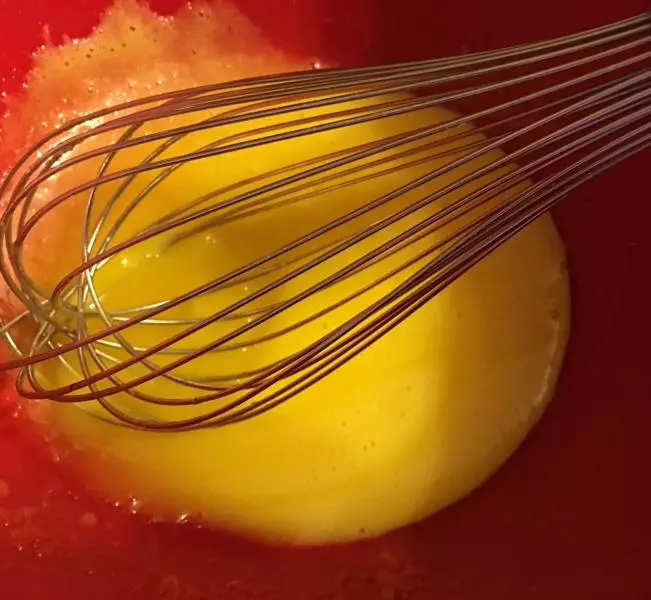
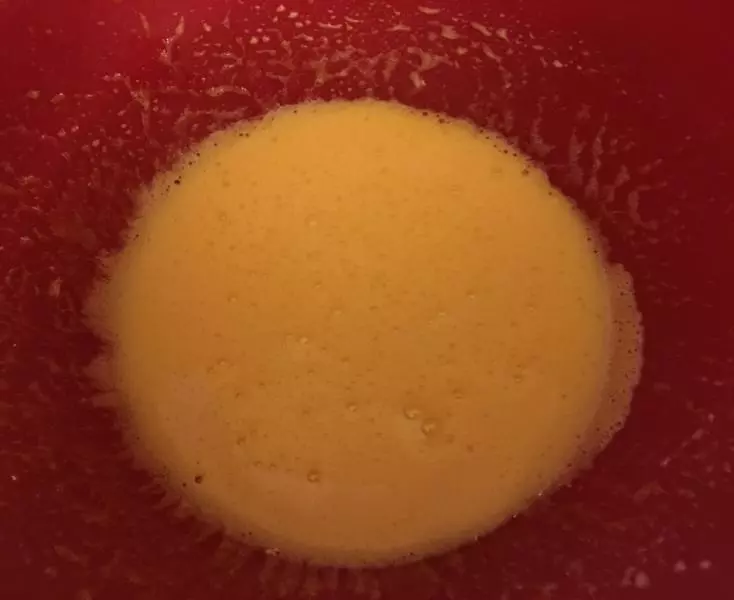
1把蛋白和蛋黄分离开。蛋黄加10克糖搅拌均匀,不需要打发哦。
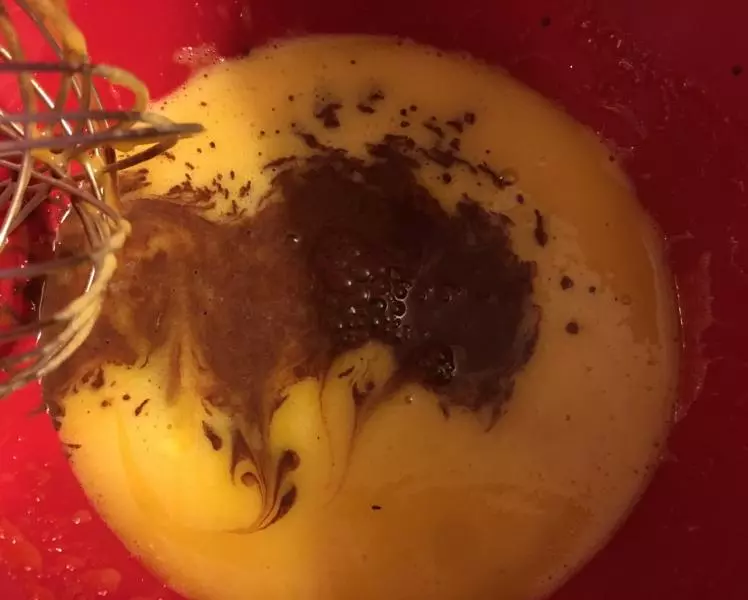
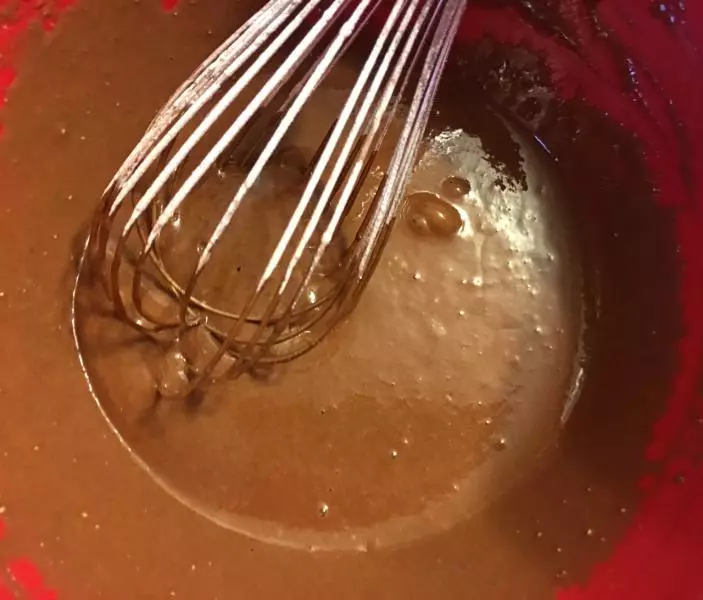
2温水+可可粉搅浑至完全溶解。

3再过筛加入蛋黄糊中搅拌均匀。
4再筛入低筋面粉,搅拌均匀
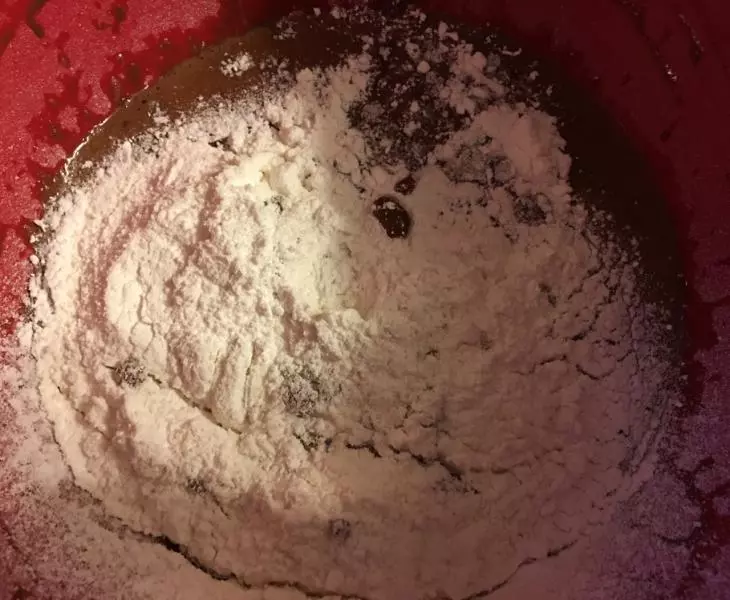
5均匀即可,别搅拌过度哦!!
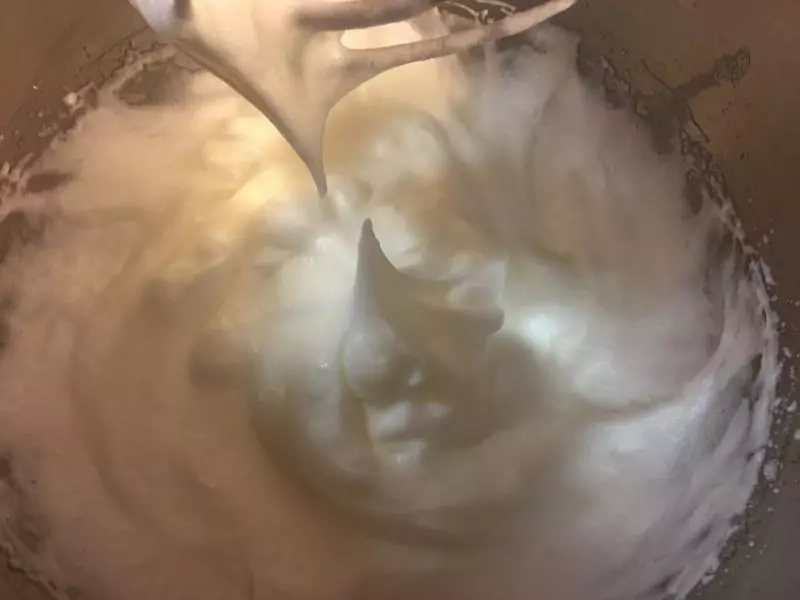
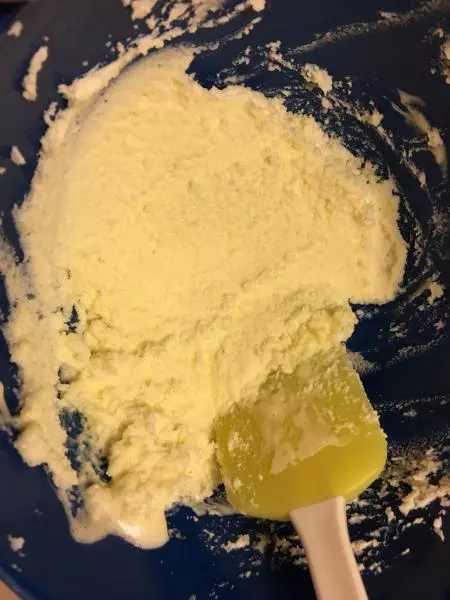
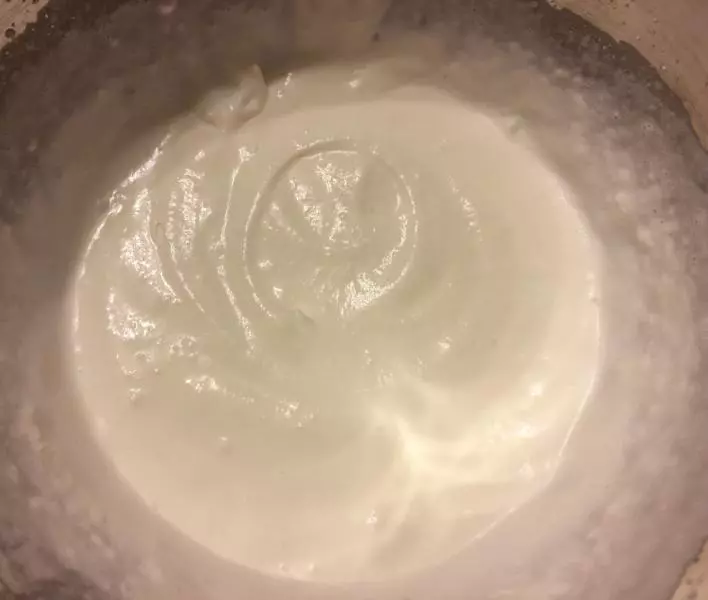
6剩下的糖分两至三次加入蛋白里打发至硬性偏湿发泡,能拉出尖角即可。
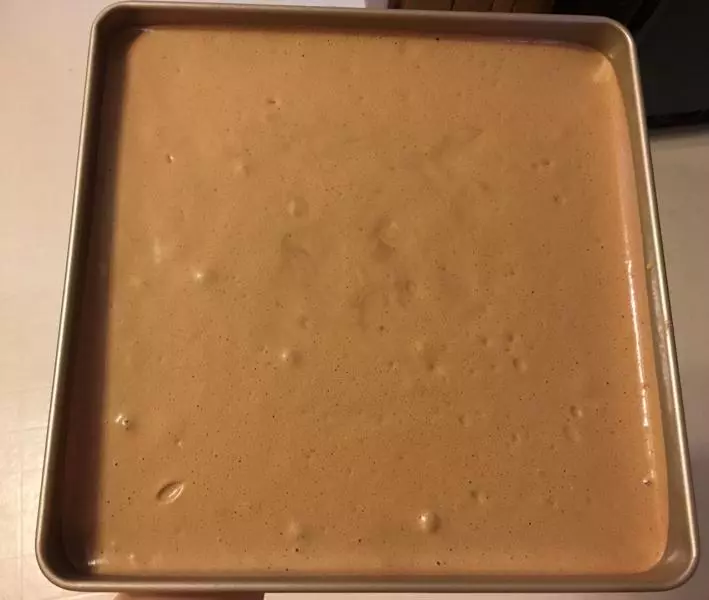
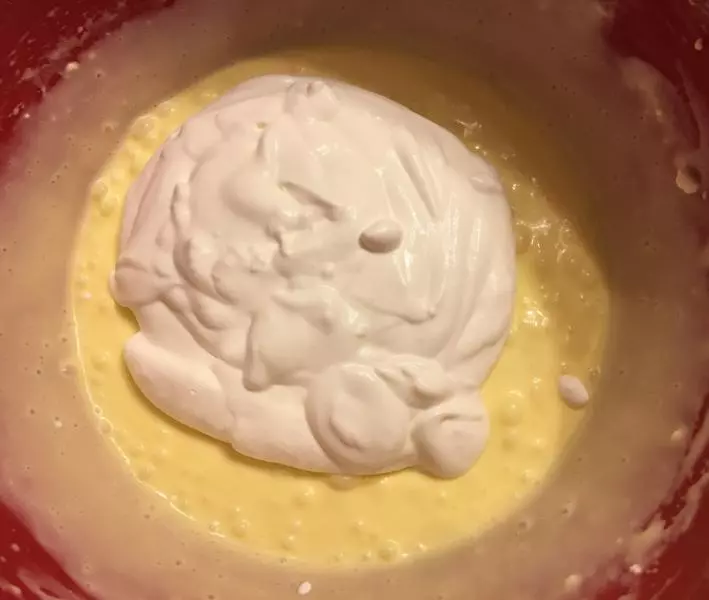
7把蛋白霜分两次加入可可糊里
8用上下翻拌的方式翻拌均匀。
9蛋糕模(28x28cm)里垫入烘焙硅胶垫或者烘培蛋糕纸,然后倒入蛋糕糊,铺平。在把大力往桌上摔两下,把里面的空气震出来。 预热烤箱至180摄氏度/350华氏度,烤18-20分钟。
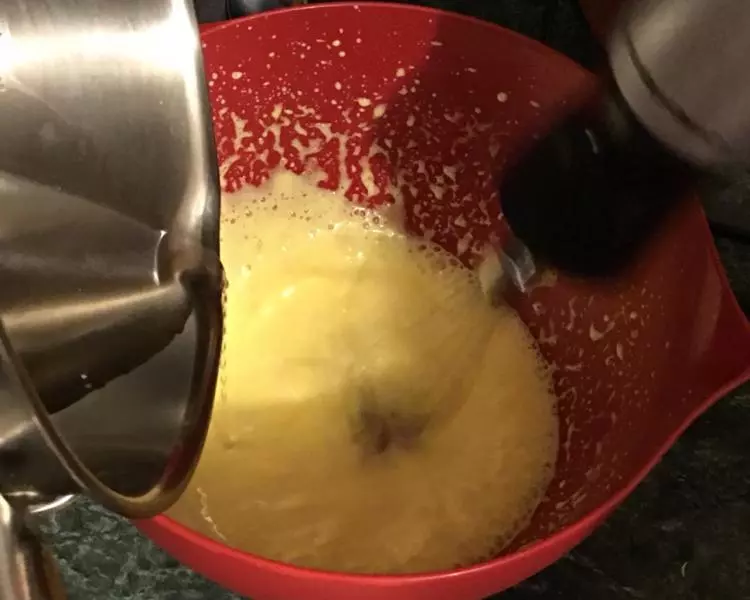
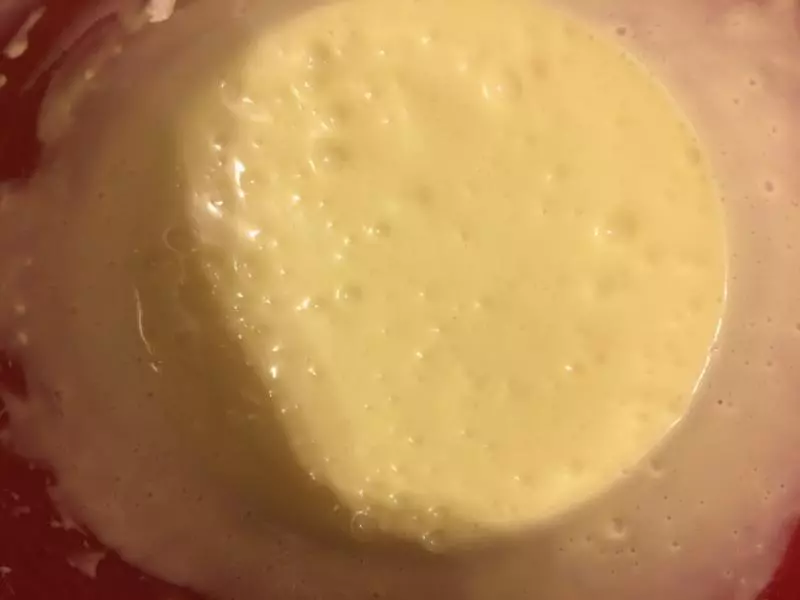
10蛋黄加10克糖打发至变白,体积变两倍大。
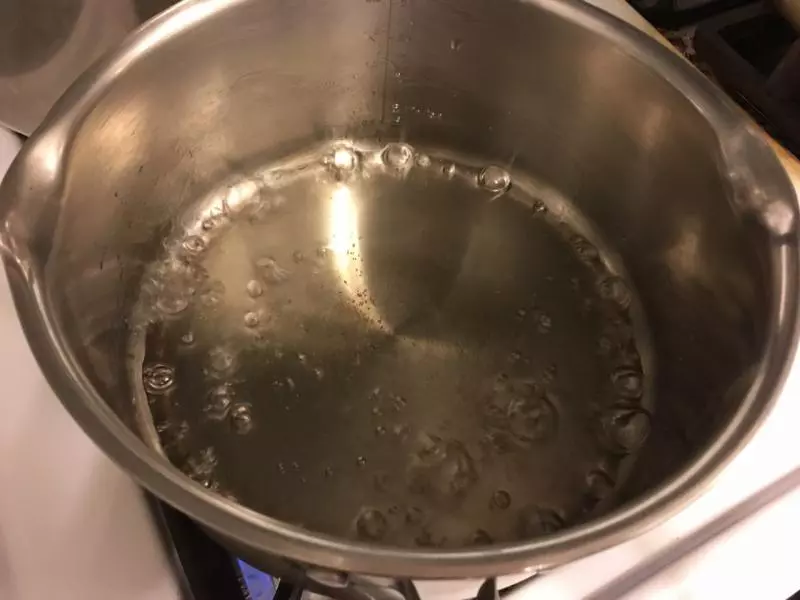
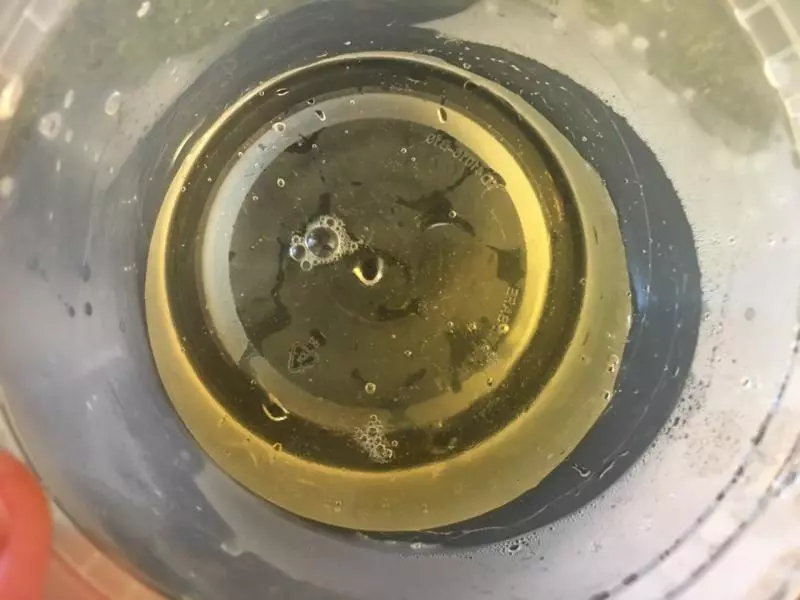
11剩下的糖加水煮沸并糖完全融化
12然后慢慢地加入蛋黄糊里,一边加一边搅拌,以免把蛋黄糊给煮熟成鸡蛋花了。
13然后在继续打发至体积增至两到三倍大。
14鱼胶片加适量冷水放冰箱冷藏至鱼胶片变软,约15-20分钟。
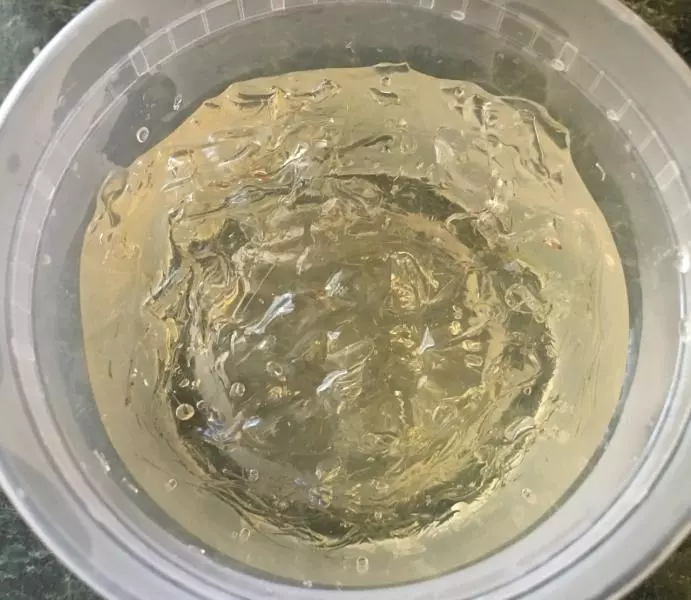
15然后拿出来把鱼胶片沥干水,再隔热水融化成液体后,加入蛋黄糊里搅拌均匀。
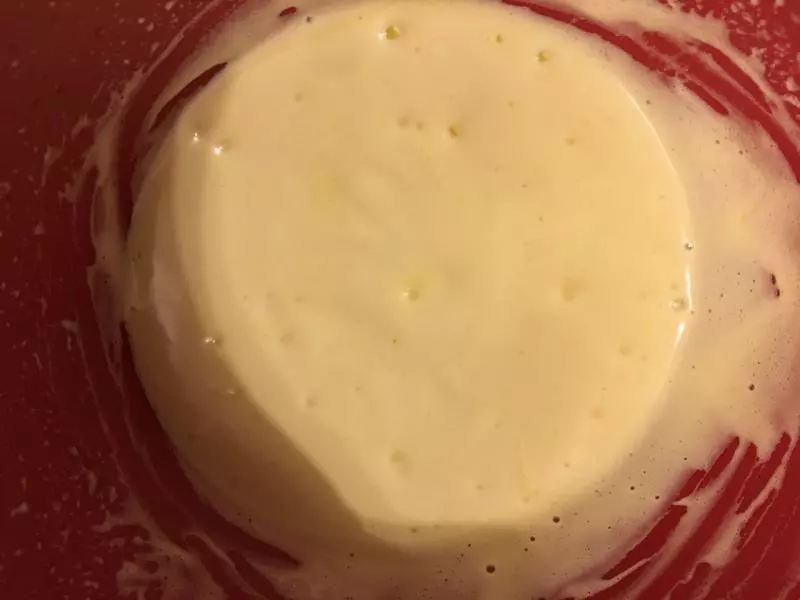
16mascarpone芝士室温软化后,用搅拌器搅打至顺滑柔软,大概5-7转就可以,过度搅拌容易变得油水分离哦!!
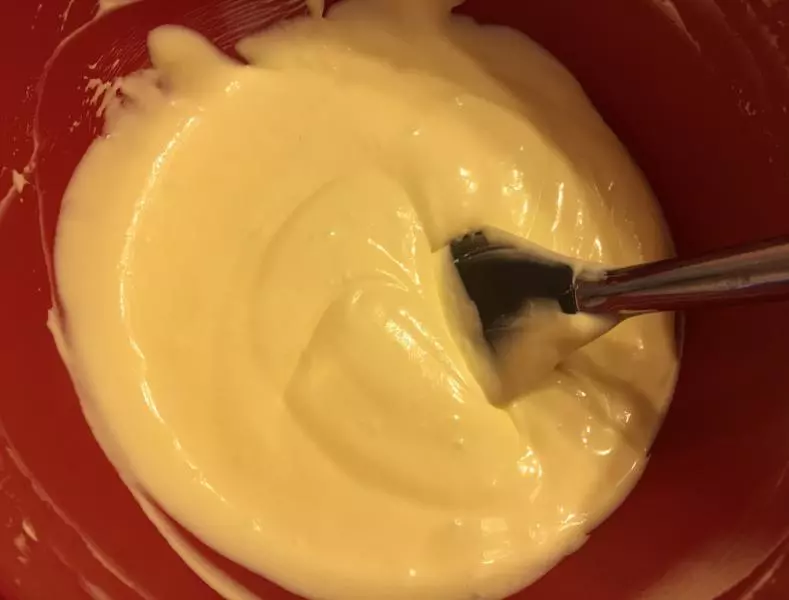
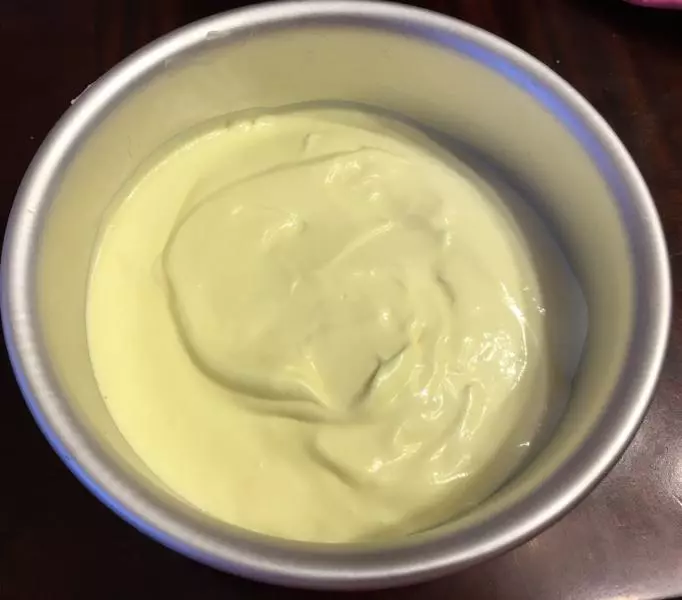
17然后把芝士分两次加入黄蛋糊里搅拌均匀至无颗粒。
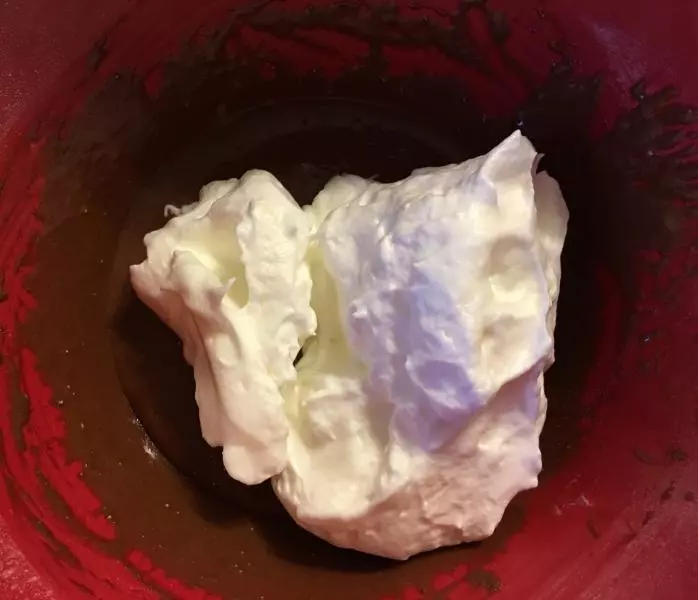
18打发淡奶油至浓稠出现纹路即可。
19把淡奶油加入之前混合好的芝士糊里
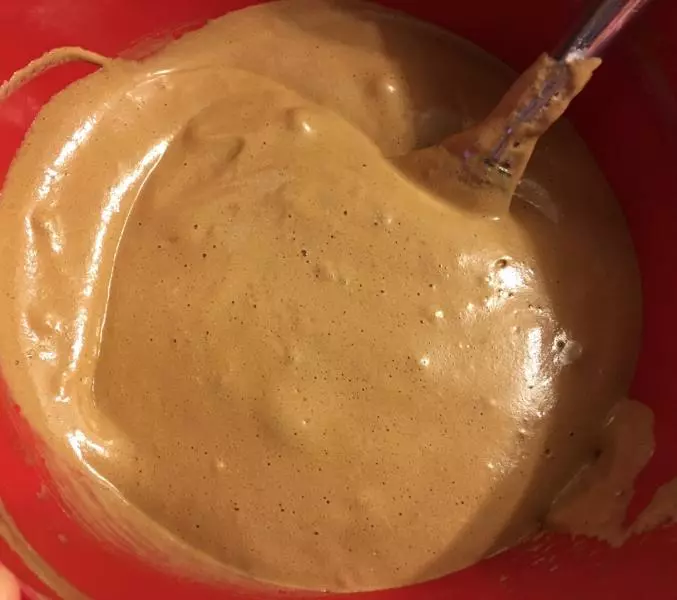
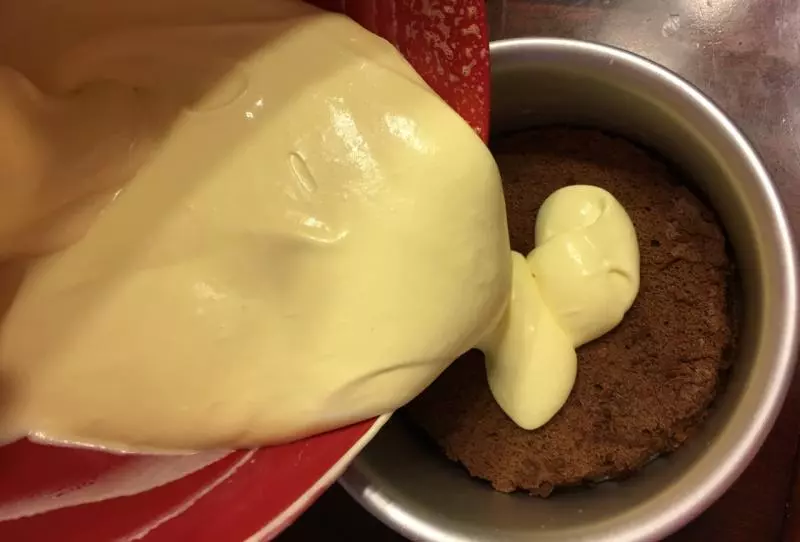
20用上下翻拌的方式搅拌均匀
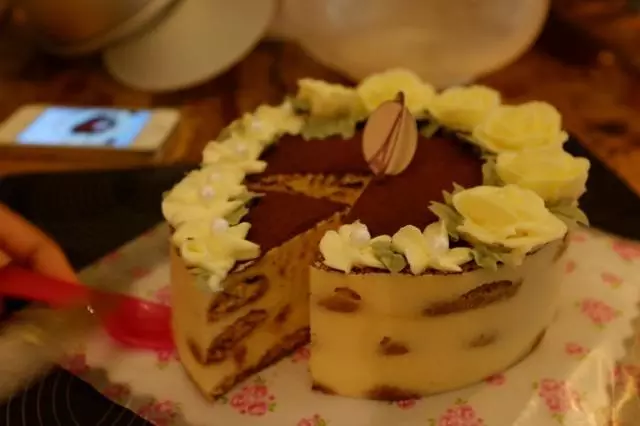
21做好的蛋糕拿出来倒扣待凉,或者直接拿出往桌面上摔几下,把蛋糕内的空气震出来。稍凉后用活底蛋糕模的模底裁剪出两个和模底一样大小的蛋糕块。没有活底蛋糕模的也可以直接用整个蛋糕模放上去裁剪。
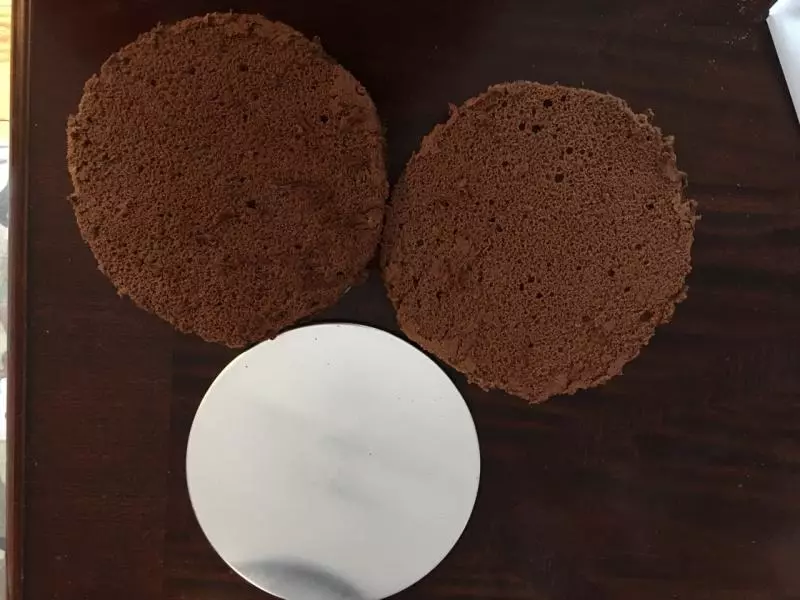
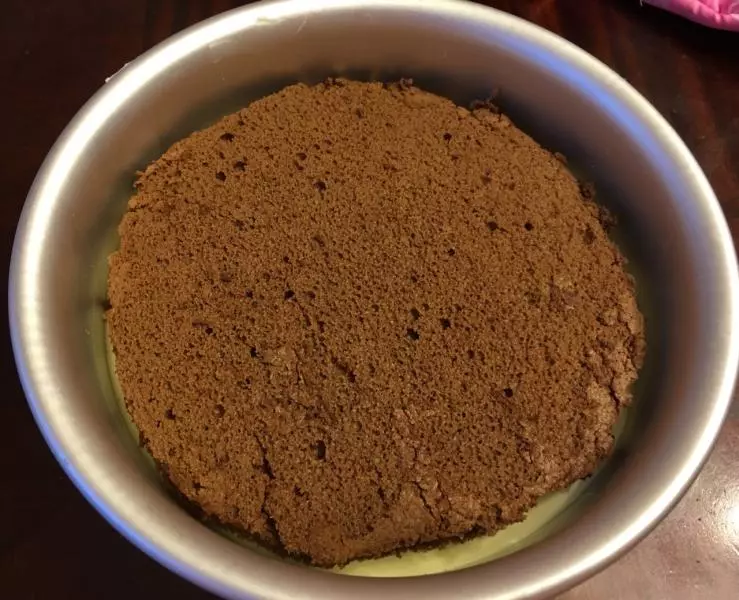
22蛋糕模底铺上一张蛋糕纸,然后放入其中一块蛋糕在底部。
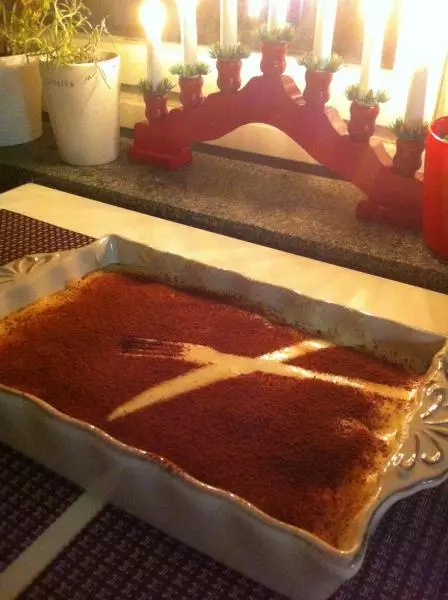
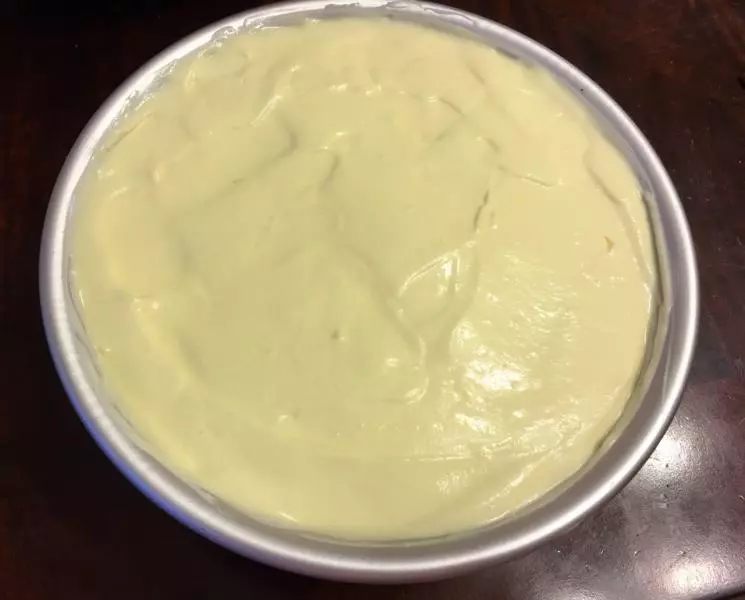
23倒上一层提拉米苏糊,铺平
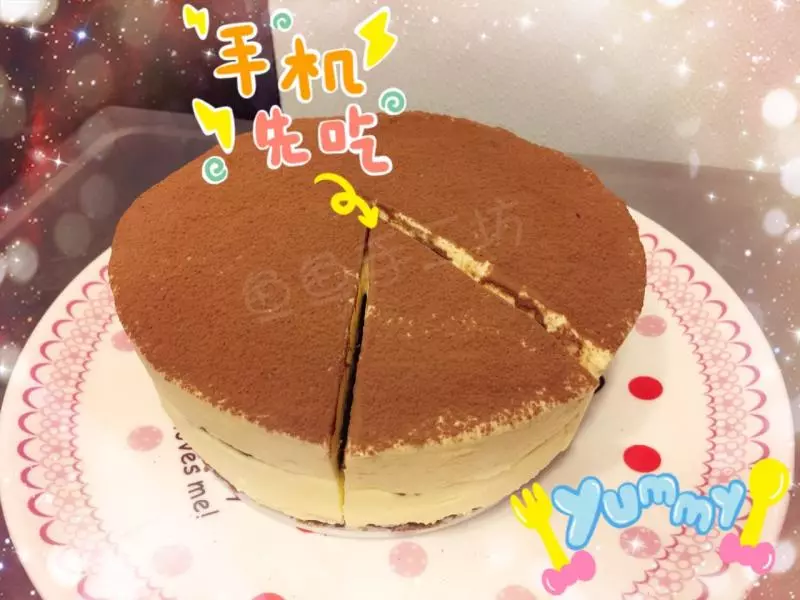
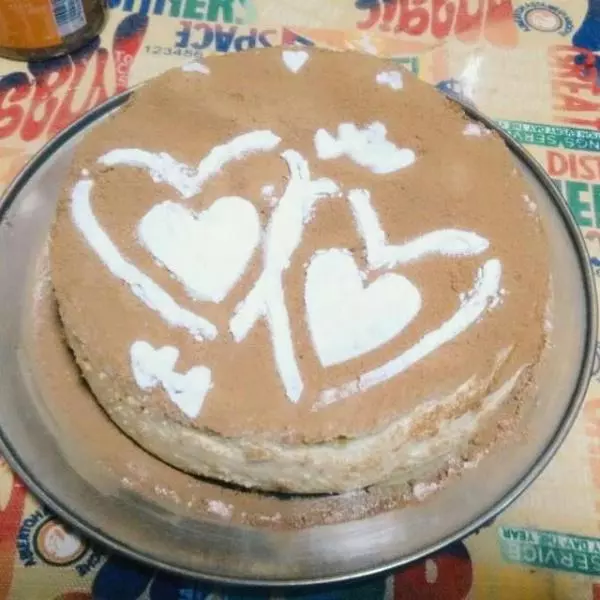
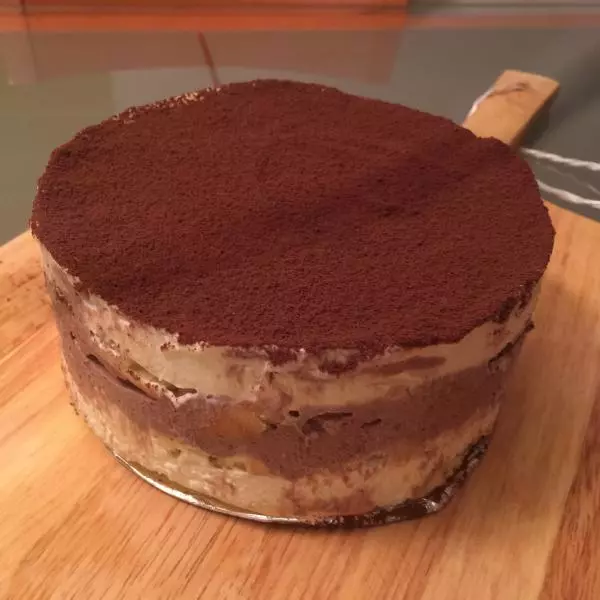
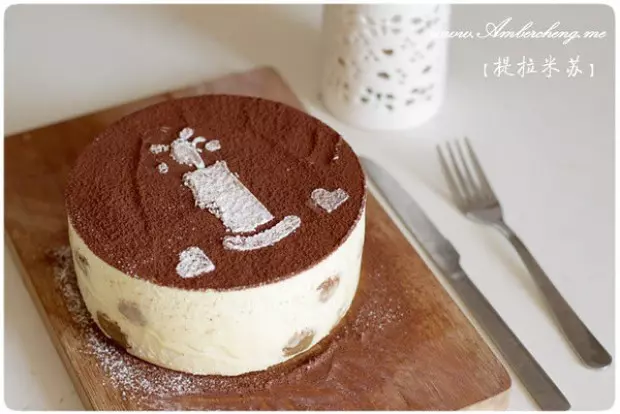
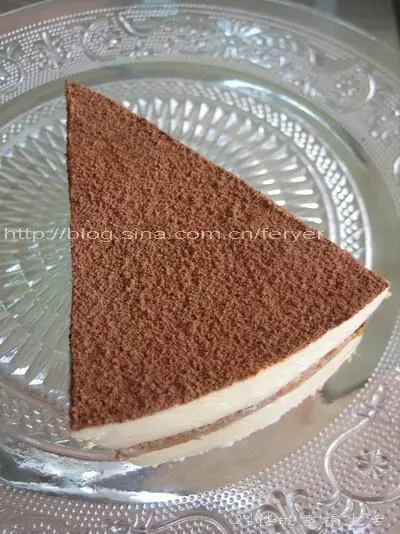
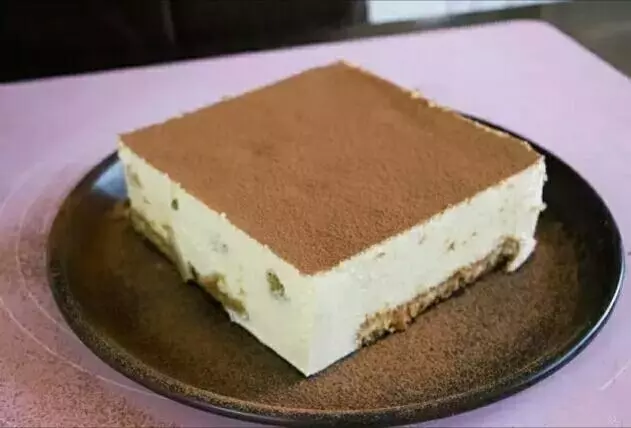
24再放入另一块裁好的蛋糕块。
25再倒入剩余的提拉米苏糊铺平。盖上保鲜膜放入冰箱冷藏至少3-4个小时,
26拿出来后用毛孔在蛋糕模周边捂热一下就可以脱模了。