原料
糯米粉: 750g, 南瓜: 适量, 芋泥: 适量, 绿豆沙: 适量, 水: 少量
步骤
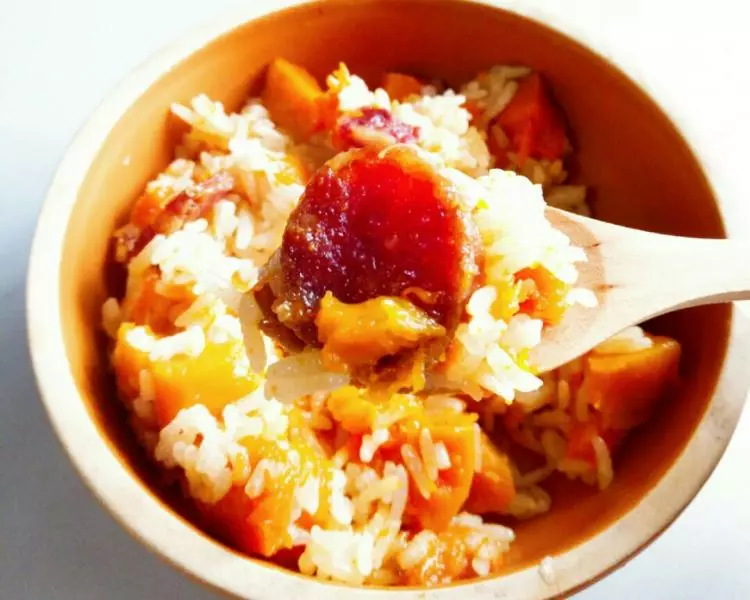
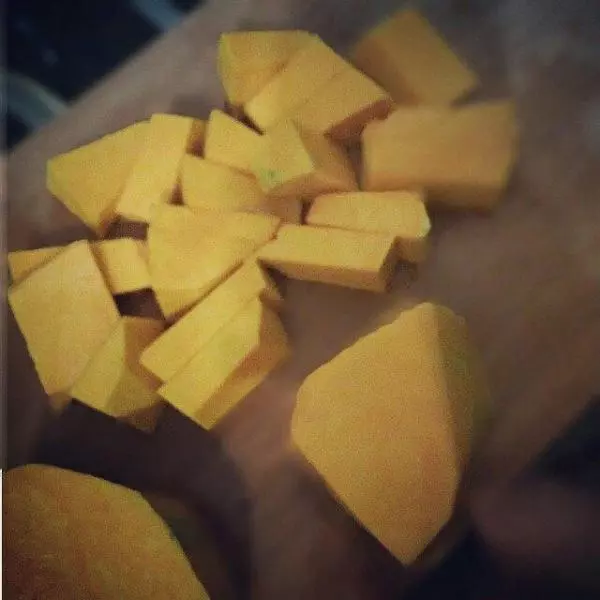
1南瓜切块,加适量的水,煮熟。(不用多,不够可以再加)任意形状都可以因为到最后都要揉进糯米粉里,越小越好,比较容易熟
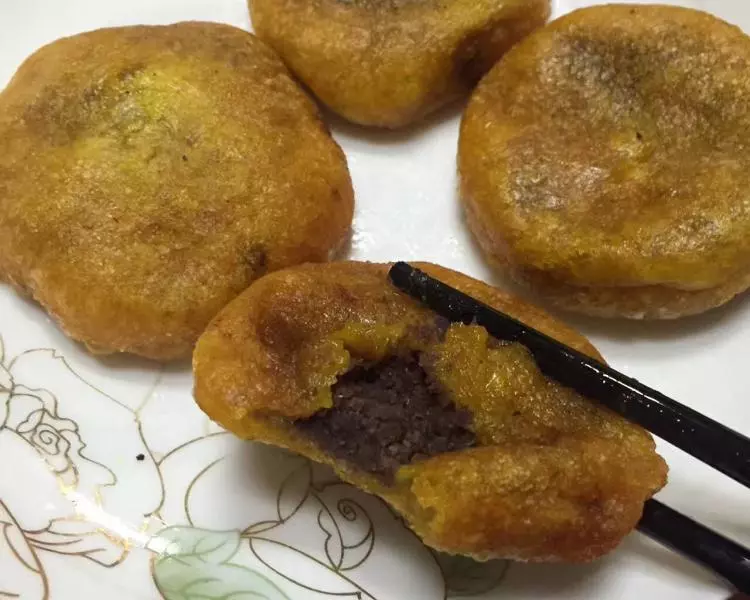
2准备绿豆沙和芋泥(其他的馅料也可以)

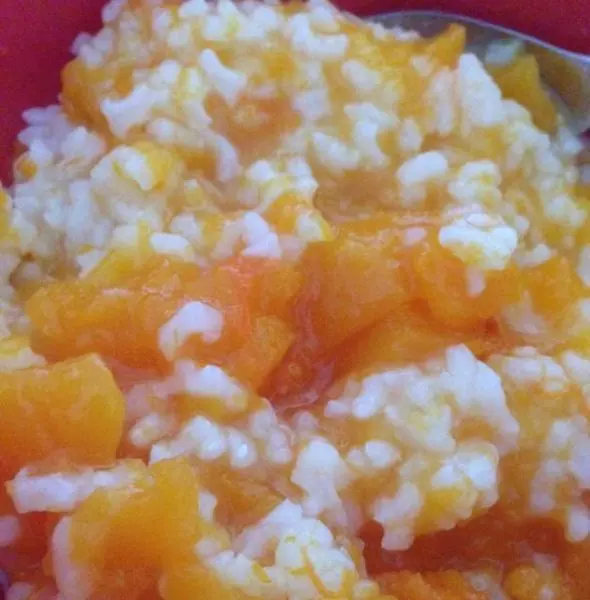
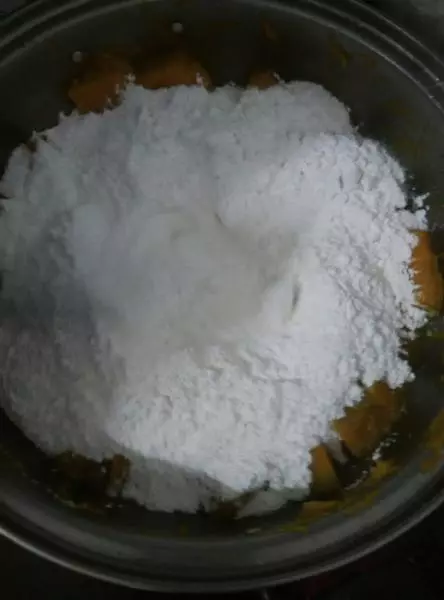
3往煮熟的南瓜里面加入一部分粉,连同刚才煮南瓜的水一起可是捣碎南瓜然后揉面(趁热揉,注意不要烫到手)
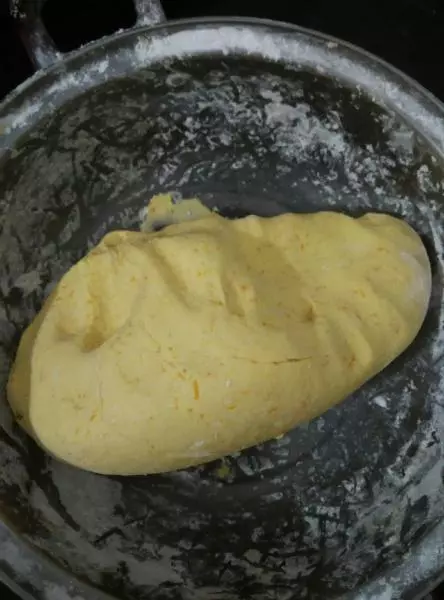
4揉好后的样子如图
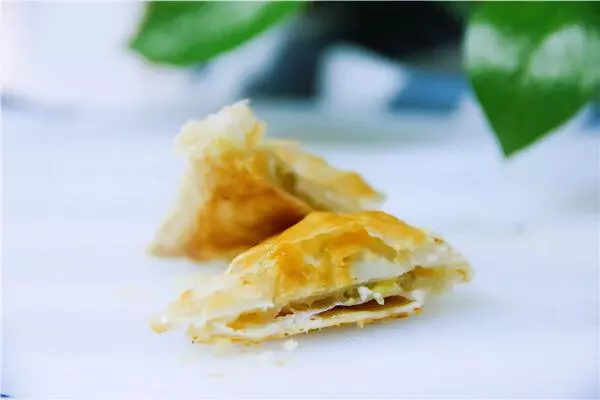
5揉好后开始包啦~
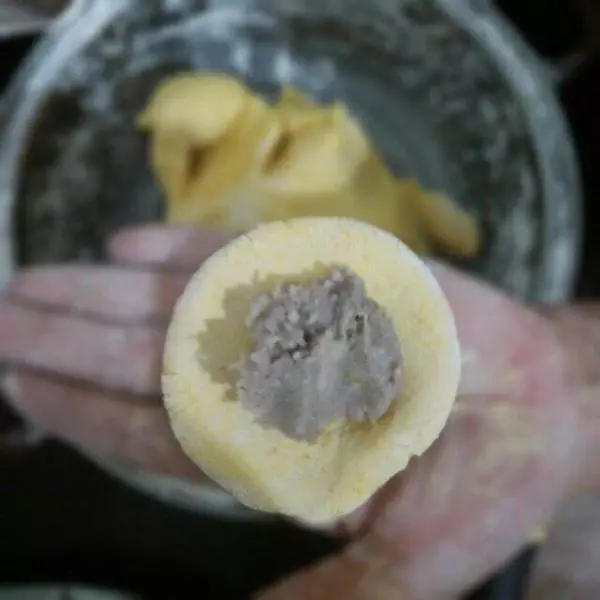
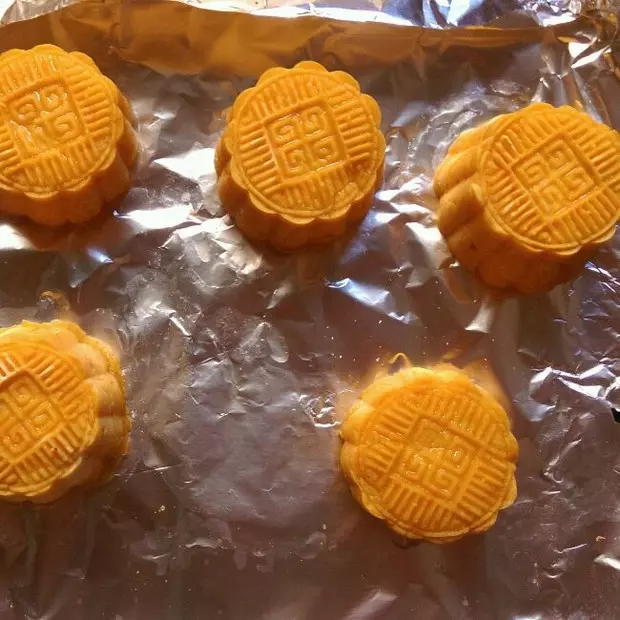
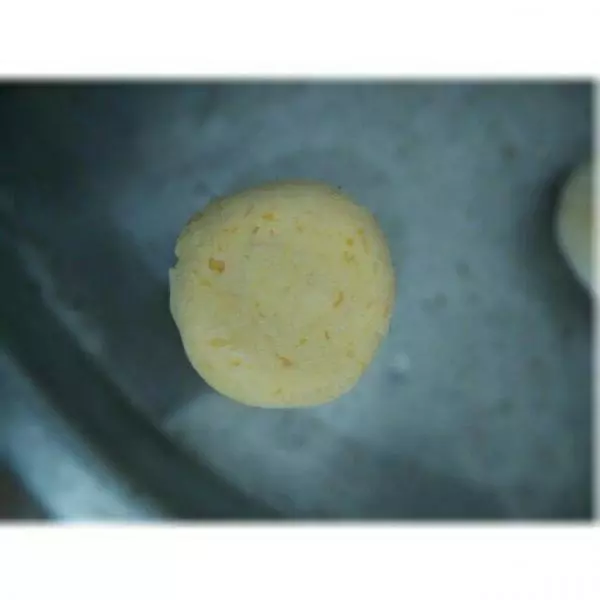
6包好后揉成一个圆球,然后轻轻按压成扁扁的一个。
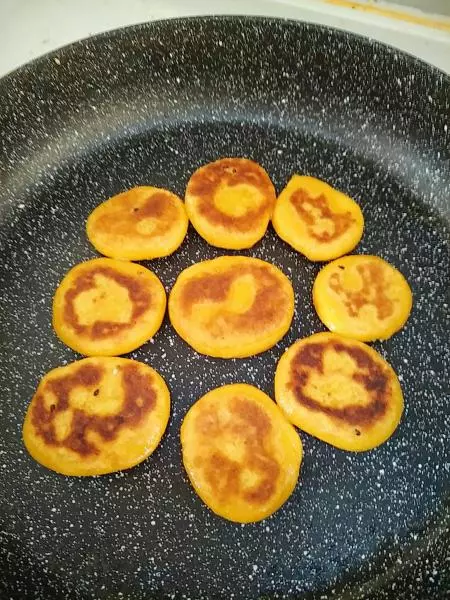
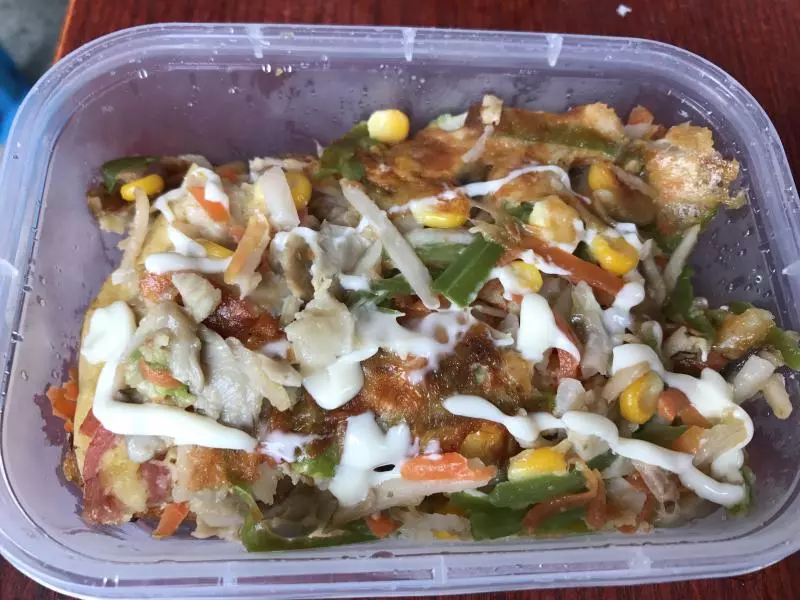
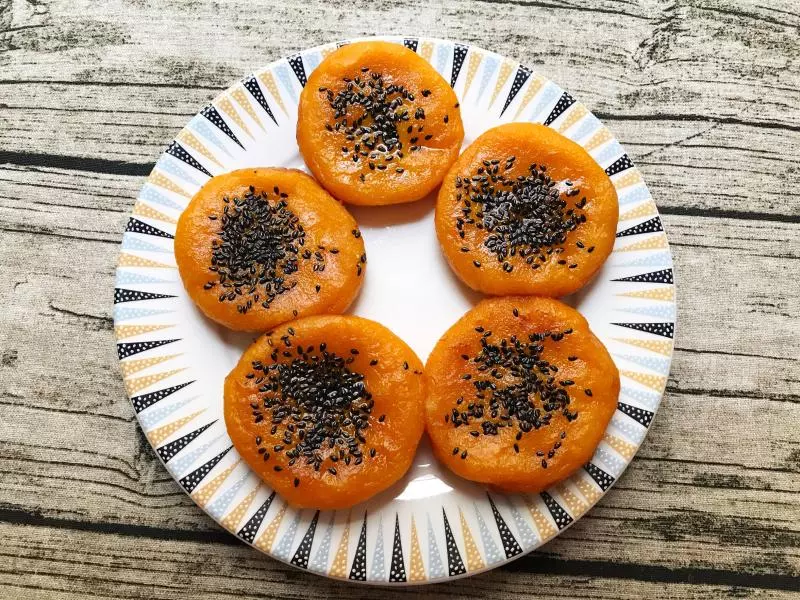
7然后就可以下锅煎啦~小火慢慢煎(不用蒸的!!)
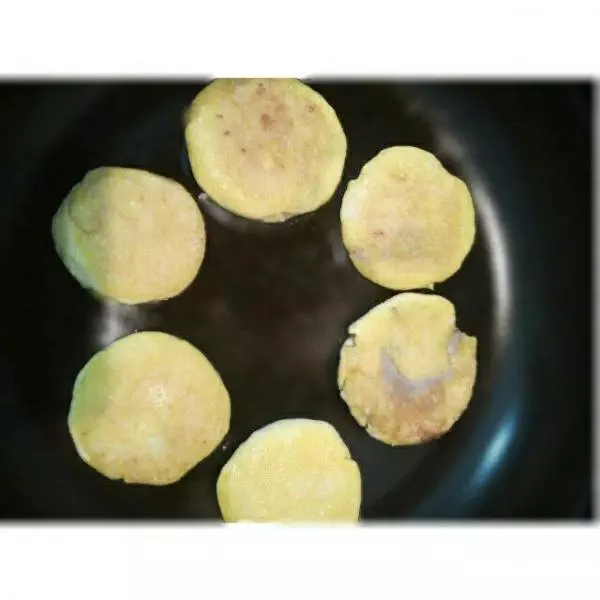
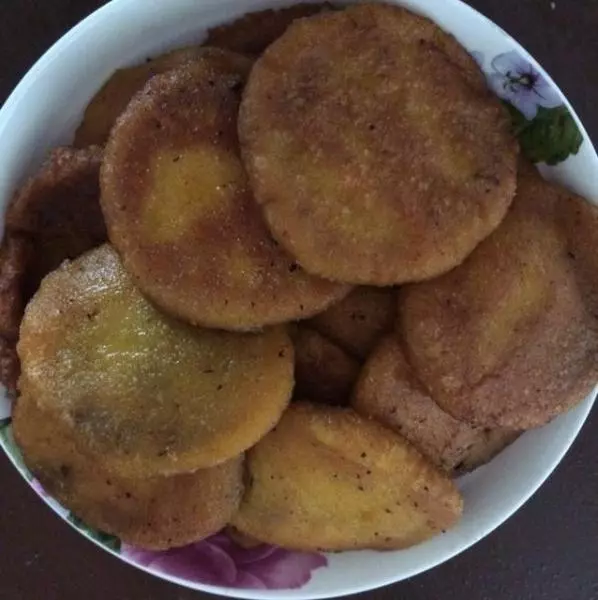
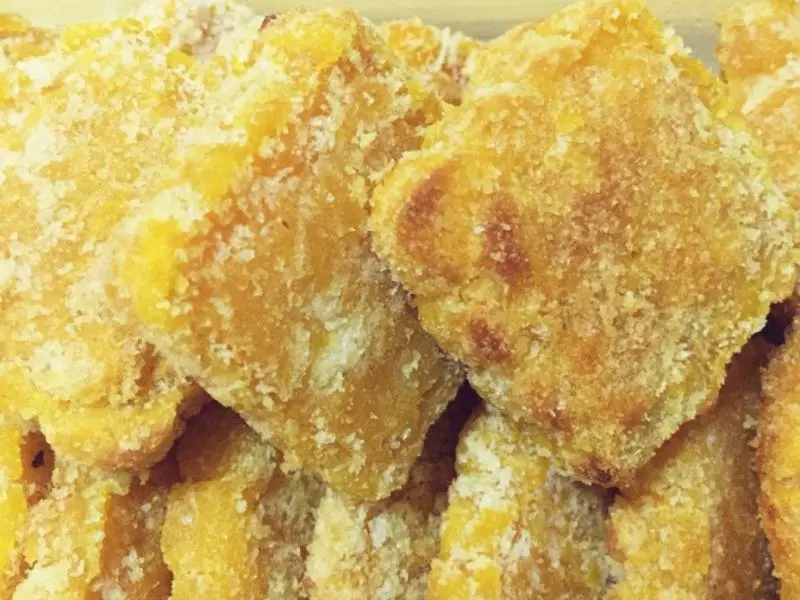
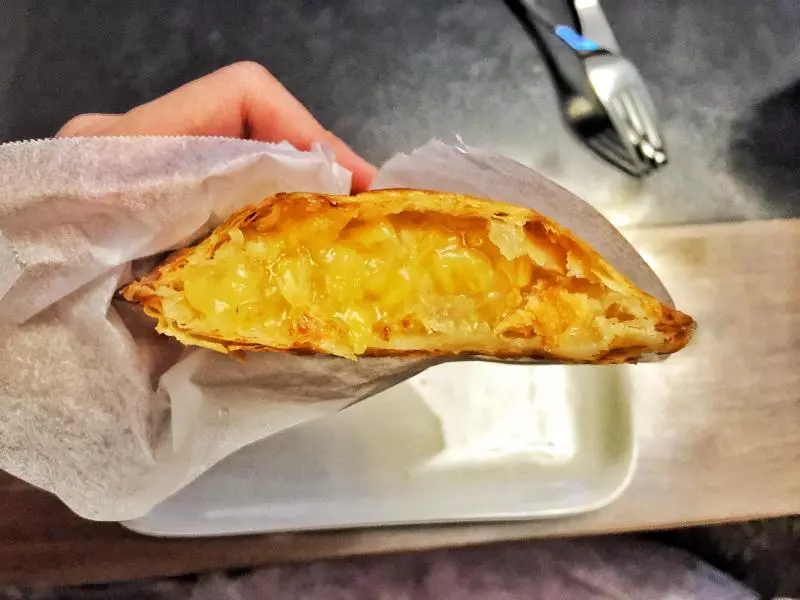
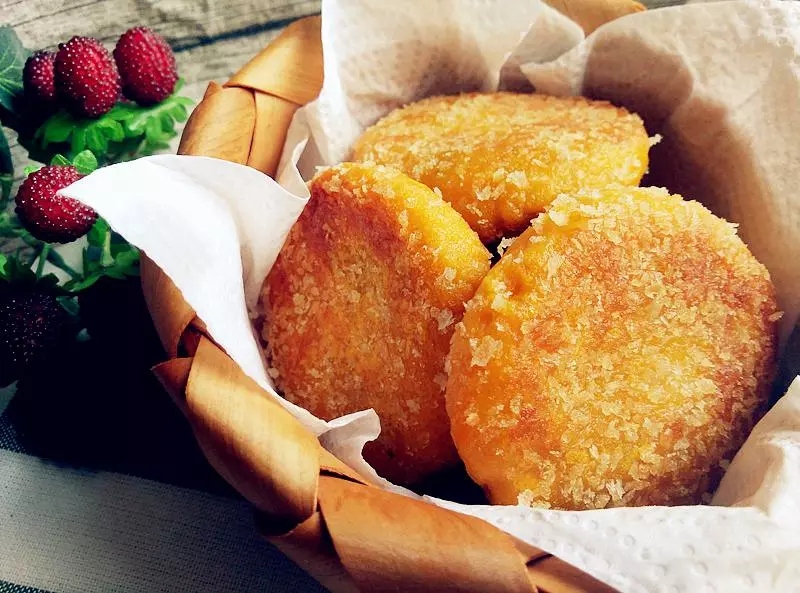
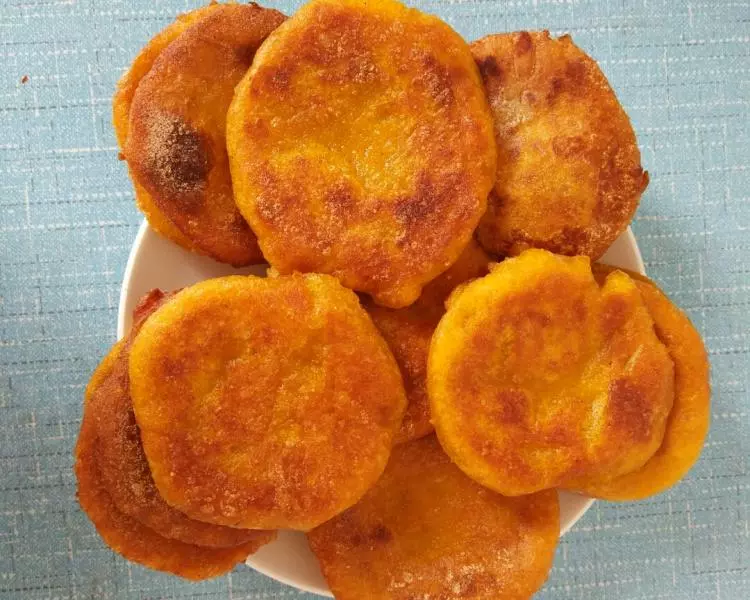
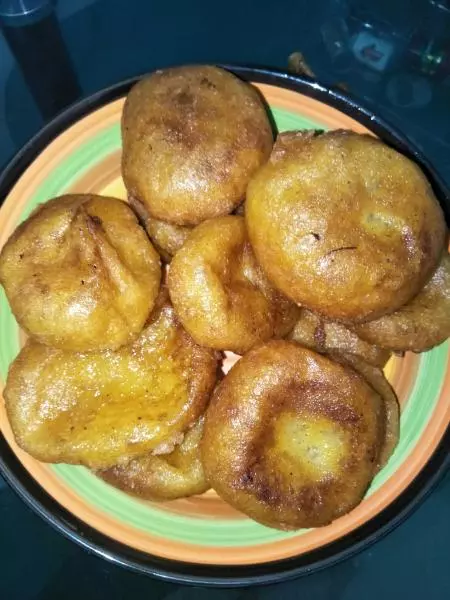
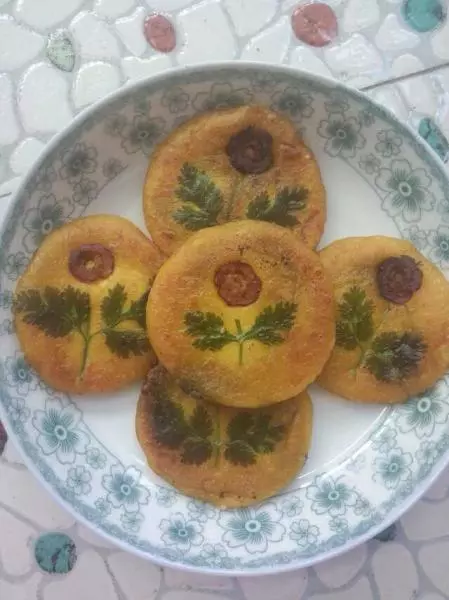
8煎好后如图

小技巧
1.煮南瓜的水不用多 2.刚开始第一次加的粉不要加太多,然后揉面的过程中再逐次加,一来是比较容易揉,二来是如果水分太多然后一次性加完粉了就会导致面太稀了