原料
月饼粉: , 月饼馅料: , 转化糖浆: , 植物油: , 枧水: , 蛋黄:
步骤
1皮料:先把糖浆、油脂、枧水混合乳化,拌入月饼粉,切拌成团,放入冰箱冷藏30分钟以上即可使用(—冷藏松驰极为重要,千万不要省略。)
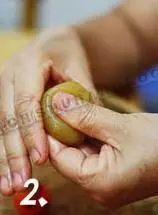
2蛋黄馅:称好分量的馅料使劲搓揉几下,让馅料松驰下来,更有延展性。(这一步很重要,没有经过搓揉的馅料延展性不好,在下面包裹蛋黄的步骤中可能和蛋黄的贴合性不好。)

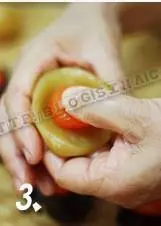
3在搓揉好的馅料中间,用大拇指压一个小坑
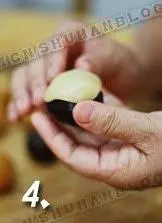
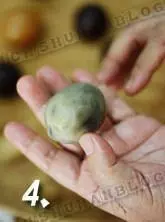
4在小坑里放上蛋黄,左手大拇指按住蛋黄,右手的虎口向上收拢馅料
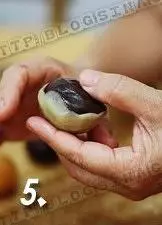
5以步骤4的手势继续收拢馅料
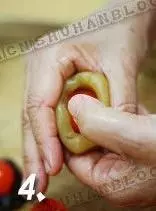
6直到馅料完全贴合着包住蛋黄

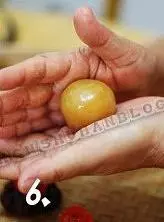
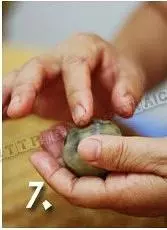
7把包好蛋黄的馅料搓圆搓光滑
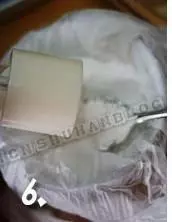
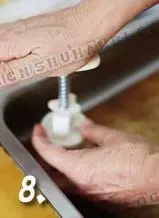
8把分割好的皮料放在手心,搓揉圆滑

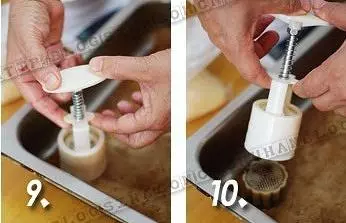
9用右手手掌的肉垫垫在左手心上把皮料压扁

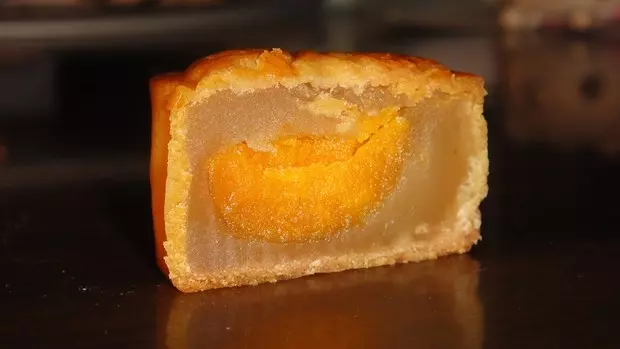
10放上做好的馅——哇!好巨大
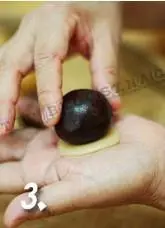
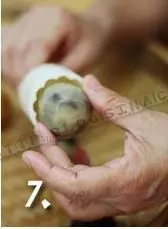
11其实这一步是我嘛嘛的做法,她一定要把皮料翻过来操作,让皮料包住半个馅料后再把它翻过来。其实我的做法就是象刚才制作馅料裹蛋黄一样,左手的食指将皮料往上推,右手的虎口帮助左手把推上来的皮料“爬”上馅料,一“爬”一边转动整个皮+馅料。动作示范见图其实也无所谓哪种做法更加正确,只要最后能让皮料均匀“爬”满整个馅料,你就是最成功的
12我嘛嘛一定要让皮“爬”了半个馅以后才肯把它翻过来,哈哈
13这一步才是“标准”动作了

14皮料“爬”满整个馅料后,整理一下,让皮料更均匀
15把包好的月饼坯子扔在面粉中——不要滚动它!防止沾过多的面粉
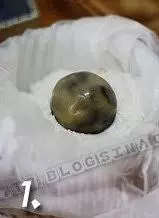
16把月饼坯子取出,搓圆它,也是帮助面粉均匀的裹在整个月饼坯的表面

17把处理好的圆圆的月饼坯搓长一些——为了方便放进月饼模具中不会碰坏边缘
18每压制一个月饼之前,都要把月饼模子里倒些面粉
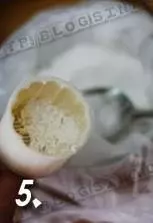
19然后把面粉磕出来,让月饼模子里有一层很薄的面粉防粘即可;——这是很薄的一层粉粉哦
20把搓长的月饼坯子一端放进月饼模子中——注意四周不要碰到月饼模子,以免破皮
21把月饼模对着油布,连着月饼坯子垂直的放下,左手稳定住月饼模子不要移动,右手平稳的放在手柄上,用力均匀的按下,要用力的按压到底,压到底之后,右手按着手柄轻轻的左右摇一下,保证整个月饼的形状完整
22改变手势,两手稳定住月饼模,平稳垂直的把月饼模往上提,直到月饼完整的留在油布上,才可以将月饼模往旁边移开
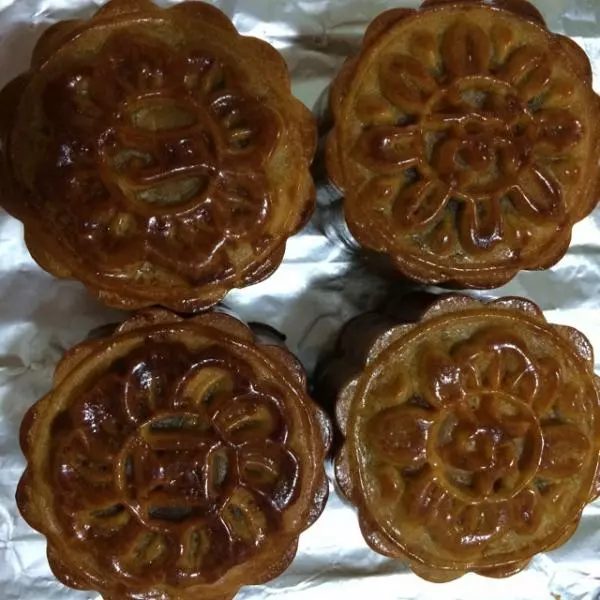
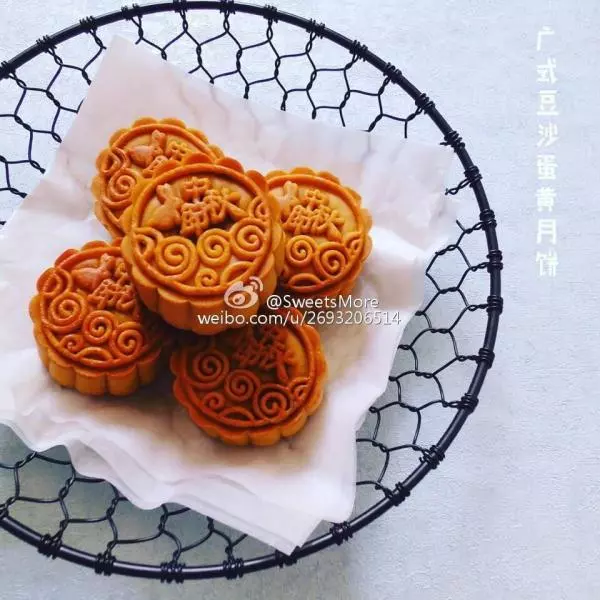
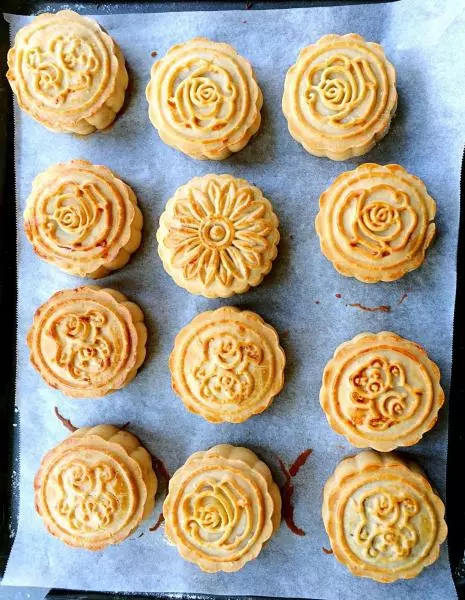
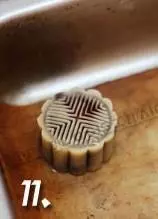
23压制好的月饼坯
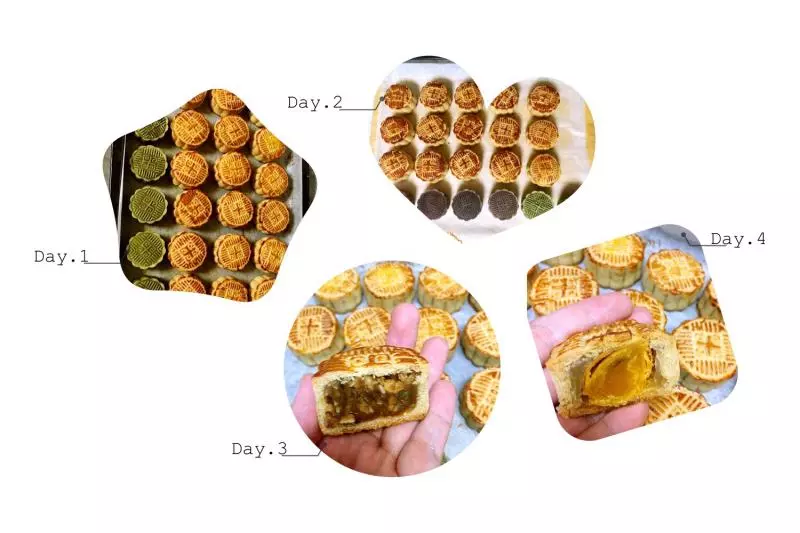
24烤箱预热220度,在月饼坯上刷一层清水,立刻入炉
25分钟后取出,在饼坯的四周涂上全蛋液,在表面的“拍”上全蛋液
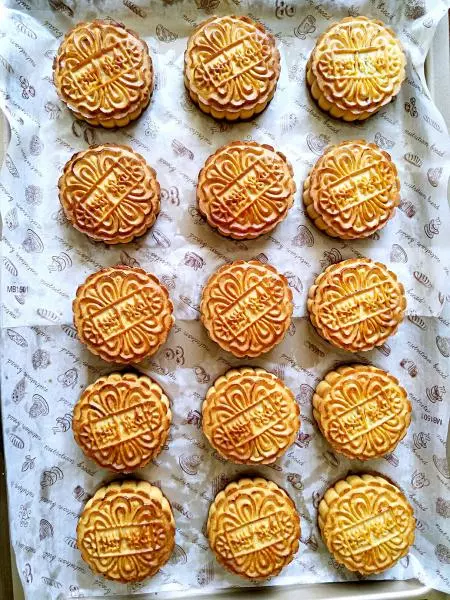
26为了保证花纹的清晰,在饼坏表面涂全蛋液,只要侧放刷子,轻轻“拍打”着,让饼坯突起的花纹上沾上全蛋液就可以了,不用刷
27分钟后取出,再重要步骤2——在饼坯的四周涂上全蛋液,在表面的“拍”上全蛋液
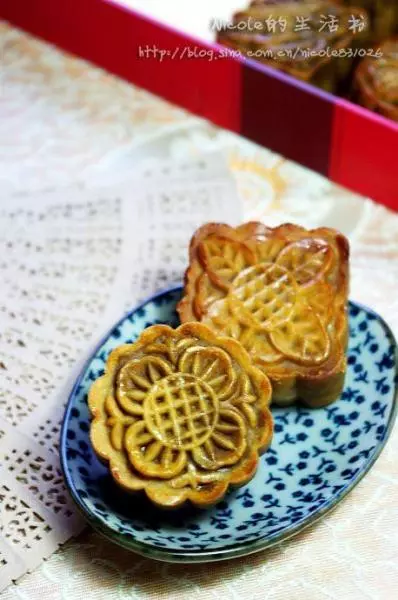
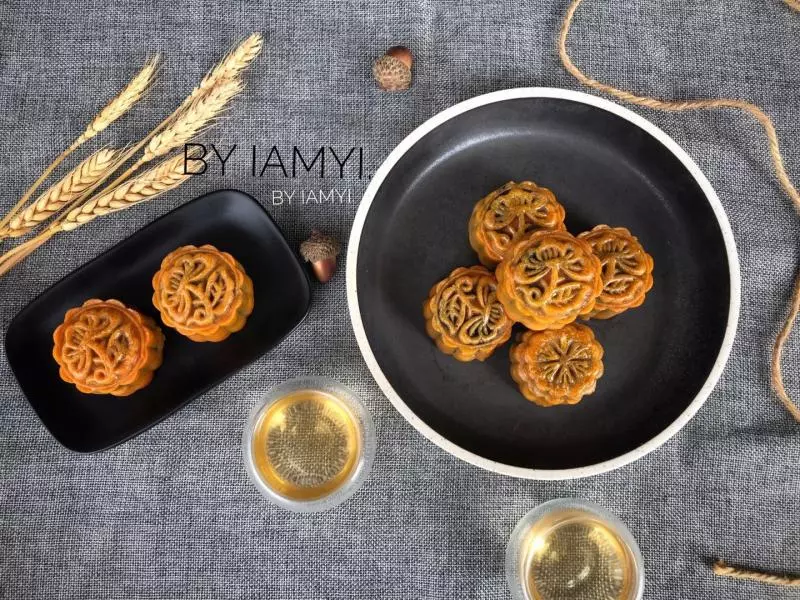
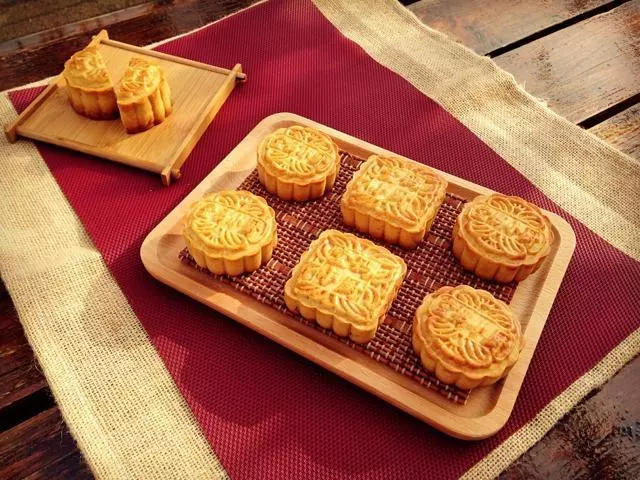
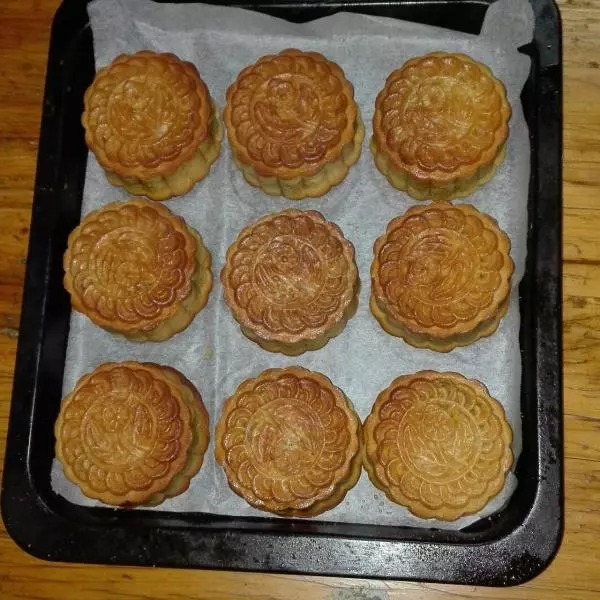
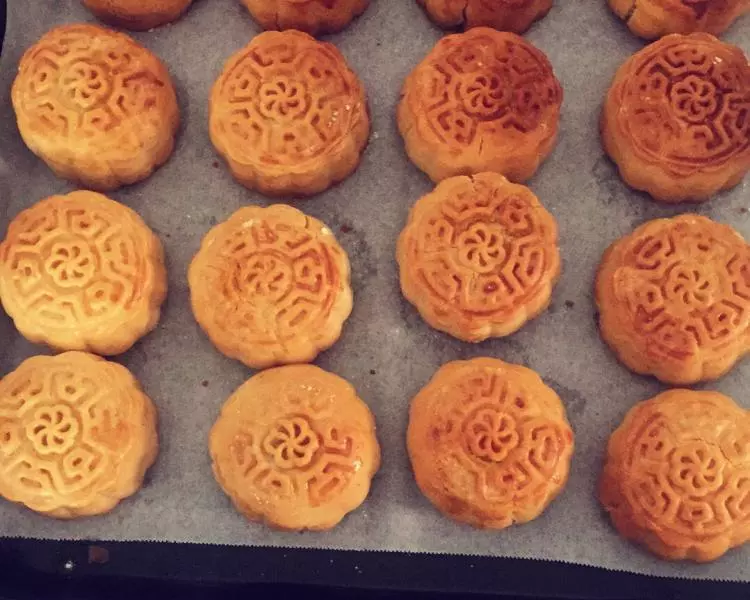
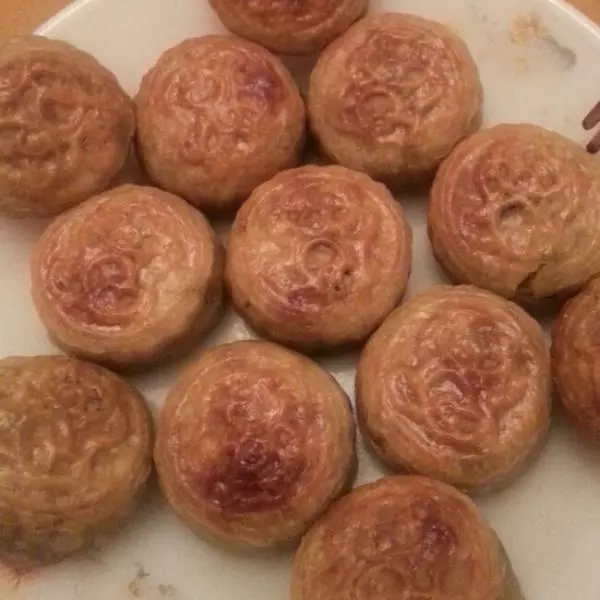
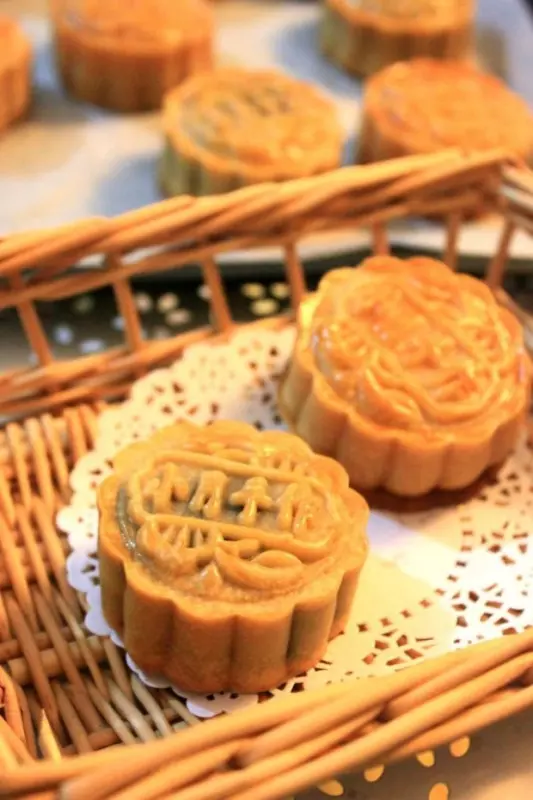
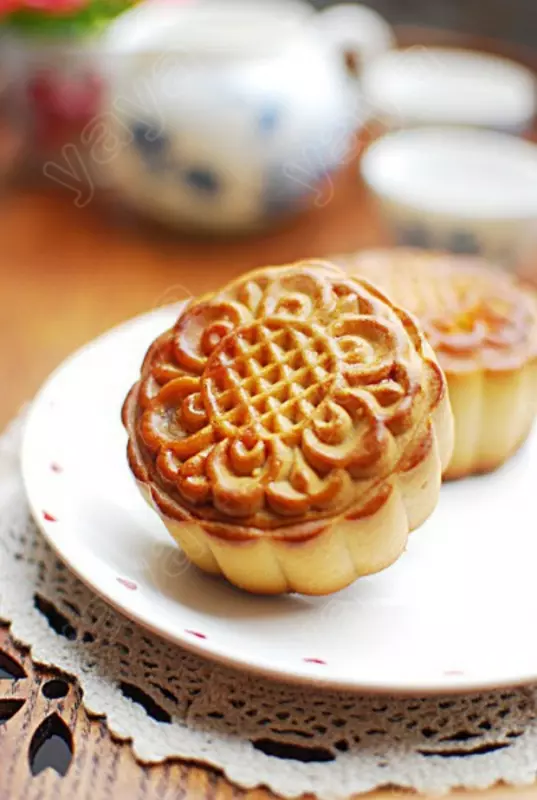
28继续烤焙5分钟,即可出炉