原料
月饼皮:: , 中筋面粉: 100克, 转化糖浆: 70克, 碱水: 2克, 花生油: 25克, 月饼馅儿:: , 莲蓉或者其他馅儿: 300克, 蛋黄: 12个,每个10克左右, 玉米淀粉(防粘): , 蛋液(刷饼面用): 蛋黄液+1/4蛋白+15克水
步骤
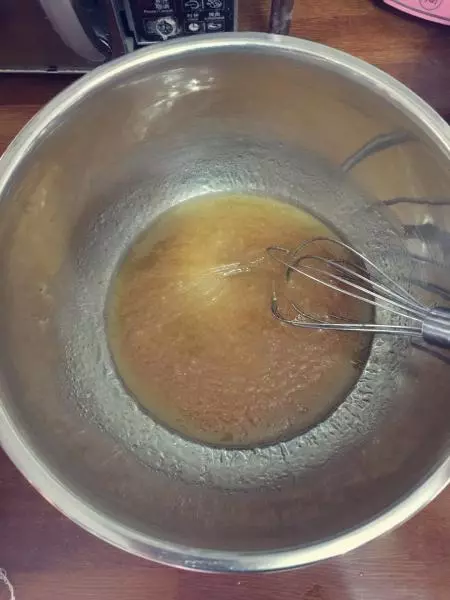
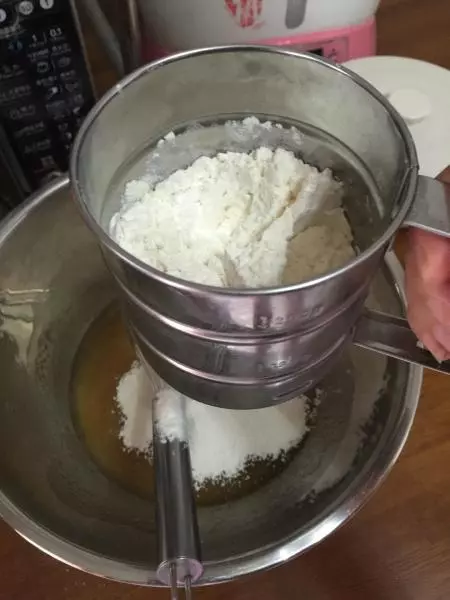
1转化糖浆,碱水,花生油三者倒入一个大碗,搅拌均匀!
2筛入中筋面粉
3刮刀翻拌均匀!
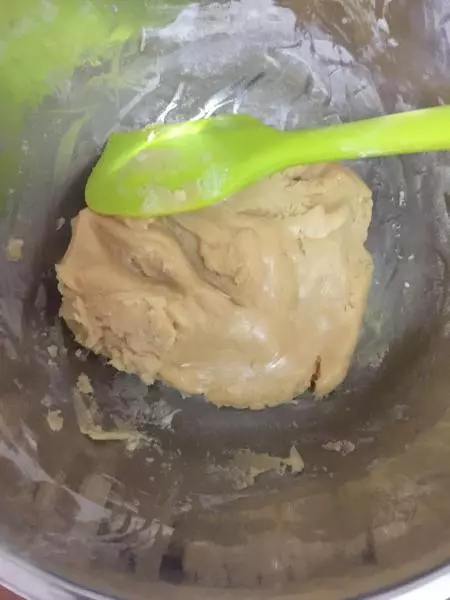
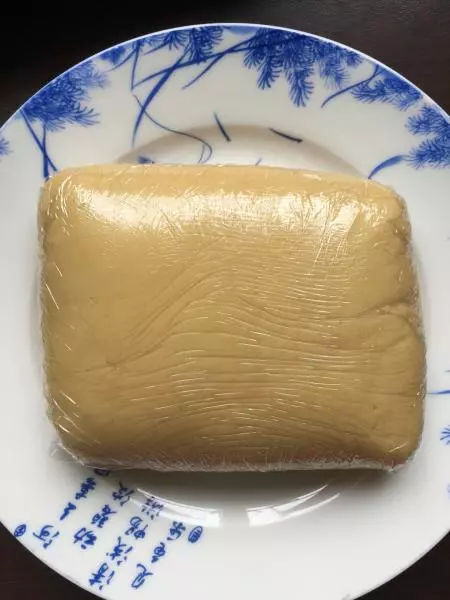
4用保鲜膜包起来,多包几层,室温静止2到3小时,时间也不能太长!
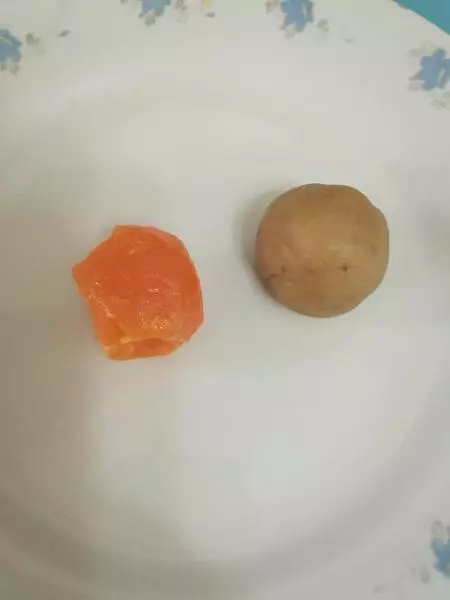
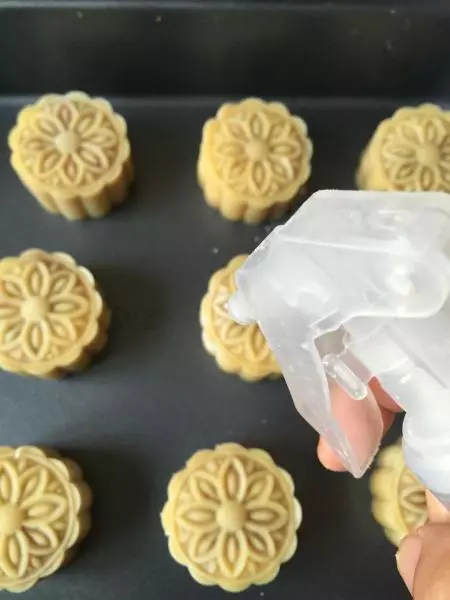
5蛋黄喷酒,烤箱180度烤5分钟,千万别烤熟了!我是看到快冒油就关烤箱!
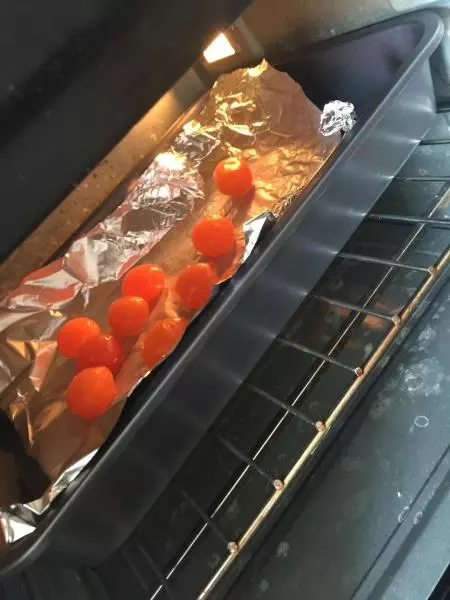
6 真的别烤熟了哈!

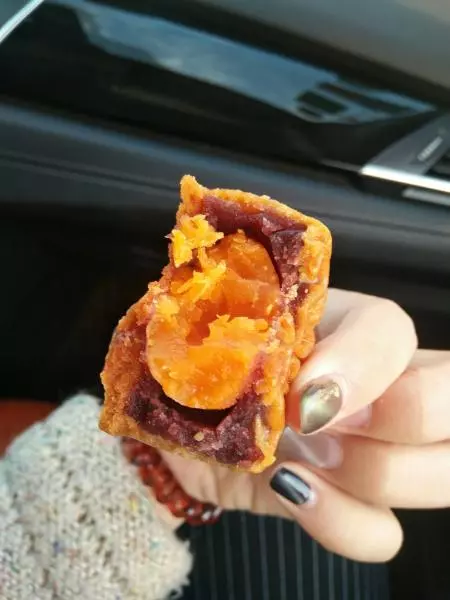
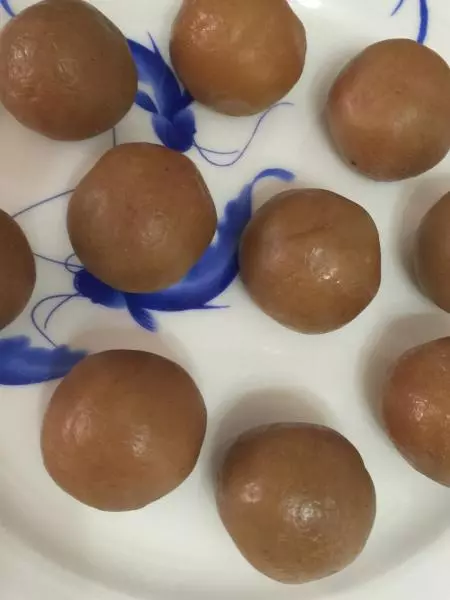
7300克莲蓉馅儿分成12等份!
8一个蛋黄加一份莲蓉,总重为35克!
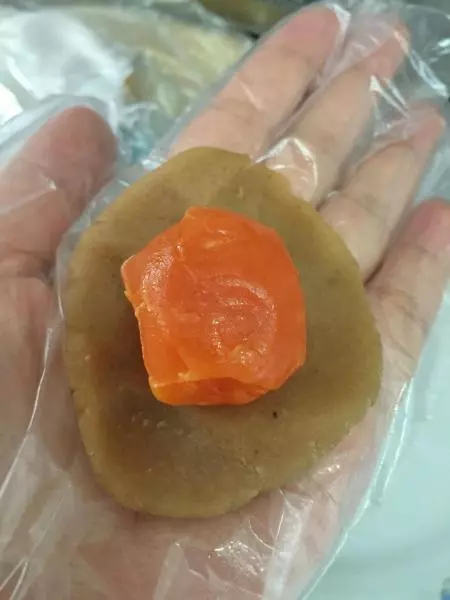
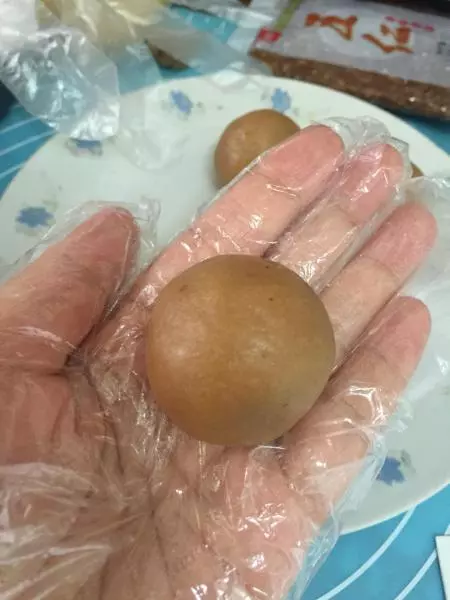
9将莲蓉和蛋黄包起来,如图!
10收口!
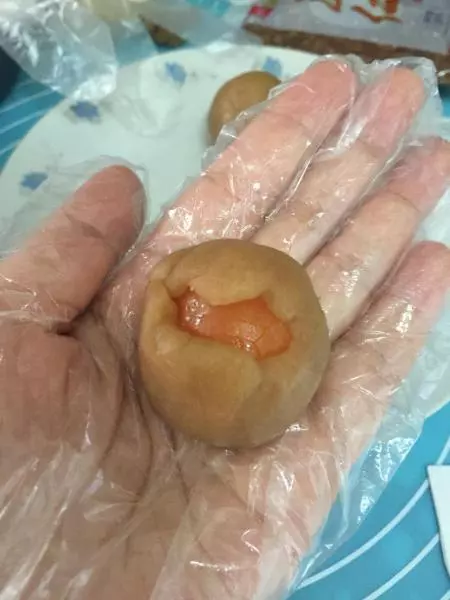
11捏紧!
12依次全部包好!
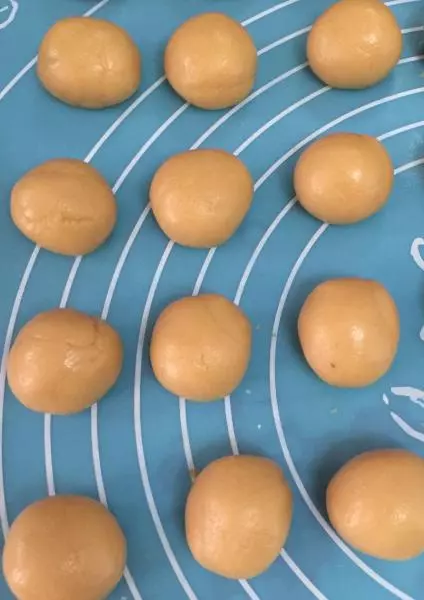
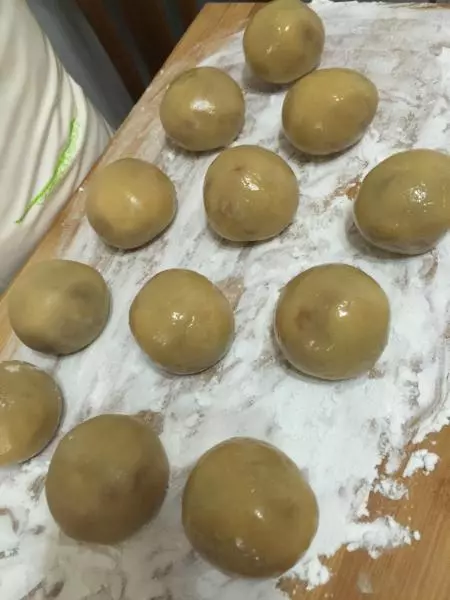
13将醒好的饼皮分成12等份,每份15克!
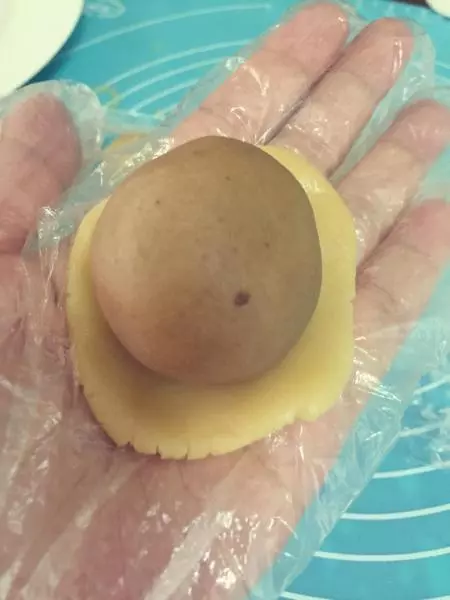
14将饼皮放手心压扁,放一个莲蓉蛋黄馅儿!
15包起来!收口,捏紧!
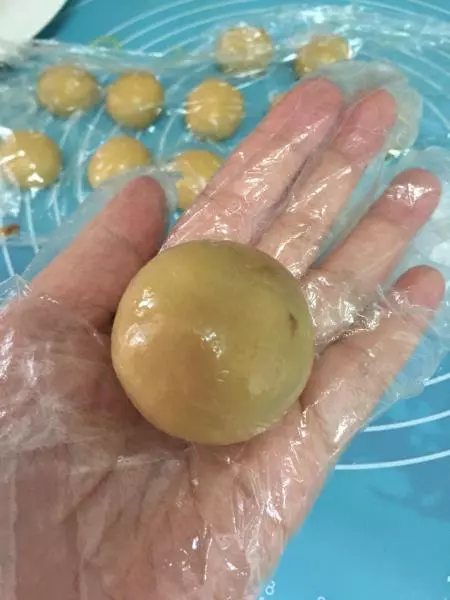
16依次全部做好!案板上一定要撒粉哦!
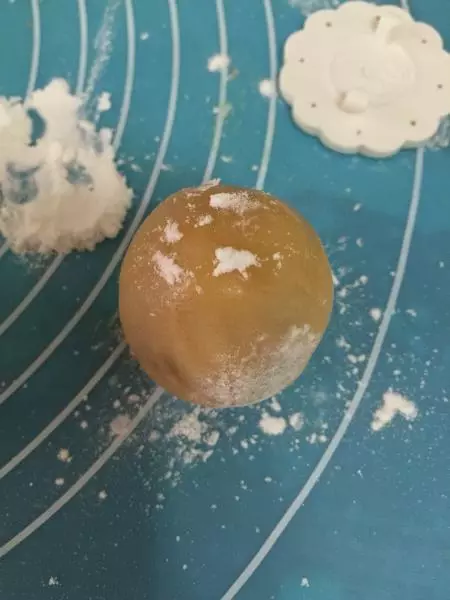
17撒点玉米淀粉,防粘!
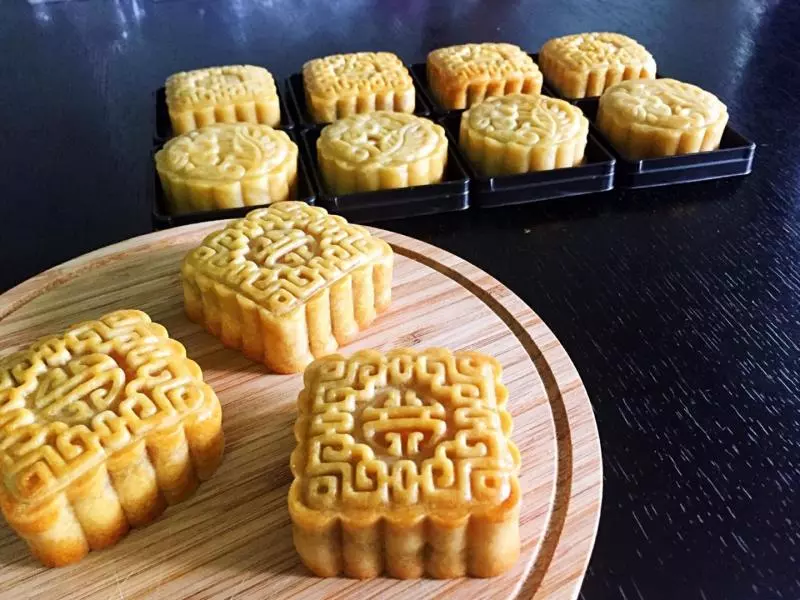
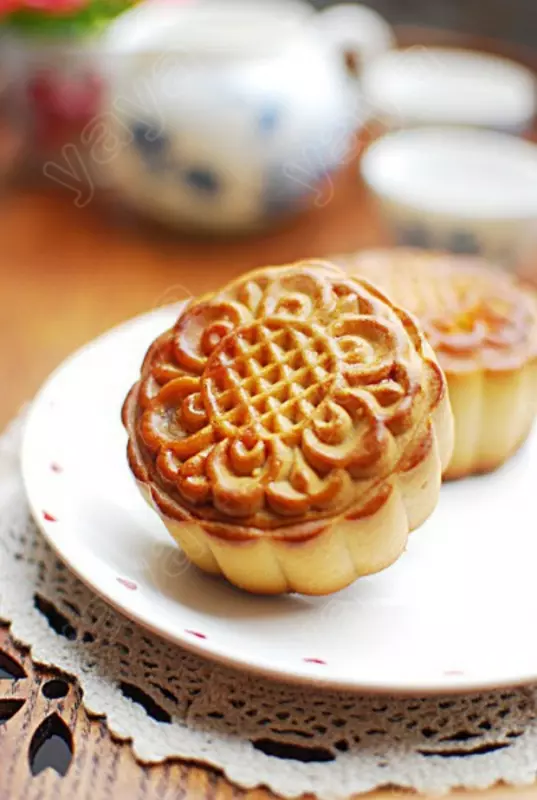
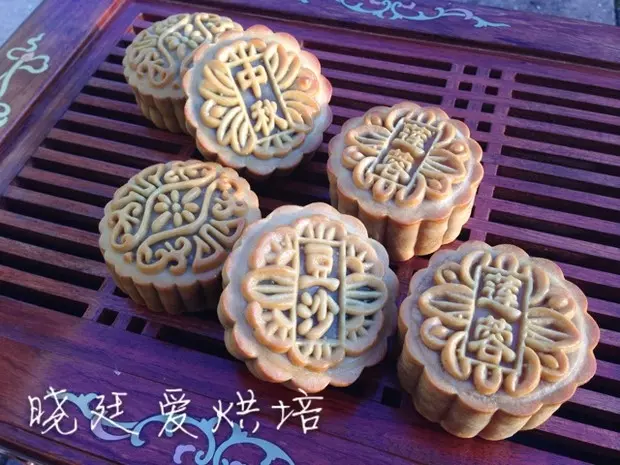
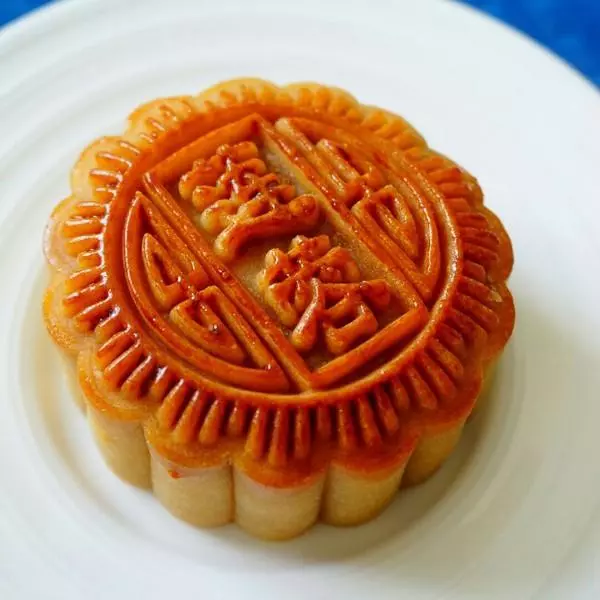
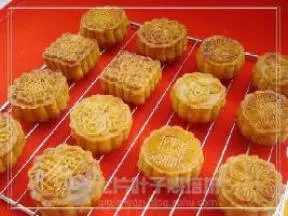
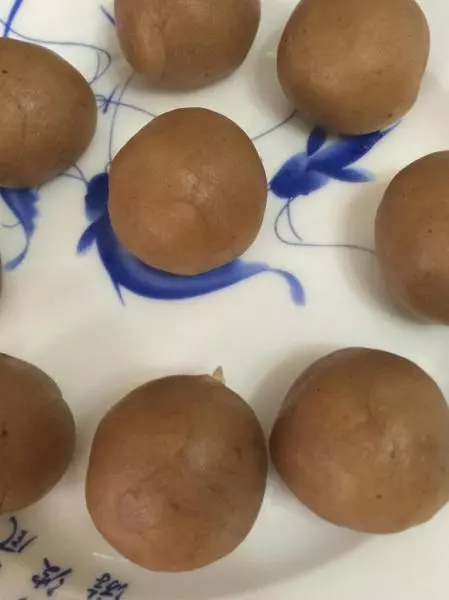
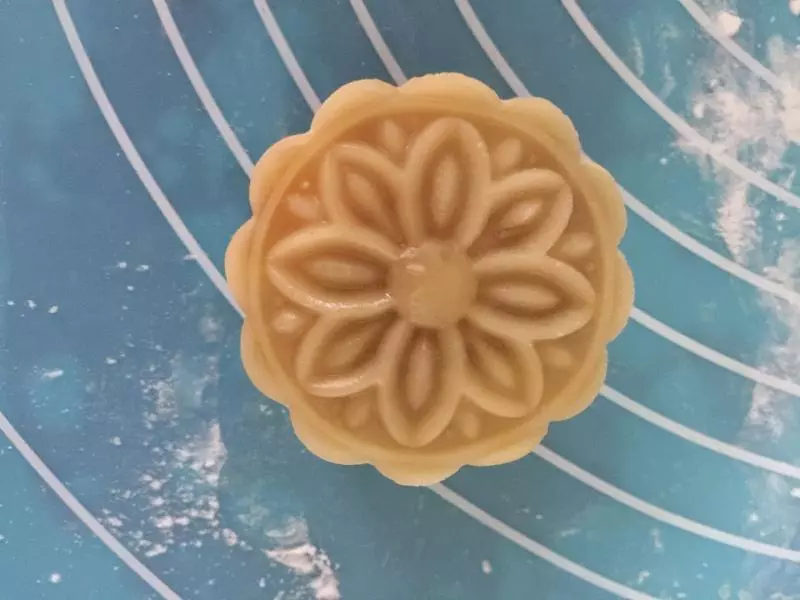
1850克模具准备好!将饼坯稍微搓搓,放入模具!
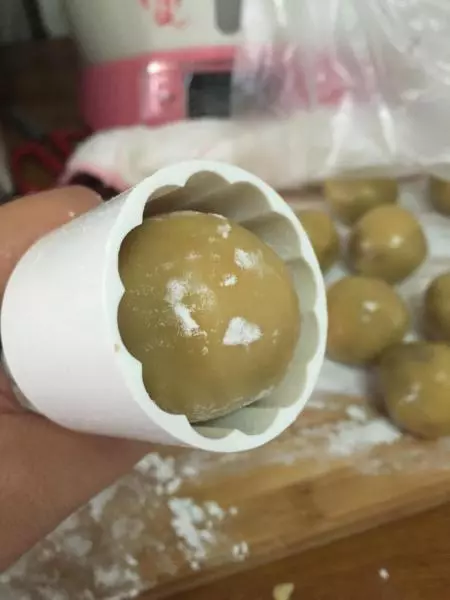
19轻轻按压!

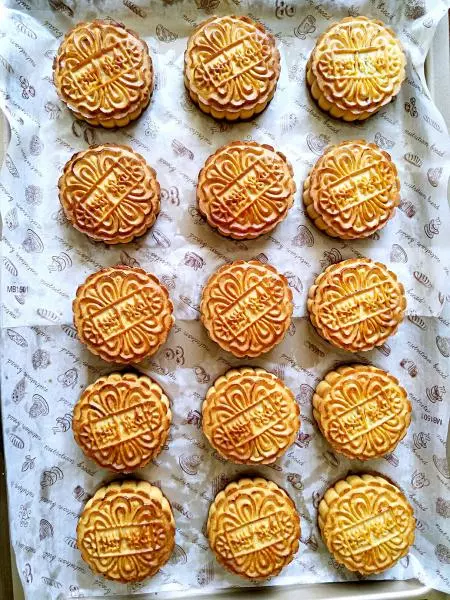
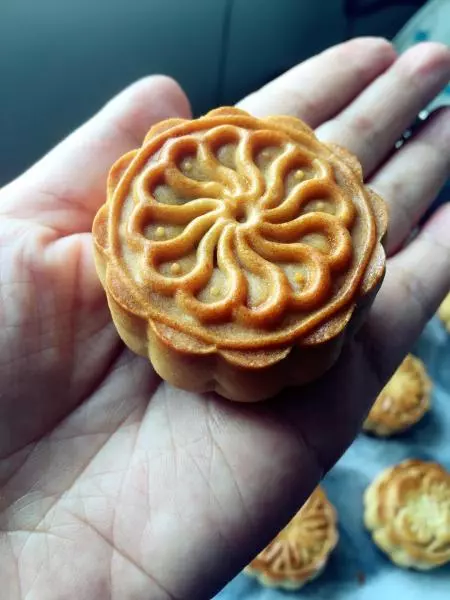
20做好的月饼!
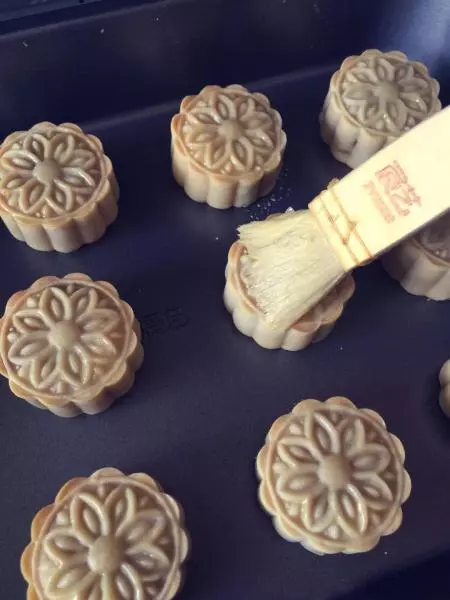
21依次全部做好!烤箱200度预热!
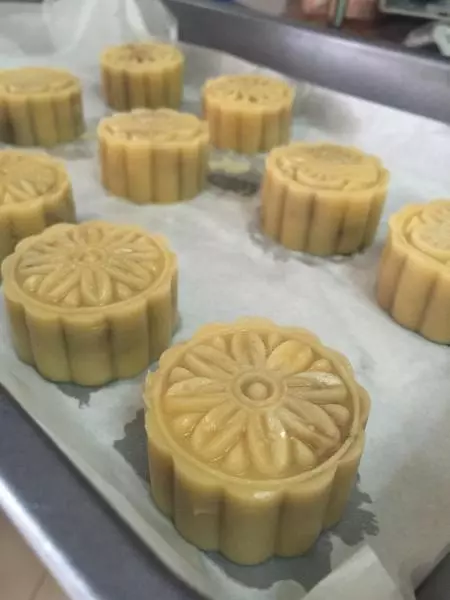
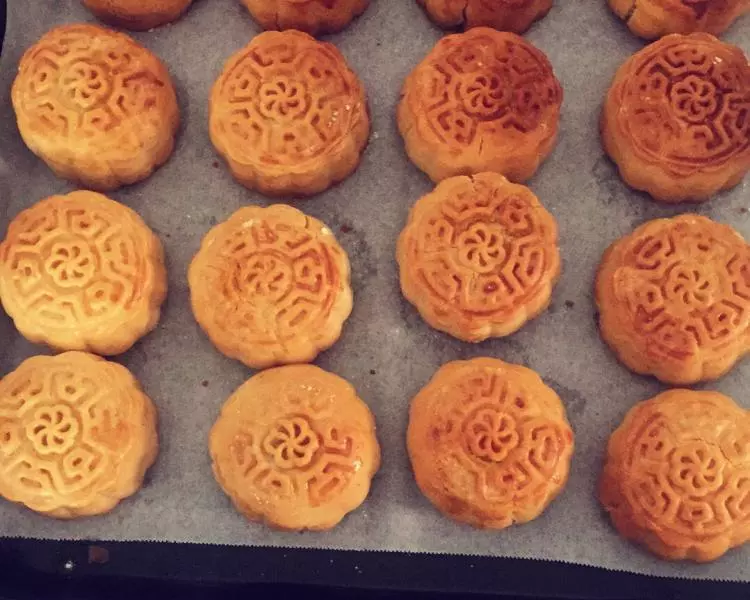
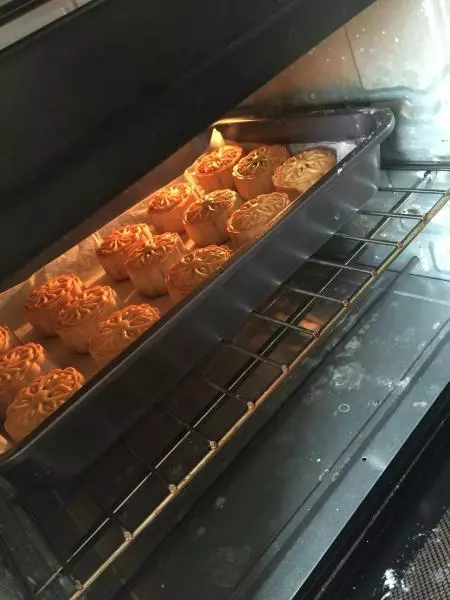
22喷水!放入预热好的烤箱,190度烤5分钟!
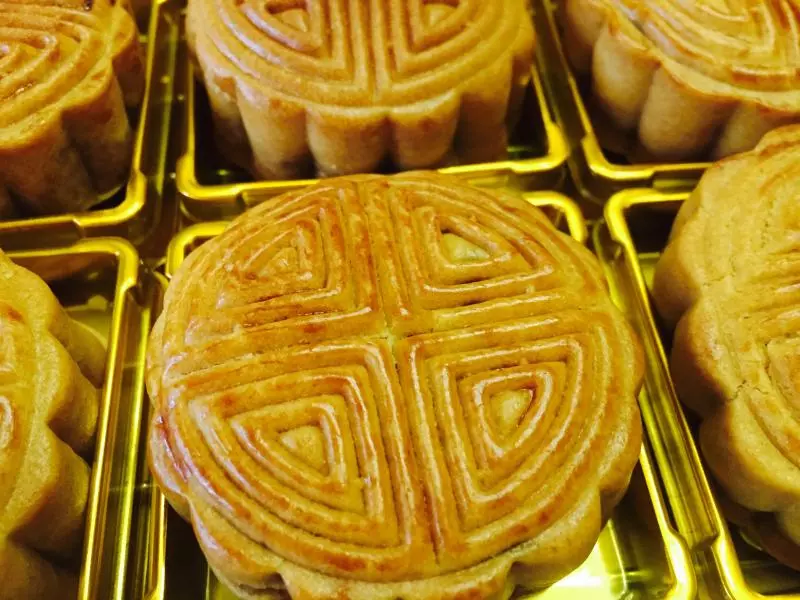
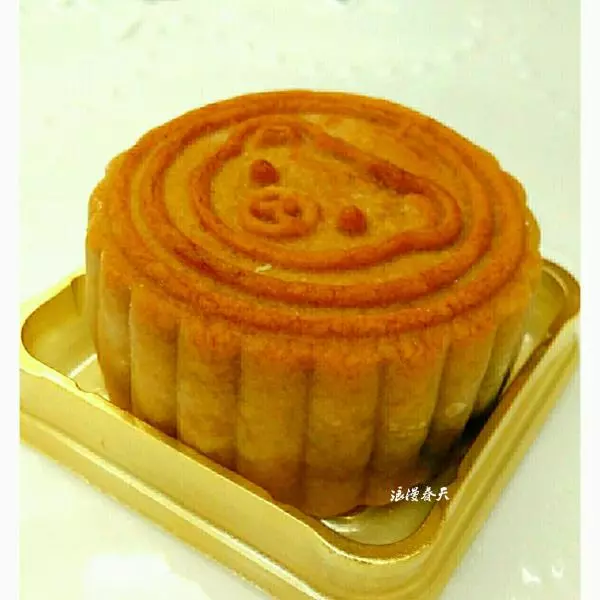
23放入预热200度的烤箱,烤五分钟定型,取出来,轻轻的刷上一层薄薄的蛋黄液,这一步非常小心,每次刷少量,不要贪多,不要让花纹的凹槽除堆积蛋液,只刷表面,侧面不用刷! 尽量用毛刷,不用硅胶刷哈, 这一步很重要。不注意的唯一后果就是您做的月饼颜值会很低,影响您的心情!
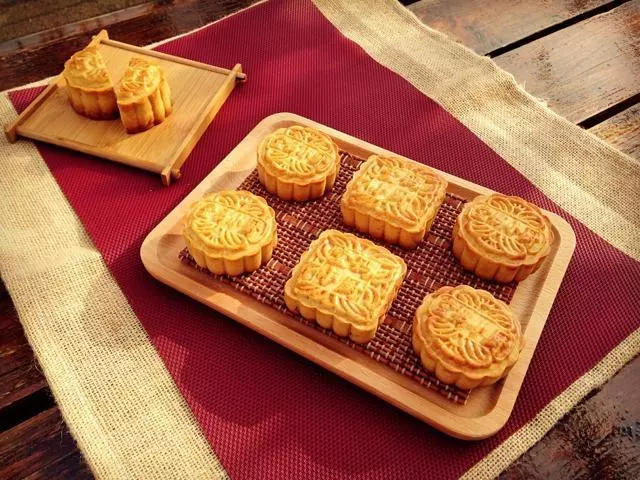
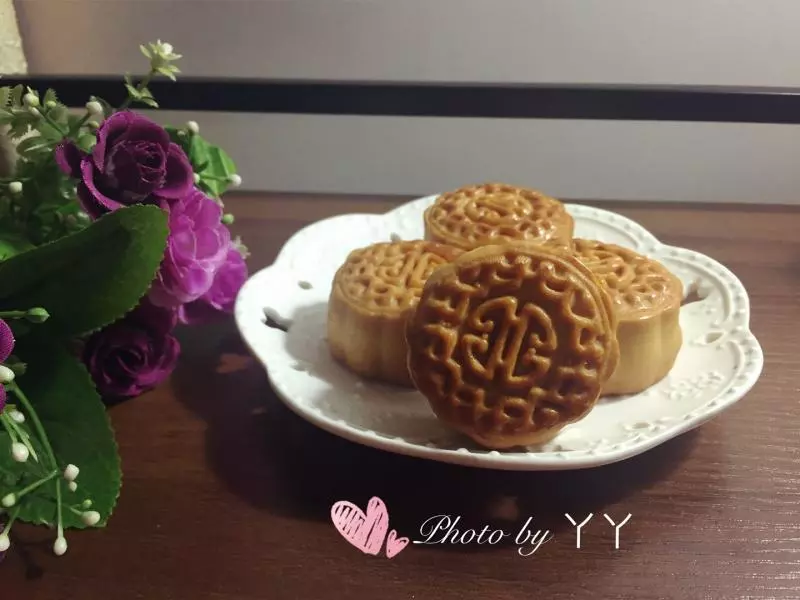
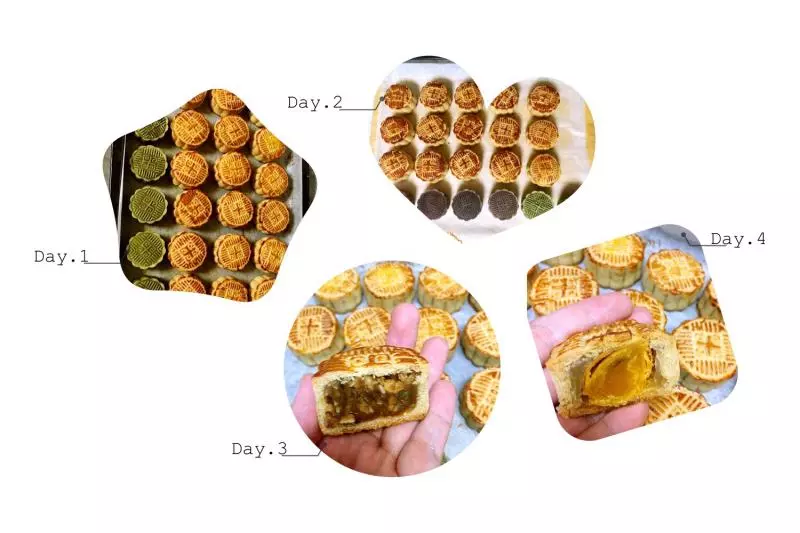
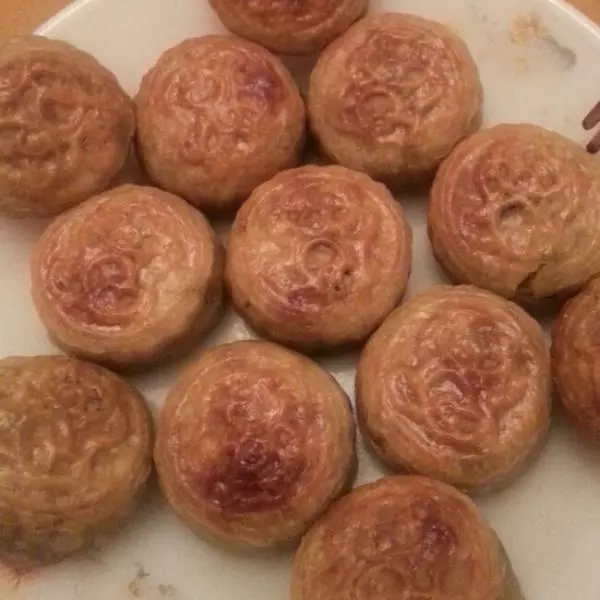
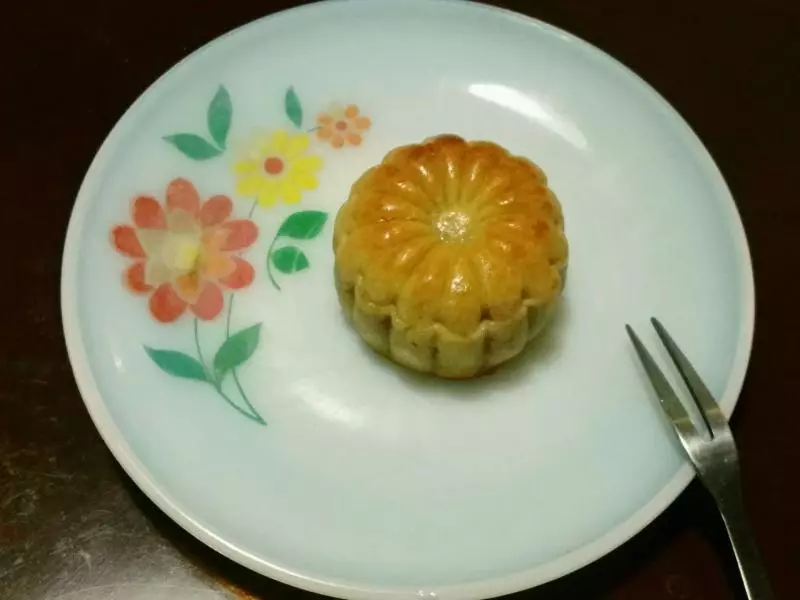
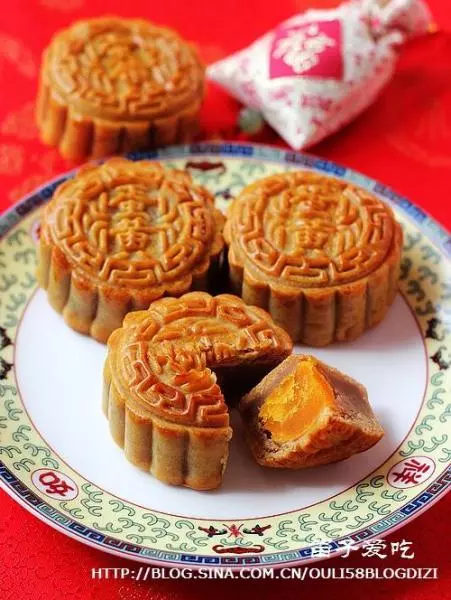
24刷过蛋黄水后继续190度烤13到15分钟!随时注意观察!不要烤得太狠!
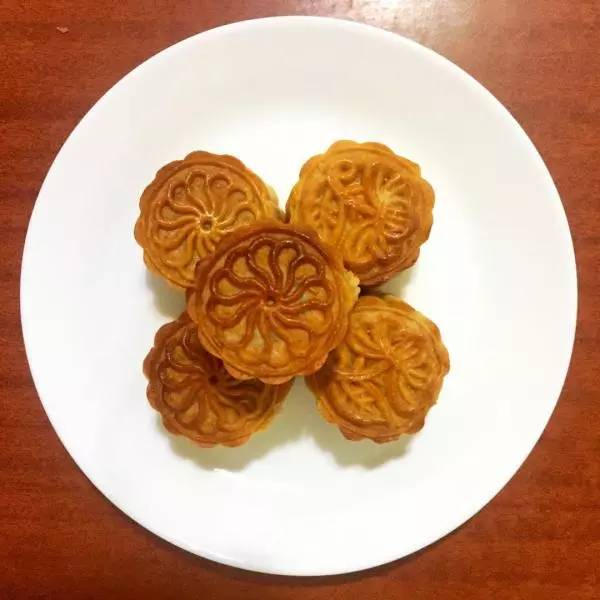
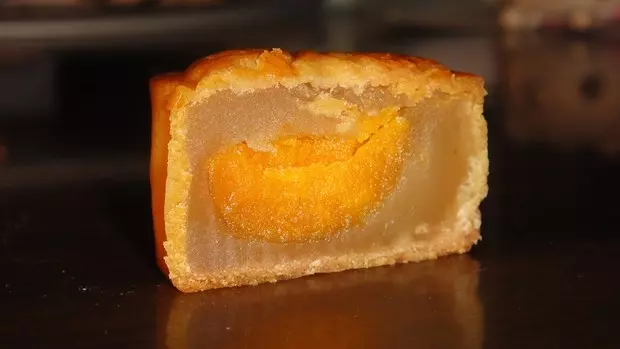
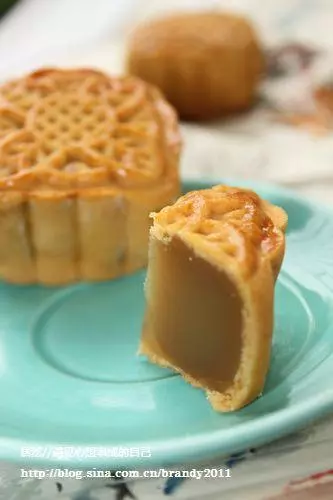
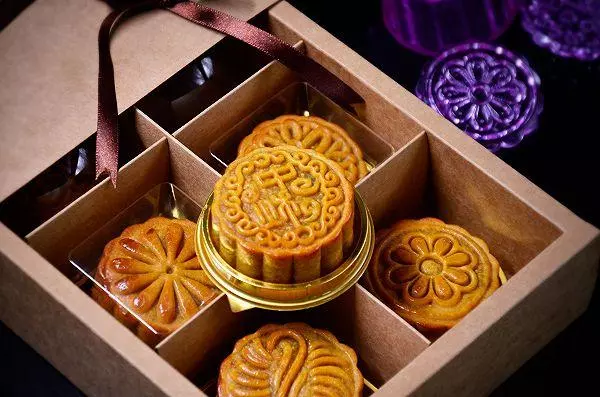
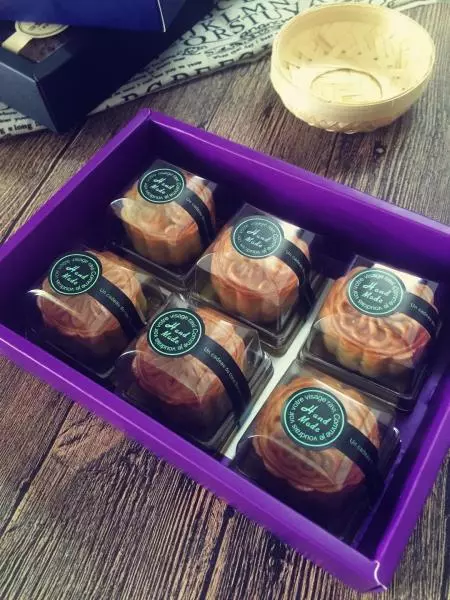
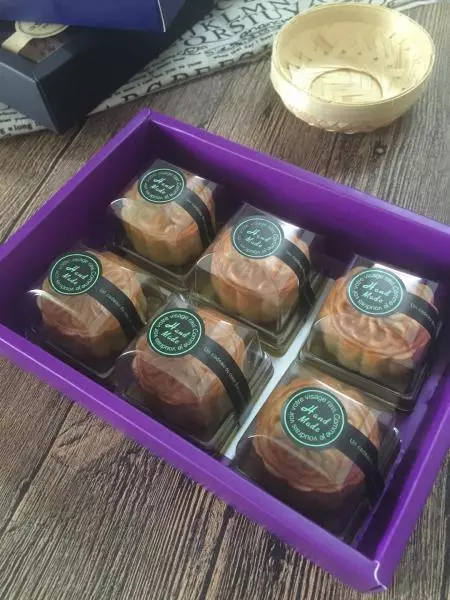
25这样差不多了
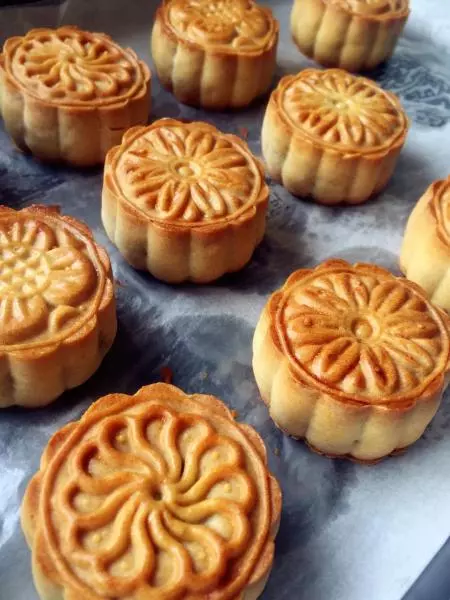
26刚烤好的月饼有些干,颜值不是太高!莫着急,回油后就漂亮多了!
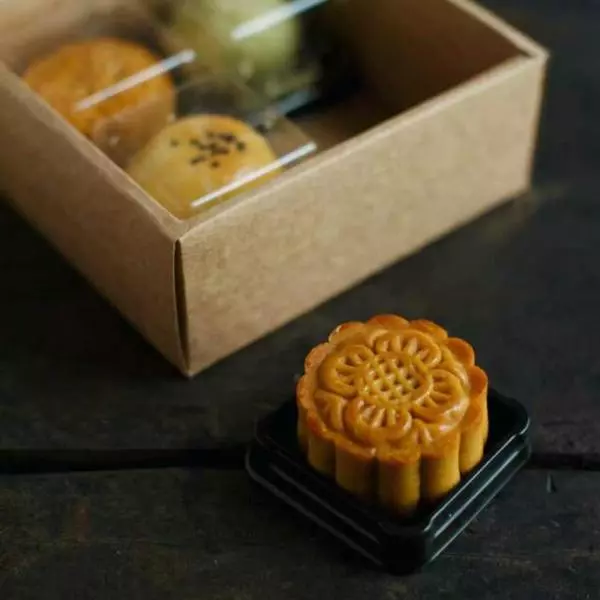
27这样子寄给自己的亲盆好友是不是很好呢!
28快点做起来吧!
小技巧
烤箱温度和烤制时间只能是个参考,请一定根据自己的烤箱脾气酌情增减!