原料
全蛋液: 150g, 奶油奶酪: 60g, 牛奶: 200g, 细砂糖: 50g, 香草粉: 少量, 挞皮: 12个, 草莓: 数颗
步骤
1制作挞水:将鸡蛋打入碗中,加细砂糖搅拌均匀。
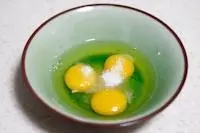
2加入牛奶搅拌均匀。

3奶油奶酪室温软化后加入其中。

4用打蛋器将混合物搅拌均匀,加入少许香草粉。

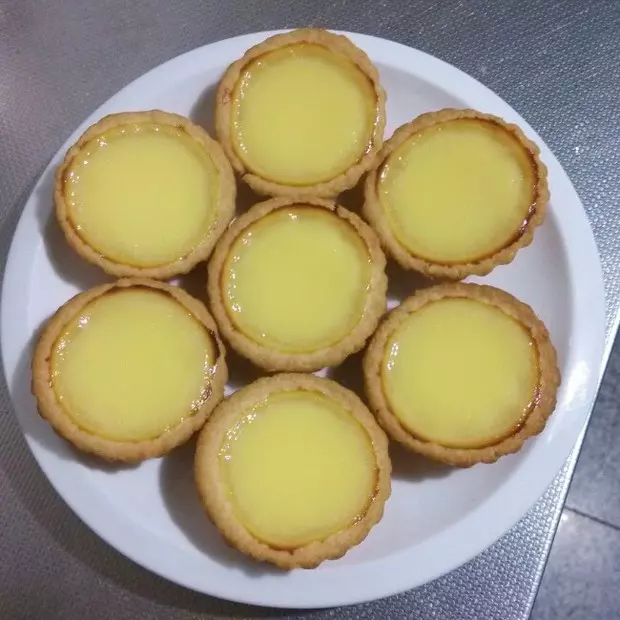
5将制作好的挞水装入模具中8-9分满。

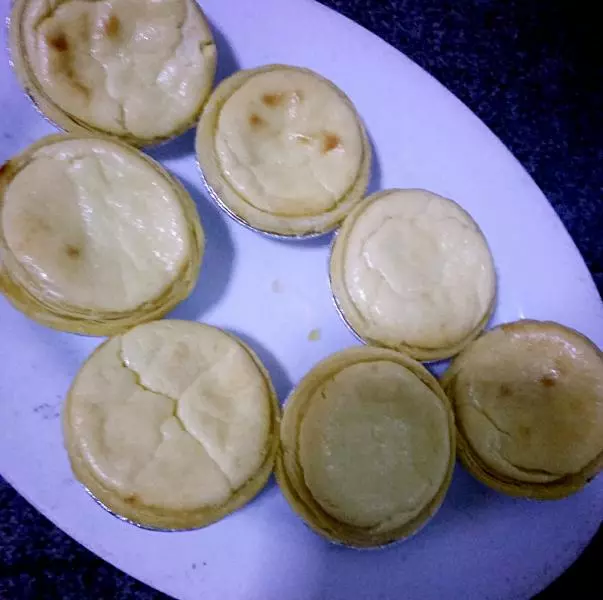
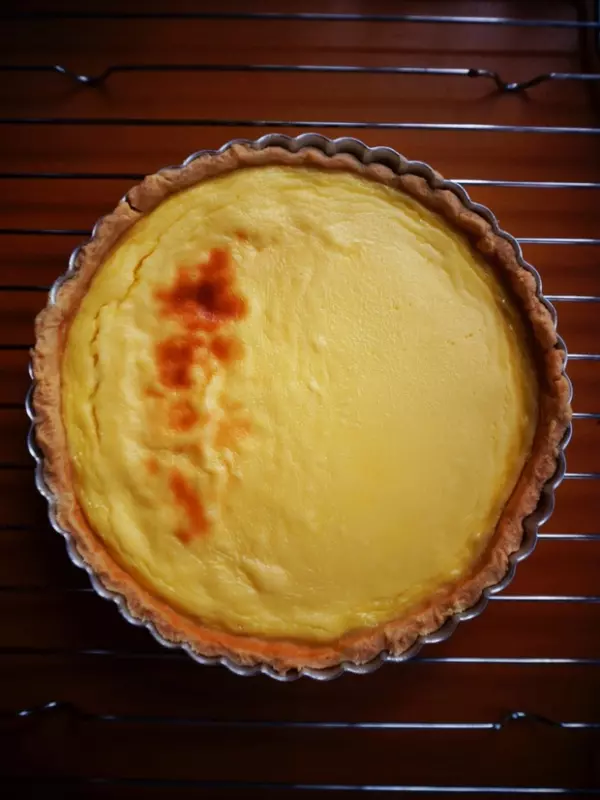
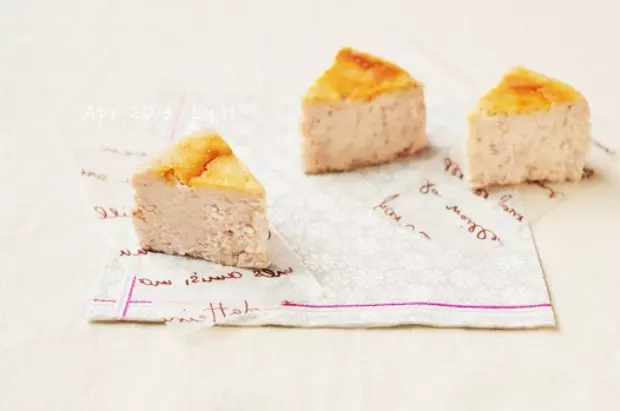
6220度,中层火,烤约20分钟左右,烤制表皮稍有焦糖色即可出炉,加入新鲜的草莓粒即可。

7祝大家好胃口~^^

小技巧
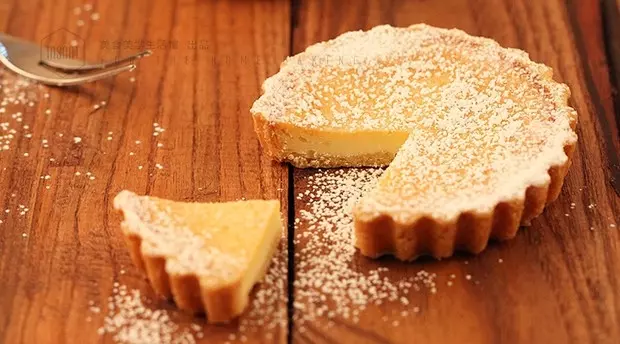
三尼小贴士:如果想吃再甜一点的,可以熬一点焦糖水倒在蛋挞表皮,配着水果一起吃, 我想味道也会很棒!