簡介
配方來自《好好吃の格子鬆餅》。 簡單快速的吃到好吃的鬆餅。 泡打粉要選用無鋁泡打粉。
原料
低筋麵粉 100克, 泡打粉 3到4克, 鹽 1克, 雞蛋(中等大小) 一個, 蜂蜜 一大勺, 細砂糖 40克, 牛奶 100ml, 黃油(融化成液體) 25克, 香草精,可不放 少許
步驟
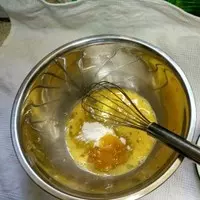
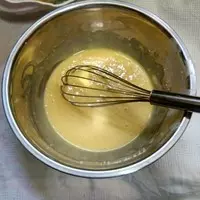
1粉類過篩,倒入盆中,在中間部位弄個凹槽。

2雞蛋打散
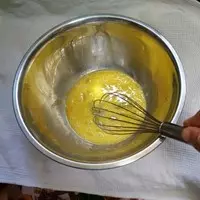
3加入細砂糖和蜂蜜。
4攪拌至雞蛋無黏性,產生少許白色泡泡時,倒入牛奶一起攪拌均勻。
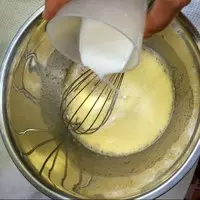
5倒入融化的黃油和香草精攪拌。
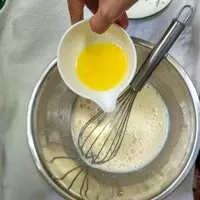
6將攪拌均勻的蛋奶混合液緩慢的倒入凹槽中。
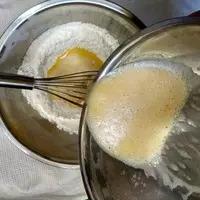
7打蛋器由內而外輕慢的攪拌。切勿攪拌過度產生筋性。
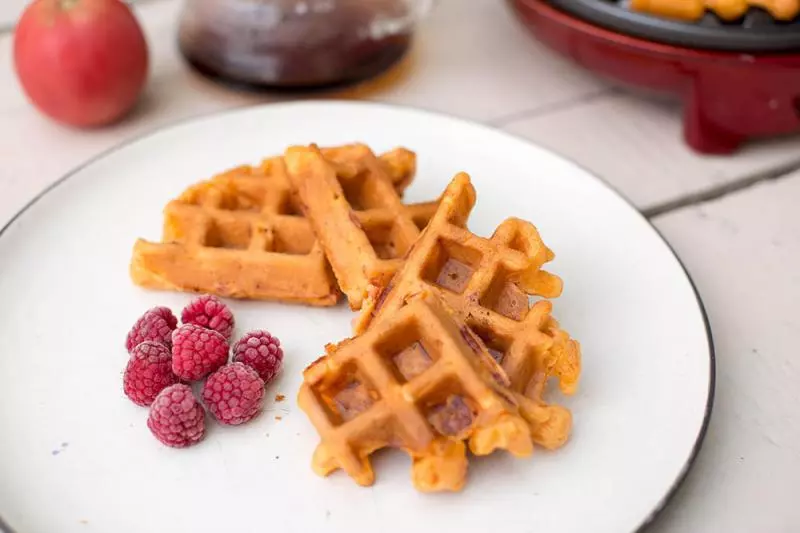
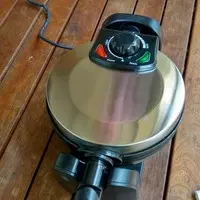
8鬆餅提前預熱,預熱結束綠燈熄滅。選擇合適檔位,我這次選的中火,檔位越大烤出的餅就越脆。
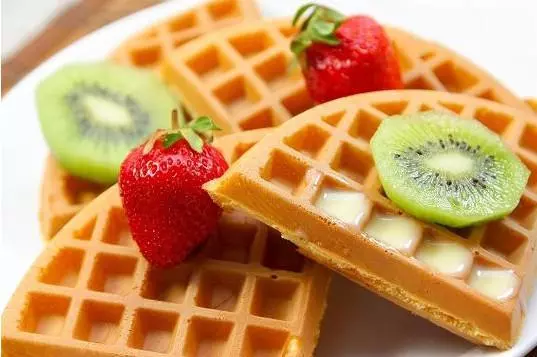
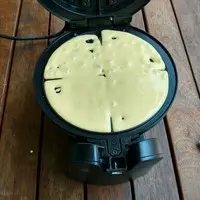
9將麵糊倒入烤盤中,可蓋住烤盤圖案部分的分量即可。麵糊加入太多會溢出烤盤。
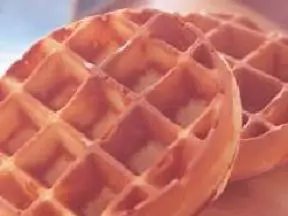
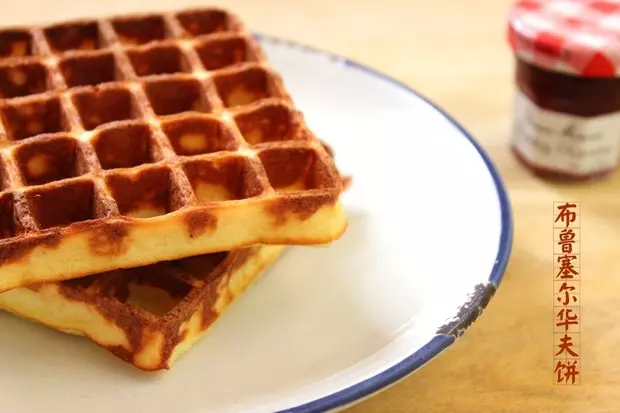
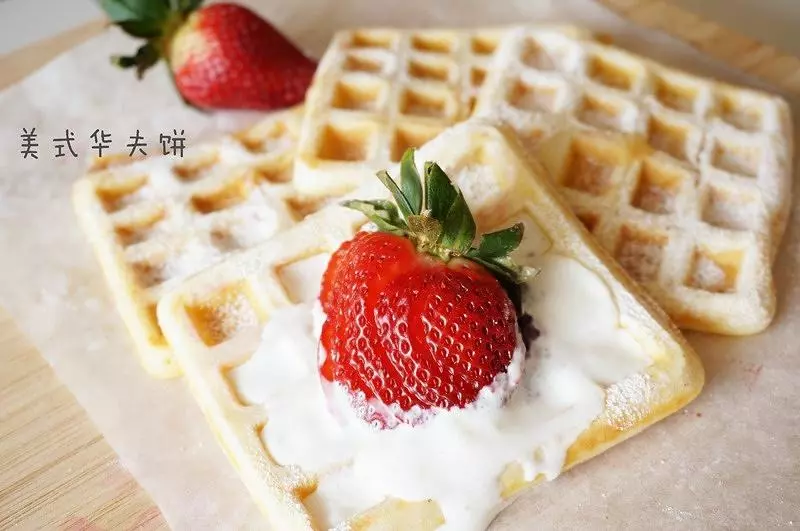
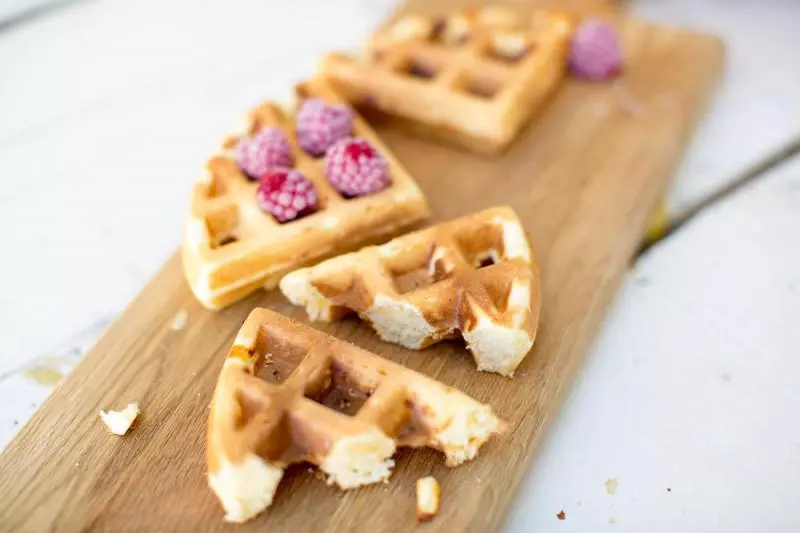
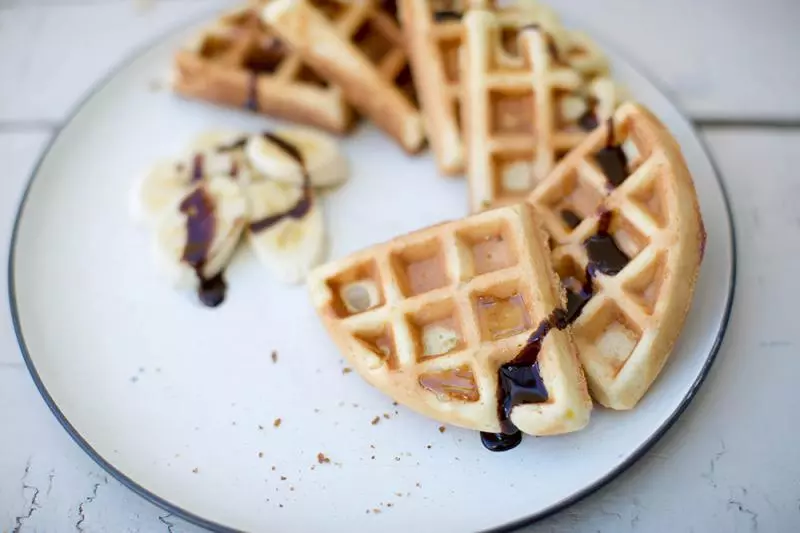
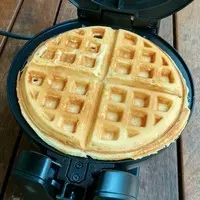
10合上鬆餅機,30秒定型後翻轉,讓鬆餅烤的更均勻。烘烤約3到5分鐘,沒有蒸汽冒出餅就烤好了。
小技巧
該配方,用這款鬆餅機剛好是兩盤的分量。