原料
中筋麵粉: 500克, 泡打粉: 2茶匙, 細砂糖: 3湯匙, 黃油: 110克, 檸檬皮: , 冷牛奶: 300毫升, 覆盆子: 150克, 雞蛋: 1個
步驟
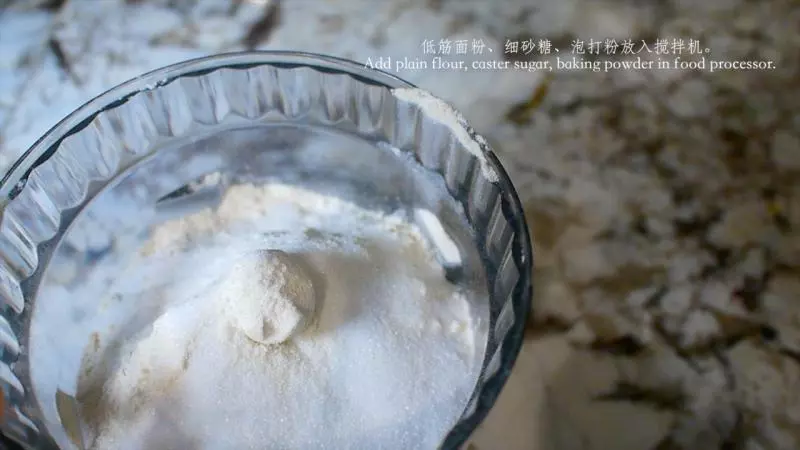
11.低筋麵粉、細砂糖、泡打粉放入攪拌機。快速攪打10-15秒混合均勻。 Add plain flour, caster sugar, baking powder in food processor. Mix 10-15 seconds.
2刮一個檸檬的皮,記得只要黃色的部分,白色部分會比較苦。 Zest a lemon.Make sure to only zest the yellow part of the lemon skin.The white part of the lemon leaves a bitter aftertaste.

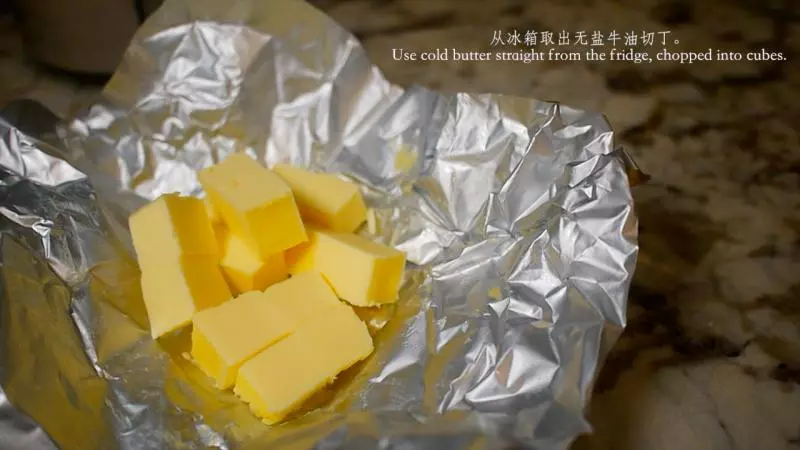
3從冰箱取出無鹽牛油切丁。 Use cold butter straight from the fridge, chopped into cubes.
4將檸檬皮和牛油都加入攪拌機內。 Add lemon zest and diced butter to food processor.

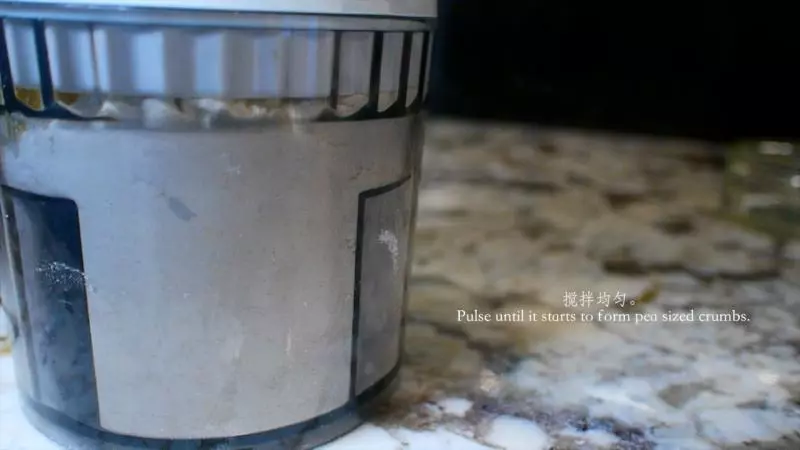
5攪拌均勻。 Pulse until it starts to form pea sized crumbs.
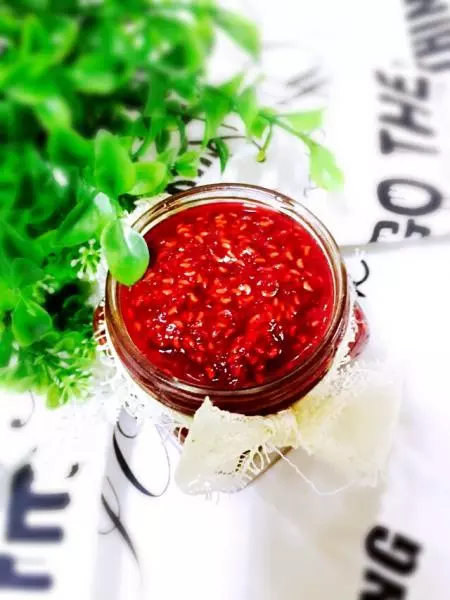
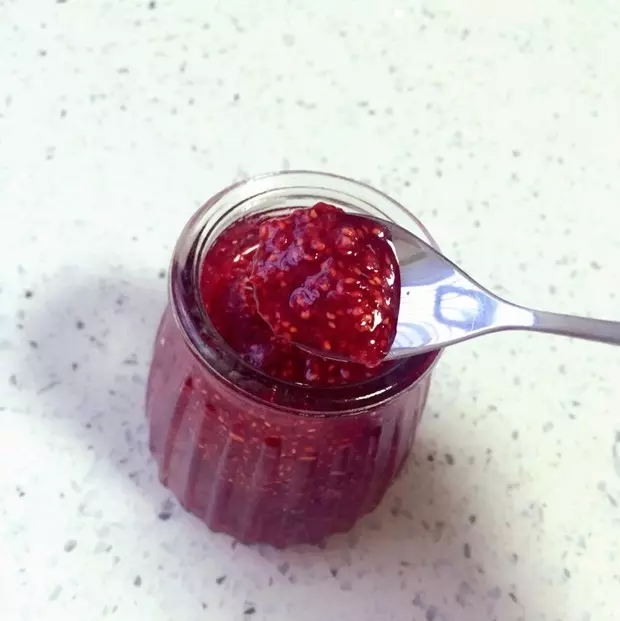
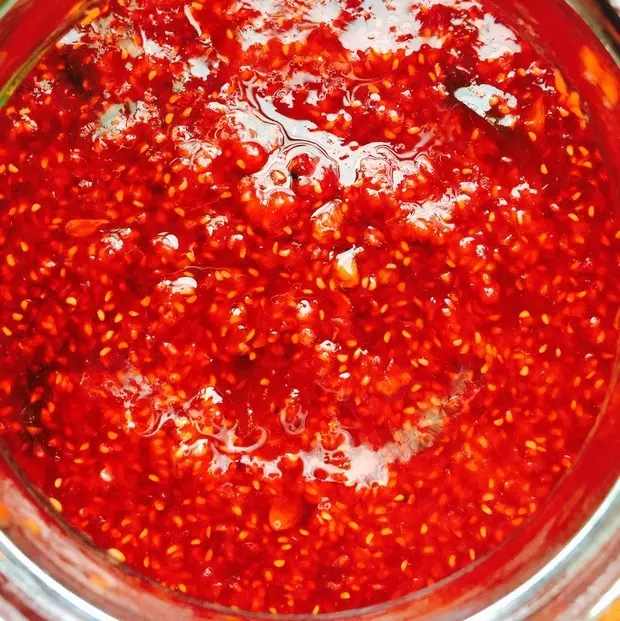
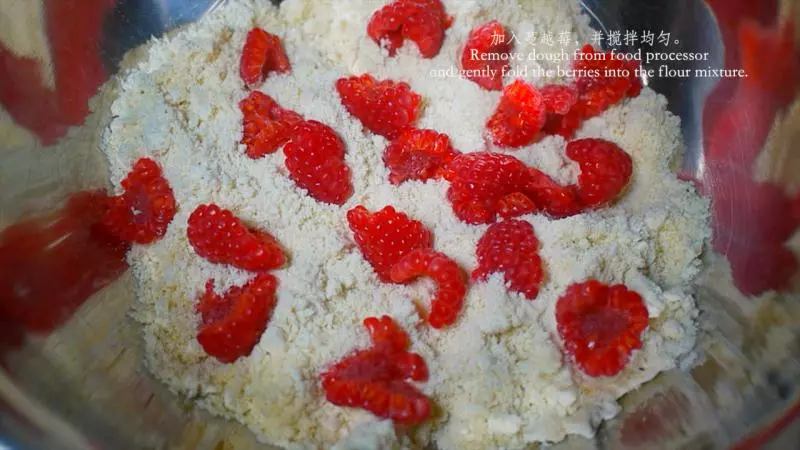
6加入蔓越莓,並攪拌均勻。 Remove dough from food processor and gently fold the berries into the flour mixture.
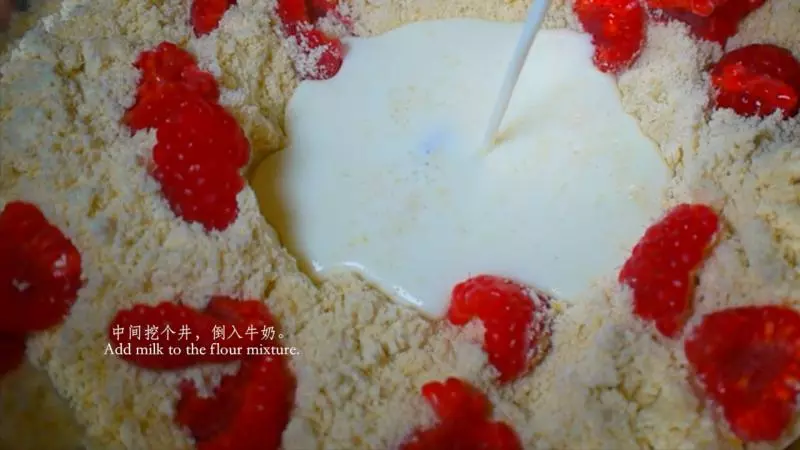
7中間挖個井,倒入牛奶,用叉子輕輕就攪拌一下,攪拌至無乾粉狀態。 Add milk to the flour mixture and stir till just combined; do not over mix.
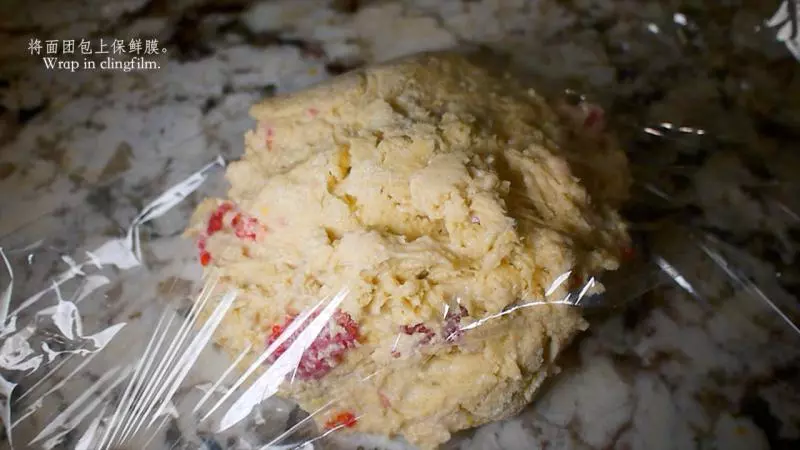
8將麵糰包上保鮮膜就可以放到冰箱冷藏30分鐘。 Wrap in clingfilm and and place in your refrigerator for at least 30 minutes.
930分鐘後,桌上撒上麵粉,拿出麵糰。 Turn the mixture out onto a lightly floured surface.

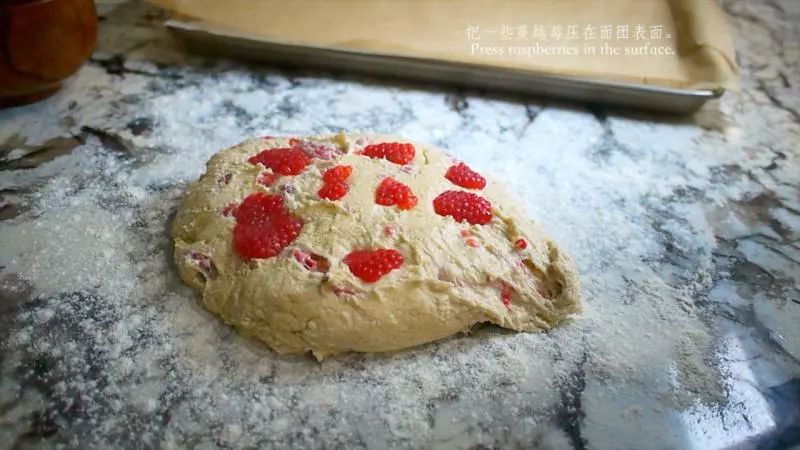
10把一些蔓越莓壓在麵糰表面。 Press raspberries in the surface.
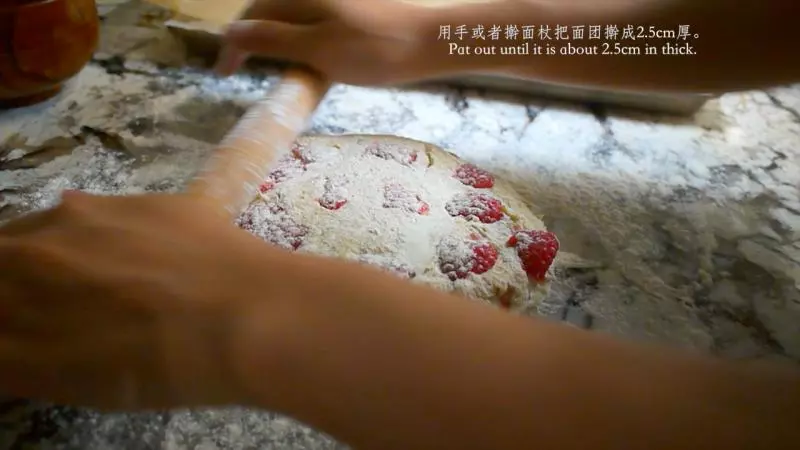
11用手或者擀麵杖把麵糰擀成2.5cm厚。 Pat out until it is about 2.5cm in thick.
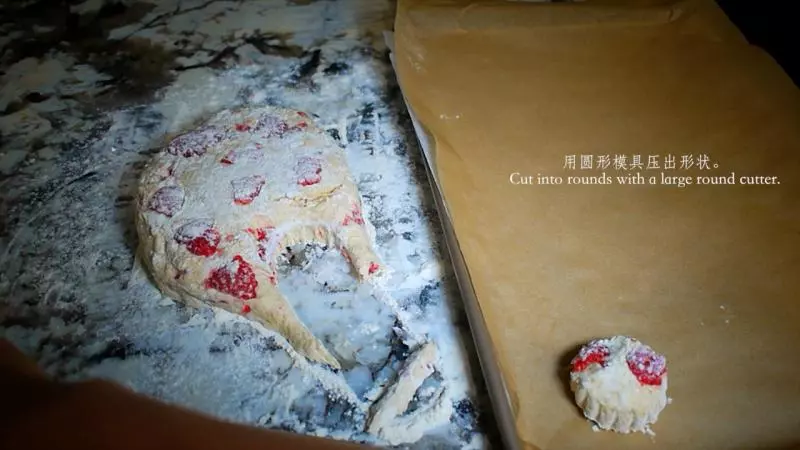
12用圓形模具壓出形狀。 Cut into rounds with a large round cutter.
13把切割好的圓餅放入烤盤裡,表面刷上蛋液。 Place on a baking sheet; brush the tops with egg wash.

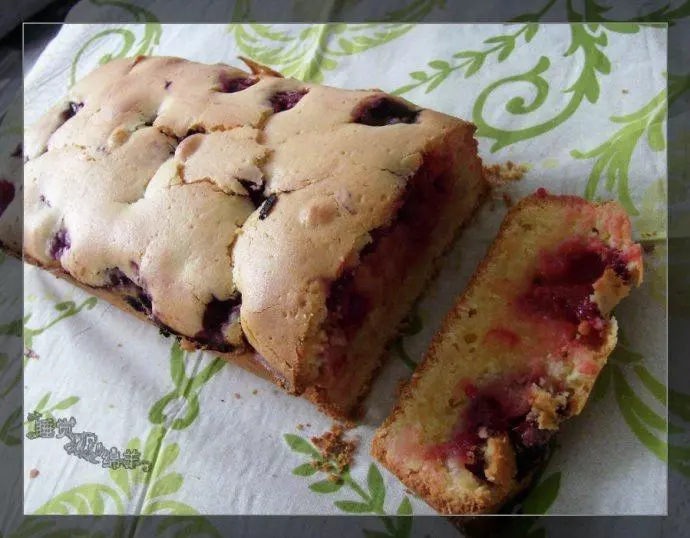
14預熱烤箱200度,烘焙12到15分鐘或表面金黃即可。 Bake for 12 – 15 minutes or until the tops are golden brown.

15具體視頻地址:http://t.cn/RKhoSk2
小技巧
- 奶油從冰箱取出後,要立即切碎並與麵粉混合,不可以用回溫過久的奶油喔! 2.倒入牛奶後,用叉子攪拌的時候,一定要輕,少量攪拌,不要過度攪拌,以免麵粉上勁。 3.揉麵糰的時候也要輕,不用揉到表面光滑,只要都揉到一起就可以了 4.把麵糰放入冰箱冷藏30分鐘,是讓泡打粉更好的發揮作用,到時候烤出來的司康餅就會很酥鬆