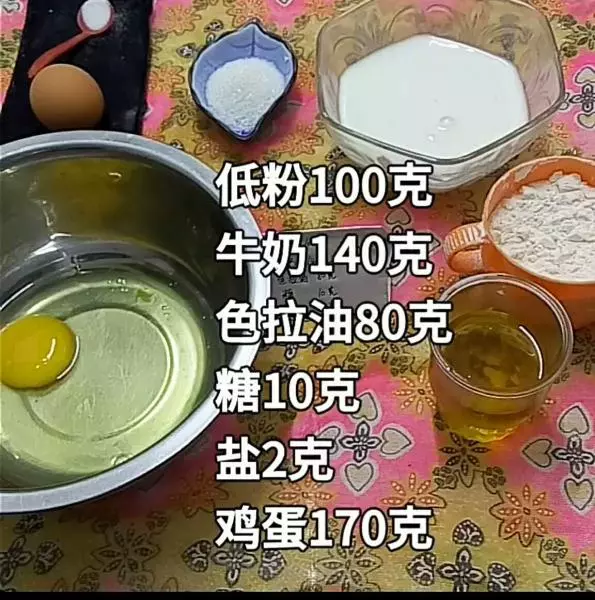
原料
牛奶: 140克, 低筋麵粉: 100克, 雞蛋: 170個, 砂糖: 10克, 鹽: 2g適量, 巧克力醬: 30克, 色拉油: 80克, 卡仕達醬: 30克
步驟
1準備材料
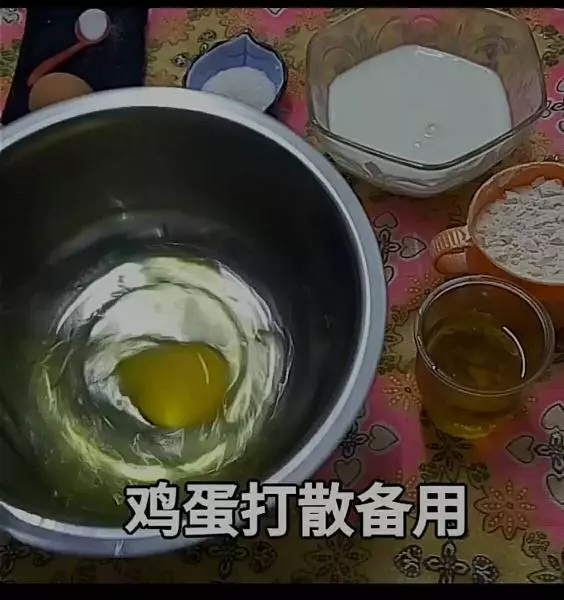
2雞蛋打散備用
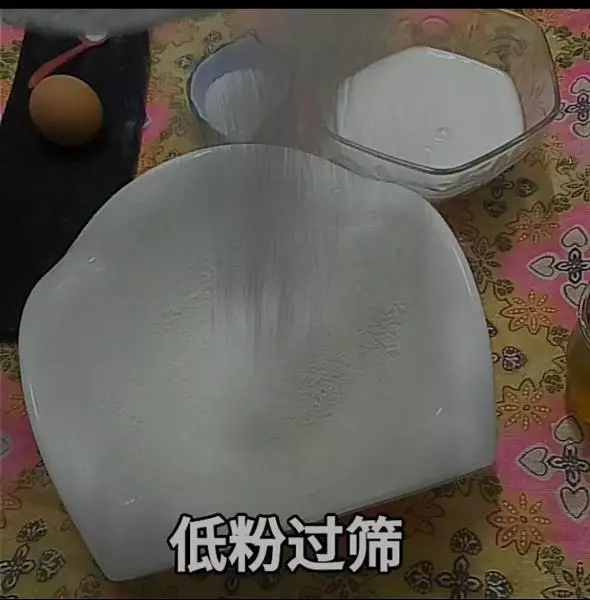
3低粉過篩
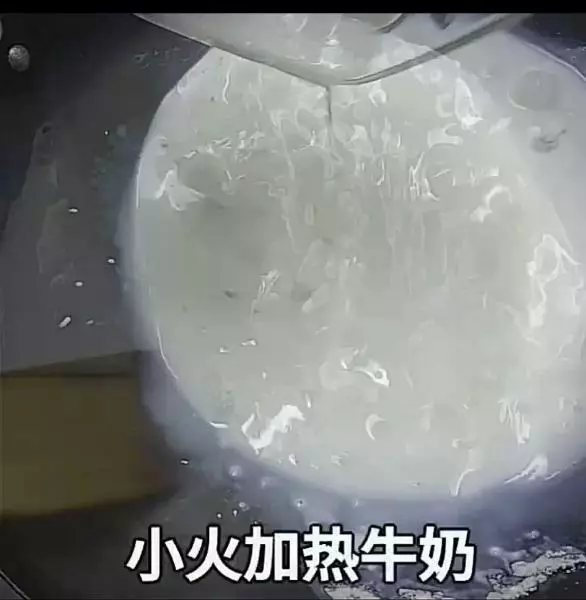
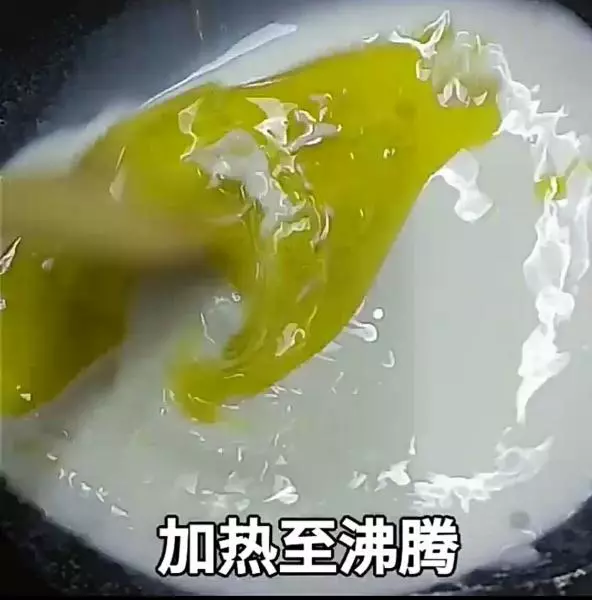
4小火加熱牛奶
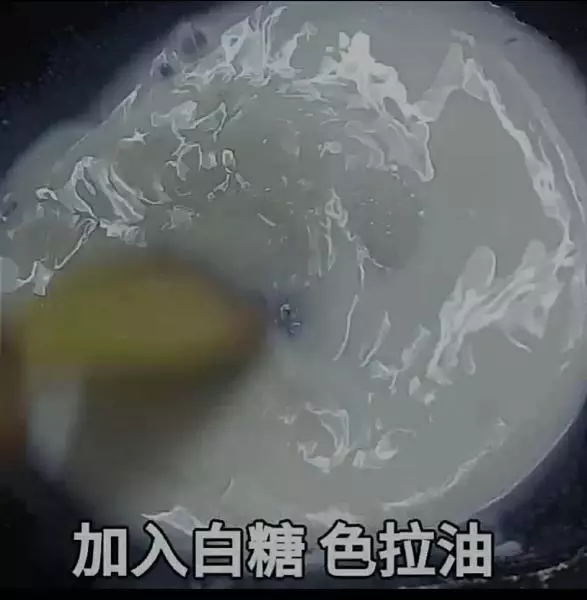
5牛奶中加入白砂糖 色拉油 鹽巴
6攪拌到沸騰
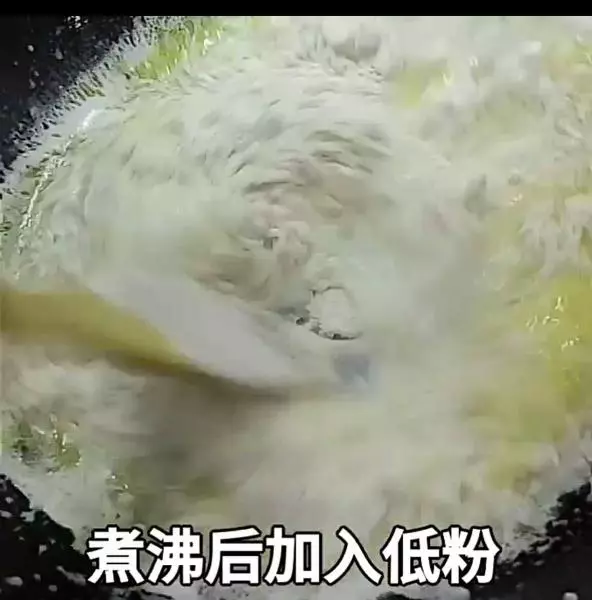
7煮沸後,加入低粉
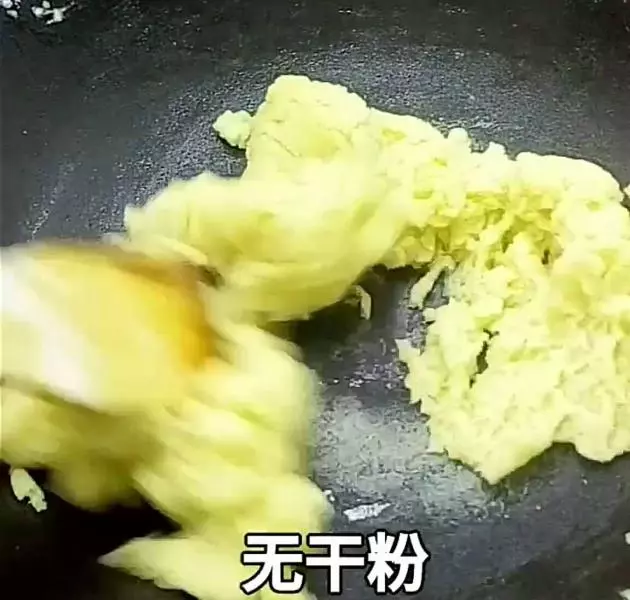
8快速攪拌至無乾粉
9關火,分次加入蛋液
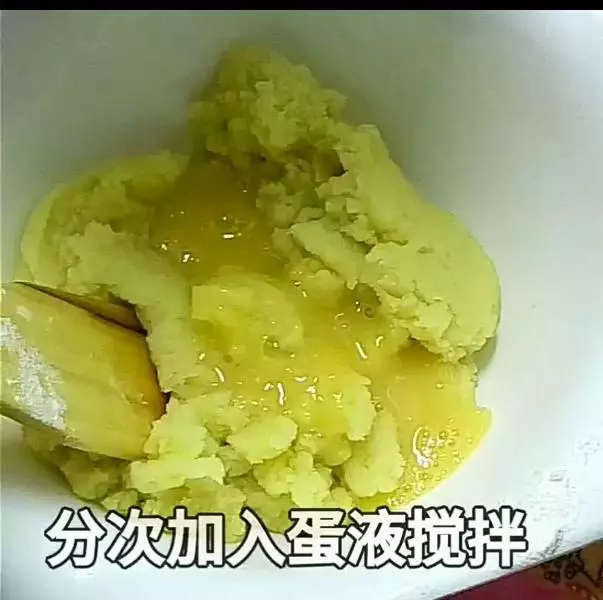
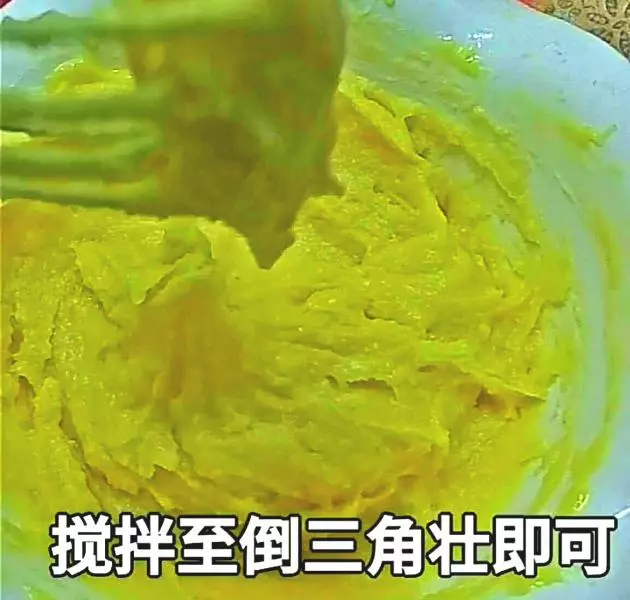
10攪拌至拉起呈現倒三角狀
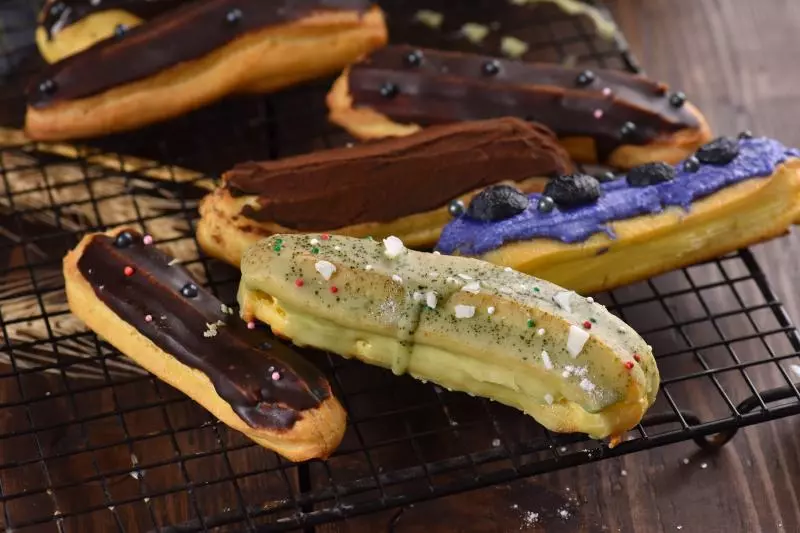
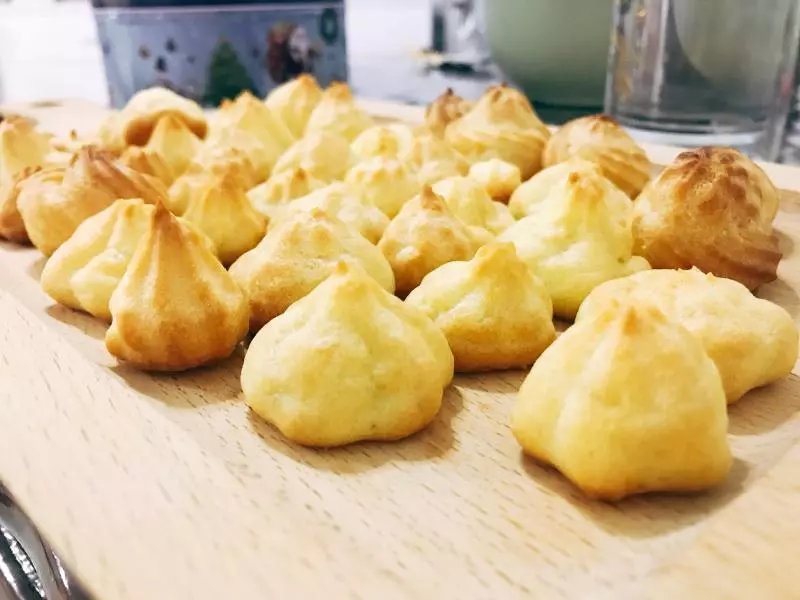
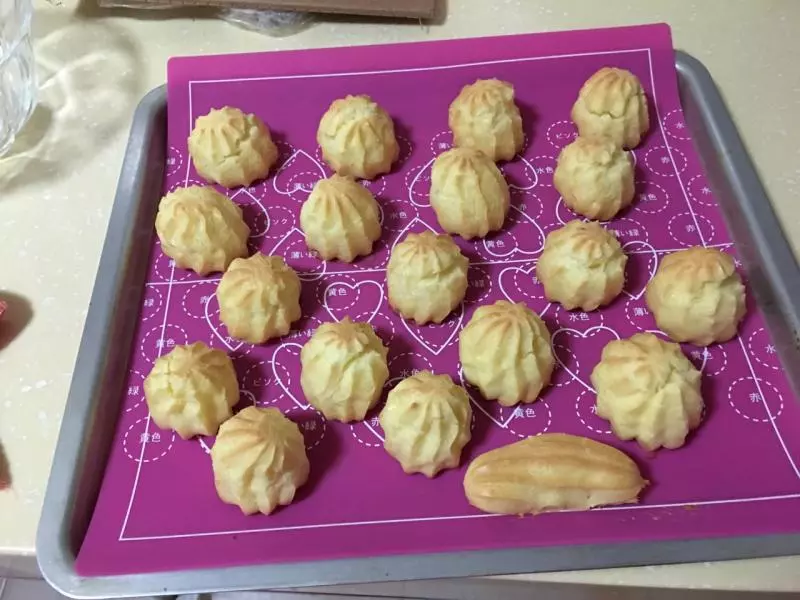
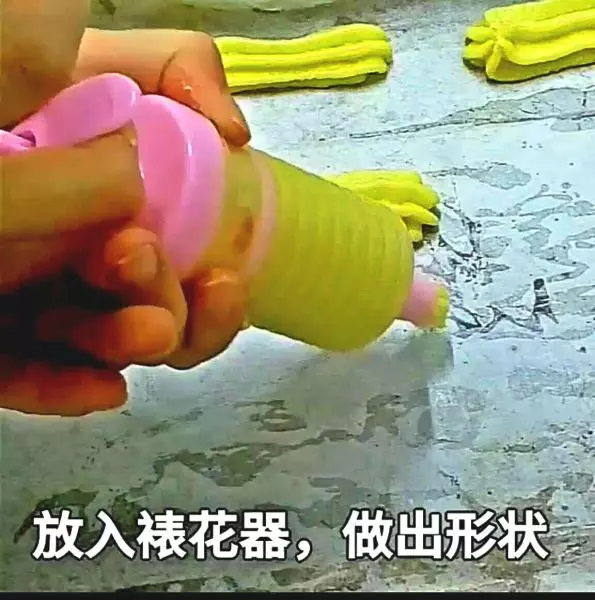
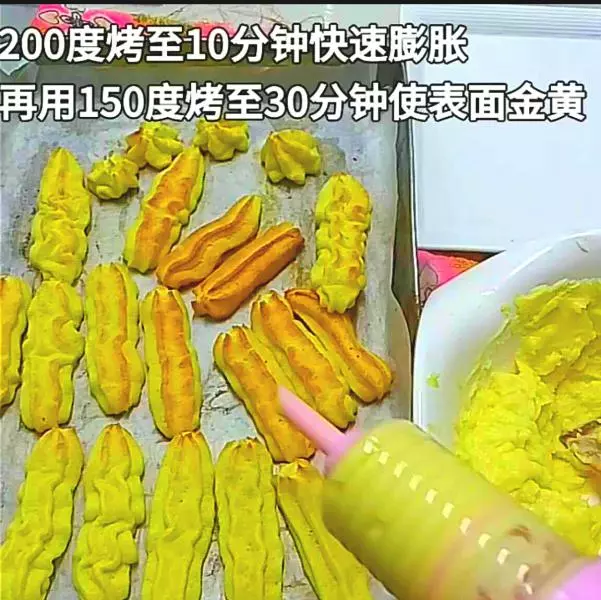
11放入裱花器中,擠入烤盤中
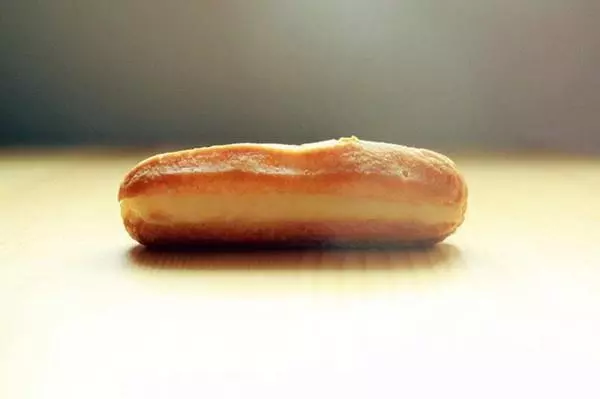
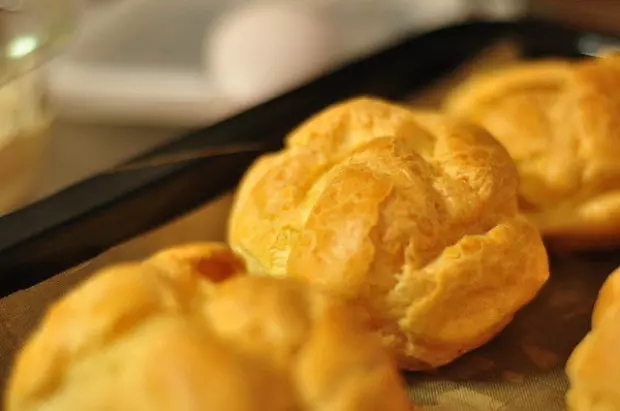
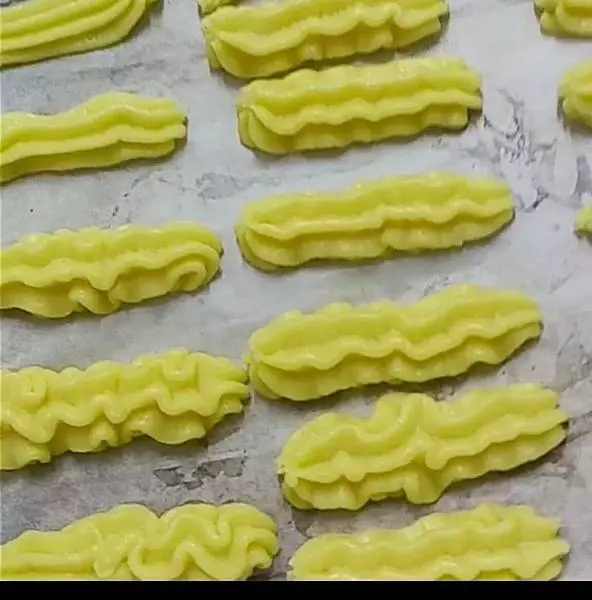
12形狀就是條形吧
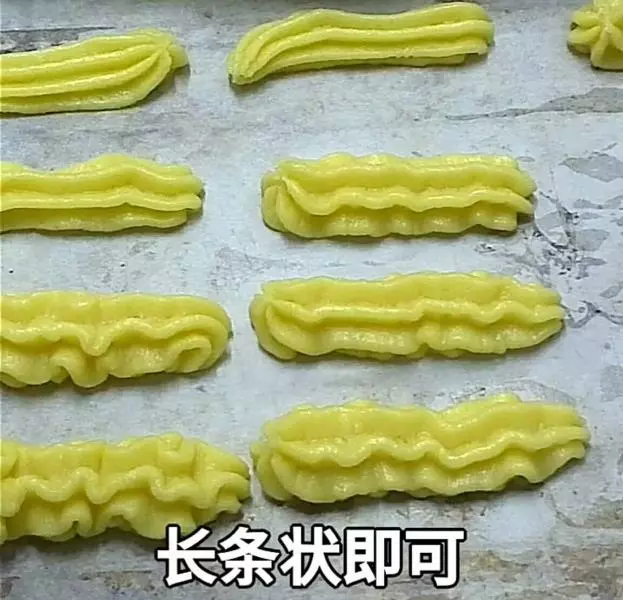
13留有變大的空間
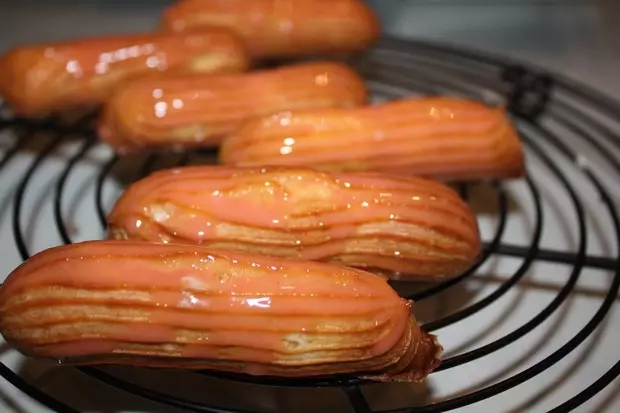
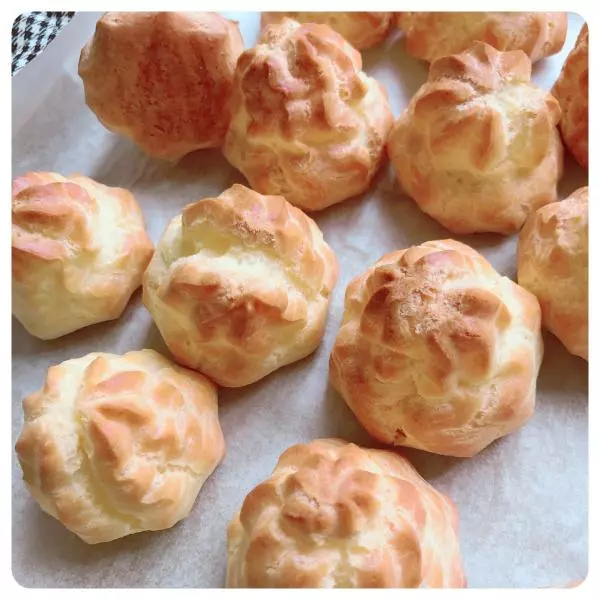
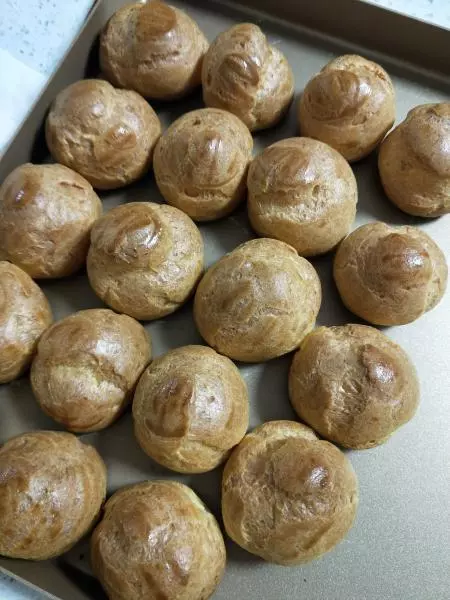
14200度烤10分鐘快速膨脹變大 在用150度烤30分鐘使表面金黃
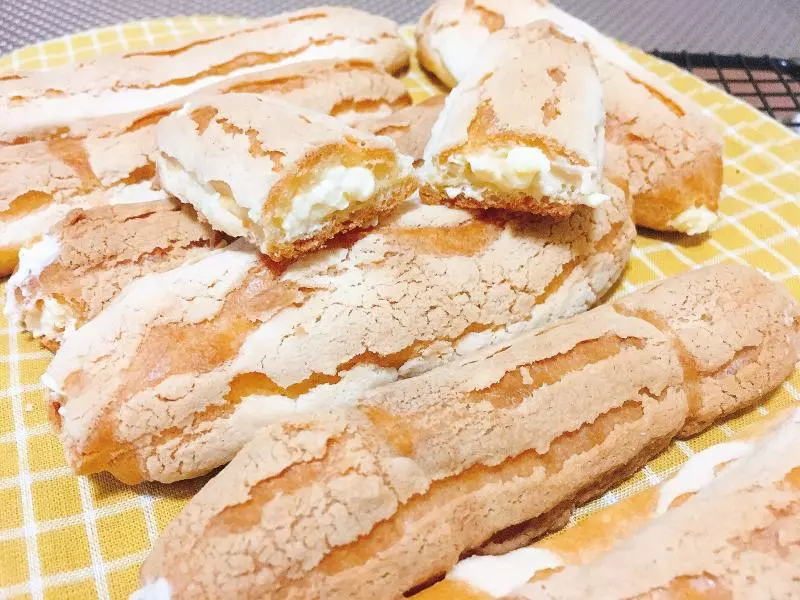
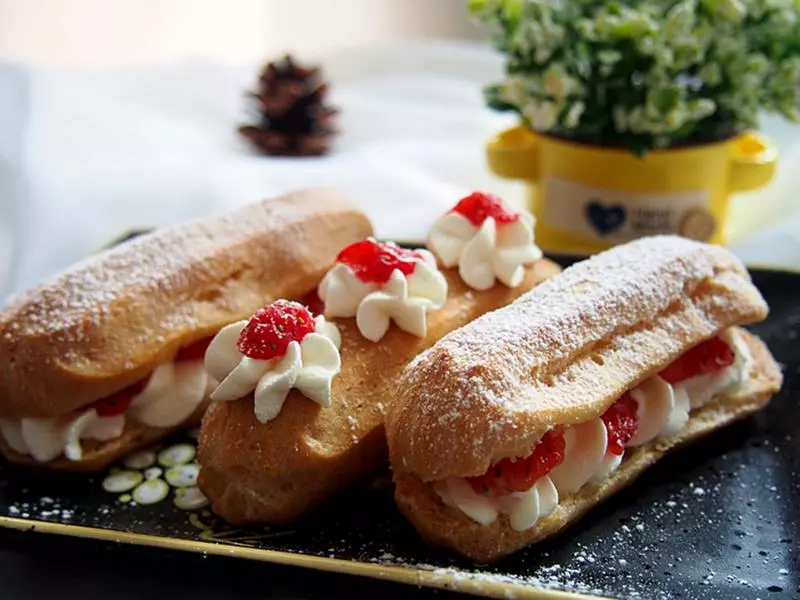
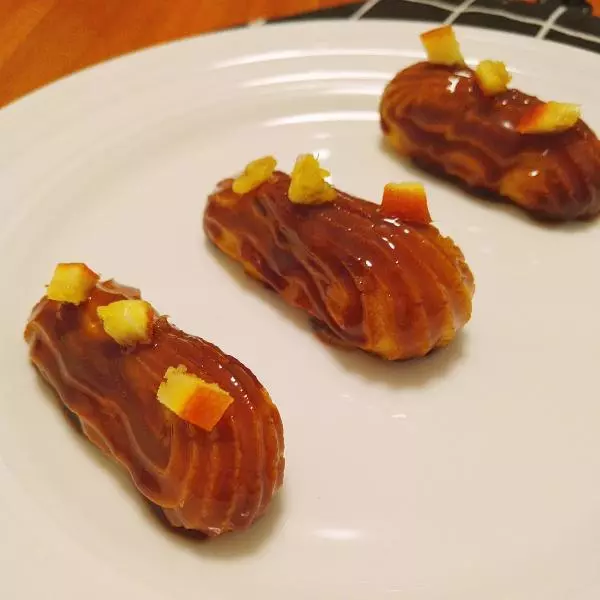
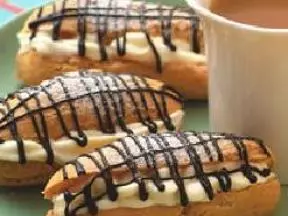
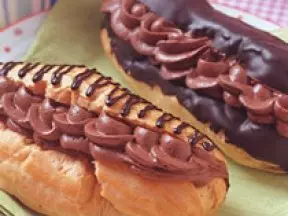
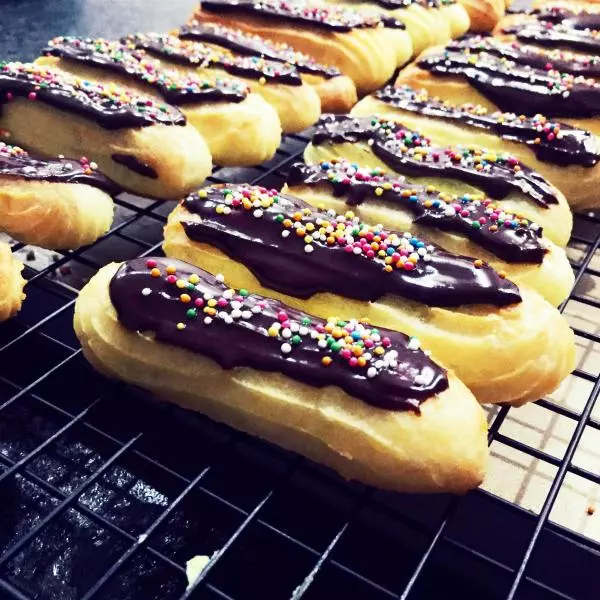
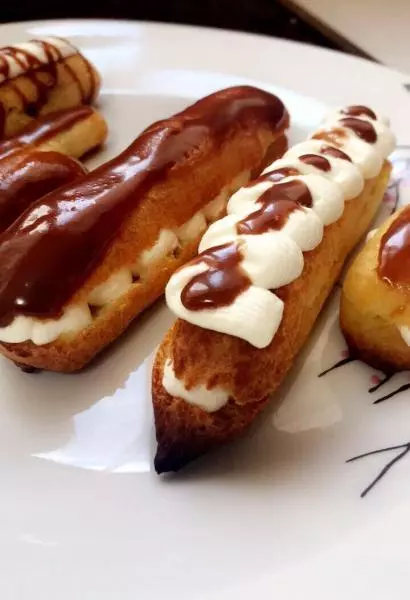
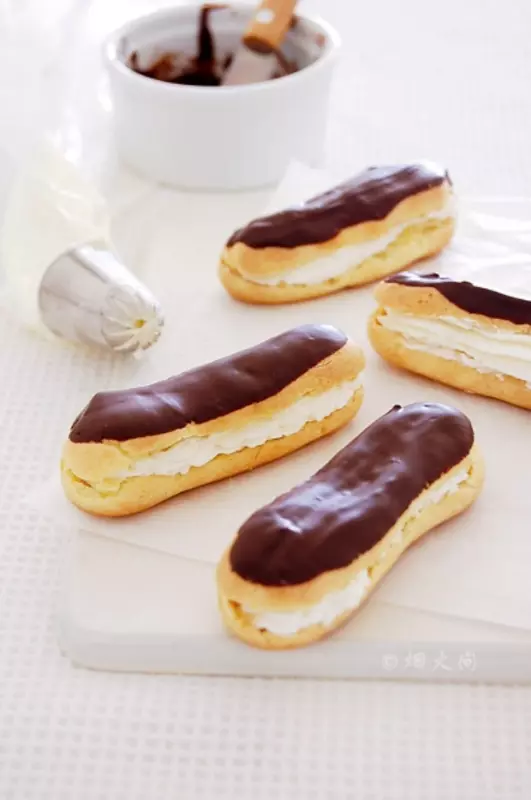
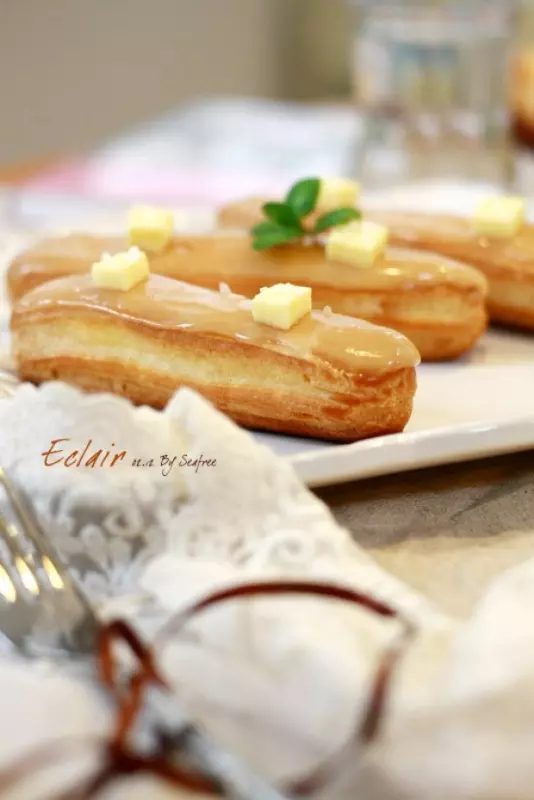
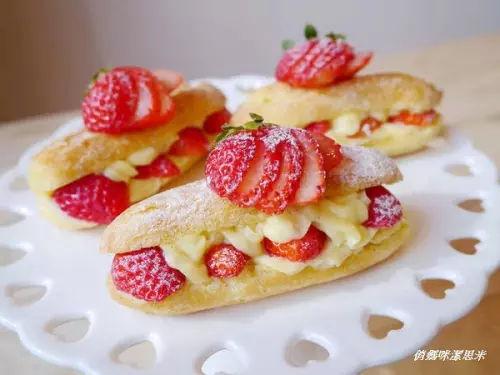
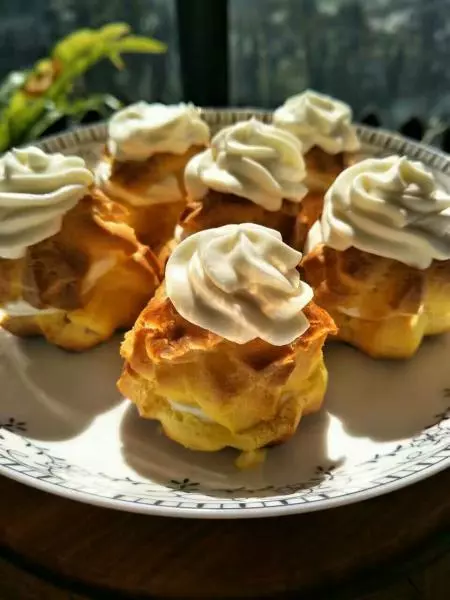
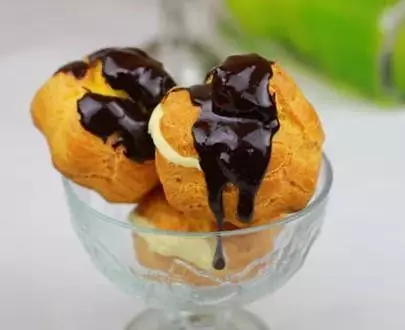
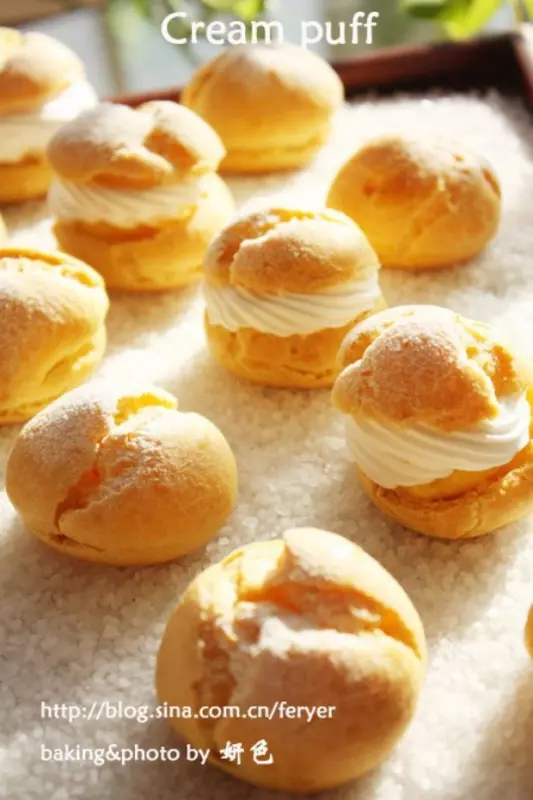
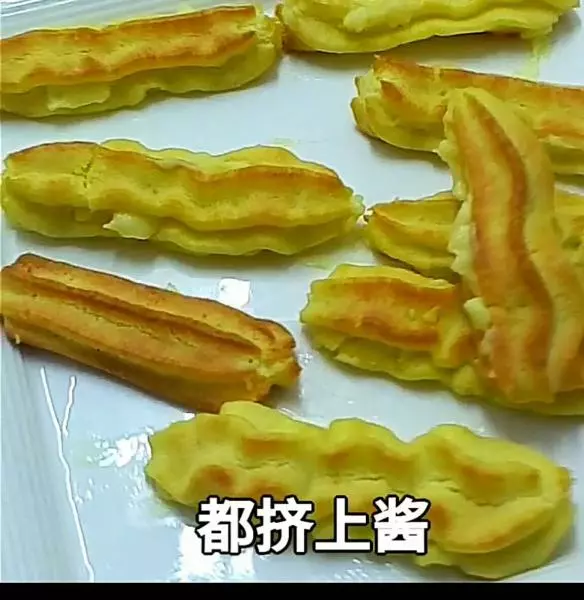
15裡面擠上卡仕達醬
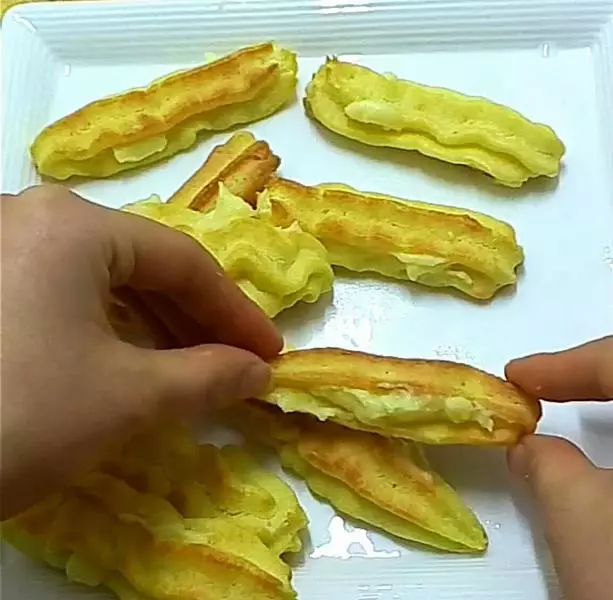
16都擠上
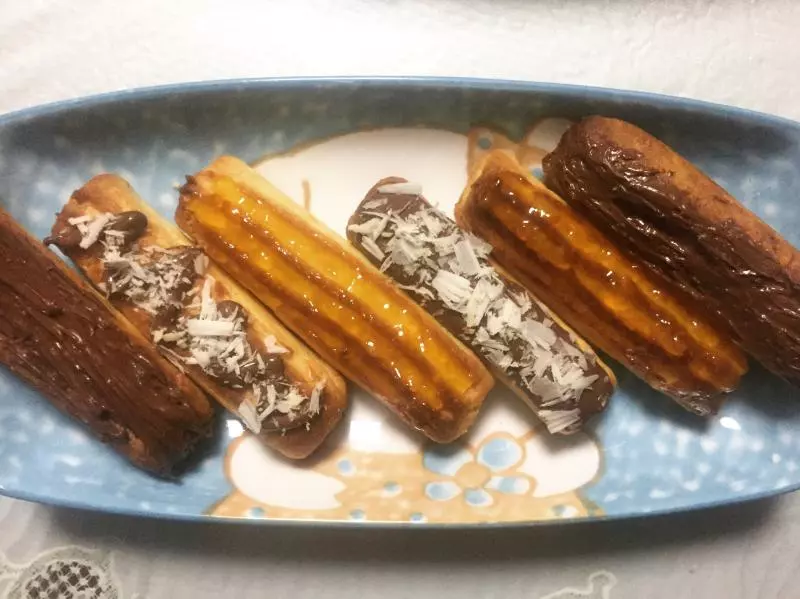
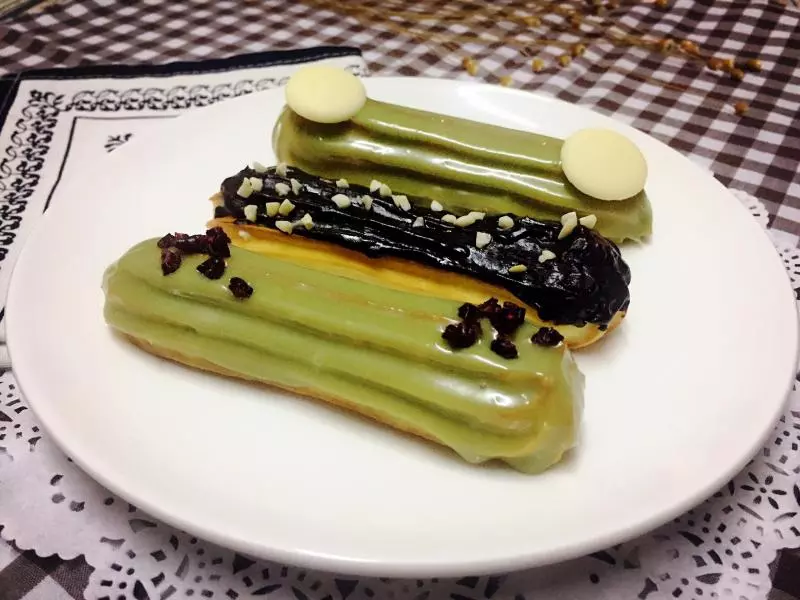
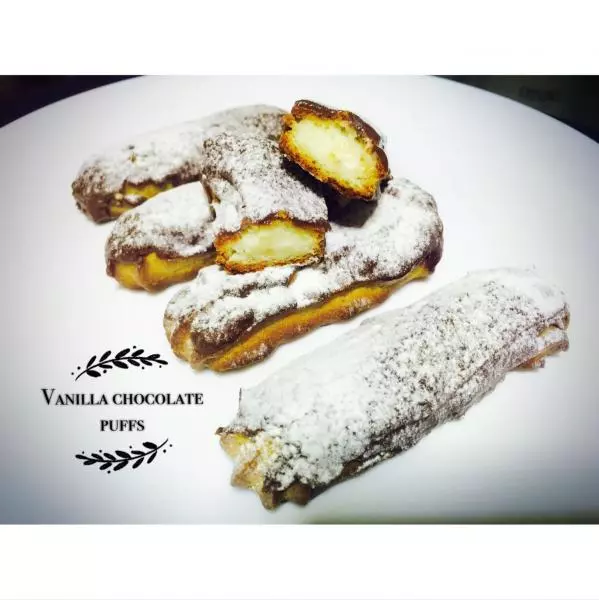
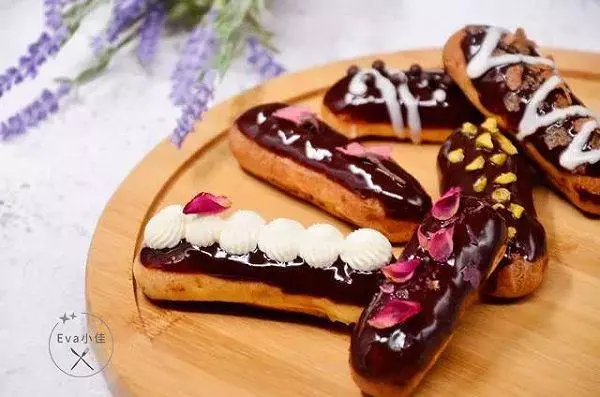
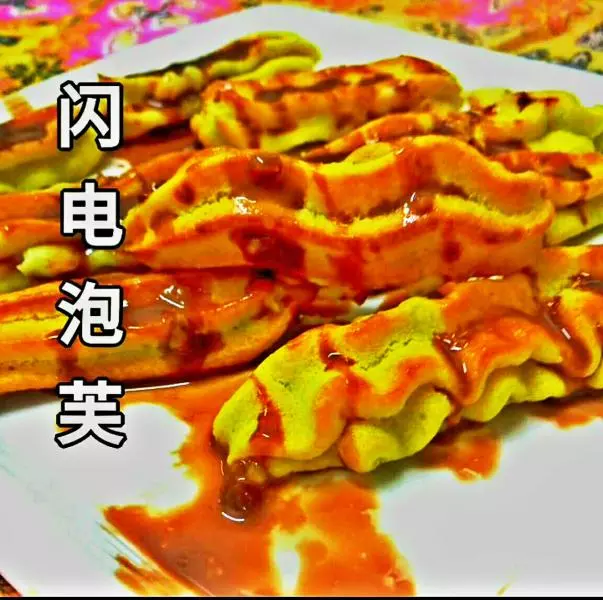
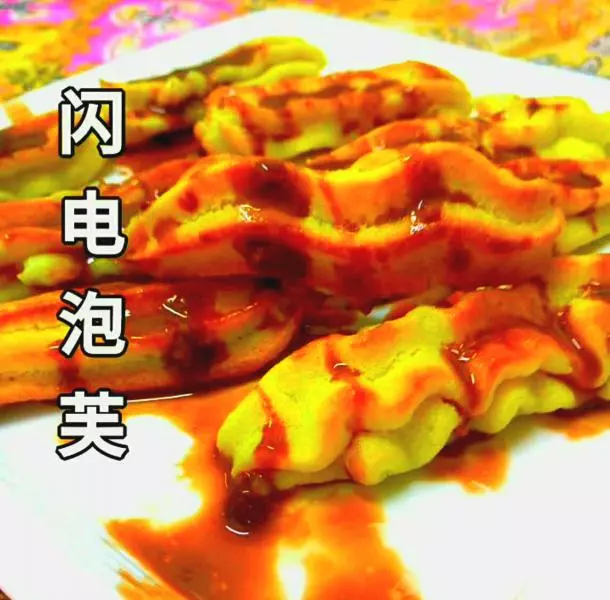
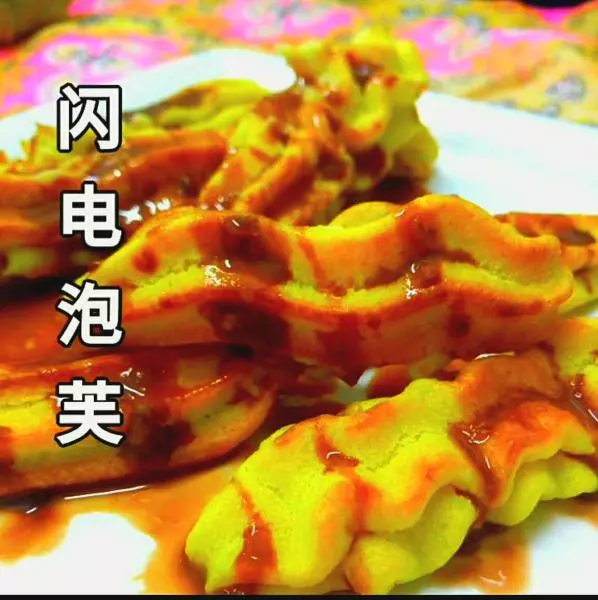
17喜歡的可以澆上巧克力醬
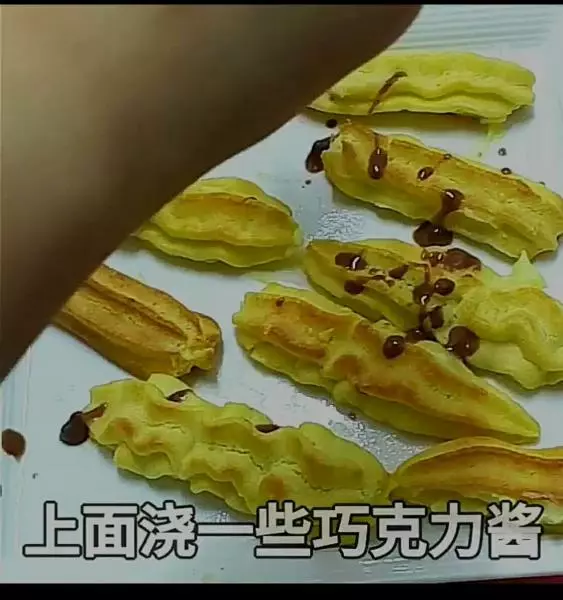
18喜歡的多放一些
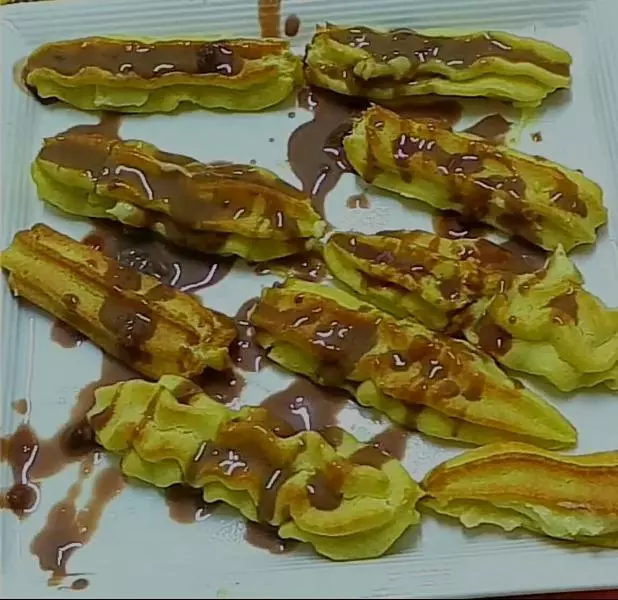
19完成
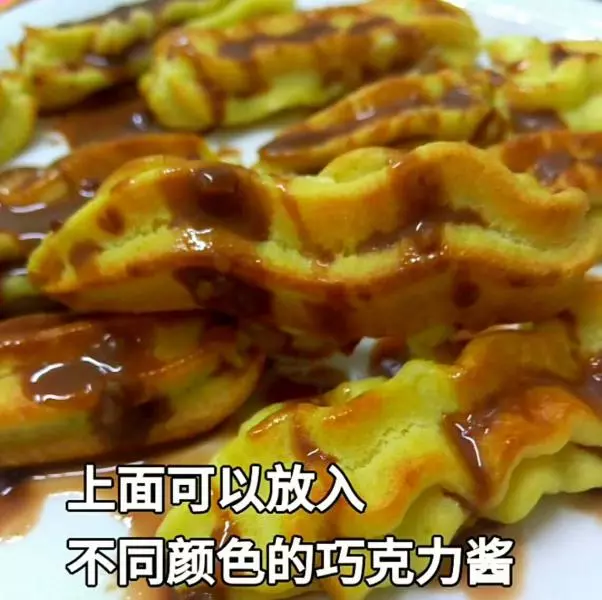
20完成
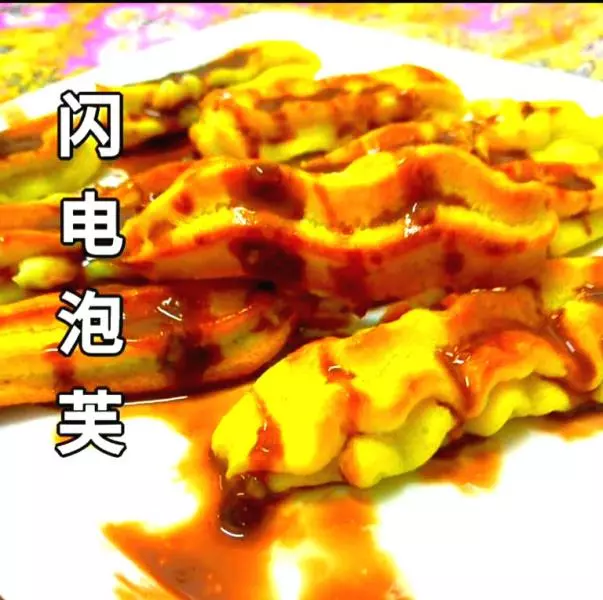
21完成
22完成
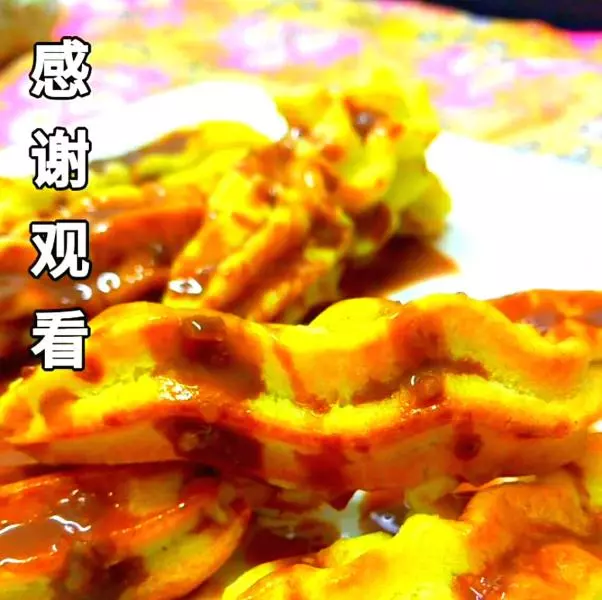
23感謝觀看 歡迎來微博 微信找我嘮嗑
小技巧
閃電泡芙Eclair,又可以叫手指泡芙 1、製作泡芙麵糊,只要掌握以下幾個關鍵點就會很容易成功了,一是牛奶要保持沸騰的狀態加入麵粉,徹底拌成麵糰以後再關火;二是雞蛋的用量根據麵糊的濃稠度來調整,使它達到倒三角的稠度;三是烘烤時先用200℃的高溫使泡芙快速的膨起,隨後降到170℃慢慢烤乾水分。 2、這個配方的卡仕達醬的分量,可能不足以填滿所有泡芙。剩下的空泡芙可以放入冰箱密封冷凍,保存1個月以上。使用前取出回溫並放入烤箱170℃烘烤3分鐘就可以用了。如果你想一次填滿所有泡芙,可以把卡仕達醬的配料按比例增加50%到100%。 3、巧克力淋面做好以後,如果完全冷卻會比較稠。你可以根據自己的喜好控制淋面的稠度。想讓淋面稀一些,就把裝淋面的碗放在溫水裡使它保持溫度。 4、這道閃電泡芙用到的卡仕達醬,冷卻後是一種非常稠厚的醬,所以不方便用細長的泡芙花嘴擠到泡芙里,而是推薦切開泡芙,直接用大的圓孔或星形花嘴來擠。卡仕達醬中不僅僅使用牛奶,還加入了總統的淡奶油,使它非常濃郁柔滑,奶香十足,與泡芙搭配起來口感極棒,大家一定要試試哈!