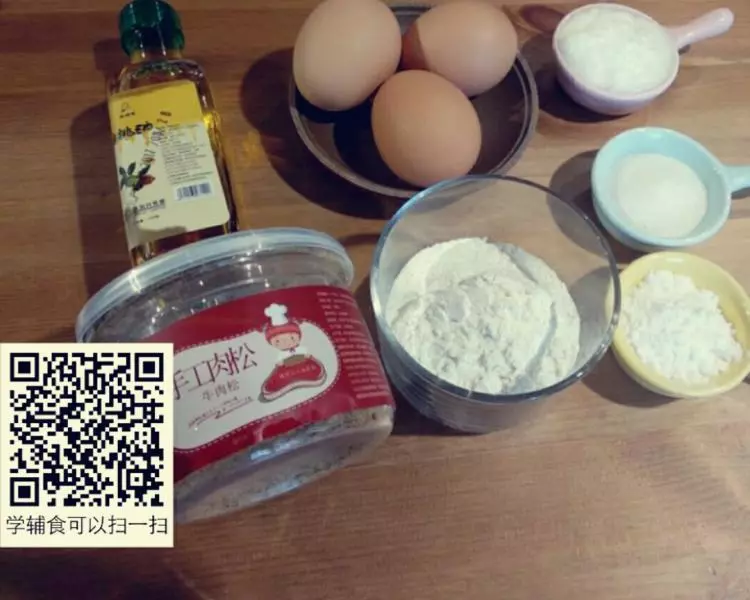
原料
雞蛋: 3個, 低粉: 50克, 寶寶核桃油: 25克, 糖粉: 10克, 砂糖: 15克, 自製酸奶: 35克, 寶寶肉鬆: 10克, 小紙杯: 10個左右
步驟
1準備食材
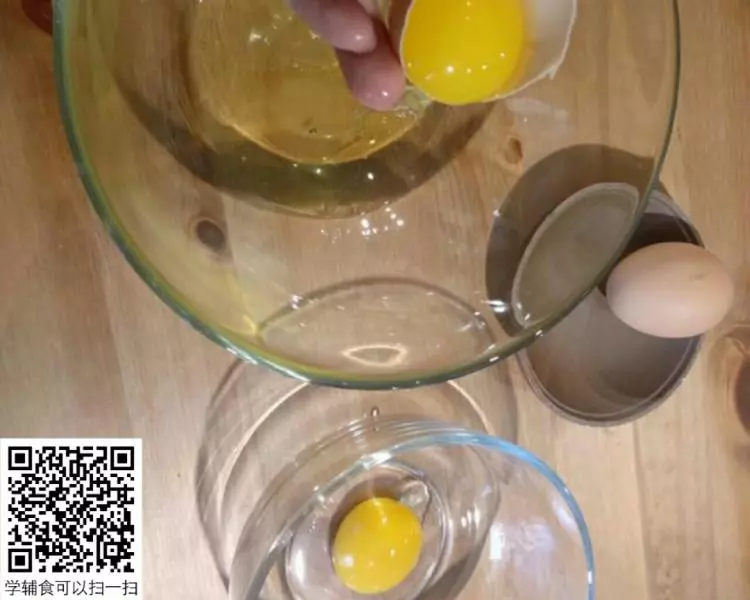
2蛋清蛋黃分離
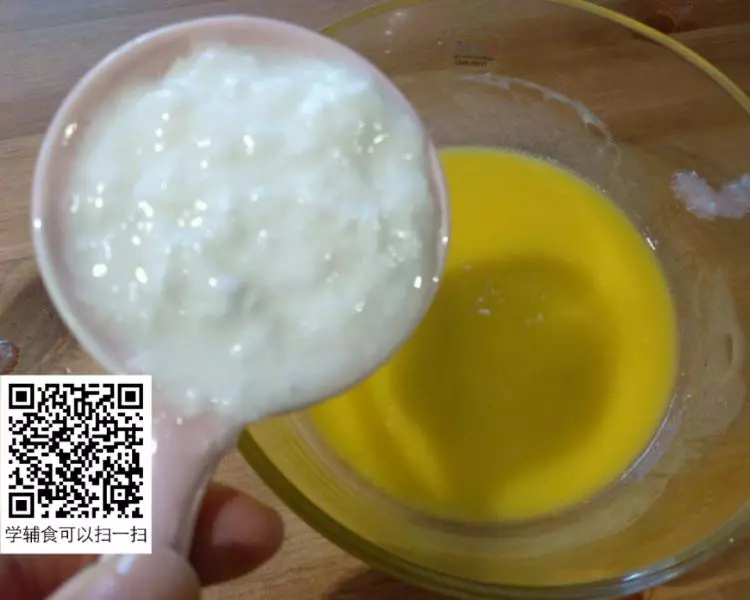
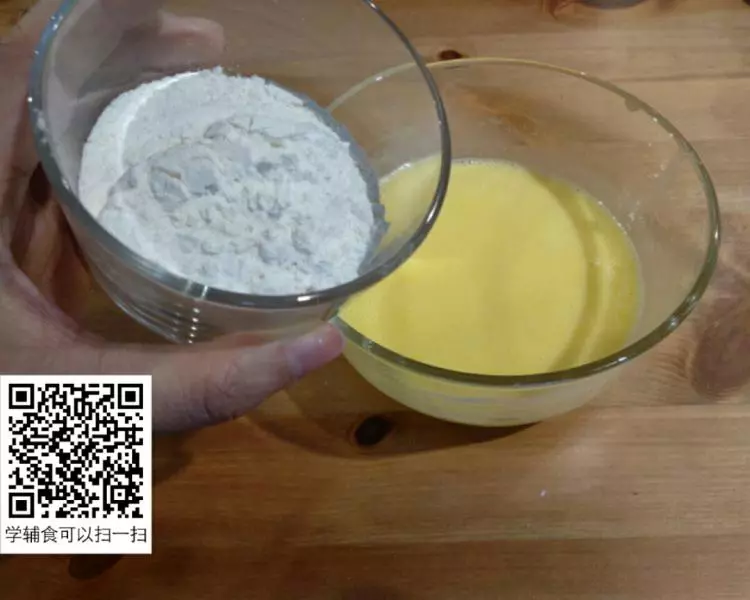
3蛋黃中分別加入核桃油和酸奶攪拌均勻
4分三次把麵粉過篩倒入蛋黃糊中攪拌至無顆粒光滑狀
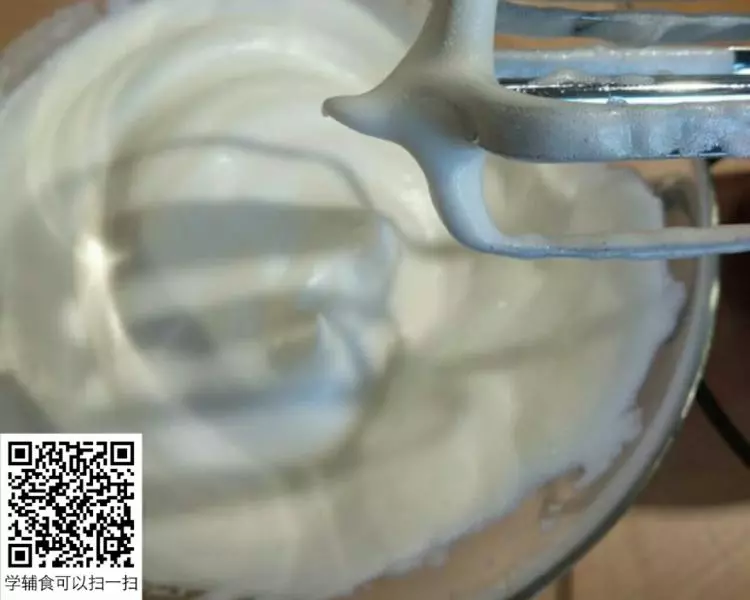
5先高速打發至出現泡沫假如三分之一的砂糖,繼續高速打發至有些膨脹再加入三分之一的砂糖,然後轉中速打發至出現紋路加剩下的砂糖,也可以再加點檸檬汁,最後打至提起打蛋器有小彎鉤狀就可以了
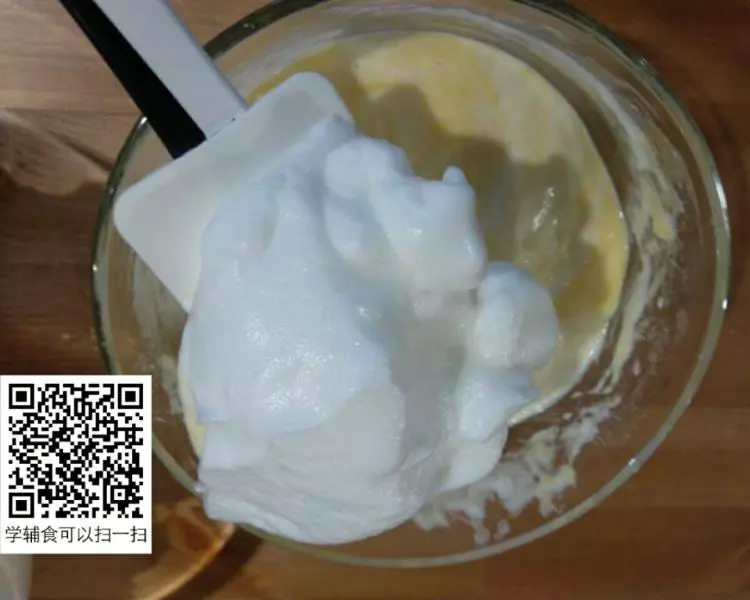
6取三分之一蛋白倒入蛋黃糊中翻拌均勻反覆兩次,最後再把蛋黃糊倒回蛋白中翻拌均勻,
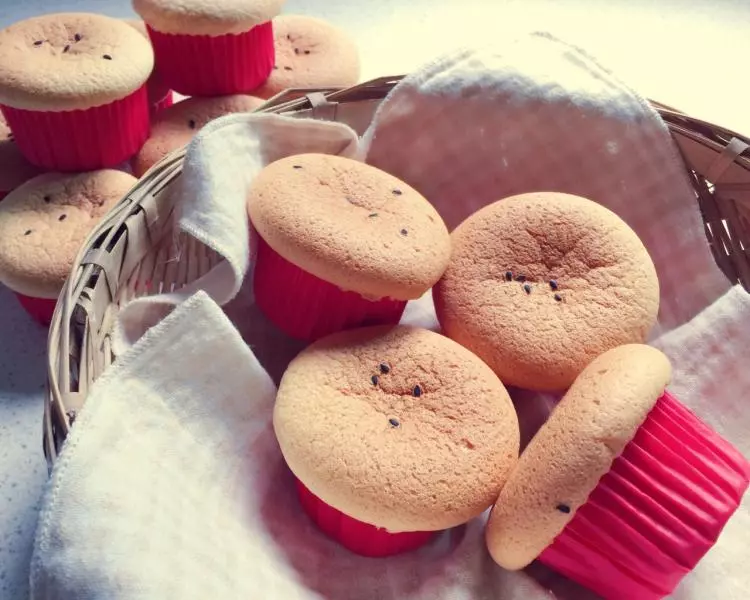
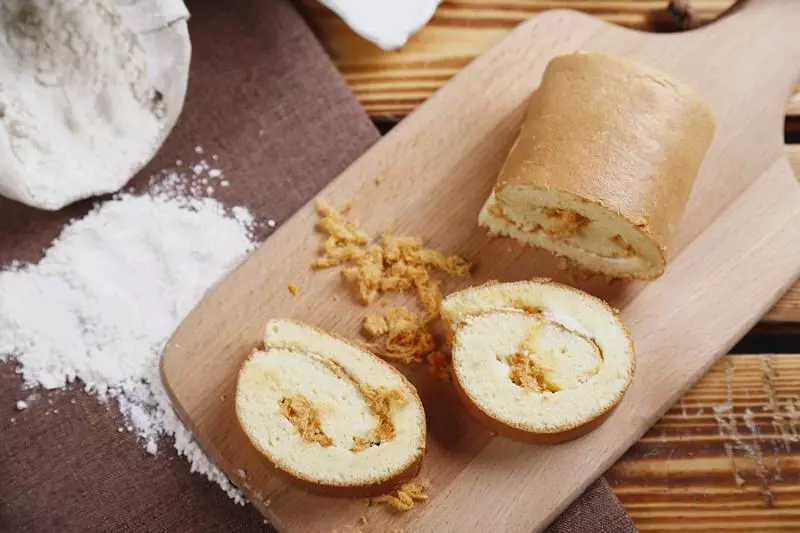
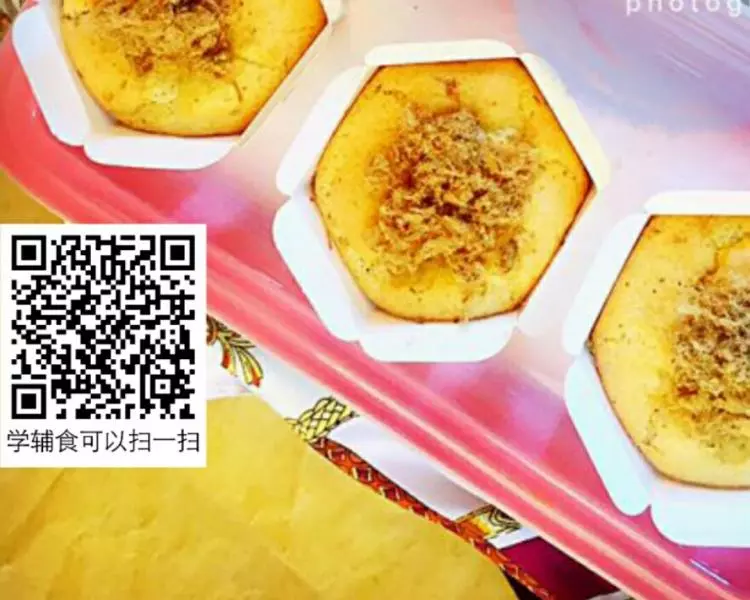
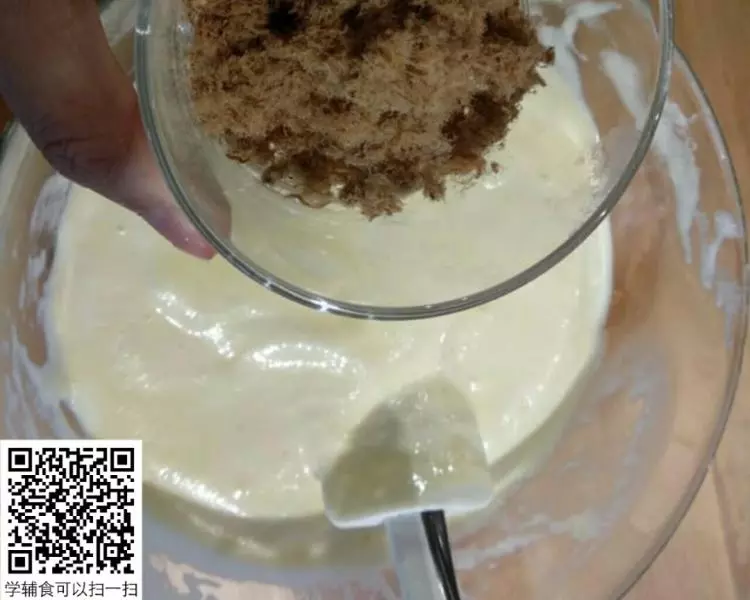
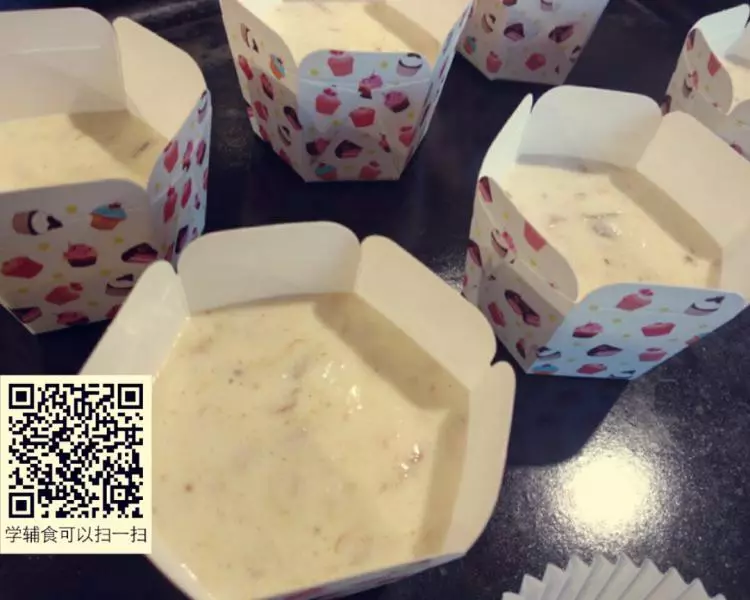
7加入寶寶肉鬆拌勻
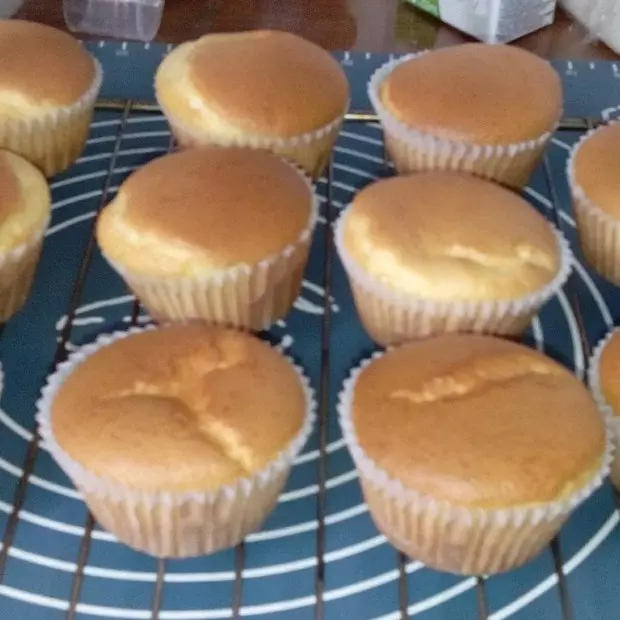
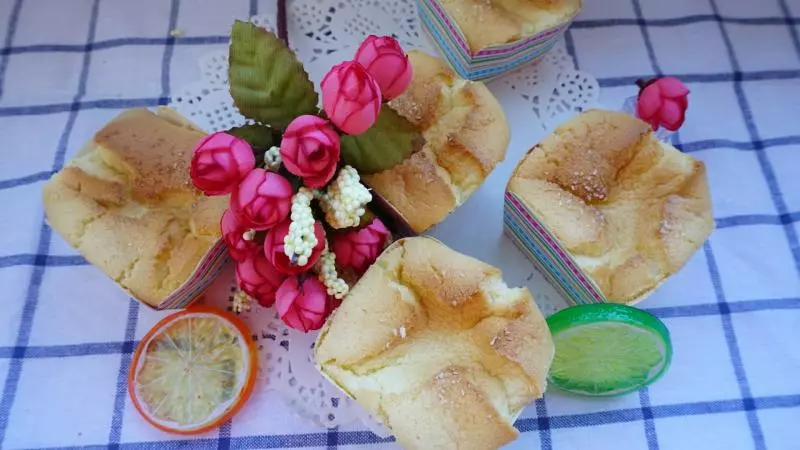
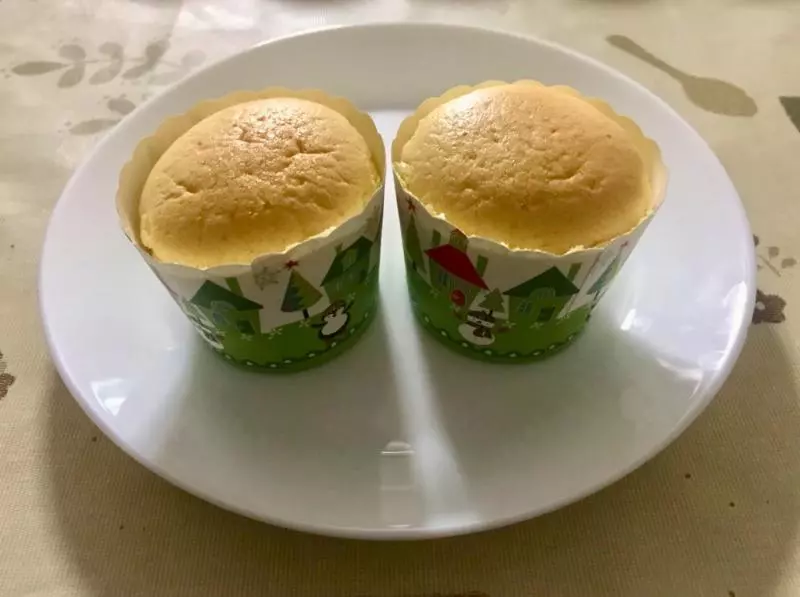
8倒入裱花袋然後擠入紙杯中,大概四分之三的位置就好了,放入烤盤輕輕磕幾下去除氣泡
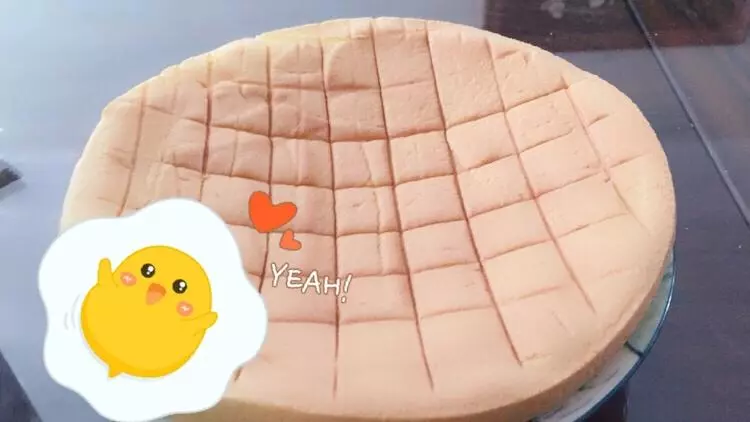
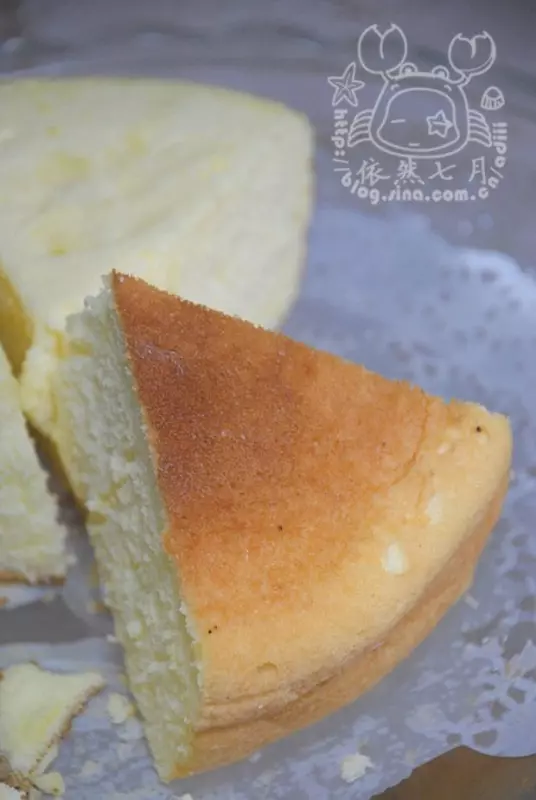
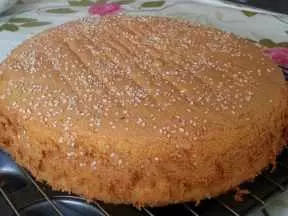
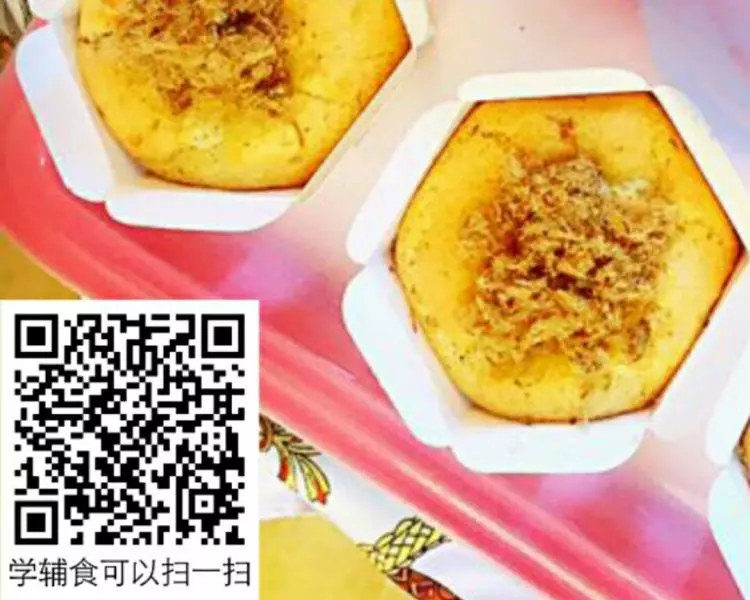
9放入預熱後的烤箱,120℃烤35分鐘後轉150℃烤15分鐘左右,就完成了
小技巧
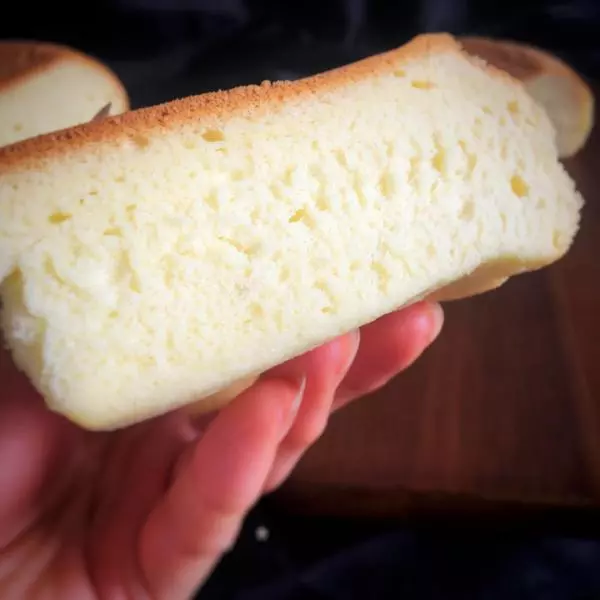
蛋白打發後一定翻拌或者說切拌防止消泡