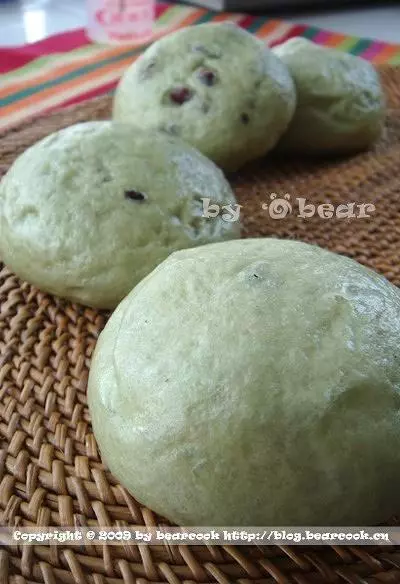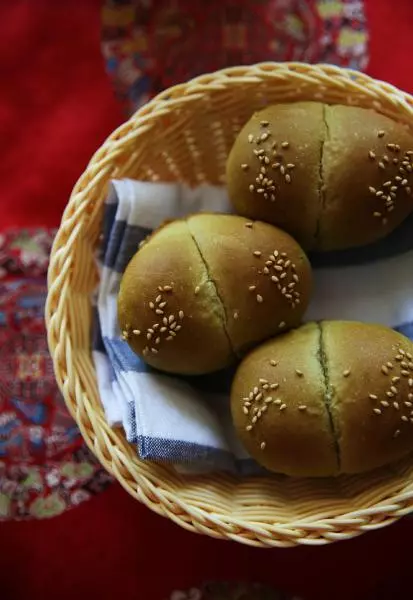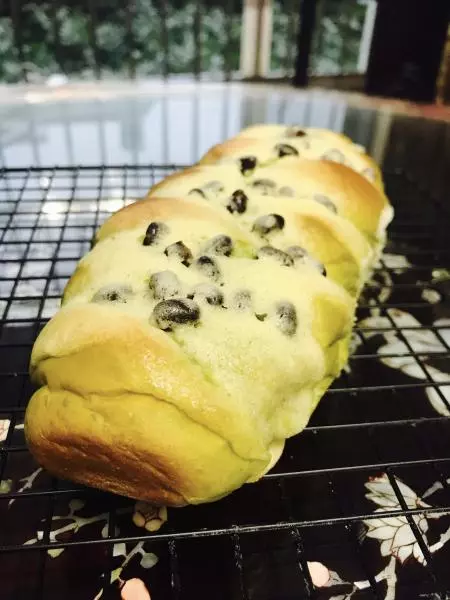
原料
抹茶粉 15克, 高粉 200克, 低粉 45克, 蜜紅豆125克, 白糖 30克, 鹽 2.5克, 酵母 2.5克, 牛奶 120克左右, 雞蛋 50克, 黃油 25克
步驟
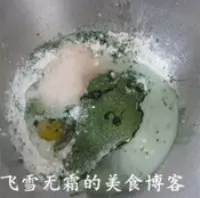
1所有原料除黃油外倒入容器中,奶量最好留下10克慢慢添加
2揉成團並光滑後,放入切成小塊並軟化的黃油
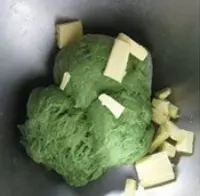
3然後揉出大片薄膜

4將麵糰放入容器中蓋蓋進行發酵

5發酵至二倍大後

6再取出滾圓,蓋上保鮮膜醒10分鐘

7然後將麵糰擀平

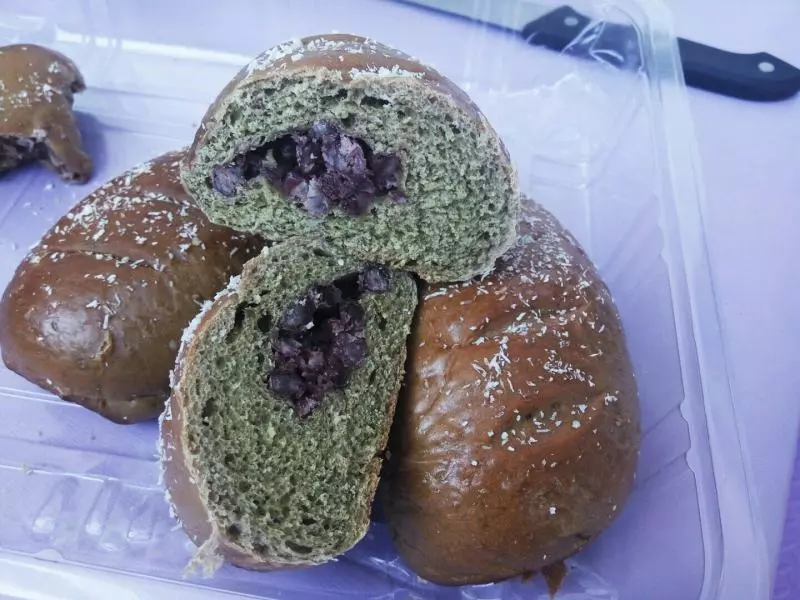
8均勻的鋪上紅豆
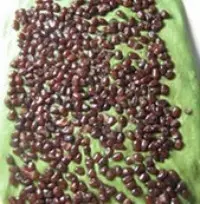
9邊緣的面片擀薄一點,捲起的時候,收口會更容易

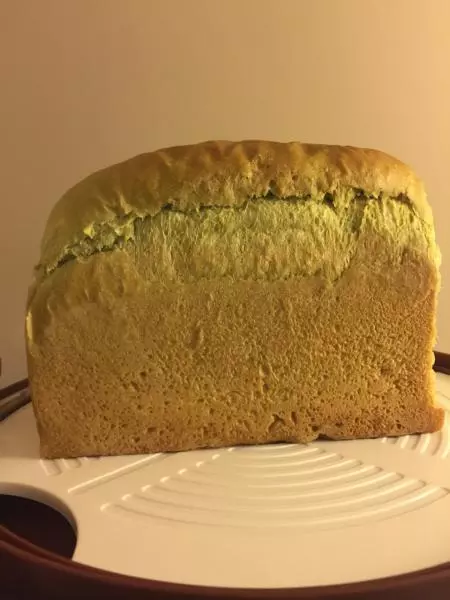
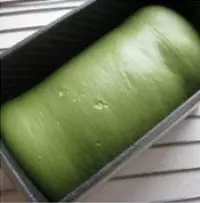
10然後將卷好的麵糰放入土司盒中
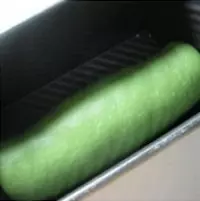
11土司盒中麵糰發酵至八分滿
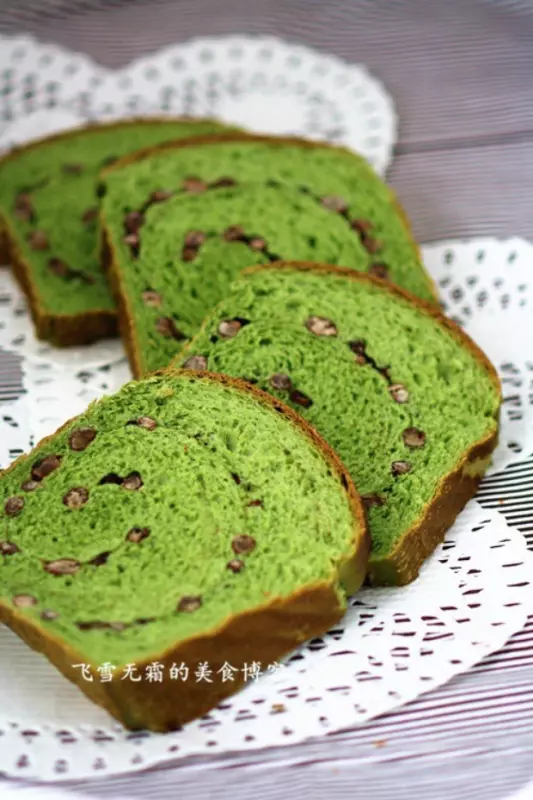
12烤箱180度預熱,下層,烤30分鐘左右即可