簡介
一個基礎黃油餅乾方 一堆壓模 一堆刷模 可可粉 抹茶粉 色粉 幾個烤盤 幾支畫筆 組合成有趣的刷刷餅
原料
餅乾方:參考基礎黃油餅乾
步驟
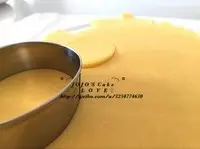
1餅底醒發好後,擀麵杖壓平,推薦使用平衡器,某寶有賣哦。

2壓模壓出需要的形狀
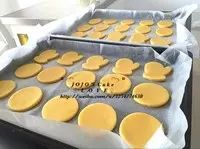
3排列整齊
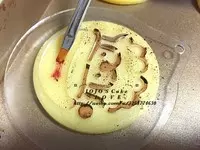
4刷模覆蓋於餅底上,用可可粉/抹茶粉/色粉,刷在需要的部位上。
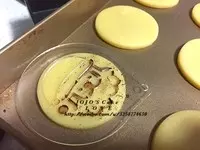
5繼續刷。
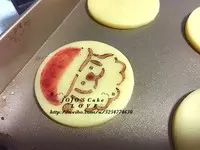
6刷完後,小心取走刷模。
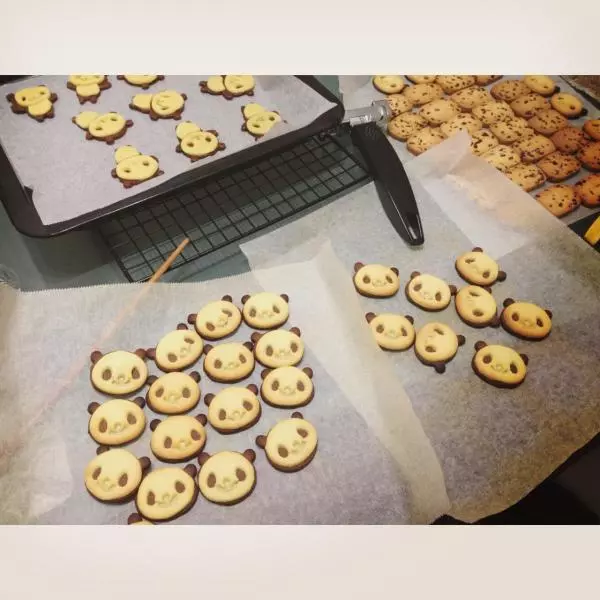
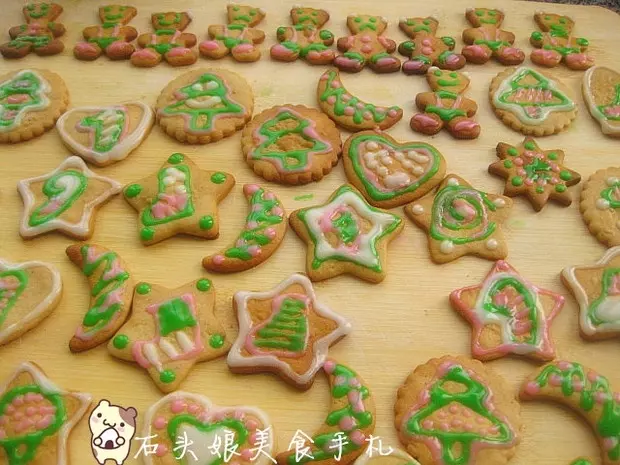
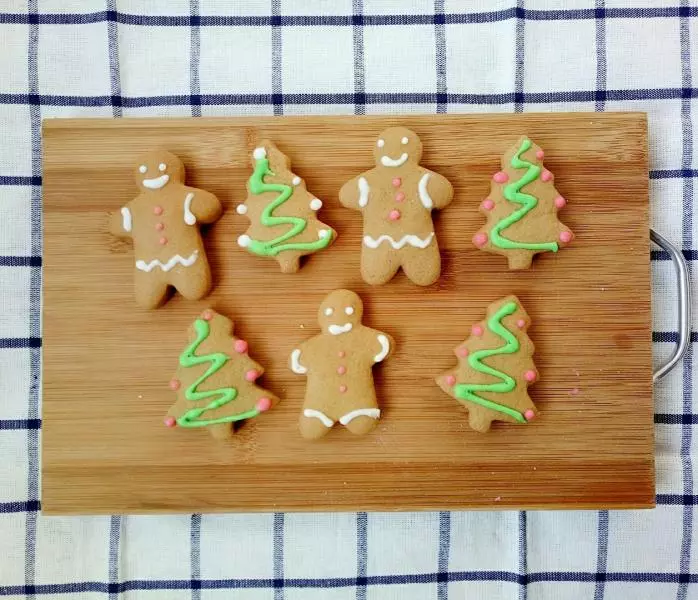
7集體照

8卡士5001 上下180預熱後 進爐烤15-20分鐘,中層。請根據自家烤箱溫度調節時間。

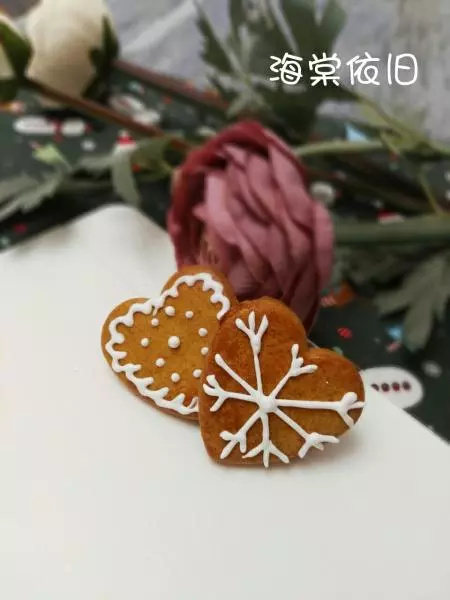
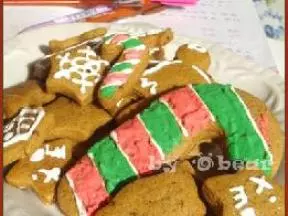
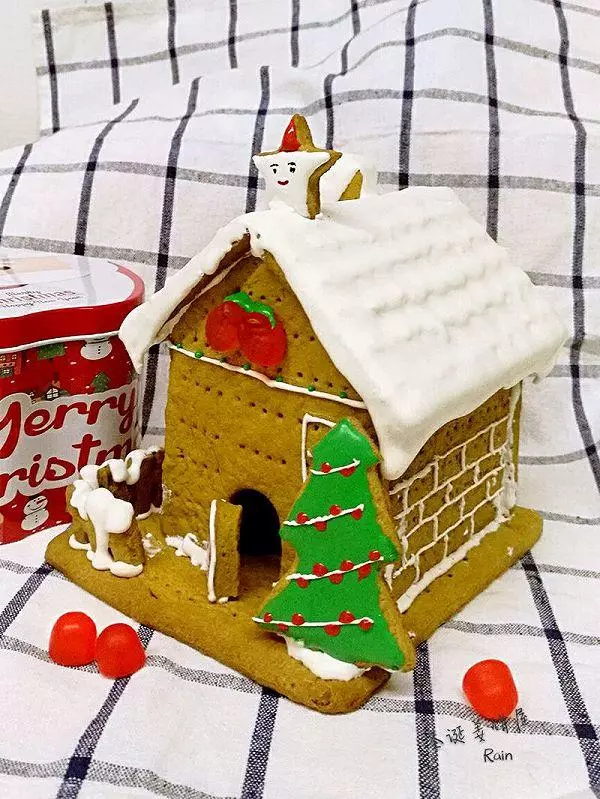
9包裝好,就OK啦。

小技巧
很適合懶人的一款裝飾餅乾,比較好看又健康哦。
每次刷粉,只要淡淡的薄薄的一層哦,不需要太多太厚,否則成品不好看,色粉只要一點點哦。
刷模,某寶里有很多圖案可供選擇。
喜歡的趕緊動手試試吧(^_^)