簡介
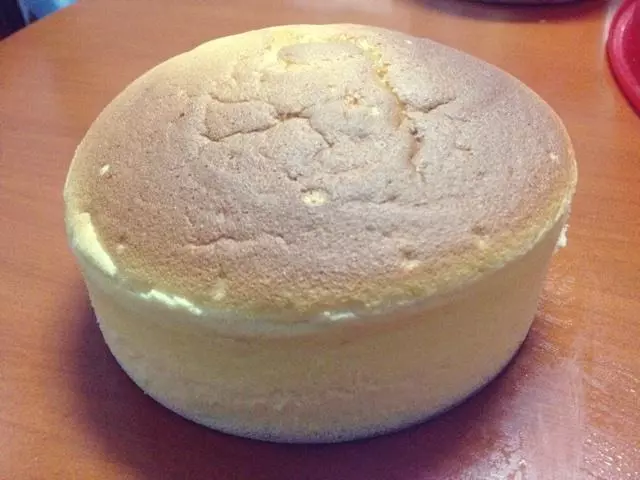
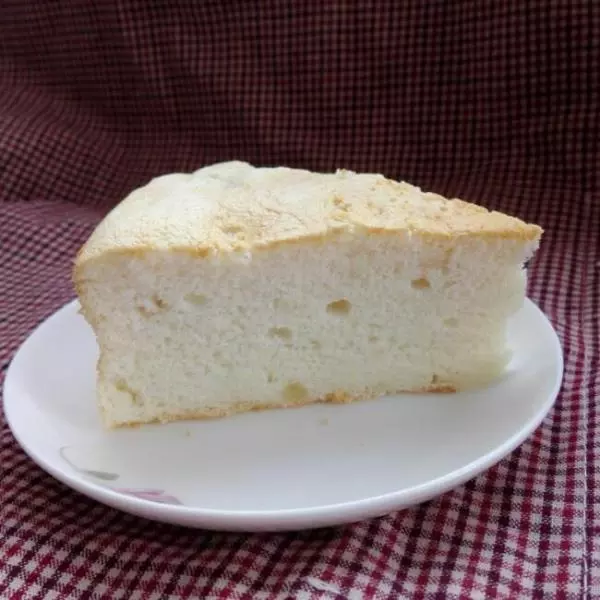
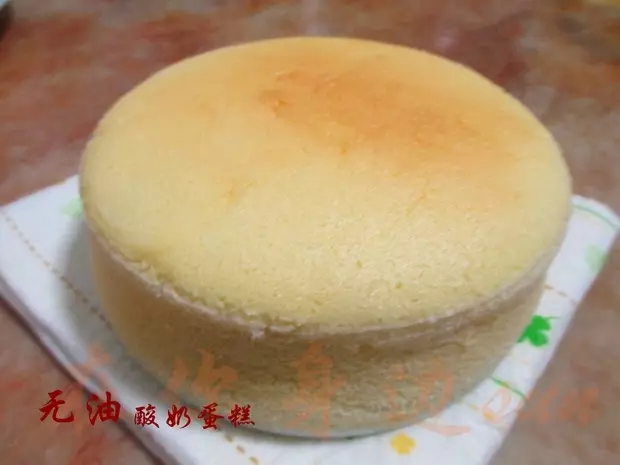
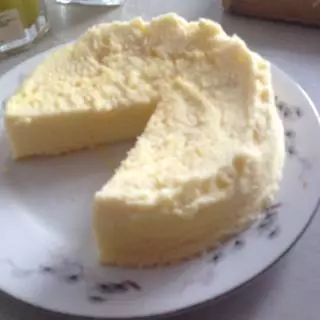
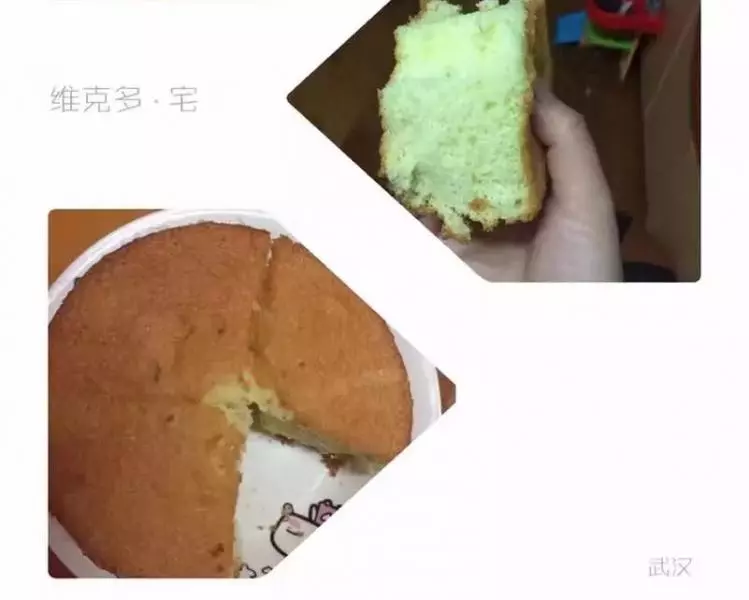
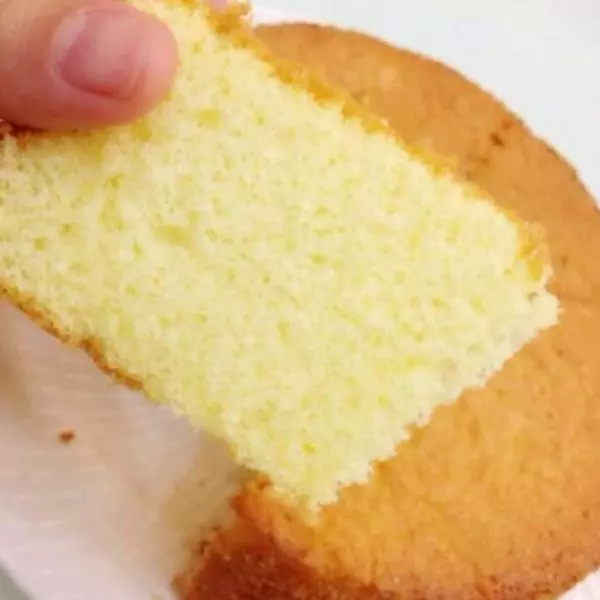
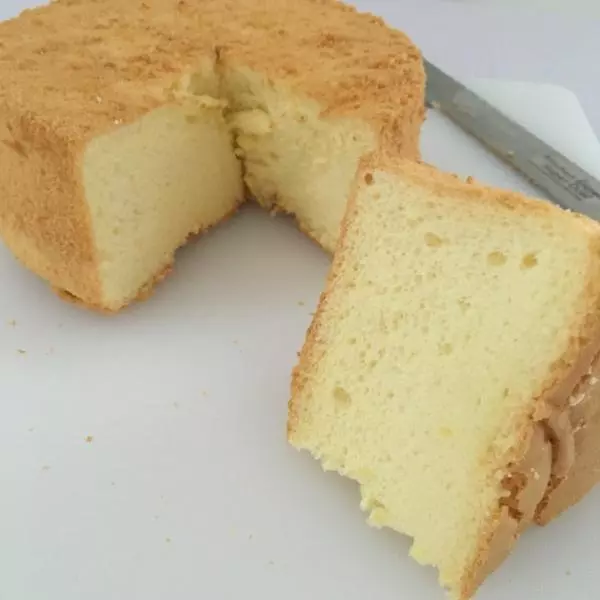
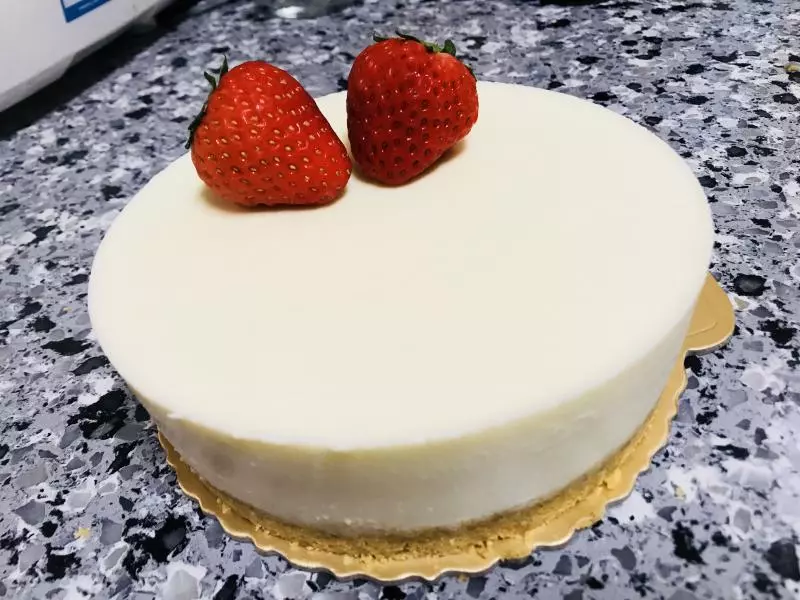
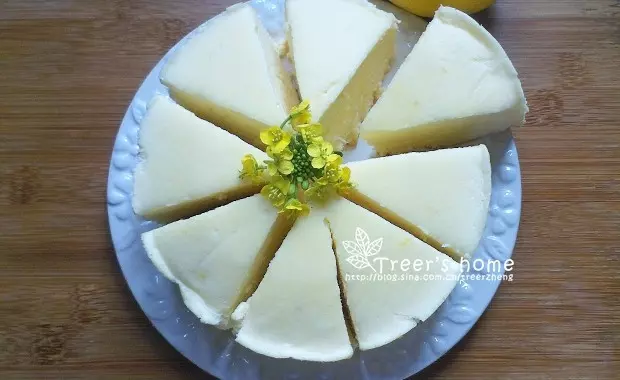
偶爾看到酸奶蛋糕的方子,自己做了一次,發現真的是芝士蛋糕的口感。於是開始懷疑外面賣的十幾塊的芝士蛋糕無非就是酸奶蛋糕來的,可以知道奶油奶酪的價格有多貴,如果只賣十幾塊,不就虧本了?
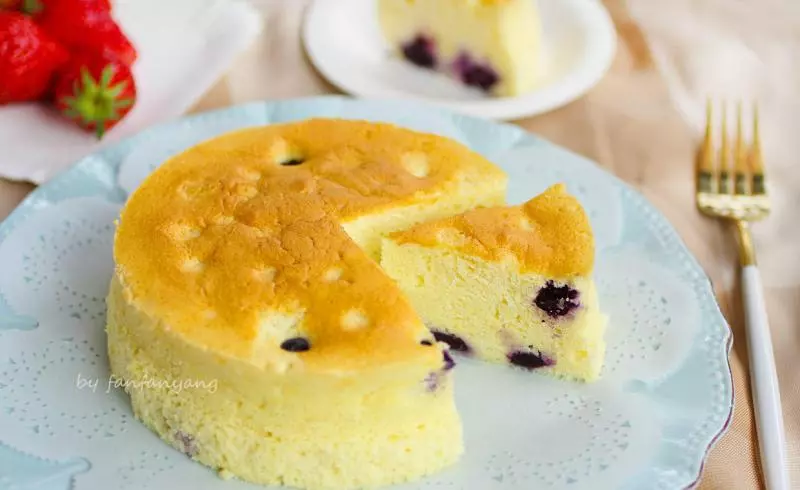
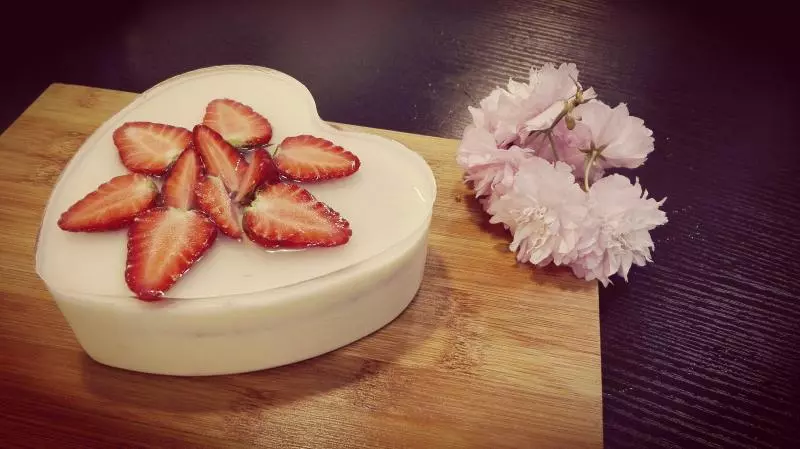
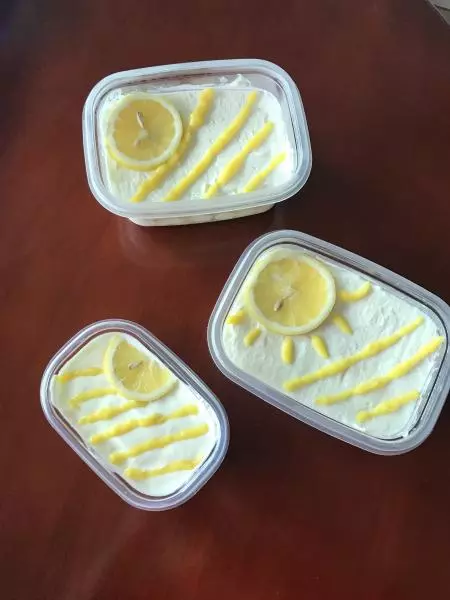
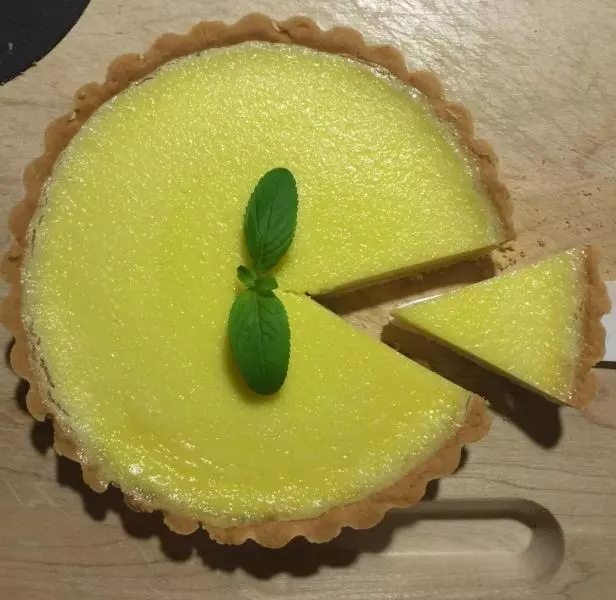
一般的酸奶蛋糕只有酸奶,我這次加入了檸檬屑,出爐就聞到了檸檬清香,很小清新哦~
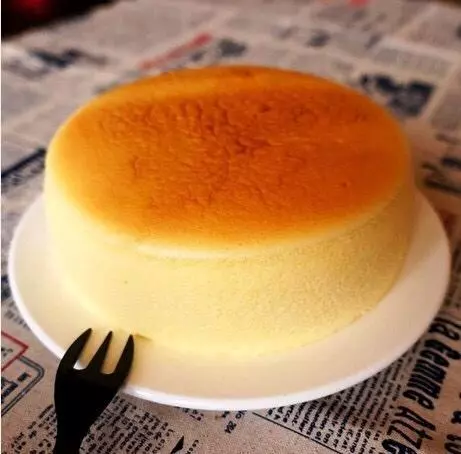
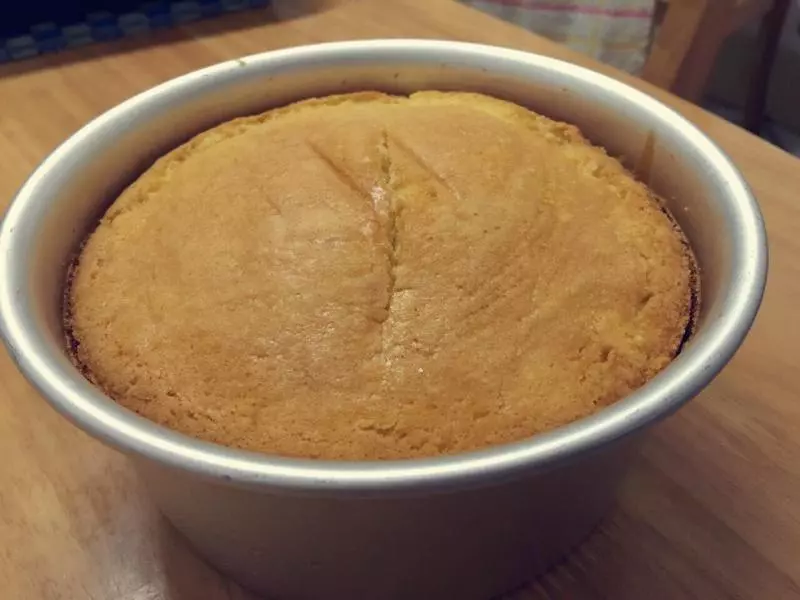
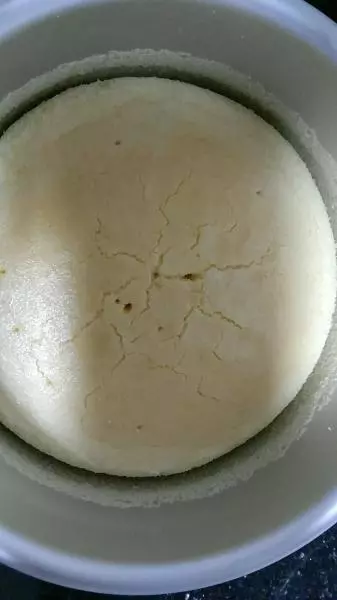
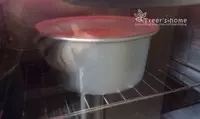
方子分量:一個6寸的分量(做好的蛋糕的高度超過模具的三分之二左右) 烤箱溫度與時間:150℃ 40分鐘 水浴法:活底模具採用最底層烤盤放水,中間烤架放蛋糕的方式。 TIPS: 蛋糕不回縮不塌陷的技巧:烤完不要馬上拿出烤箱,讓它冷卻到室溫再取出。 脫模技巧:放冰箱,自然脫模。
原料
雞蛋 3個, 低筋麵粉 20克, 玉米澱粉 20克, 酸奶(濃稠型) 120克, 白砂糖 30克, 檸檬汁或白醋 4滴, 檸檬屑 1個檸檬的皮
步驟
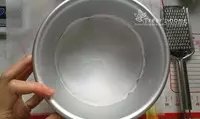
1準備一個6寸圓形模具,將油紙剪成比模具底部稍微大1cm左右的圓形,墊在底部。 (這樣做是為了後面好脫模,側面不需要墊油紙了,因為做好的蛋糕冷卻後會回縮一點。)
2將麵粉和玉米澱粉過篩2次備用。

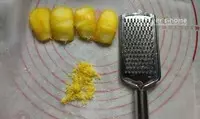
3檸檬帶皮用熱水泡3分鐘,用細孔的刨屑器刨出1個檸檬的皮,注意不要將白色部分也刨出來,會苦,只要黃色部分就可以了。
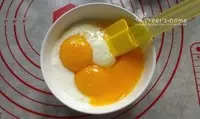
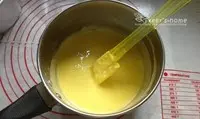
4酸奶里加入檸檬屑。

5再加入蛋黃。
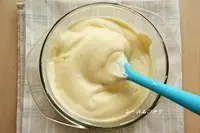
6再將粉類加入,混合成均勻無乾麵的狀態,因為有檸檬屑在麵糊中,所以麵糊不是很滑很正常。
7蛋白加入檸檬汁或白醋,用電動打蛋器打發,期間分三次加入白砂糖,直到提起打蛋器出現彎彎的尖鉤。

8將蛋白取出三分一與之前的蛋黃糊混合均勻。
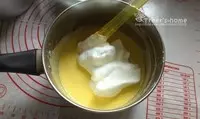
9將8中的混合物倒進剩下的蛋白中,以翻拌和切拌的手法混合均勻,直到看不到白色的蛋白。千萬不要畫圈圈攪拌哦!蛋白會消泡的。

10將混合好的9倒進模具中,雙手將模具放在距離桌面10厘米處將模具摔到桌面上,消除氣泡,再用牙籤在麵糊的上下左右劃幾下,消除大氣泡。

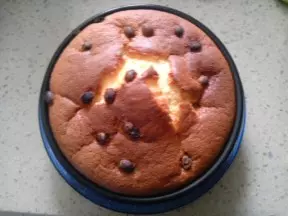
11將模具放入烤箱中150℃烘烤,大約40分鐘。
12看到蛋糕表面開始上色可以放置一張錫紙防止上色過度。

小技巧
小貼士都在菜譜的開頭,請注意看哦~