原料
豬肉(肥瘦大約3:7), 雞蛋, 蔥花, 薑末, 蒜末, 料酒, 香油, 生抽, 鹽, 黑胡椒, 糖, 普通麵粉 300G,水油皮, 豬油 90G,水油皮, 普通麵粉 300G,油酥, 豬油 150G,油酥, 糖 50G,水油皮, 水 120G,水油皮
步驟
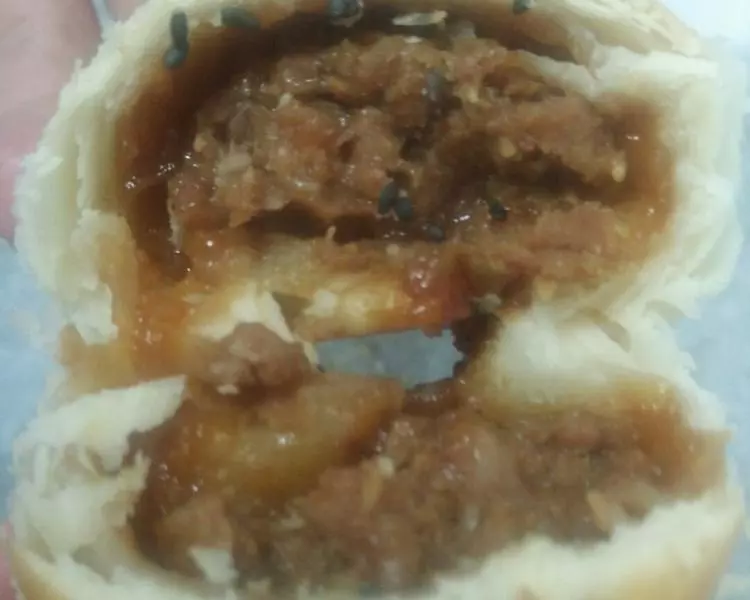
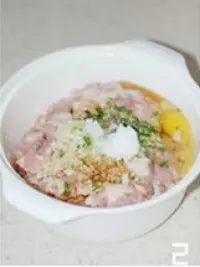
1肉餡材料:豬肉(肥瘦大約3:7),雞蛋,蔥花,薑末,蒜末,料酒香油,生抽,鹽,黑胡椒,糖。(每100G豬肉放2G鹽,400G或500G豬肉放1個雞蛋,其他調料根據口味少量添加)
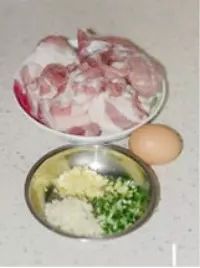
2豬肉洗凈瀝干,剁成末加所有調料
3往一個方向攪拌上勁。(肉末不要剁的太細,這樣肉餡的口感才會更鮮嫩。肉餡也不要拌的太濕,太濕不容易包。拌好可以放冰箱冷藏一會,更容易包)

4水油皮材料:普通麵粉300G,豬油90G,糖50G,水120G油酥材料:普通麵粉300G,豬油150G(一共做了23個)

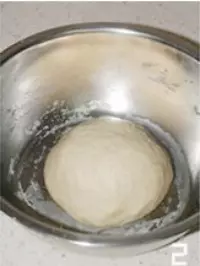
5水油皮料拌勻揉成光滑的麵糰
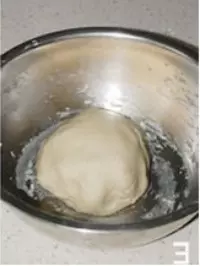
6油酥材料拌勻揉成光滑的麵糰。(我做的多,後面的分劑子,滾圓,包油酥都需要一定的時間,這個過程可以充分醒面,所以沒有特地醒面,如果包的少,或者天氣冷,可以適當的醒面。醒面是為了增加麵糰的筋性,容易擀,也容易包)
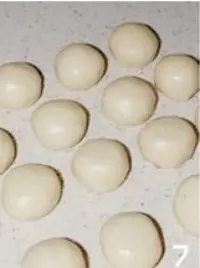
7水油皮和油酥分別分成24G和19G的劑子,並滾圓。(這個比例包出來的月餅皮很酥,也可以適當調整,理論上油酥越多,餅皮越酥,但油酥多了容易漏酥)

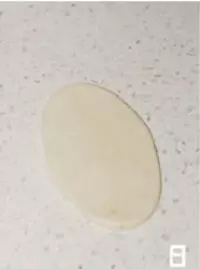
8水油皮按扁,包上油酥

9並用虎口慢慢收口
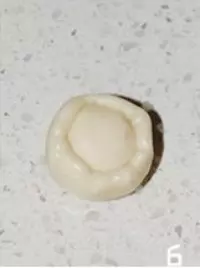
10包好的餅皮。(整個操作過程中,麵糰都要用保鮮膜蓋著,防止麵糰表面風乾,影響後面的操作)
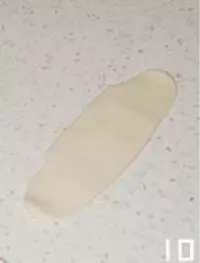
11餅皮擀成牛舌狀
12並捲起

13再次把餅皮擀成長條狀
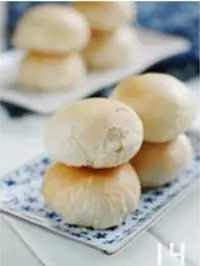
14並捲起.(不要擀的太薄,以防漏酥)

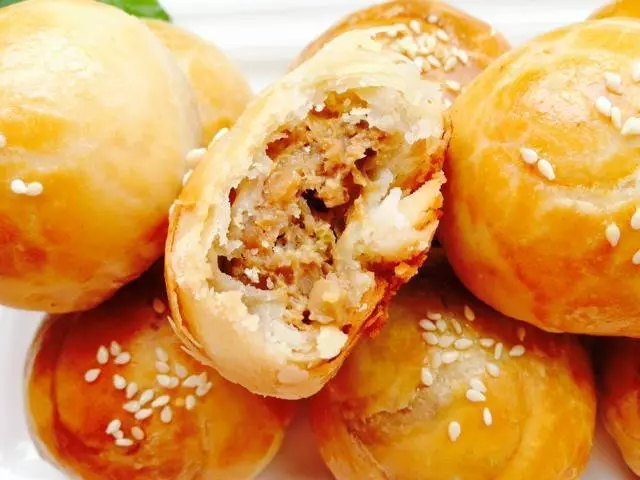
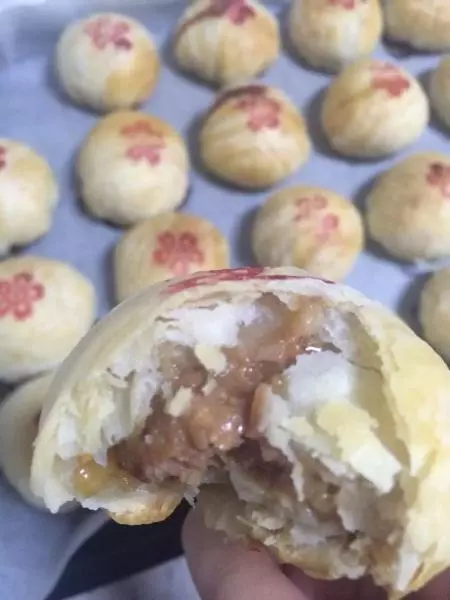
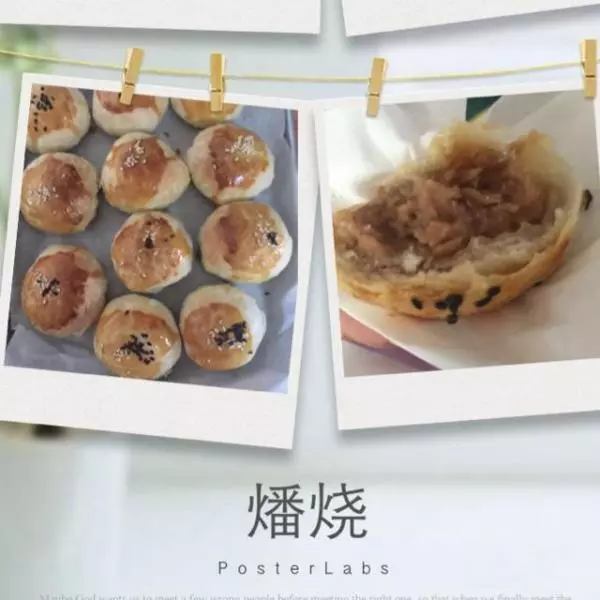
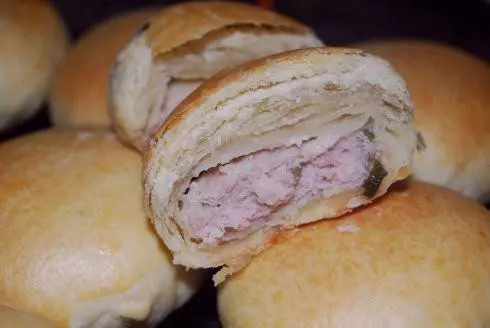
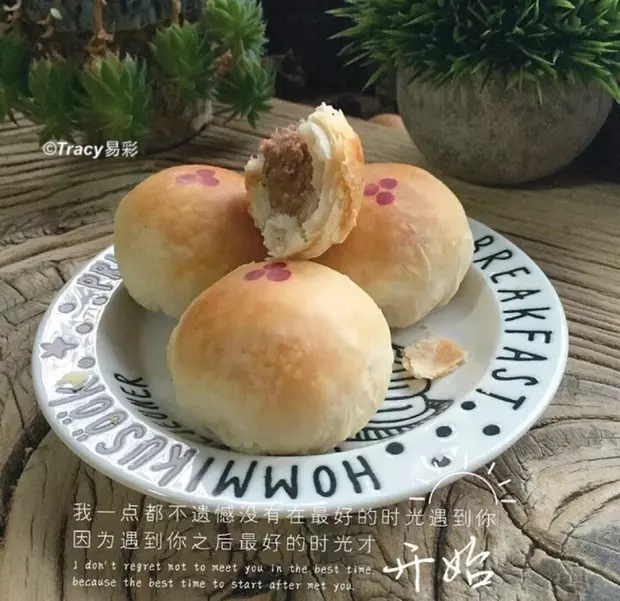
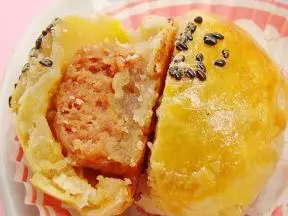
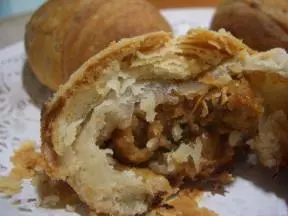
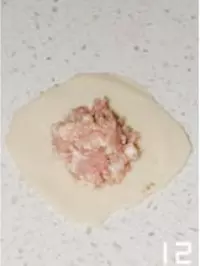
15餅皮收口朝上擀開,包上肉餡收口
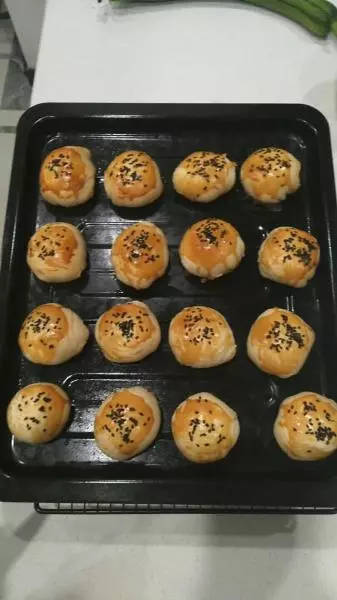
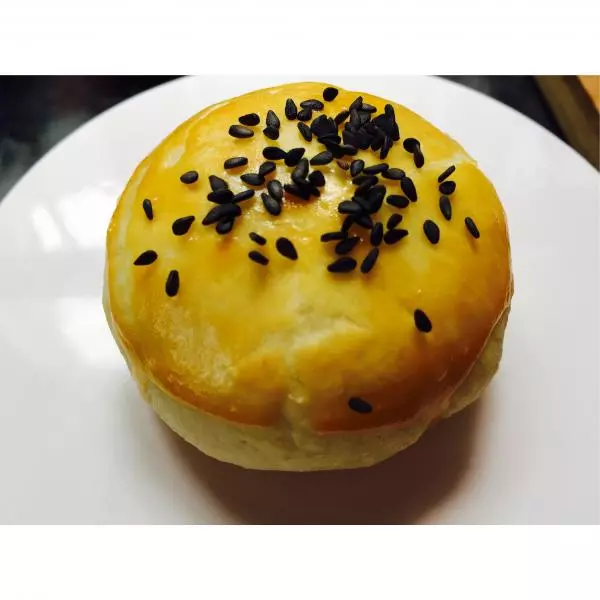
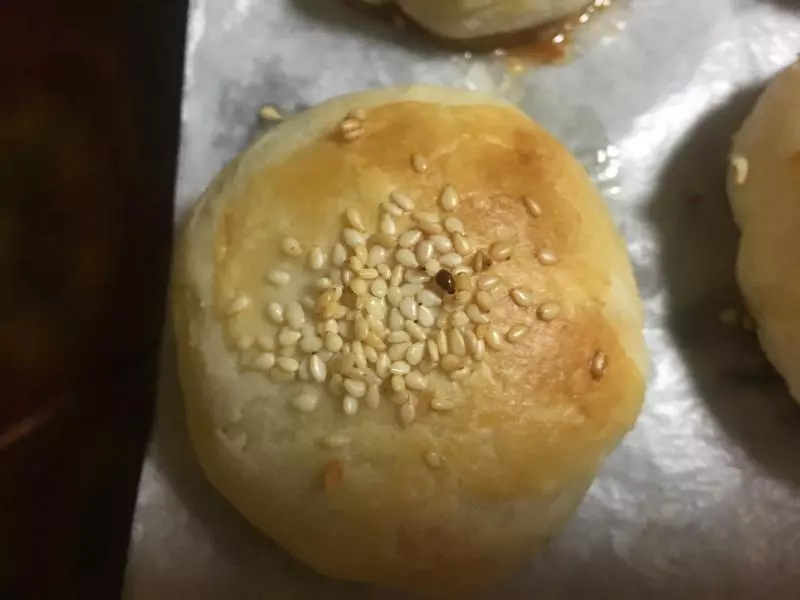
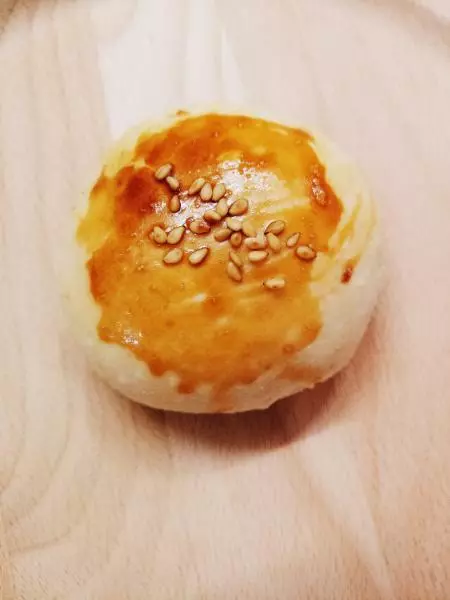
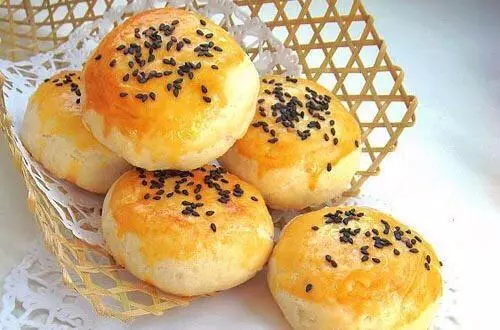
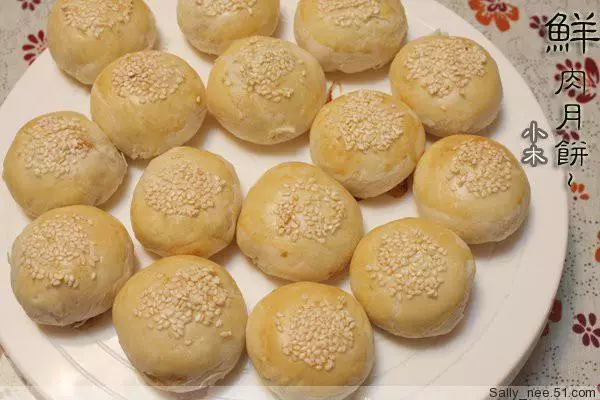
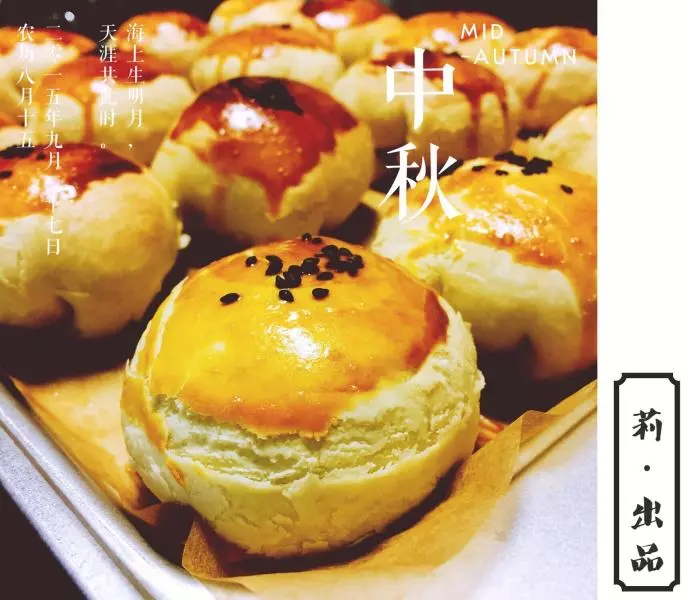
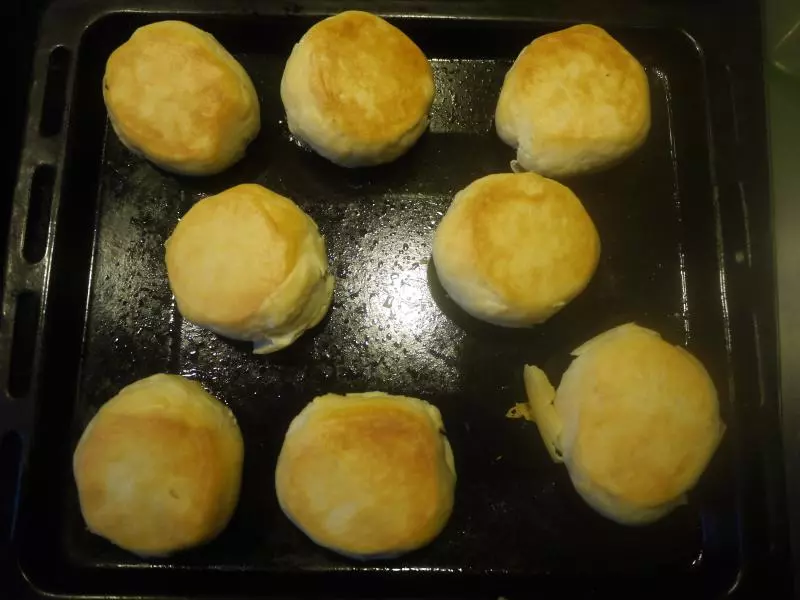
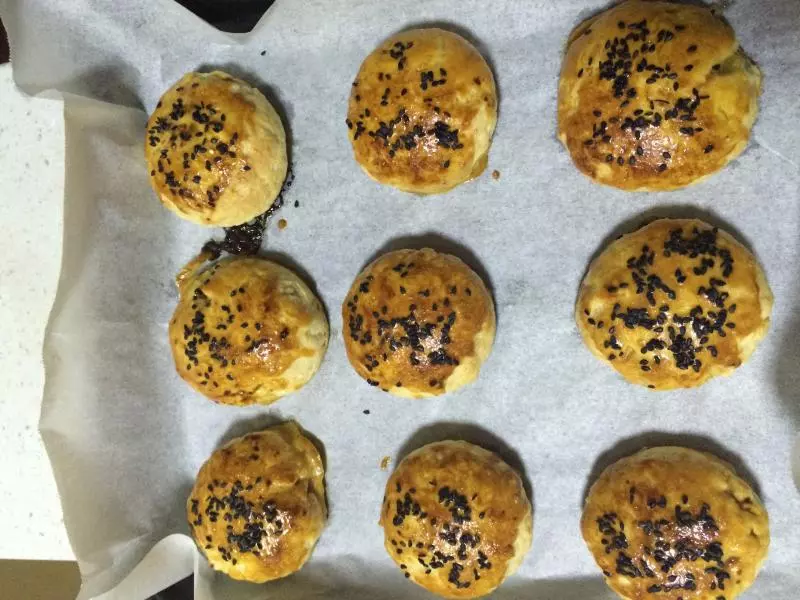
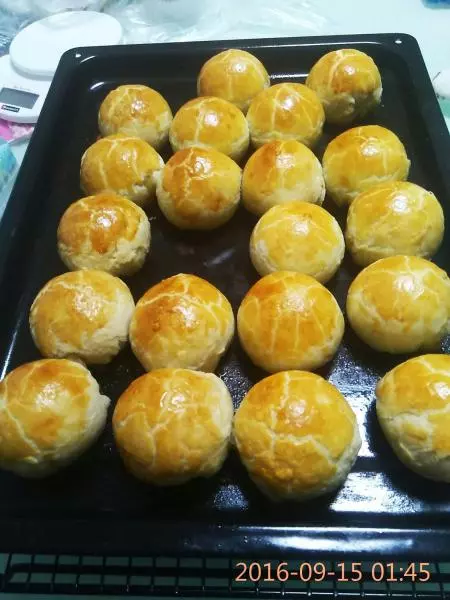
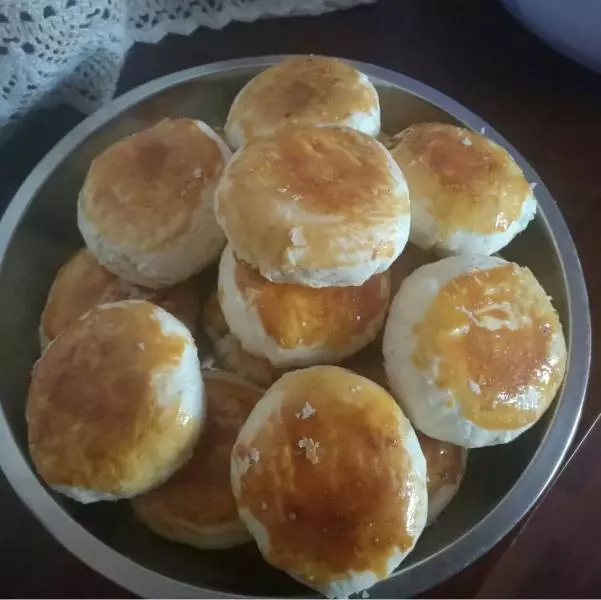
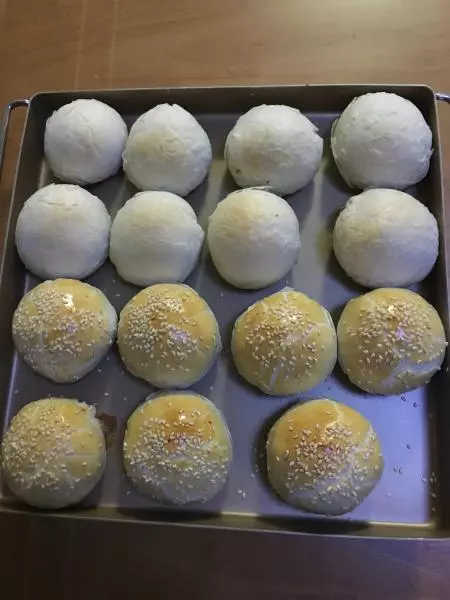
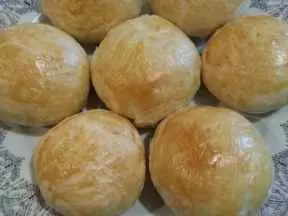
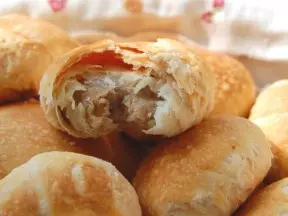
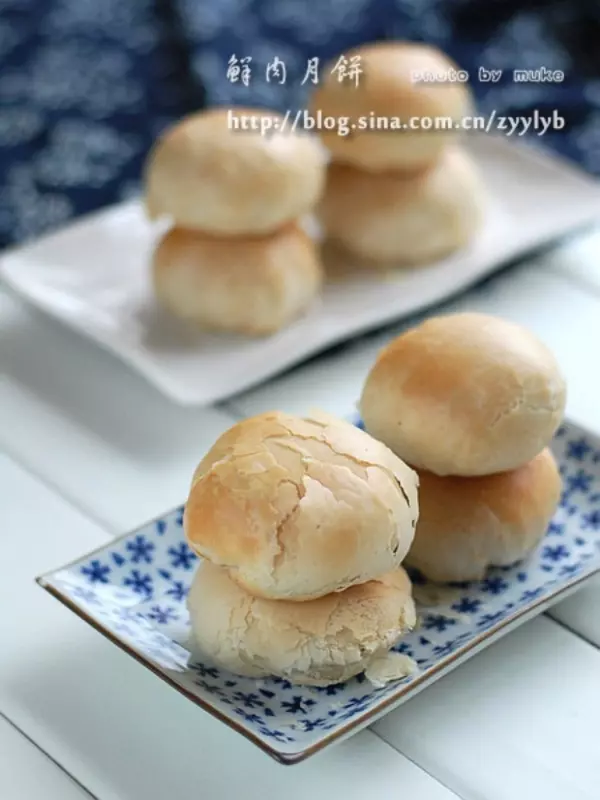
16包好的月餅收口朝下,排入烤盤
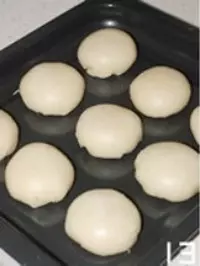
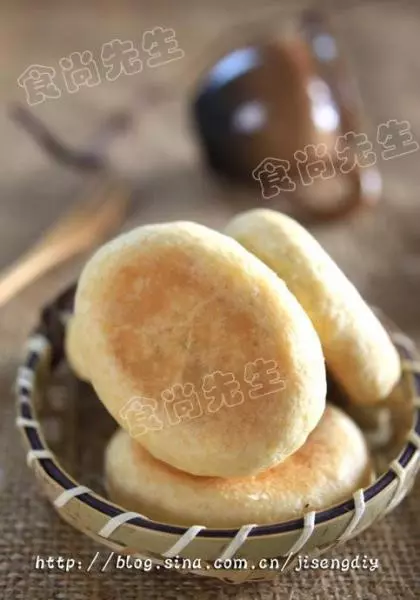
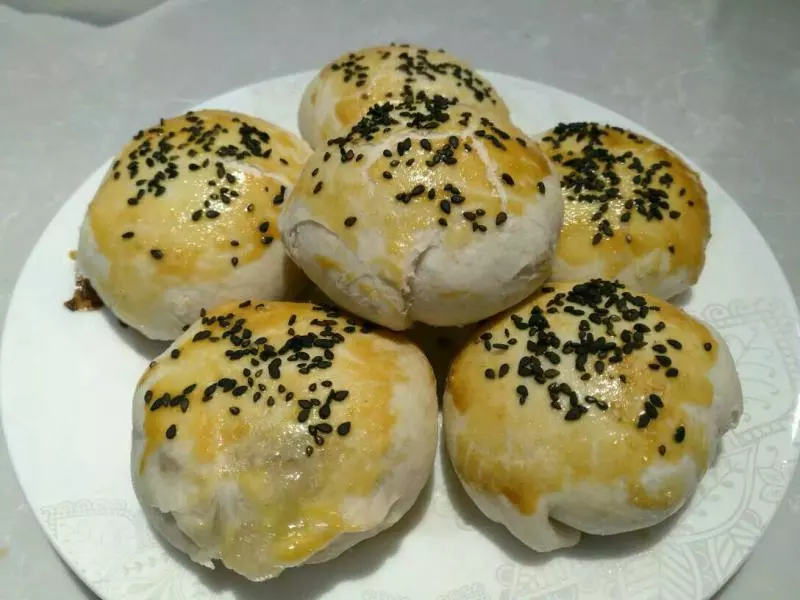
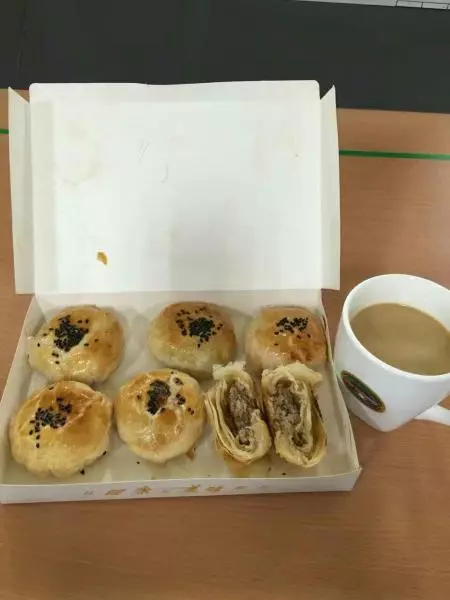
17烤箱預熱,200度烤半小時左右,表面金面即可