原料
黃油: 30克, 奧利奧: 100克, 奶油奶酪450: 克, 細砂糖: 125克, 雞蛋: 四個, 奶油1: 125克, 奶油2(放冰箱備用): 150克, 檸檬汁: 幾滴, 草莓: 8顆, 防潮糖粉: 一點點
步驟
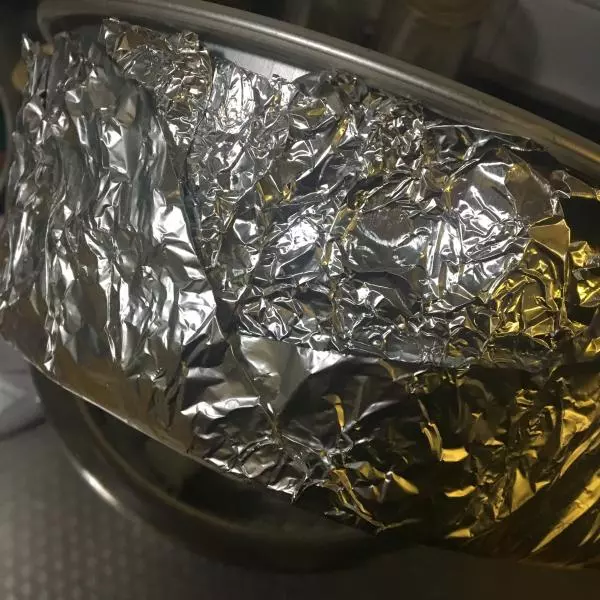
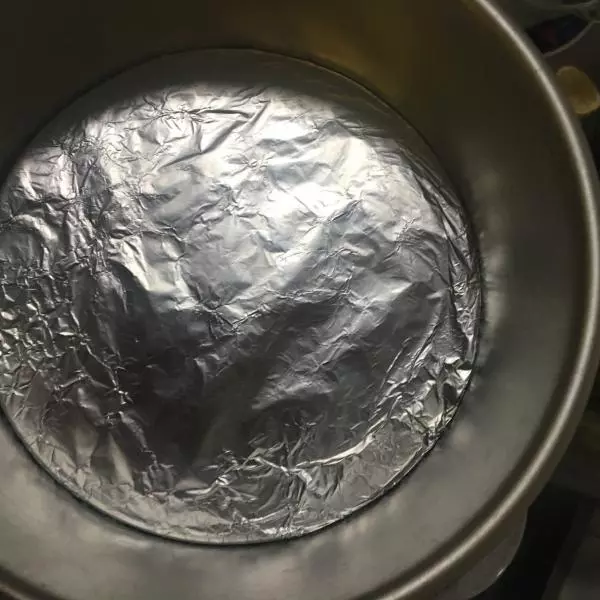
1如果你跟我一樣用的是活底模,就用錫紙把模具包起來。
2把奧利奧用料理機打碎,黃油隔水融化跟奧利奧拌在一起,倒進模具用勺子壓平。放冰箱備用。(我這部忘記拍了)
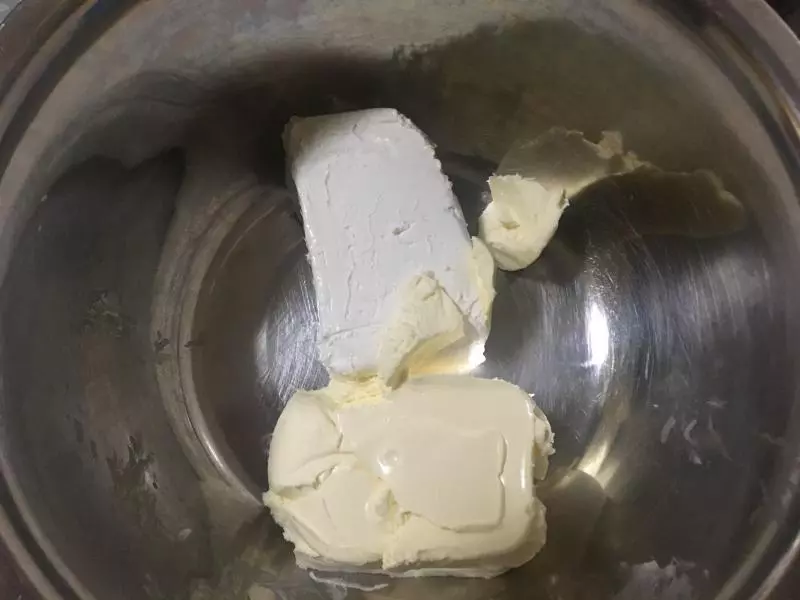
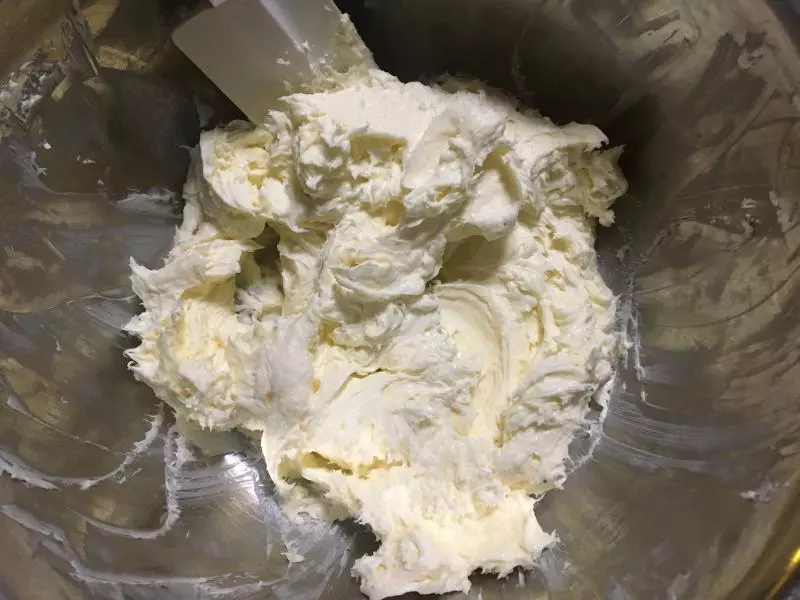
3奶油奶酪提前一個小時拿出來室溫軟化。我這裡顏色不一樣是用了兩個牌子的奶油奶酪。
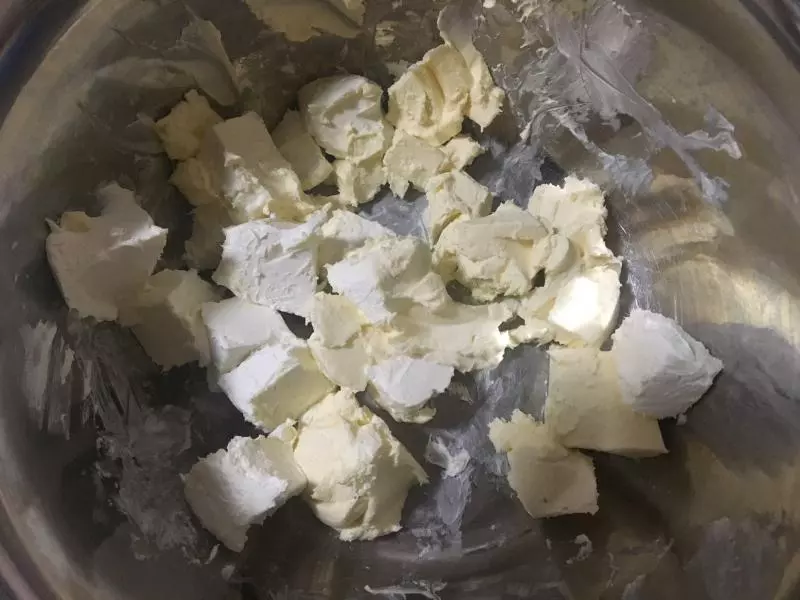
4軟化過用刮刀切小塊。
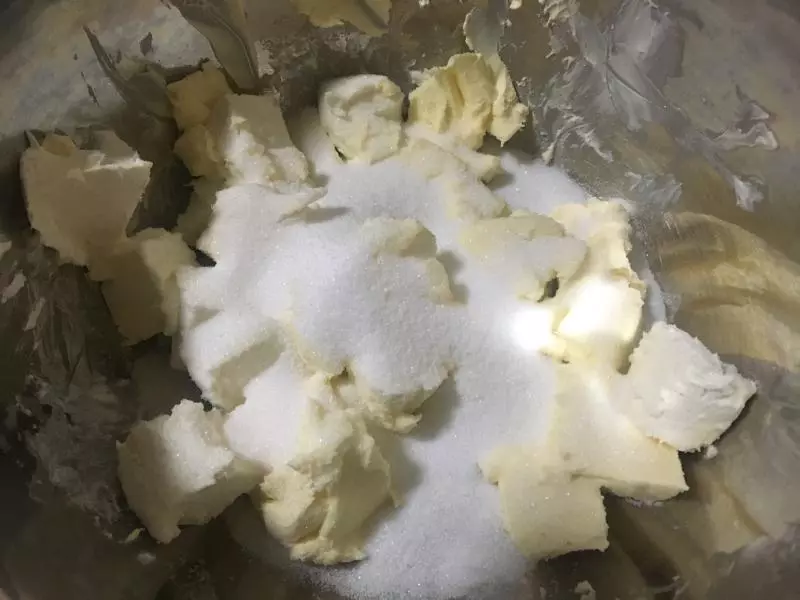
5加入糖粉。
6用電動打蛋器攪拌均勻。
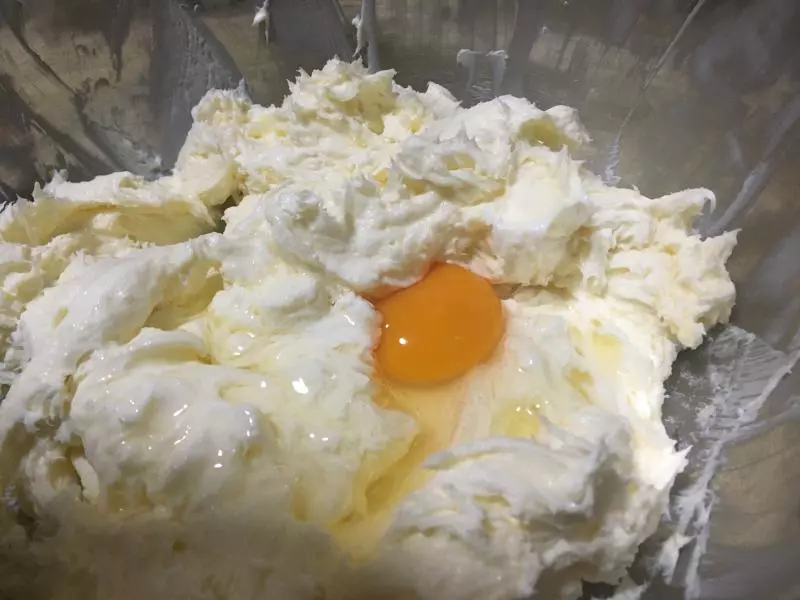
7加入雞蛋,每加一顆雞蛋攪拌均勻,再加下一顆。
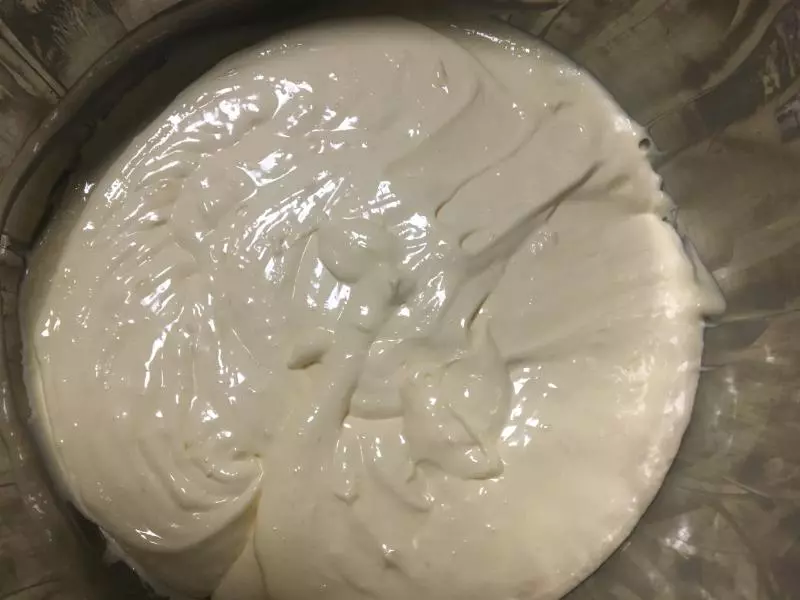
8然後加入奶油1和檸檬汁。攪拌成如圖順滑無顆粒的芝士糊。把模具從冰箱拿出來,把芝士糊倒進去,在台子上震幾下把氣泡震出來。烤箱中層160度預熱十分鐘,放進去轉150度烤90分鐘。溫度每個烤箱都不太一樣,最好快結束的時候盯著看一下。
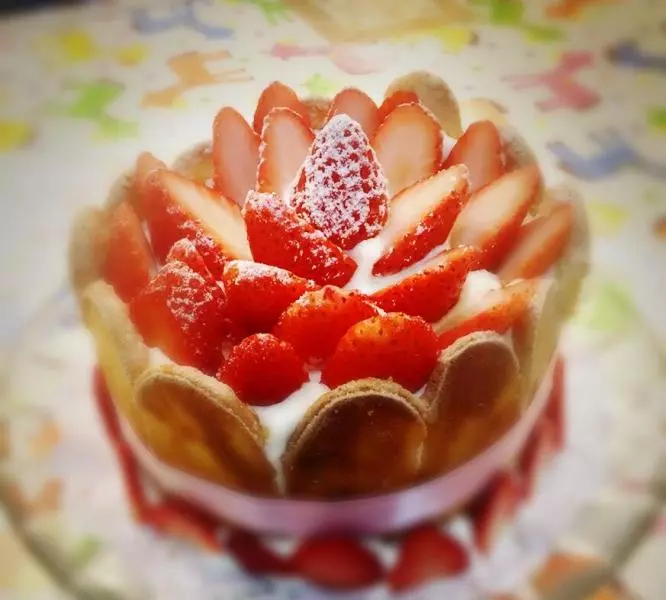
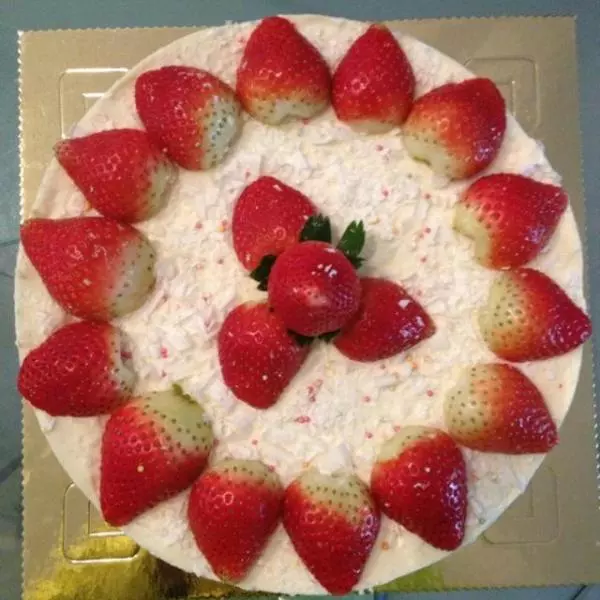
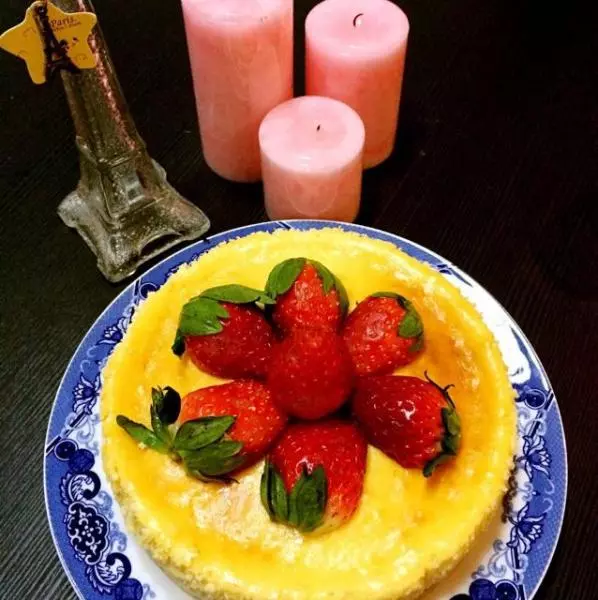
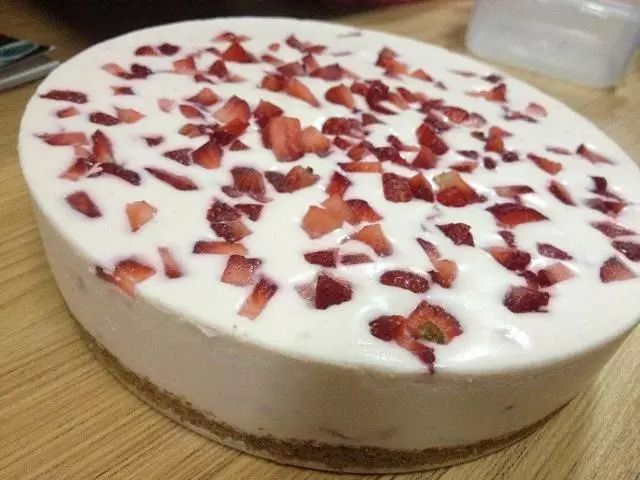
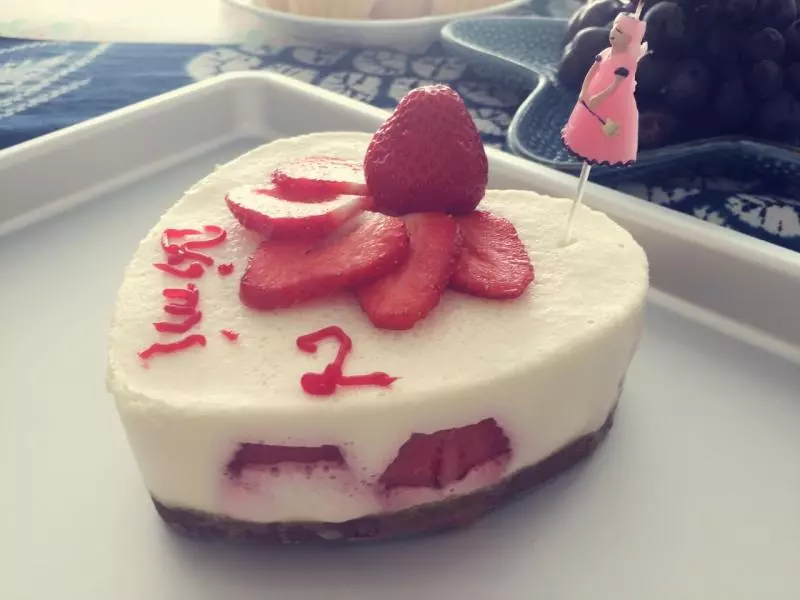
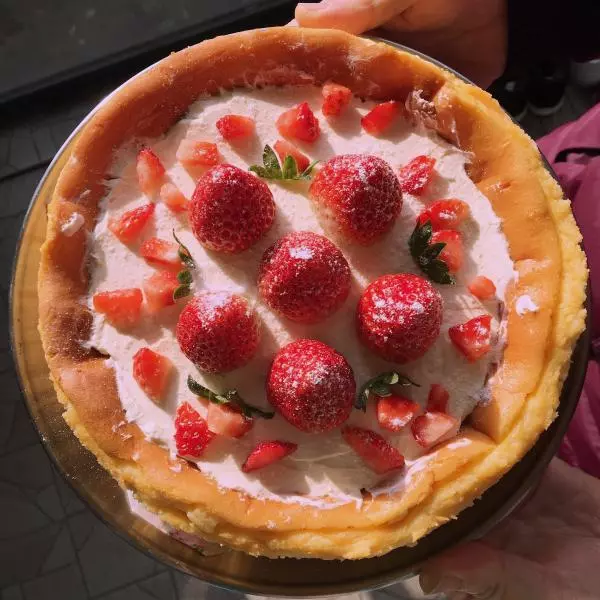
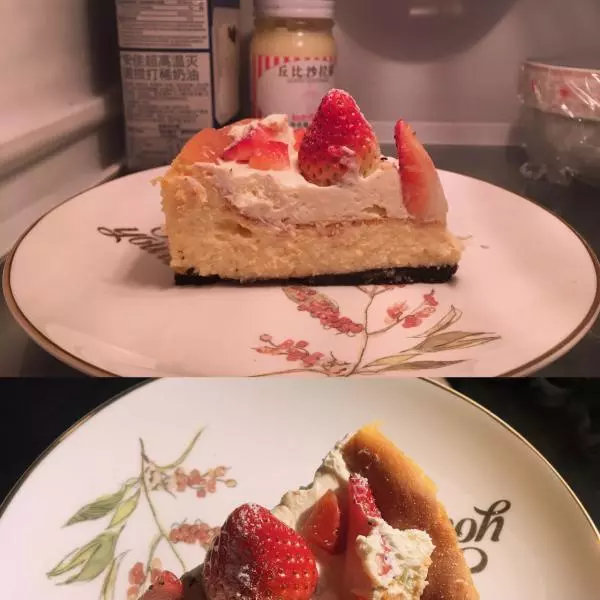
9考好拿出來散熱,中間會凹下去但不會開裂,是很好看的弧度。然後放冰箱一整夜,早上起來脫模。把奶油2加12克糖打發。放草莓裝飾。撒點防潮糖粉是為了好看,沒有可不撒。

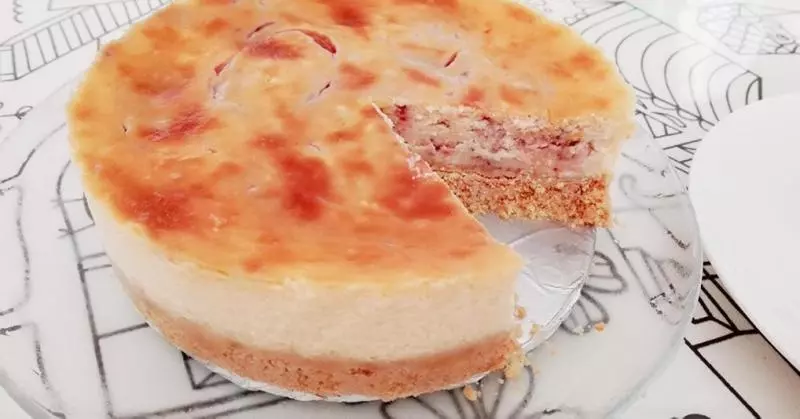
10切開!側面非常好看。

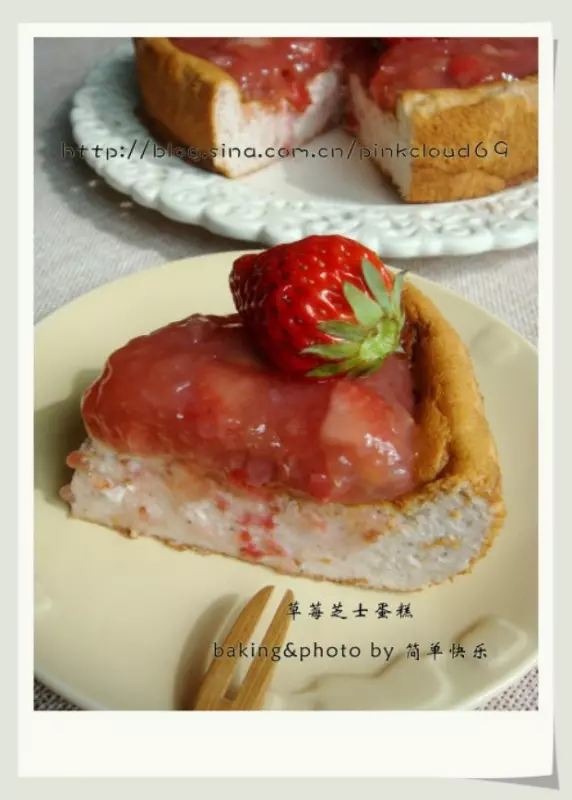
11吃!!!配苦蕎茶真的非常棒了!大家可以去試一下。
小技巧
其實這款蛋糕算是很簡單的啦,就是烤的時間長了點。甜品還是精確致勝。材料和步驟按方子來應該就沒什麼大問題。