原料
低筋麵粉: 40克, 細砂糖: 30克, 雞蛋: 4個, 色拉油: 40克, 香蕉牛奶: 40克, 椰蓉: 適量, 黃油(卡仕達醬): 15克, 蛋黃(卡仕達醬): 2個, 淡奶油(卡仕達醬): 100克, 細砂糖(卡仕達醬): 25克, 低筋麵粉(卡仕達醬): 15克, 香蕉牛奶(卡仕達醬): 200克, 玉米澱粉(卡仕達醬): 10克
步驟
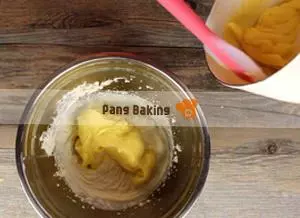
1先做卡仕達醬:蛋黃加入細砂糖,攪拌至糖融化。

2篩入低筋麵粉和玉米澱粉,攪拌至無乾粉。

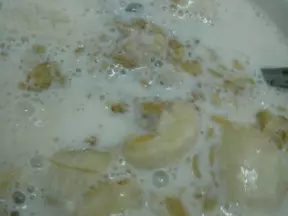
3香蕉牛奶加熱至沸騰。

4緩緩倒入蛋黃糊麵糊中,一邊倒入一邊快速攪拌均勻。

5混合好的牛奶蛋黃麵糊過濾,小火加熱攪拌至粘稠狀態關火。

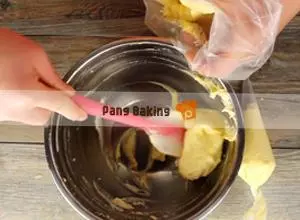
6趁熱放入黃油,攪拌至融化均勻。

7隔冷水迅速攪拌冷卻。

8淡奶油打發至六分發,加入冷卻的麵糊。
9拌勻成細膩光滑的卡仕達醬。

10分裝成一大一小的裱花袋,大的放冰箱冷藏,小的室溫放置備用。
11接著製作蛋糕,打發蛋白。

12蛋黃加油和香蕉牛奶,用打蛋器拌勻。

13篩入低筋麵粉,略拌勻後用打蛋器拌勻。

14取三分之一的蛋白加入蛋黃糊中拌勻。

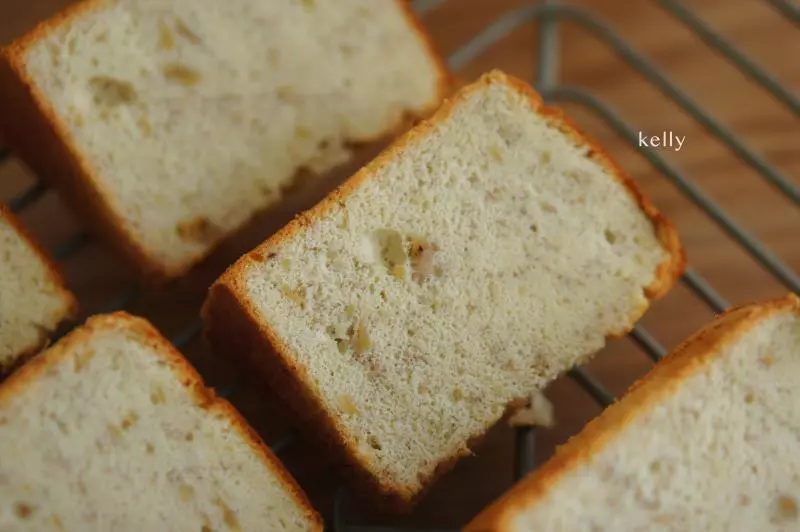
15再倒回蛋白糊中拌勻,倒入烤盤中,刮平,撒上椰蓉。
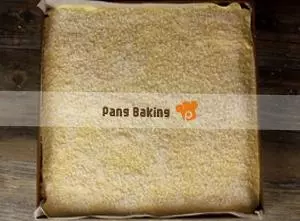
16將小包的卡仕達醬按斜線擠到蛋黃糊上。

17烤箱中層,上火180度,下火150度,15分鐘,出爐不要馬上倒扣,等它冷卻再倒扣。

18將4條邊都切整齊,把蛋糕片切成4塊。
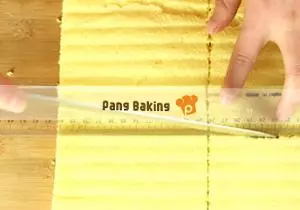
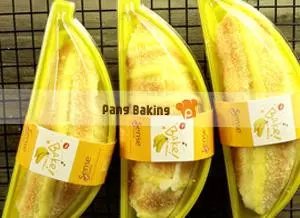
19翻過來花紋朝下,把冷藏的大袋卡仕達醬在蛋糕斜過角的中間一段,從一個角開始對角捲起來,放進包裝盒。
小技巧
1.香蕉牛奶本身有甜度,糖的分量已經減少,請按自己口味調整。 2.椰蓉沒有可以忽略,卡仕達醬會有多餘,可用來做泡芙、蛋糕和麵包的餡。 3.香蕉牛奶就是香蕉口味的牛奶,當然你也可以直接用普通的純牛奶,然後把熟透的香蕉搗成泥再加入到第五步裡面拌勻,如果做其它口味把水果換成喜歡的加入。