原料
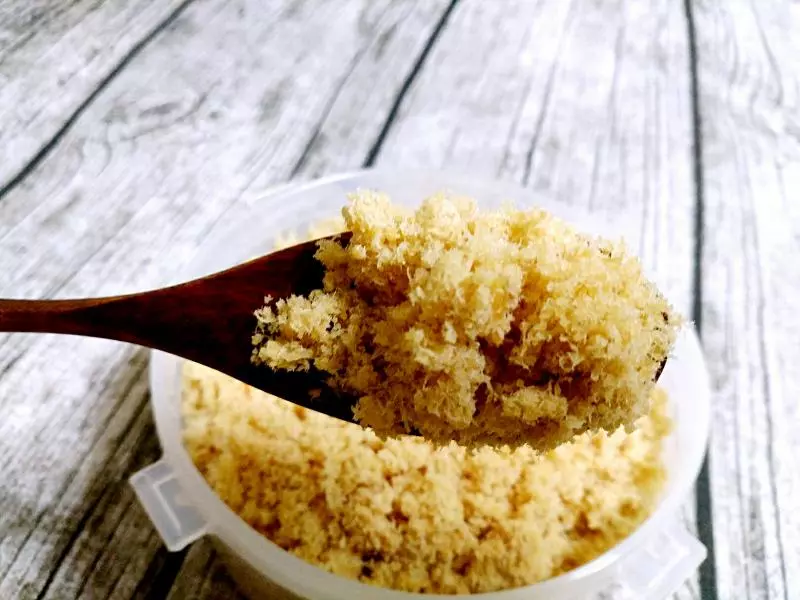
肉鬆: 適量, 低筋麵粉: 80克, 牛奶: 70克, 油: 50g, 砂糖: 40克, 蛋白: 5個, 蛋黃: 5個, 沙拉醬: 適量, 檸檬: 幾滴
步驟
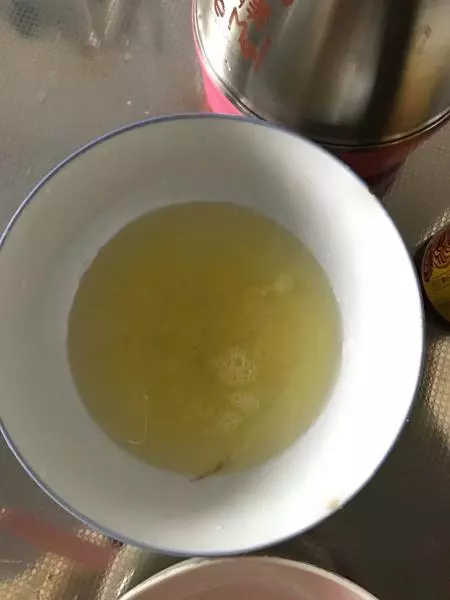
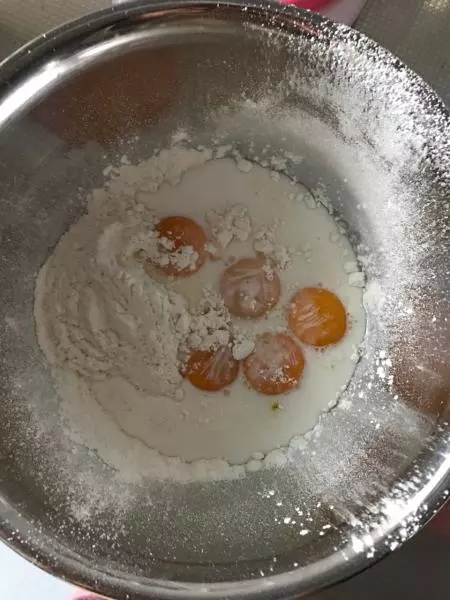
1雞蛋的蛋白和蛋黃分開
2麵粉過篩,和蛋黃,牛奶,植物油進行混合,我用打蛋器低速打的
3混合好了是這樣的

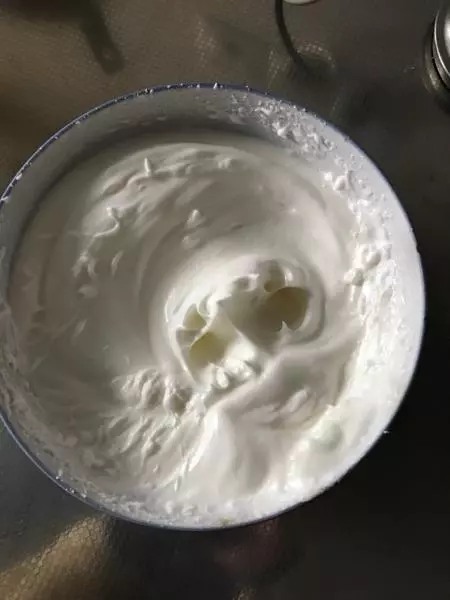
4蛋白打發,打發過程中分階段把糖加入,最後一次擠幾滴檸檬,可略掉檸檬
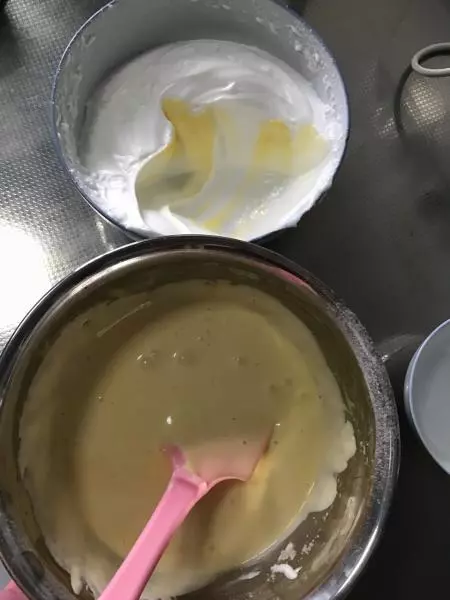
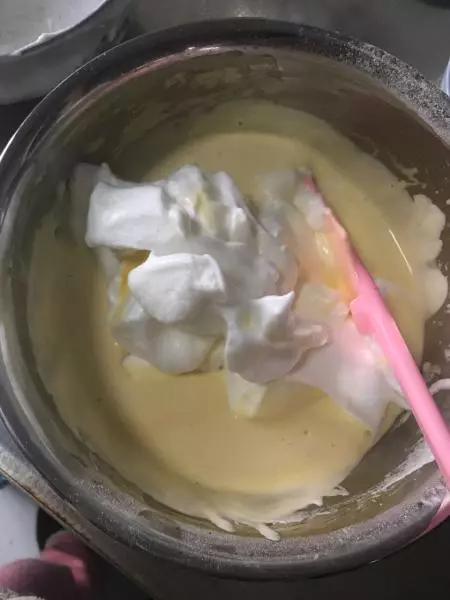
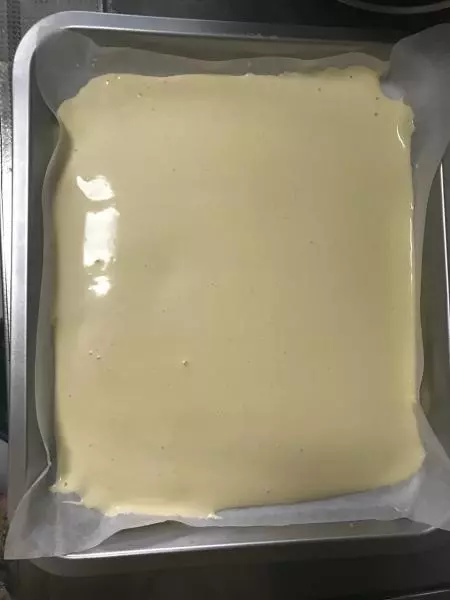
5打發好的蛋白分兩次加入麵粉糊中用鏟子拌勻
6像炒菜一樣翻
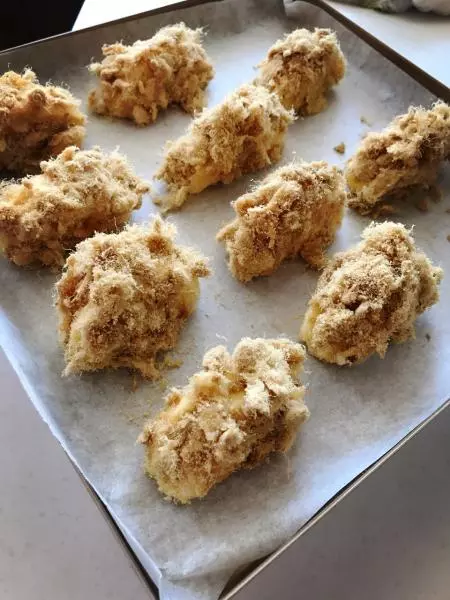
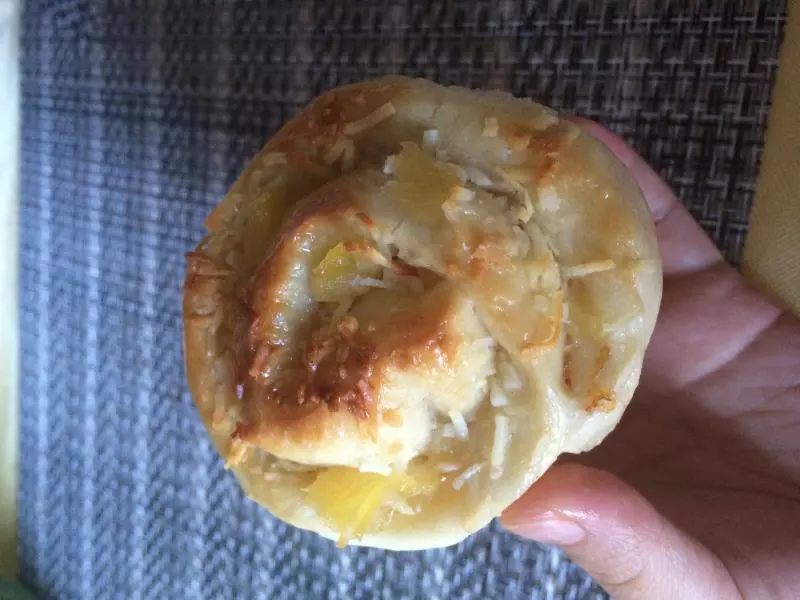
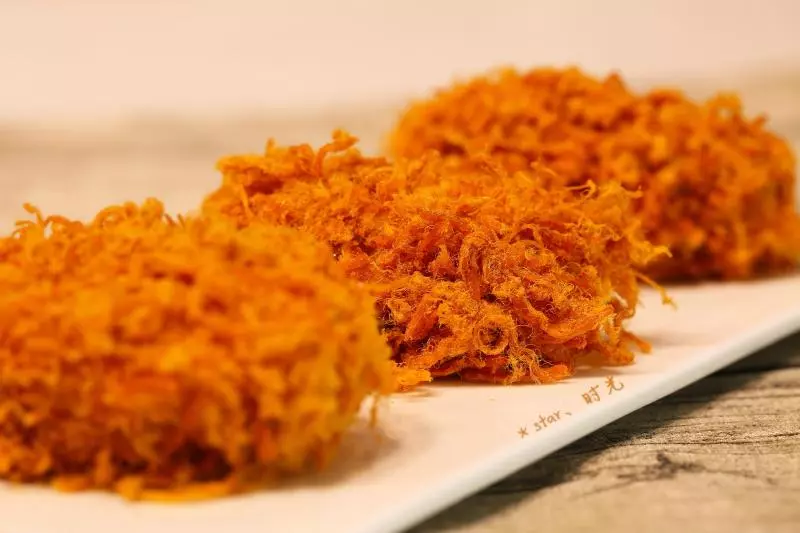
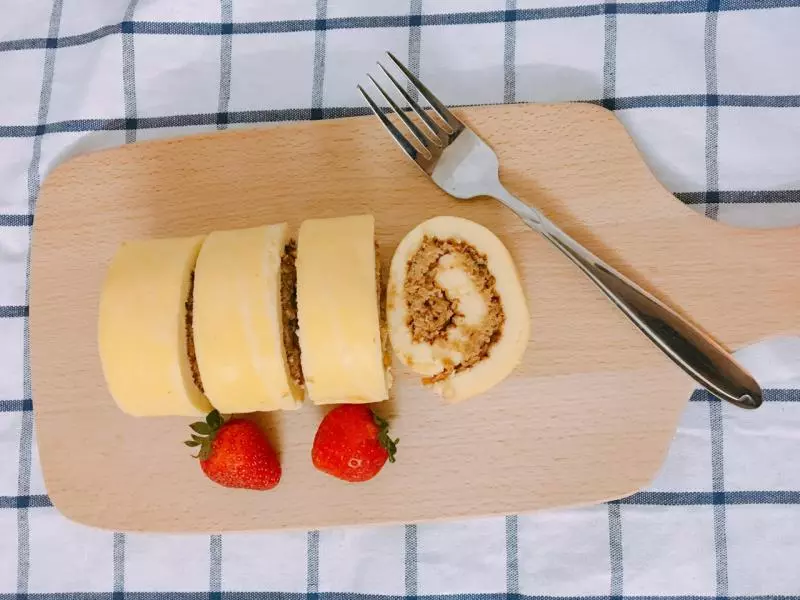
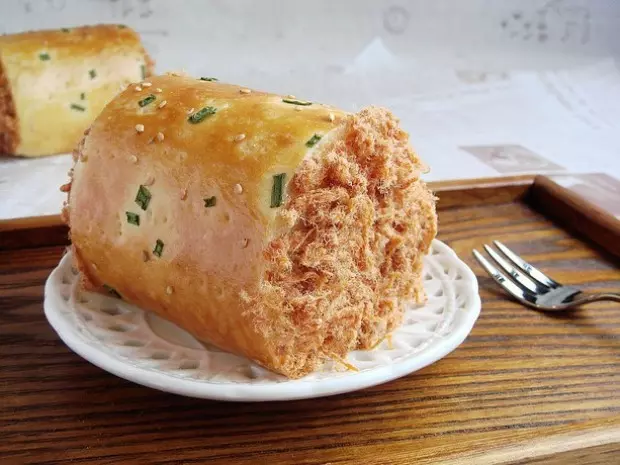
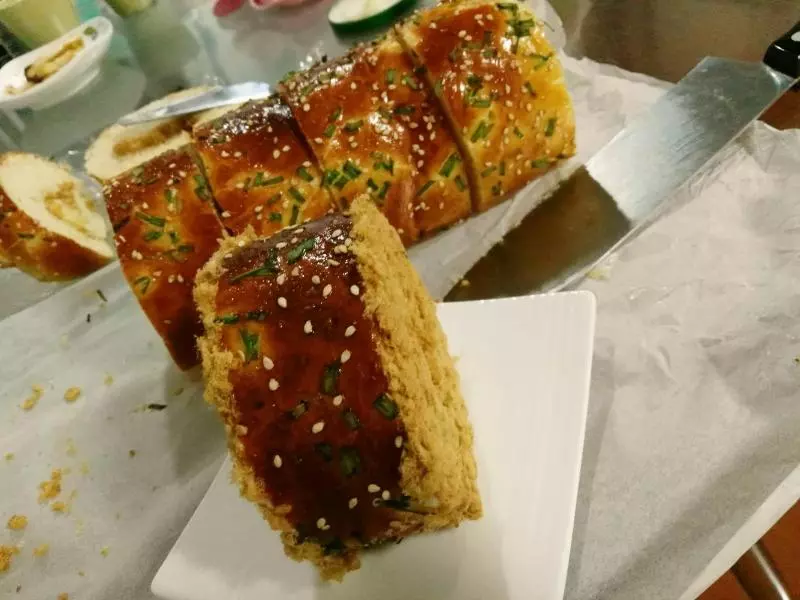
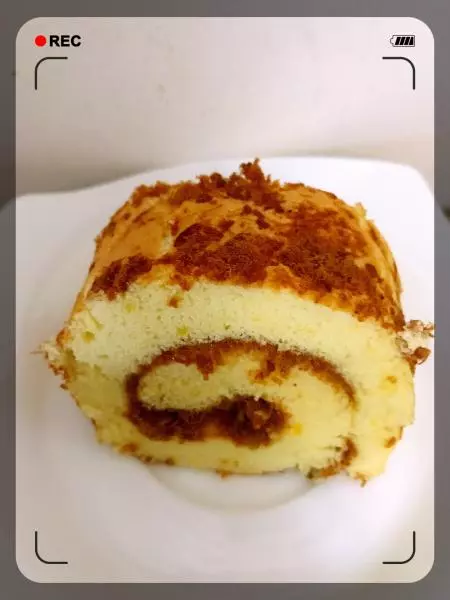
7拌勻後倒入墊紙的烤盤中,我用的烤盤是烤箱買來時自帶的,烤箱30L,這個盤子大約18*20吧
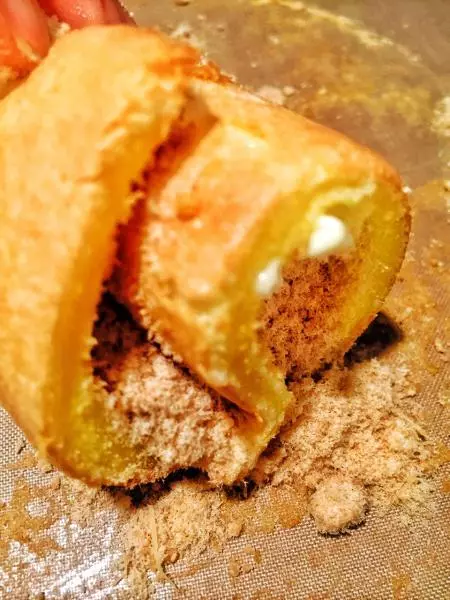
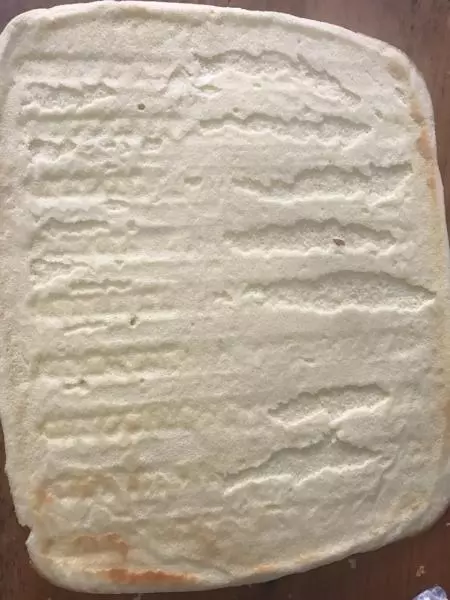
8能烤兩個出來,160度烤了12分鐘就變色了,可能我鋪的比較薄,十分鐘就要全程盯著看了,烤到微黃就行了,然後倒扣下來把紙撕掉,結果就變成了這樣,像掉了一層皮
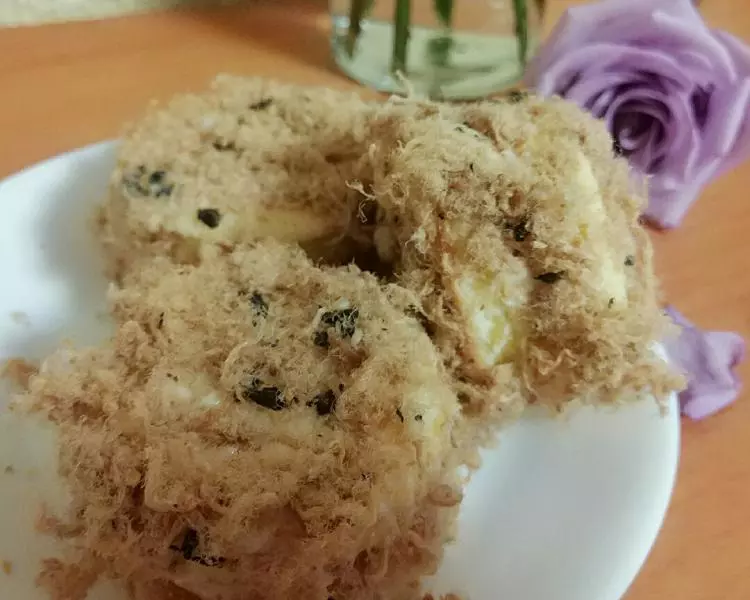
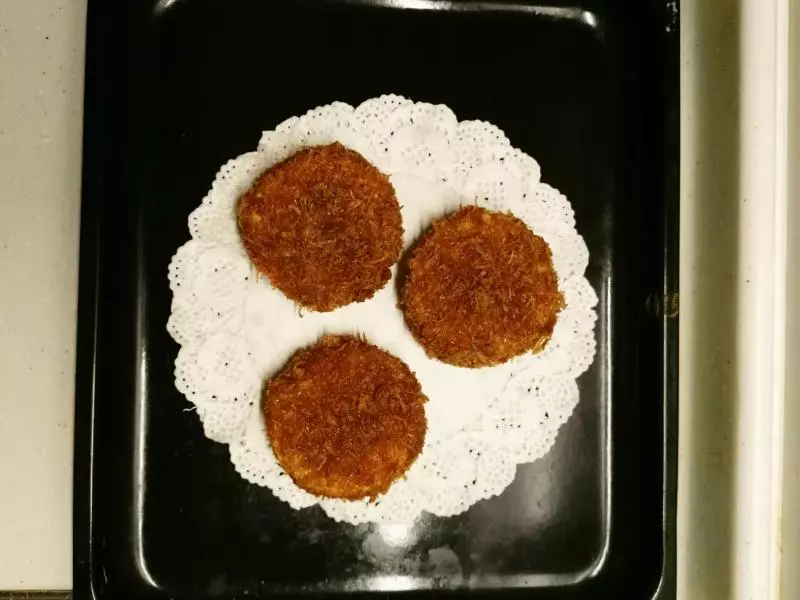
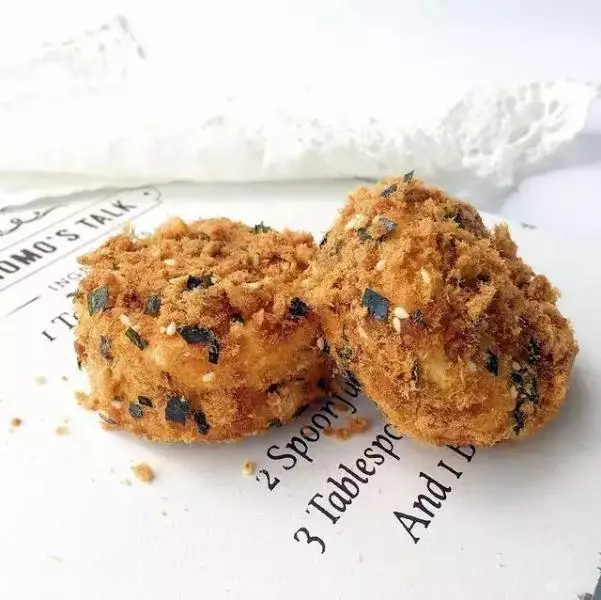
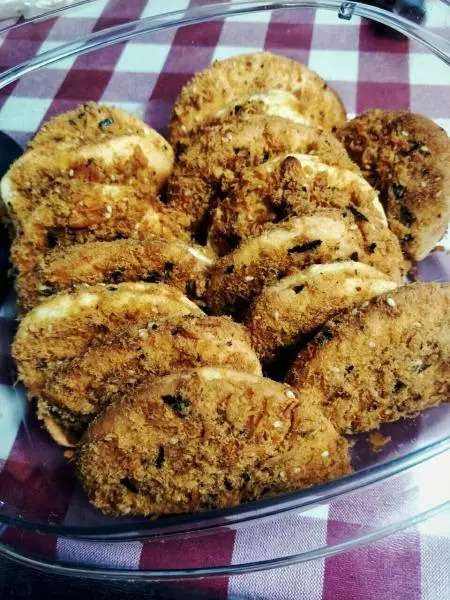
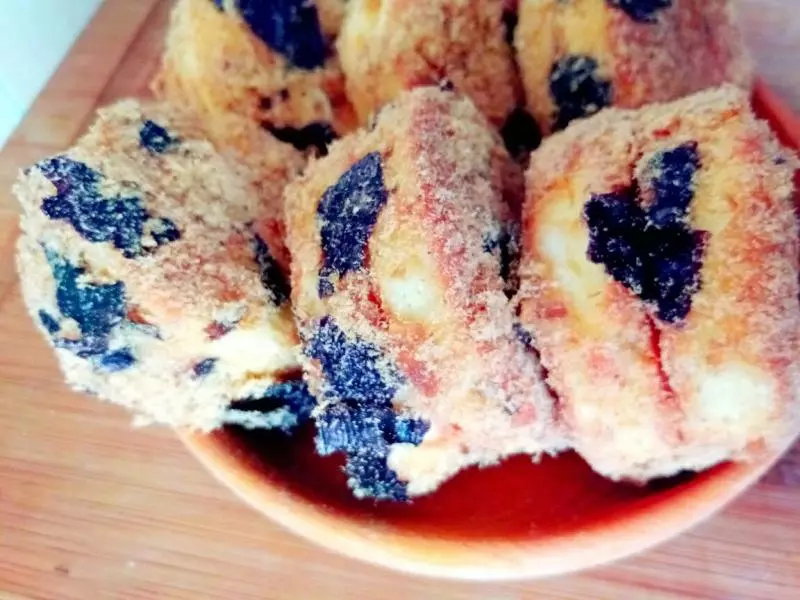
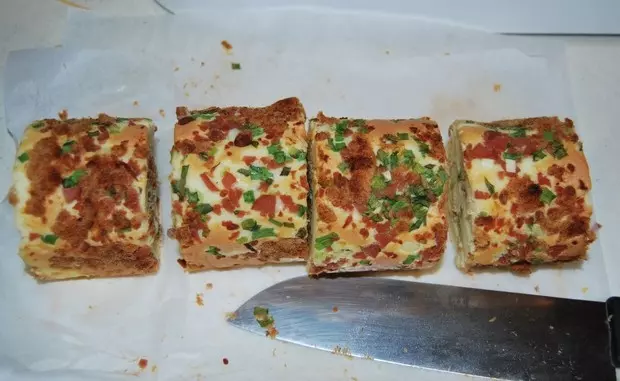
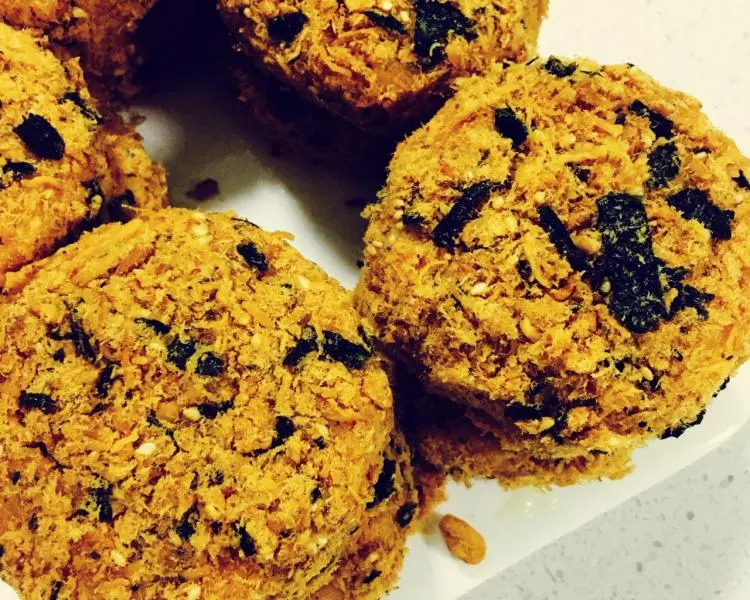
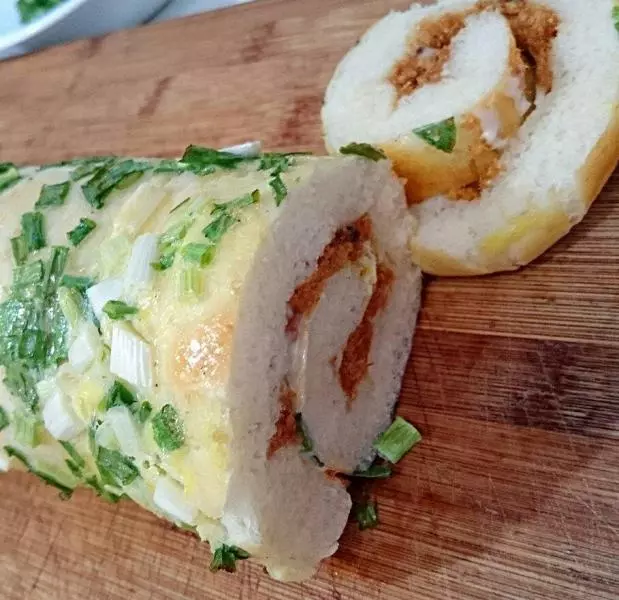
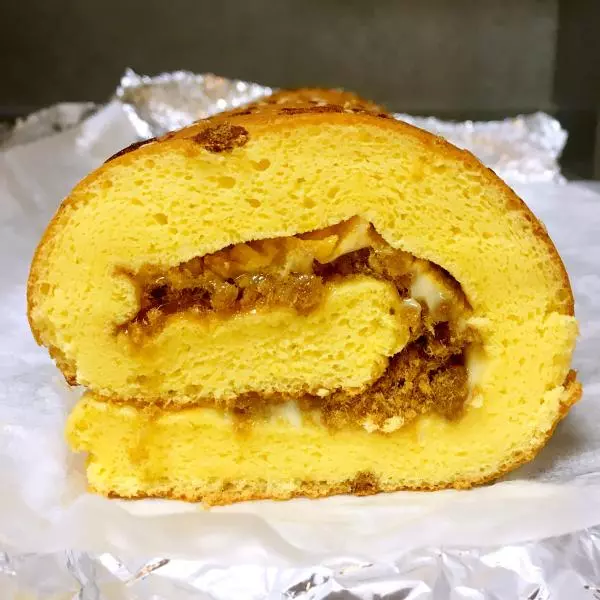
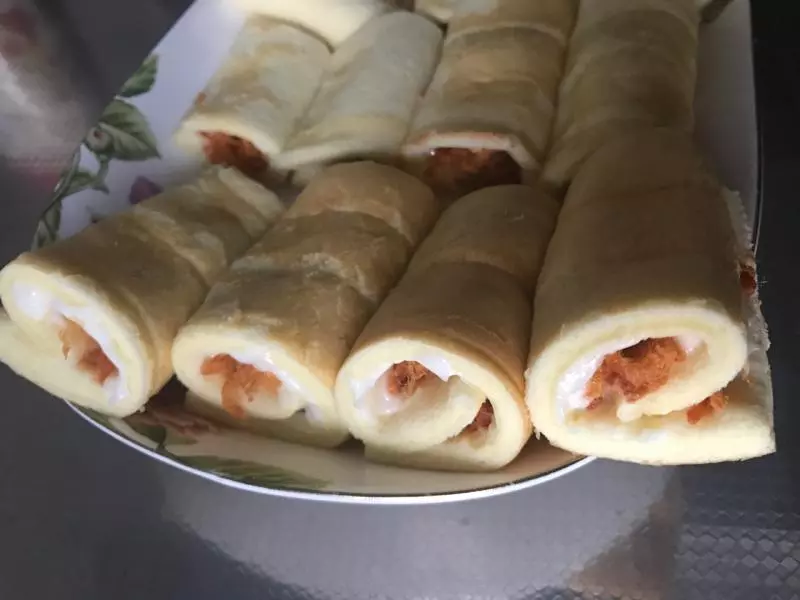
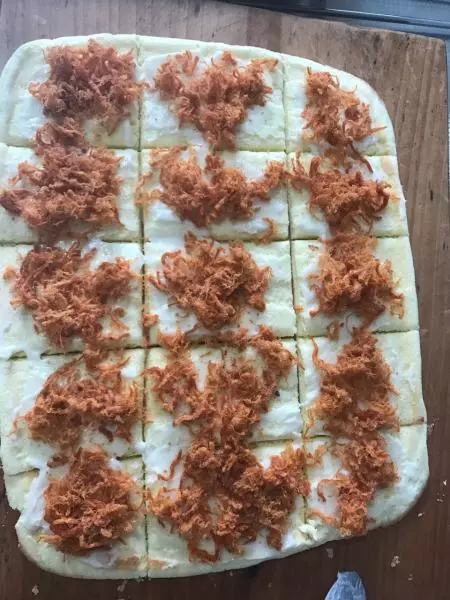
9切成自己想要的快狀然後塗沙拉醬,撒肉鬆即可,肉鬆多撒點好吃
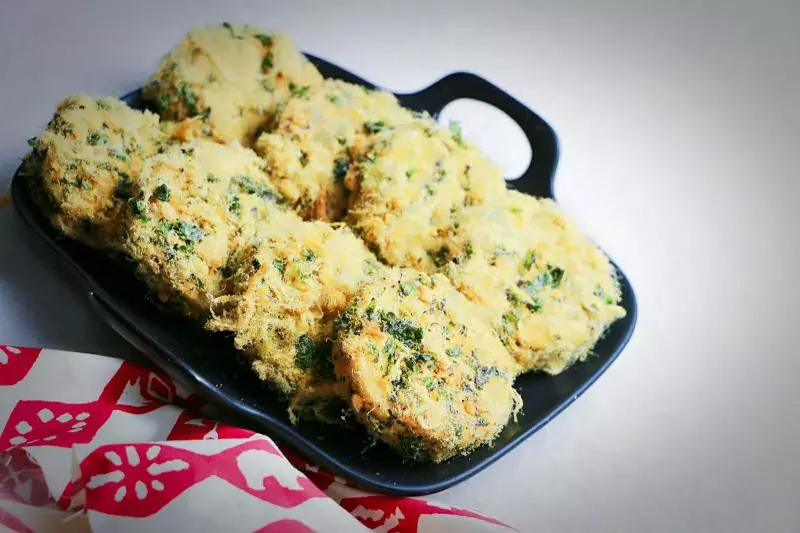
10不好看
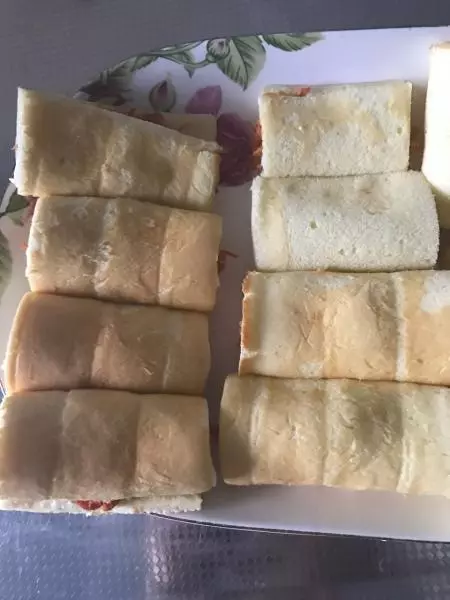
11切大了就捲起來,切小了就對摺,一樣好吃

小技巧
烤的時候一定要盯著看,因為我本身看的配方是烤25分鐘,但是因為我鋪的薄,不到一半時間就烤好了,可以再烤一小會上色,或者塗一層油在紙上會好一些 做肉鬆小貝的話裡面外面都要沾滿沙拉醬然後滾肉鬆,我覺得那樣做不帶手套很不舒服,雖然口感會更豐滿,但是我放棄了