原料
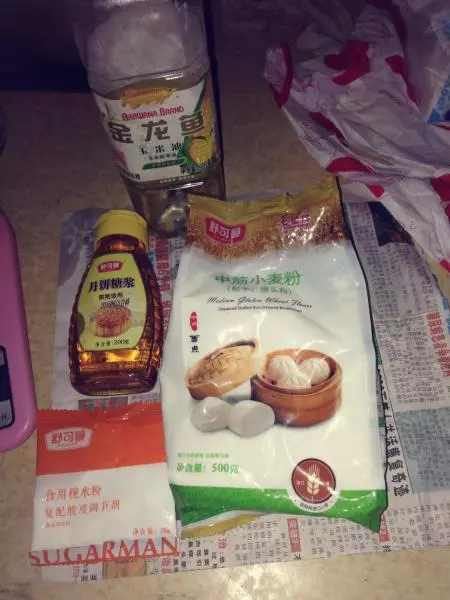
轉化糖漿: 110g, 鹼水: 4g, 花生油: 50g, 中筋麵粉: 170g, 蛋液: 少許
步驟
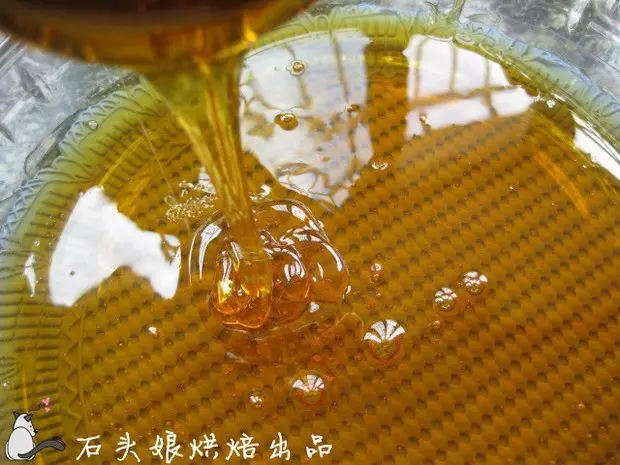
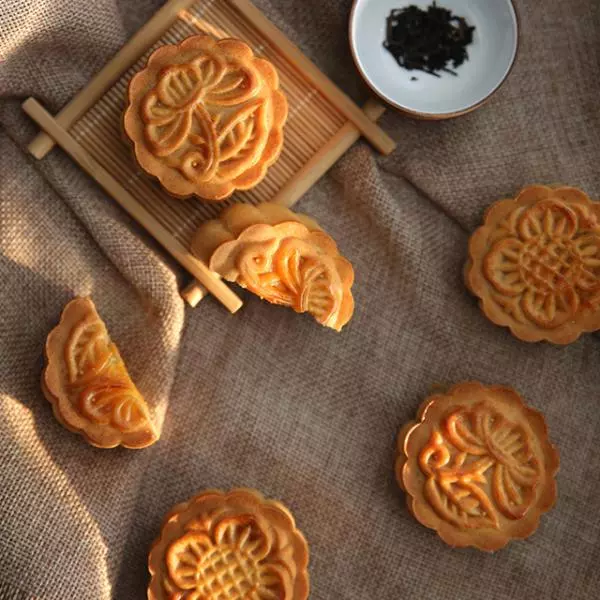
1材料圖:這次用了花生油沒拍照。用了之前的圖片代替
2用勺子勺1g的鹼粉兌4g的清水(這個很難拿捏的,按感覺走)最好就是用鹼水哈哈
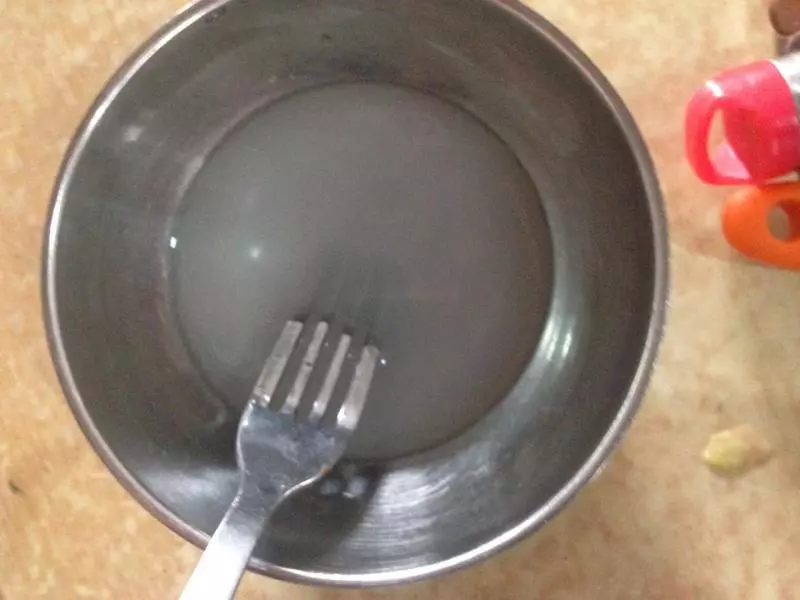
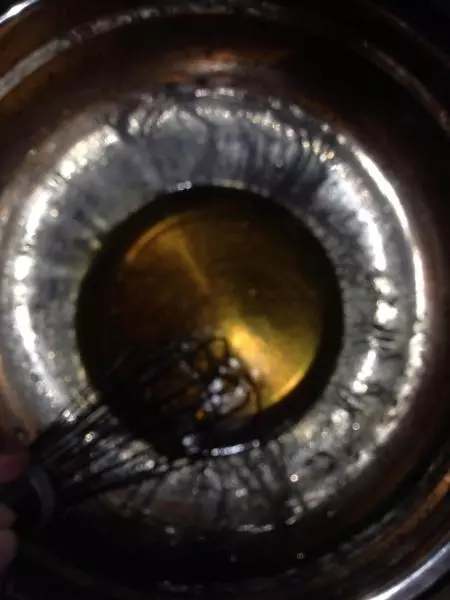
3先把糖漿倒入盆里+鹼水用棒攪均勻。然後加入花生油快速攪拌(在攪拌過程中你會聽到po po清脆的聲音,等聲音完全沒了)就可以了
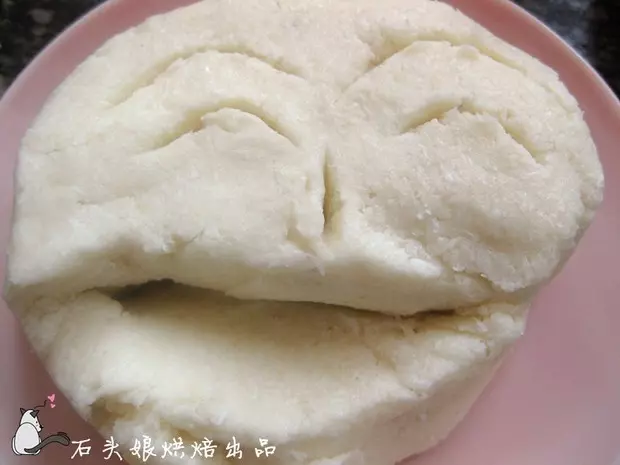
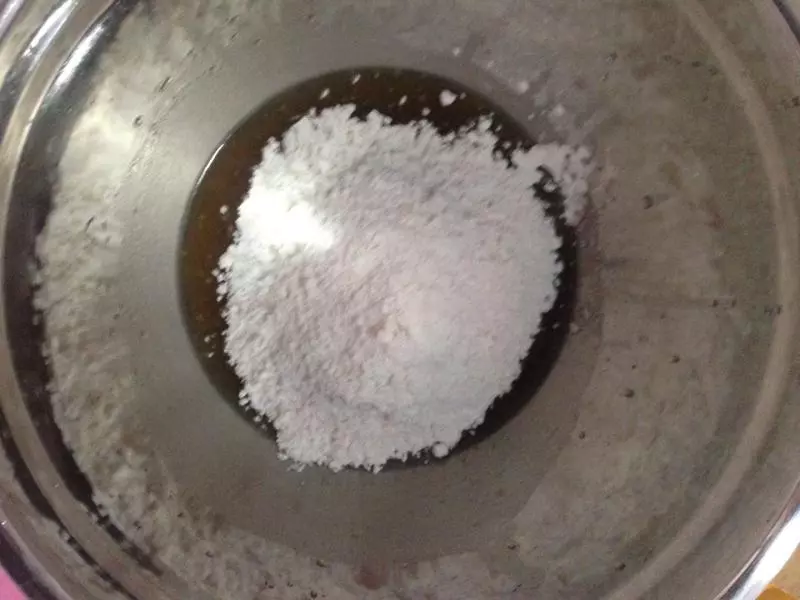
4倒入麵粉攪拌均勻。(均勻沒有顆粒就可以了、不要過度攪拌以免長筋)
5攪拌均勻後麵糰放盆子裡休眠2小時以上。(鋪一張保鮮膜覆蓋著盆子)在麵糰休眠的時候你可以去準備餡料
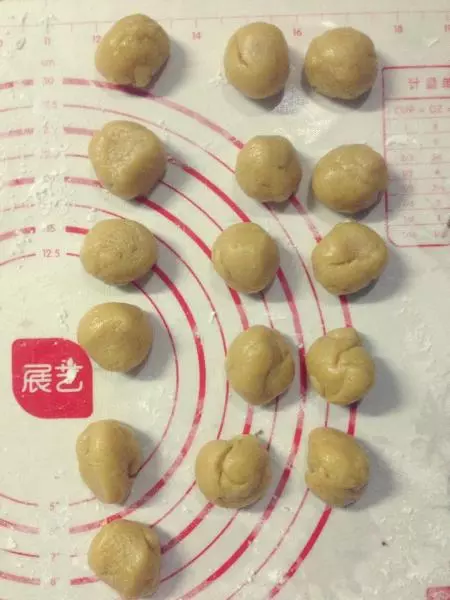
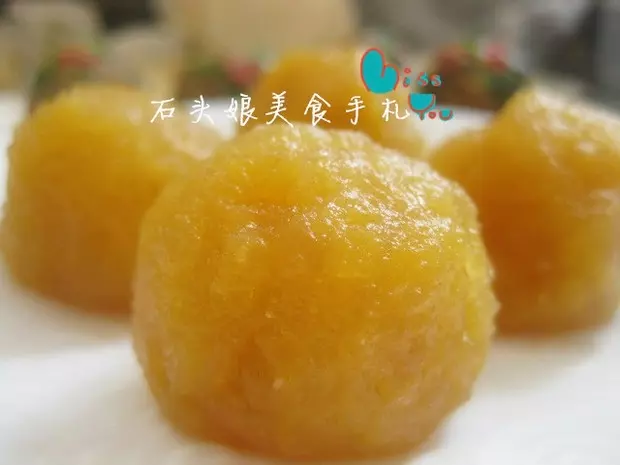
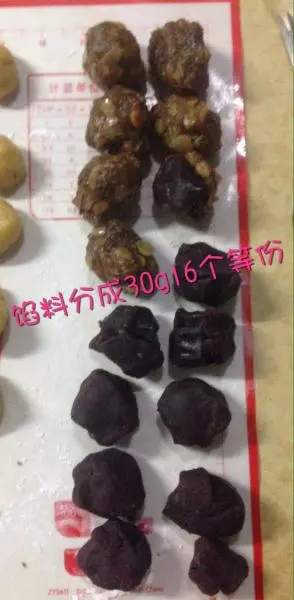
6我是懶貨,在分完麵糰後,再去分餡料的(皮20g/個+餡30g/個=16個50g的月餅)
7烤盤裡鋪張矽油紙

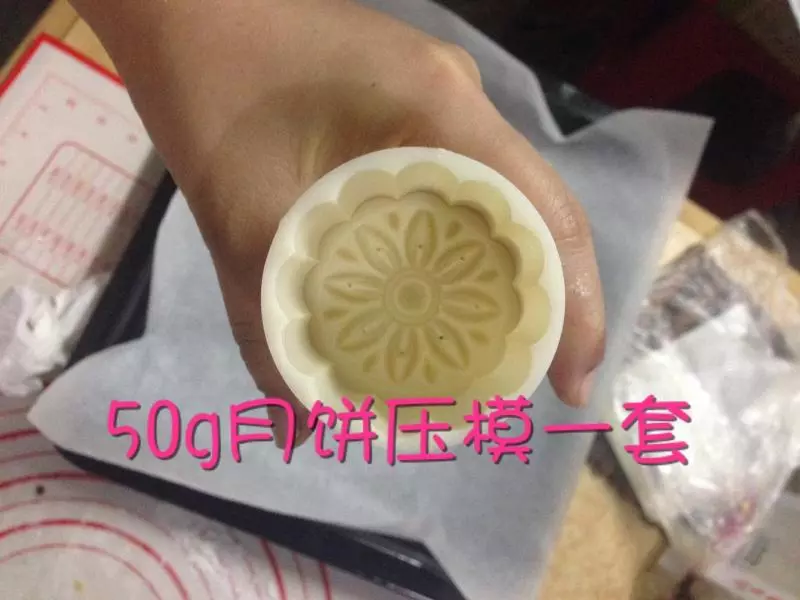
8自備50g的月餅壓模一套…
9看文字
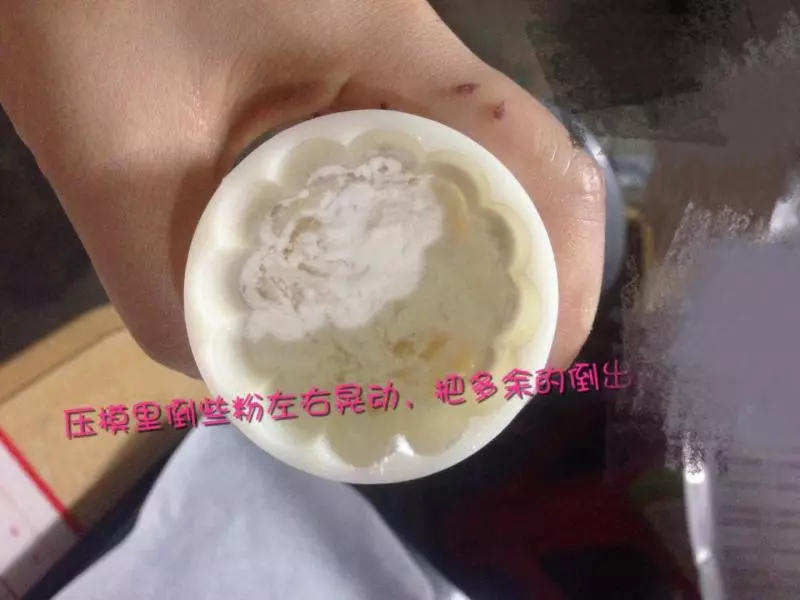
10防粘步驟(在壓模里放少許熟麵粉或者澱粉左右晃動,把多餘的倒出來)

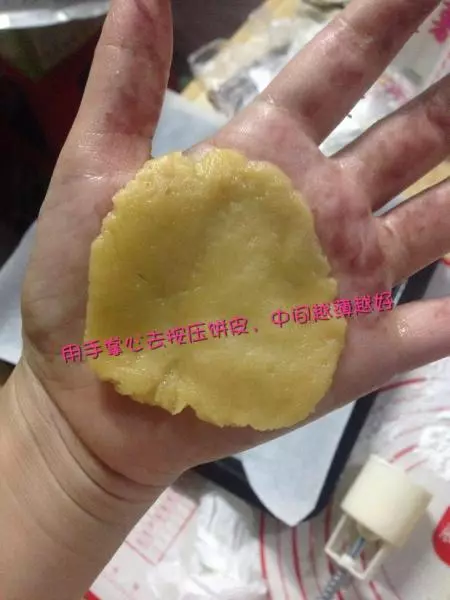
11把一個皮放在左手上,用右手的掌心去按壓它
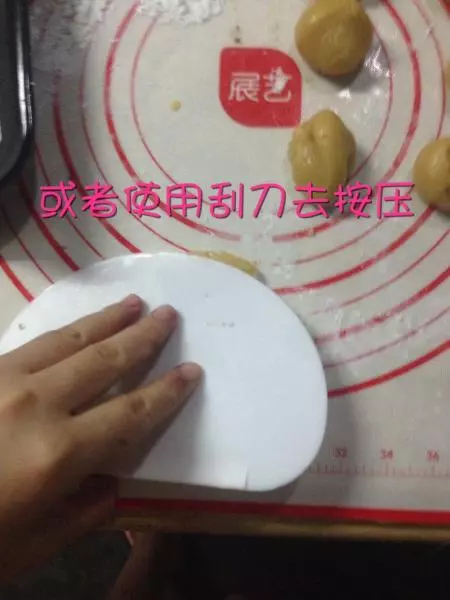
12新手建議用刮刀去壓
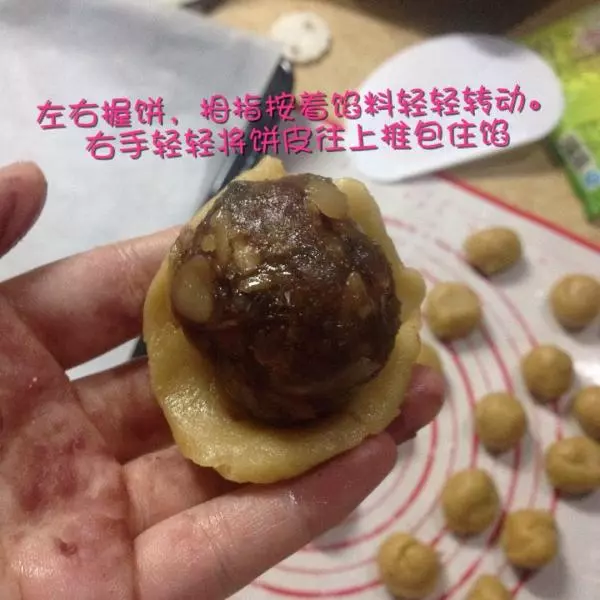
13左手拇指壓著餡料,右手輕輕轉動餅皮並且將皮往上推裹住餡料
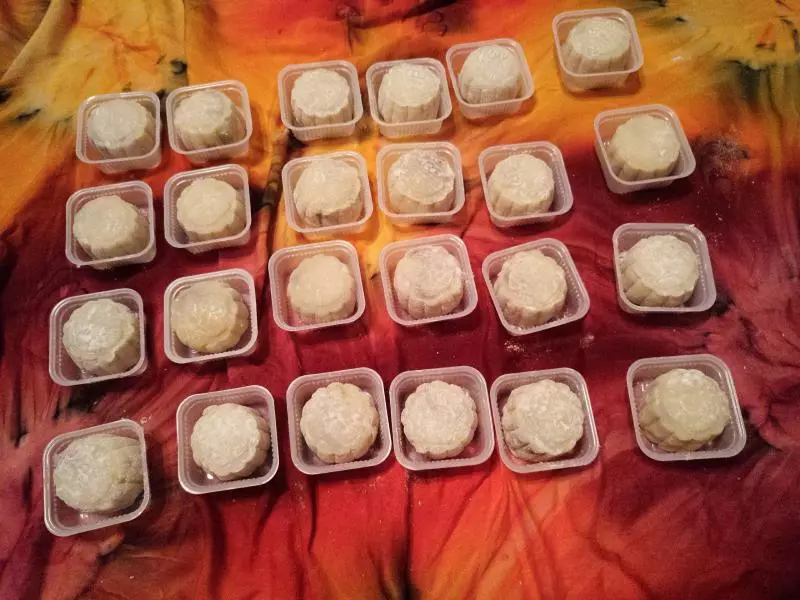
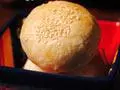
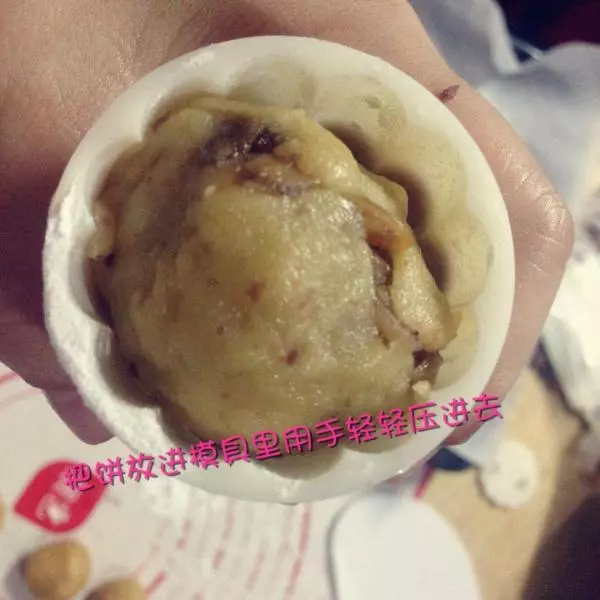
14放進壓模裏手輕輕的推一下壓平
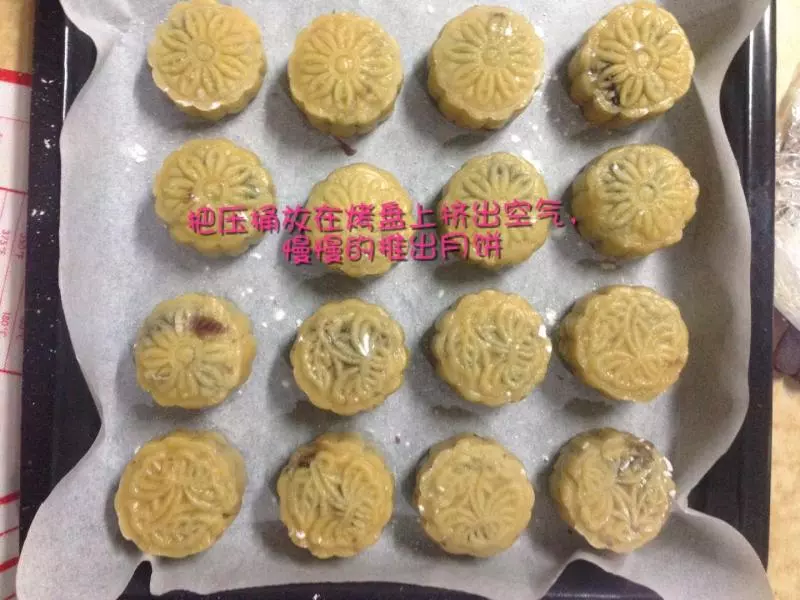
15把壓模放在烤盤裡稍微用力壓出空氣,最後慢慢的推出月餅
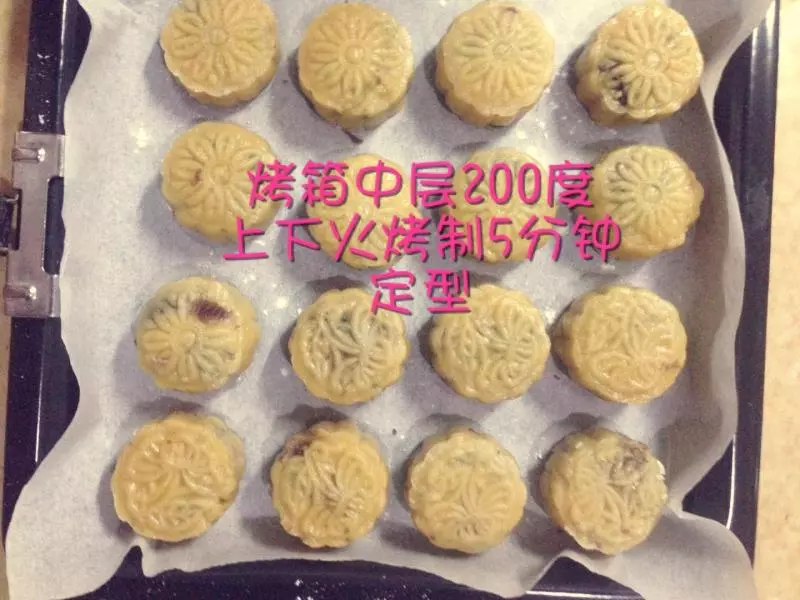
16送入烤箱200度上下火定型5分鐘
175分鐘定型成功,馬上取出刷蛋液(這個步驟需要非常謹慎。為什麼呢?一不小心花紋久不見了)刷蛋液是請記得一個50g的雞蛋可以刷上百個月餅皮
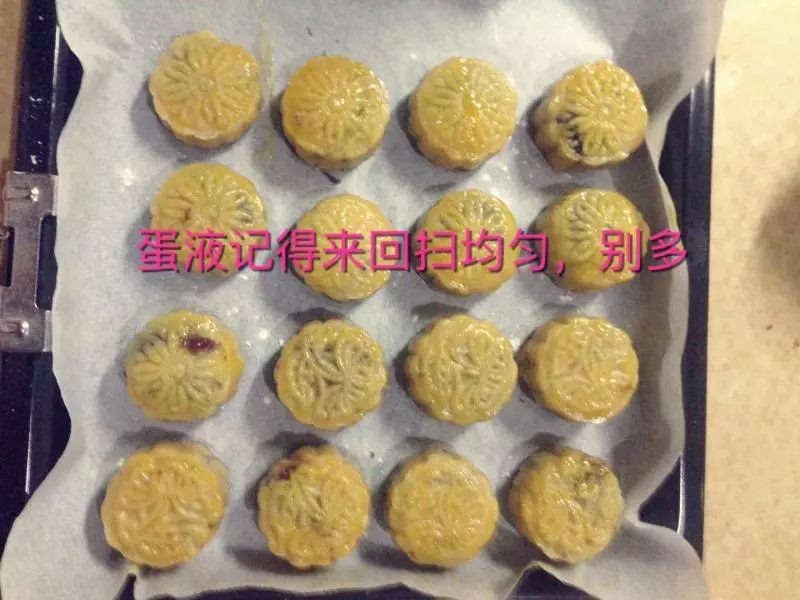
18刷完蛋液送進烤箱中層180度上下火15-18分鐘(這個具體看你家烤箱的脾氣和餅皮的顏色控制)

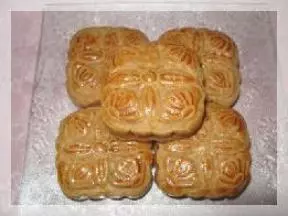
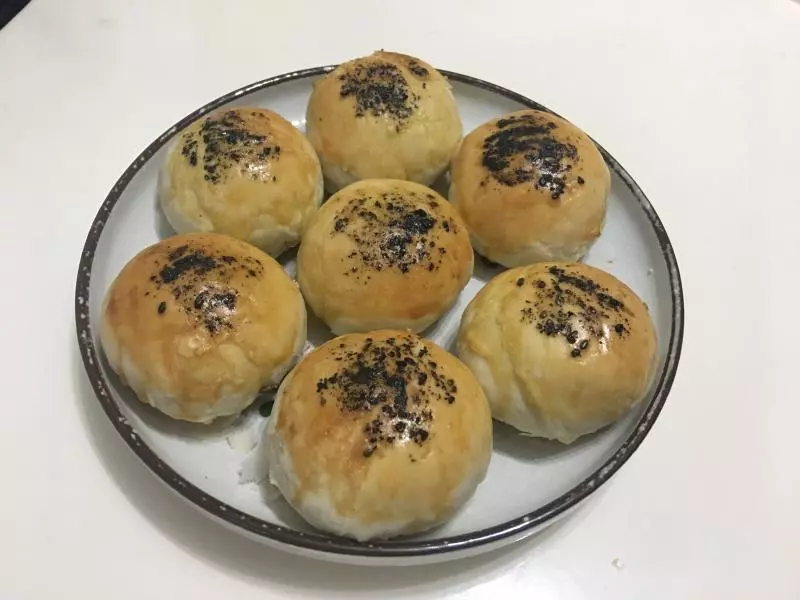
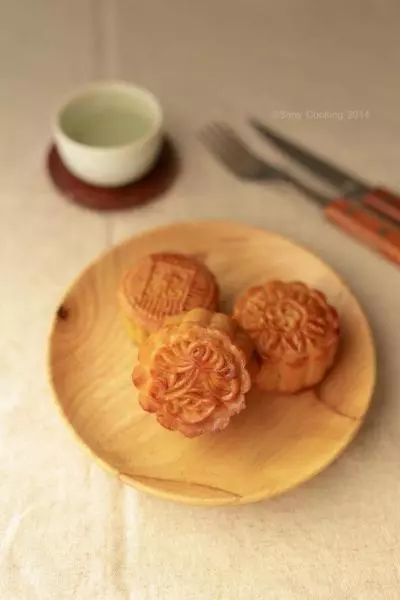
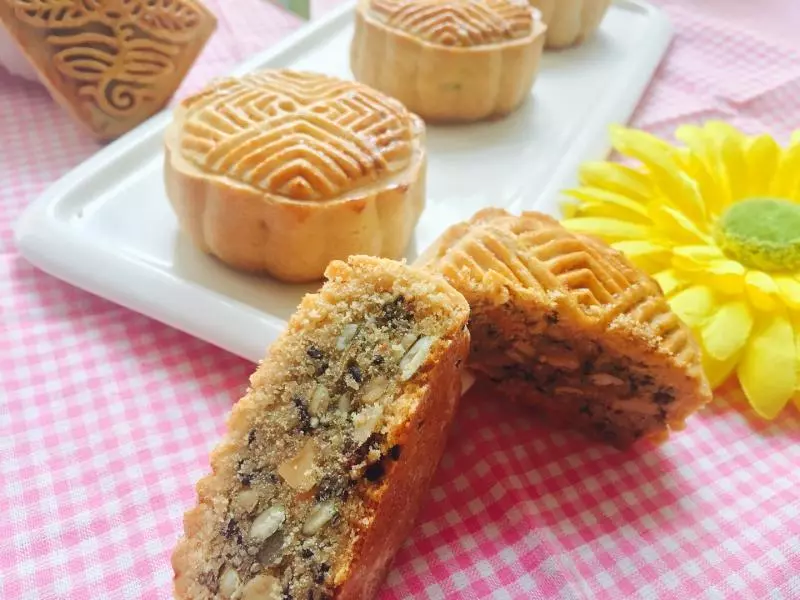
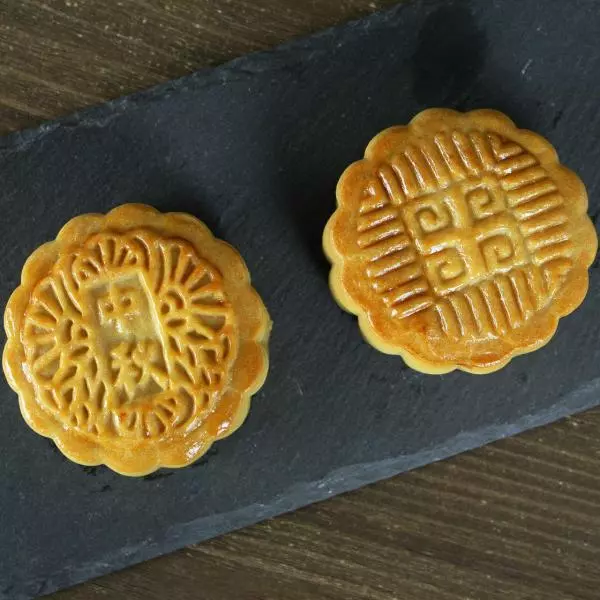
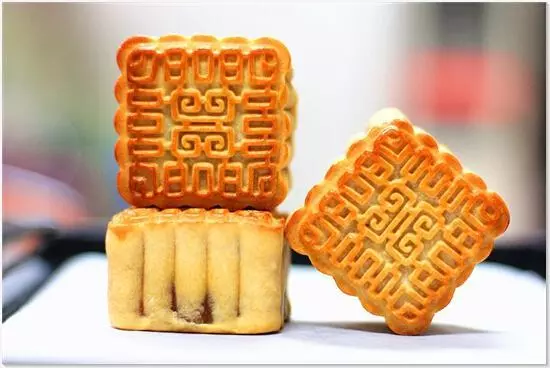
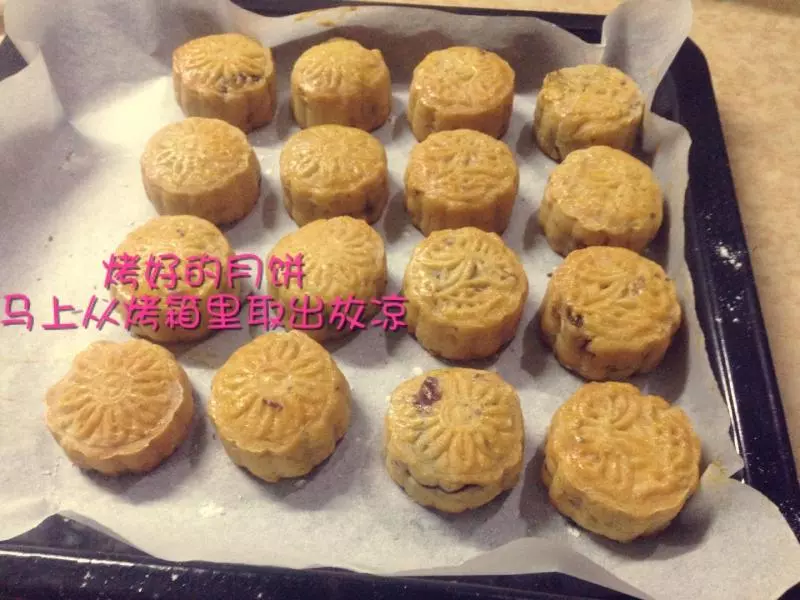
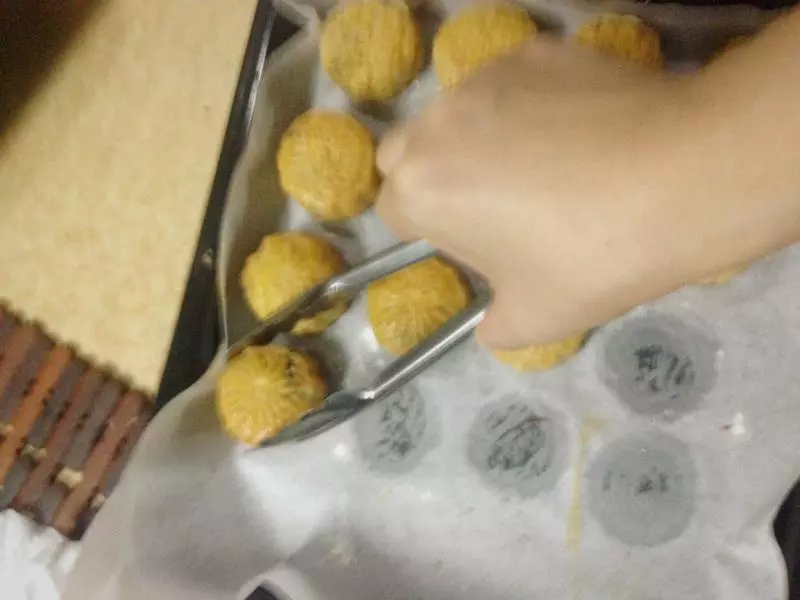
19烤好的月餅馬上取出放涼

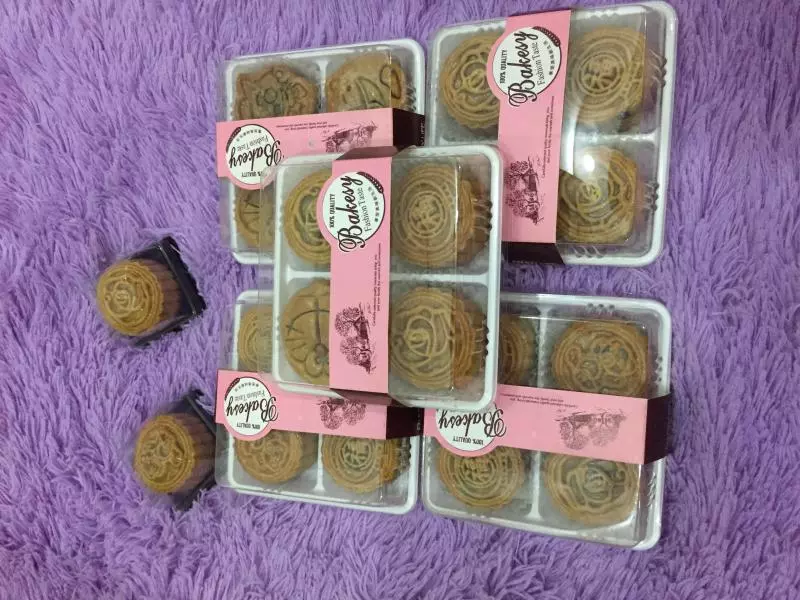
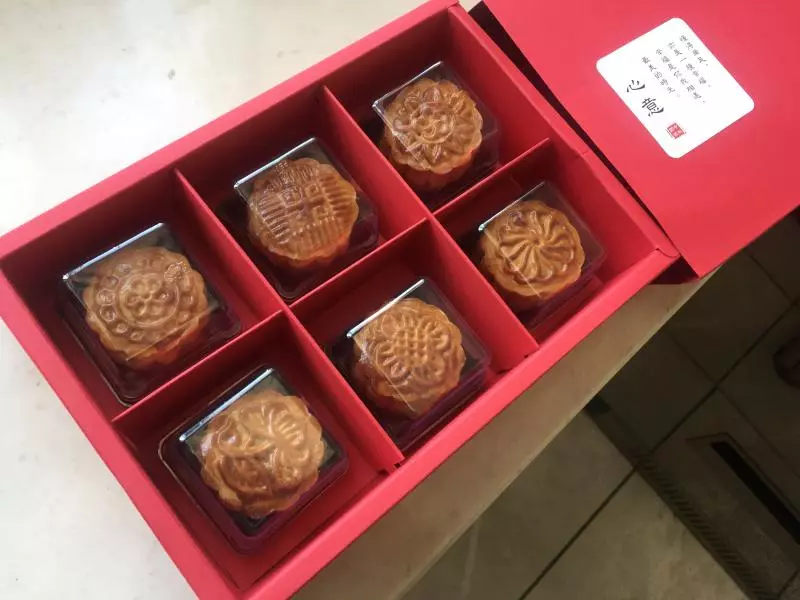
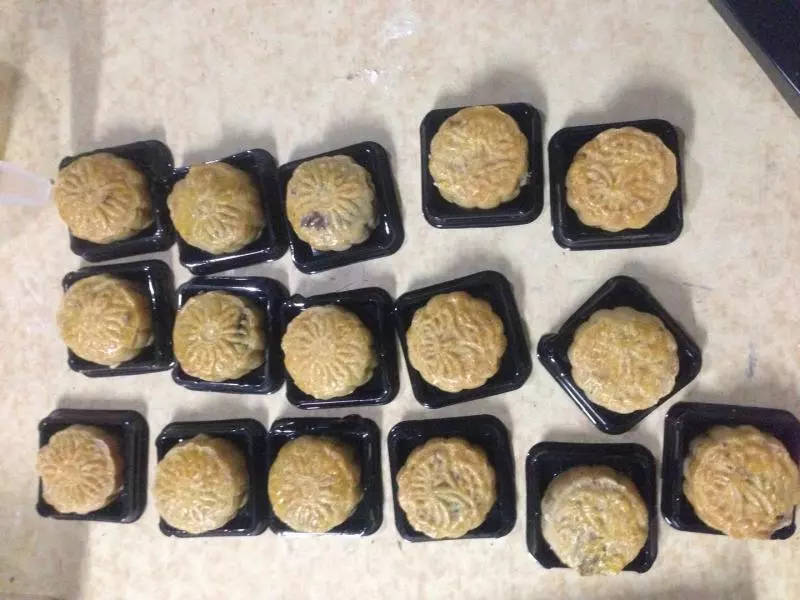
20利用夾子把月餅夾進包裝盒子裡
21可以開始打包了
小技巧
1.鹼水粉一定要調製好 2.烤箱脾氣根據自家的調整 3.烤月餅時請時刻盯著,以免烤焦 4.第二個步驟一定要乳化完全 5.刷蛋液的時候,掃子來回掃動 6.祝你生活愉快