原料
低粉: 160克, 蛋黃: 160克(約8個), 細砂糖: 60克, 牛奶: 120ml, 色拉油: 80ml, 香草精: 1勺, 蛋白: 240克(約8個), 細砂糖: 80克, 鹽: 少許(或檸檬汁), 紅色色素: 1滴, 黃色色素: 1滴, 斑斕香精: 1滴(或綠色色素), 粉色色素: 1滴, 淡奶油: 200ml, 糖粉: 20克, 無花果: 4-5顆, 淡奶油: 150ml, 糖粉: 15克, 粉色色素: 1滴, 白砂糖: 30克,糖漿, 清水: 15ml,糖漿, 橙酒: 1小勺,糖漿
步驟
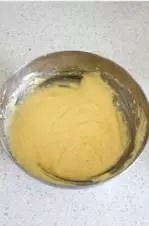
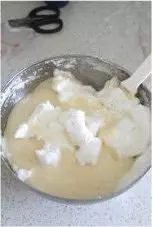
1蛋黃加糖打至顏色發白,體積變大。加入牛奶和色拉油混合均勻,再篩入提前過篩兩次低粉拌勻備用
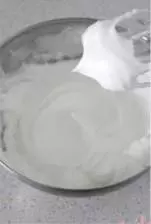
2蛋白加檸檬汁和鹽打至粗泡,分3次加入砂糖打至中性發泡,提起打蛋器有個垂尖勾
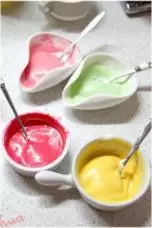
3各取4小勺蛋黃糊分別加入色素混合均勻,再各與1大勺蛋白霜混合拌勻
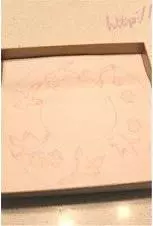
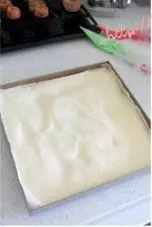
4烤盤上放圖紙,在鋪油紙
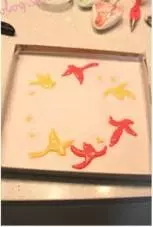
5按印出來的圖形分別擠蛋糕糊,180度烘烤1分鐘,如果有重疊的顏色需要烤兩次1分鐘
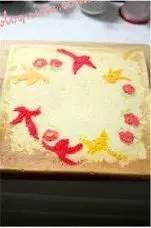
6將剩餘的蛋白霜和蛋黃糊分兩次混合翻拌均勻
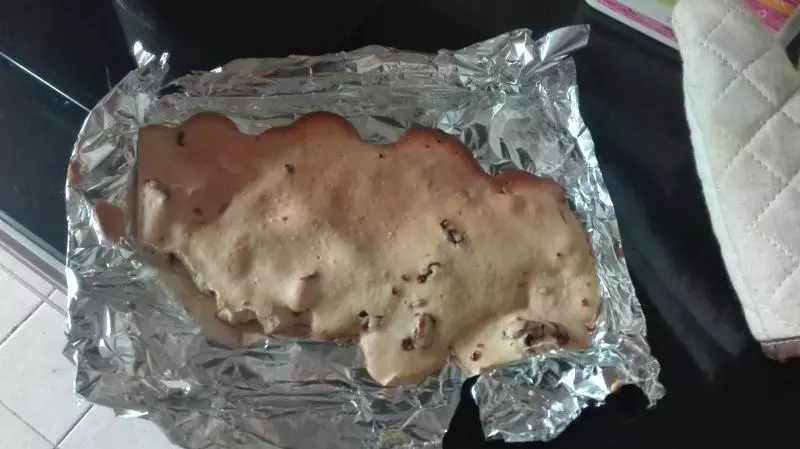
7倒入烤好的彩色麵糊上,烤箱預熱180度烤16分鐘左右
8取出後立即撕掉油紙,放網架上晾涼
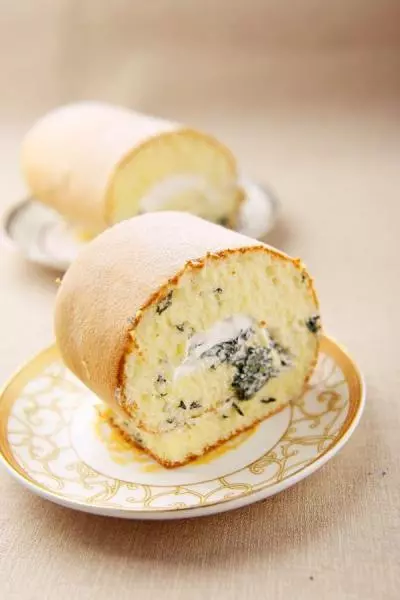
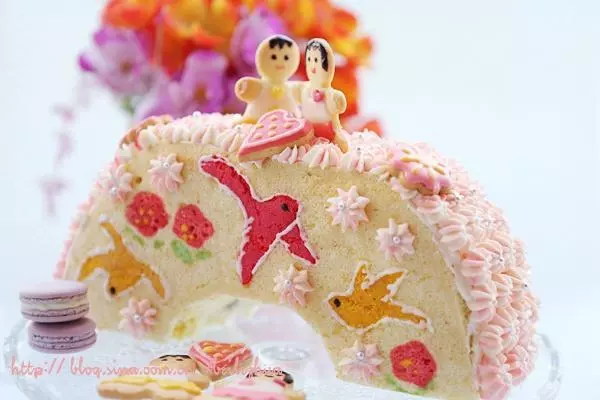
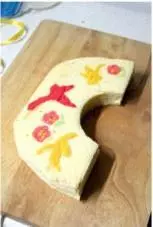
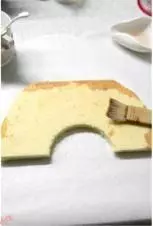
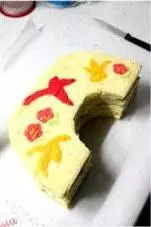
9將冷藏的蛋糕橫切,再切割成拱形橋的形狀,同樣的方法再烤一次蛋糕,無需做手繪裝飾,最終得到四片拱形蛋糕體
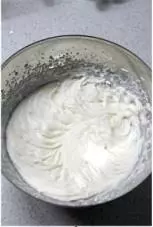
10200ml淡奶油與20克糖粉混合打發
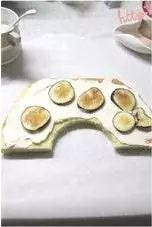
11無花果洗凈切薄片

12取一片蛋糕體,表面刷糖漿
13抹上薄薄一層打發的淡奶油,放幾片無花果,再抹些奶油,接著蓋一片蛋糕片,輕壓
14重複前面的步驟
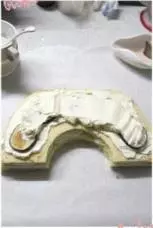
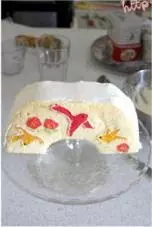
15將所有蛋糕片全部蓋上。用油紙包裹起來冷藏過夜
16150ml的淡奶油和糖粉混合打發備用。將蛋糕立起來,表面抹上薄薄的一層淡奶油
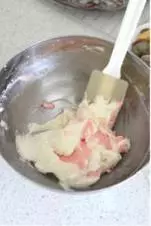
17取2大勺打發的淡奶油與粉色色素混合均勻後倒回剩餘的奶油中,輕拌兩下
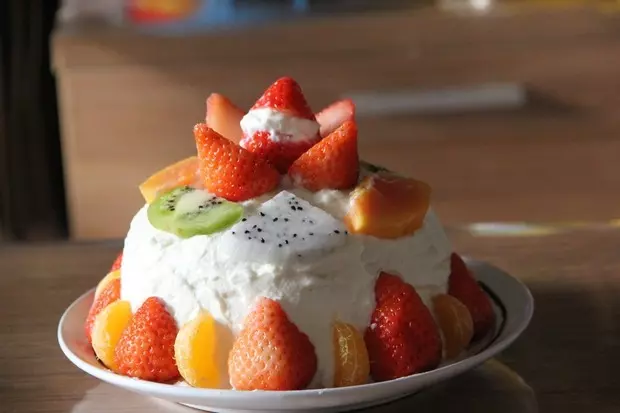
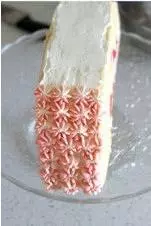
18擠在鵲橋蛋糕表面,最後裝飾上卡通餅乾即可
小技巧
1.圖樣根據個人喜好畫,別畫的太花,只做點綴中。 2.烤好的蛋糕應立即取下油紙,並且要在蛋糕還有一定餘溫的時候就開始抹奶油,這樣卷的時候才不容易開裂。 3.烘烤時間依據個人烤箱而行,烤好的蛋糕體表面富有彈性且濕潤。 4.橋洞的部分可以用圓形慕斯圈切割,外圈按提前畫出的圖樣裁剪。 5.蛋糕要冷藏過後才能立起來做最後的裝飾,用油紙包裹好,防止風乾。 6.粉色淡奶油與白色淡奶油混合時無需拌勻,輕拌兩下即可。 7.手繪蛋糕上的喜鵲可以用蛋白糖霜稍勾畫,用白巧克力或是不做溝邊也可以。