原料
蛋黃糊:: , 蛋黃: 10個, 細砂糖: 60g, 玉米油: 160g, 牛奶: 160g, 低筋麵粉: 240g, 香草精: 5-6滴, 蛋白:: 10個, 細砂糖: 100g(喜歡甜的可以增加到140g), 檸檬汁: 10滴, 烘烤溫度: 150度70分鐘(根據自己烤箱適當調節溫度和時間), 奶油:: , 安佳淡奶油: 400g, 細砂糖: 40g, 裝飾水果: 適量
步驟
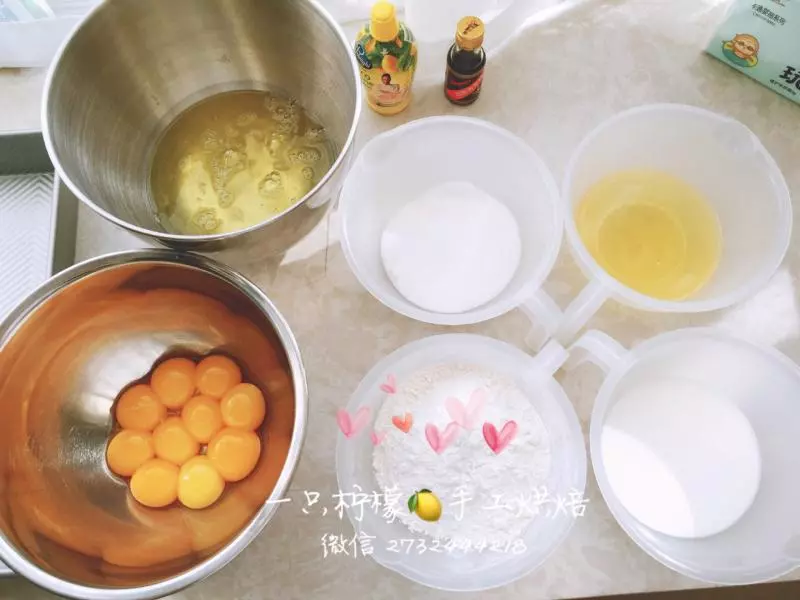
1準備好各種做蛋糕坯的材料。
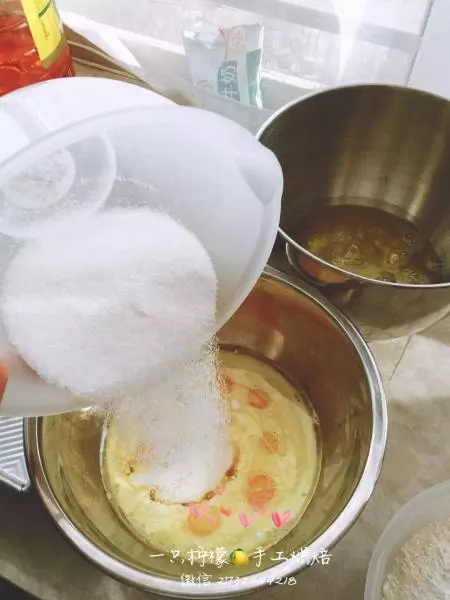
2蛋黃、牛奶、玉米油、砂糖60g混合在一起,攪拌均勻。
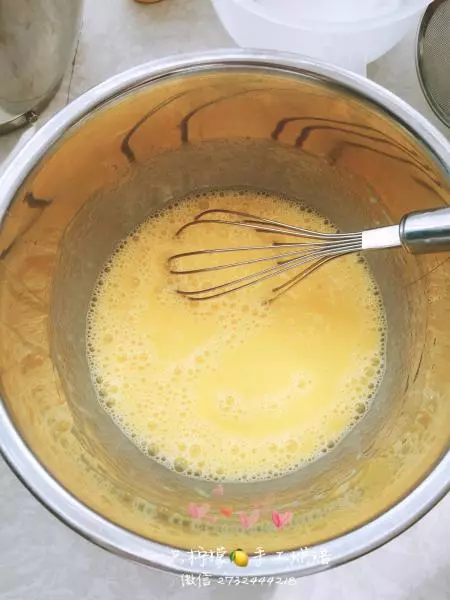
3混合好
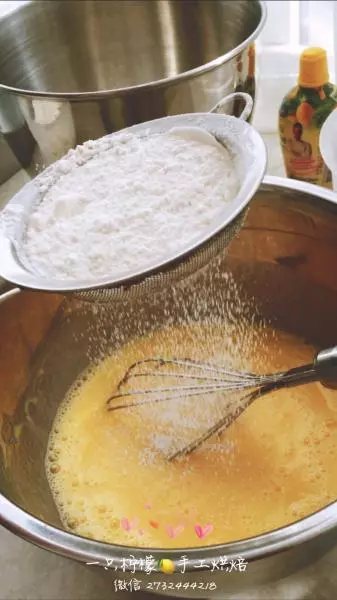
4低筋麵粉分多次篩入一層,畫Z字攪拌,看不到乾粉,再次篩入乾麵粉。 如此,分5-6次篩完麵粉。 輕輕攪拌,不要過度攪拌使麵糊上勁
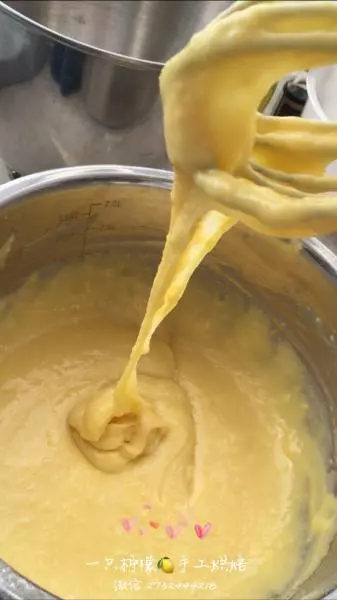
5麵粉混合完的狀態 順滑,沒有顆粒。 放到旁邊待用
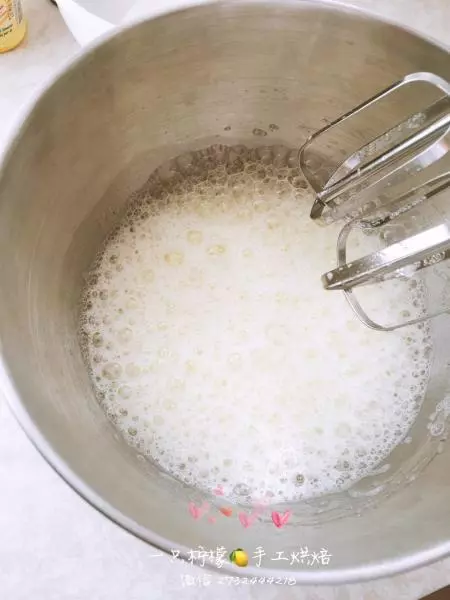
6打蛋白糊 用電動打蛋器 高速!打到大泡泡狀態加入100g砂糖的三分之一。再用中速打
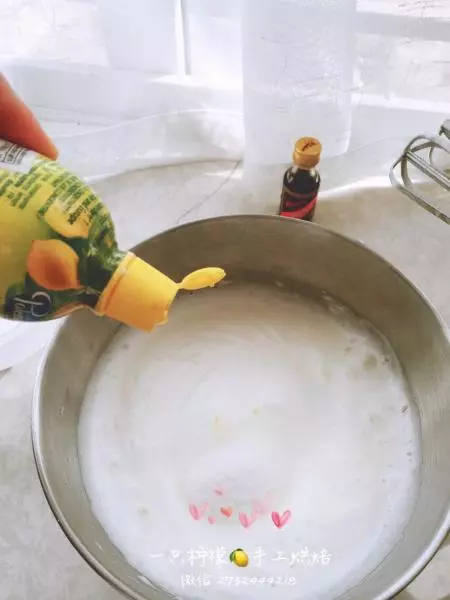
7中速!打到特別密的小泡泡狀態,加入100g砂糖的三分之一。再加入10滴檸檬汁 檸檬汁是防止消泡的,如果沒有,加10滴白醋也可以。 繼續用低速打
8低速!打到有紋路出現,加入剩下的砂糖。 繼續用最低速度打蛋白。
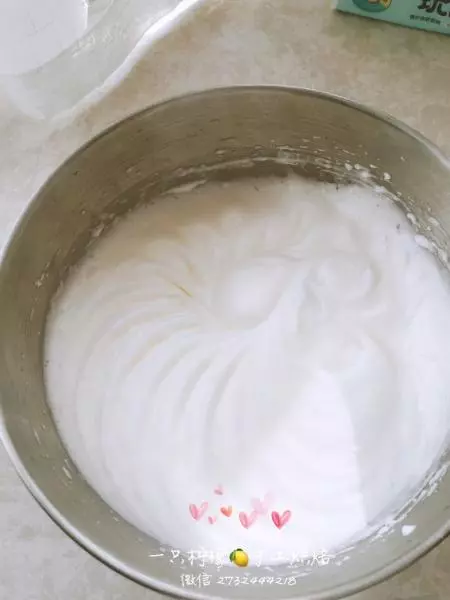
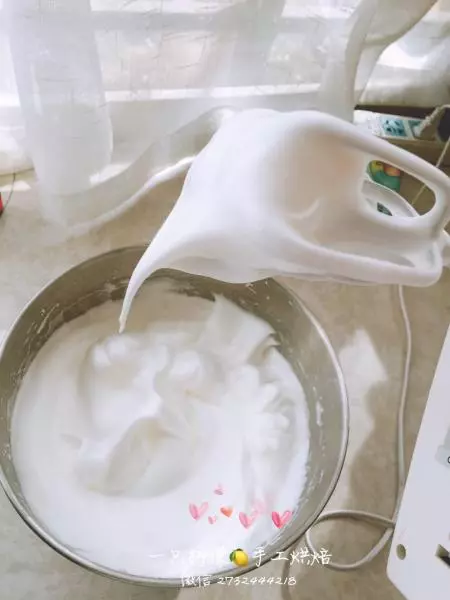
9打到8-9分發就可以(有大彎鉤)
10蛋黃糊中加入三分之一蛋白糊,J字攪拌均勻。速度要快,但是還不能太用力。防止消泡
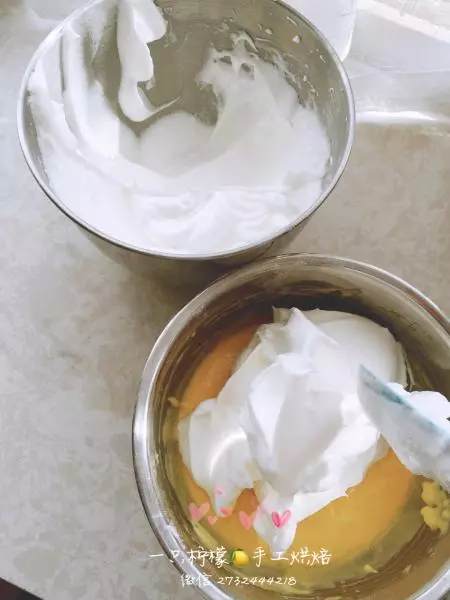
11把攪拌均勻的麵糊加入剩餘的蛋白中。同樣的手法,攪拌均勻,速度要快。 攪拌好後的麵糊有光澤,不消泡

12倒入模具中,從10厘米高的地方摔下模具,讓大氣泡出來 防止烤好的蛋糕坯有大氣孔

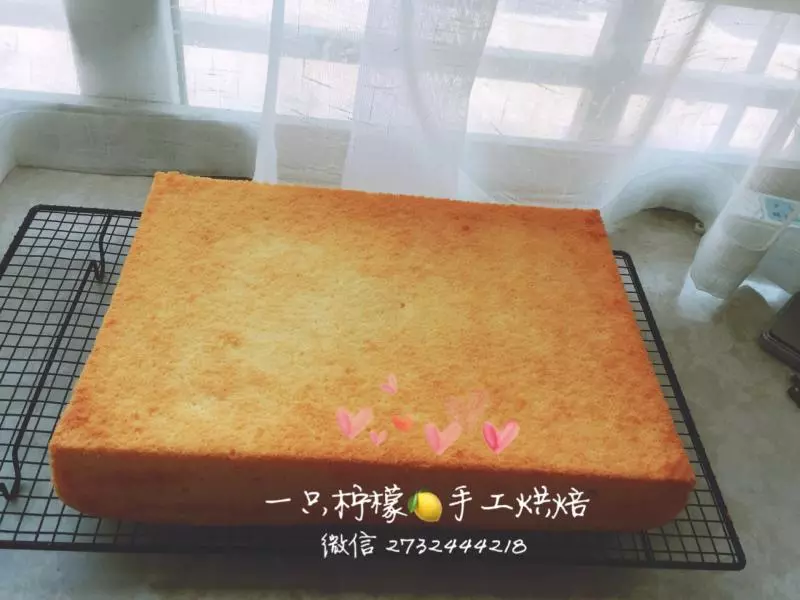
13上下火150度,烤70分鐘。 要根據自己的烤箱來調節溫度 溫度不要太高,突然膨脹的蛋糕坯容易裂 蛋白不要打太硬,也容易裂
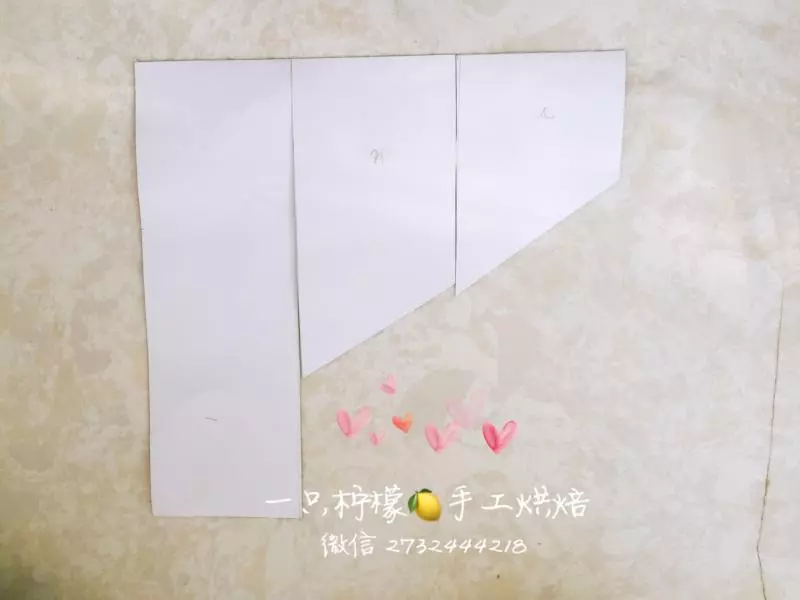
14烤蛋糕坯的時間,可以用方形的紙剪成這樣的三塊 我用的23×23cm的紙平均分開的
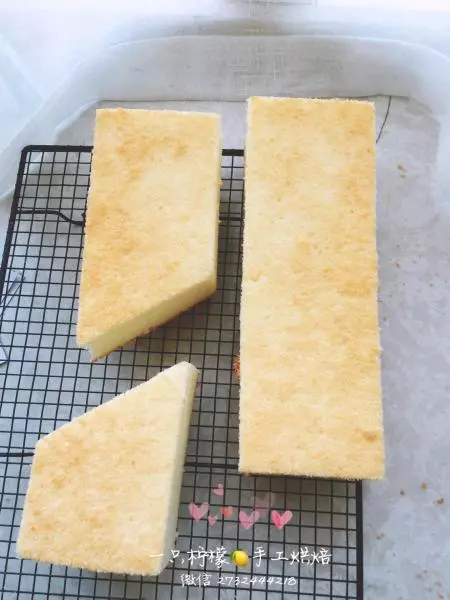
15蛋糕出爐,從20厘米高的地方平穩的摔下來,振出熱氣(防止熱氣在模具中,把蛋糕悶的就像泡在水裡一樣泡壞了)倒扣在架子上,徹底涼透在脫模。 紙片踏在蛋糕上,切出形狀。 忘記拍怎麼拼在一起的啦。下廚房可以搜到 https://www.xiachufang.com/recipe/102881103/
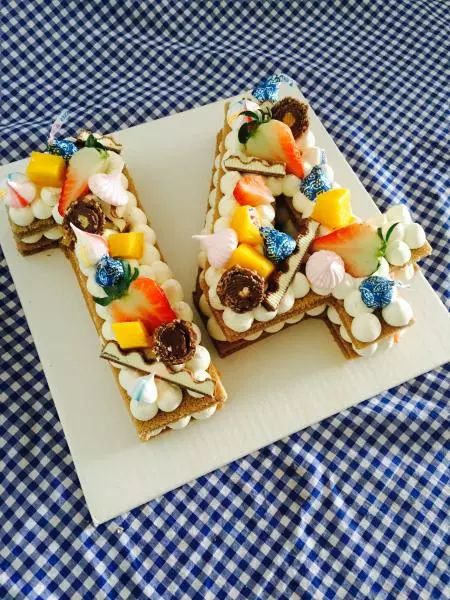
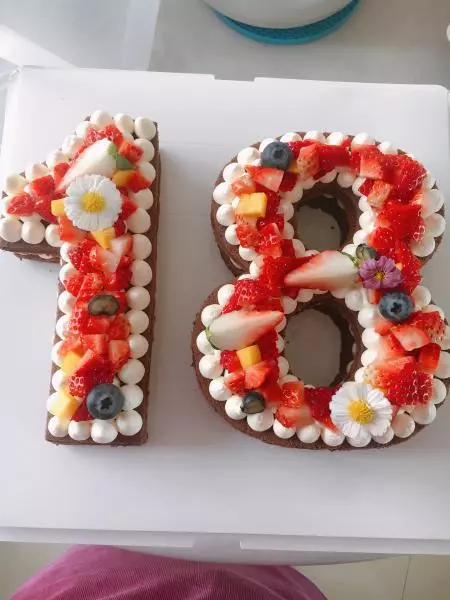
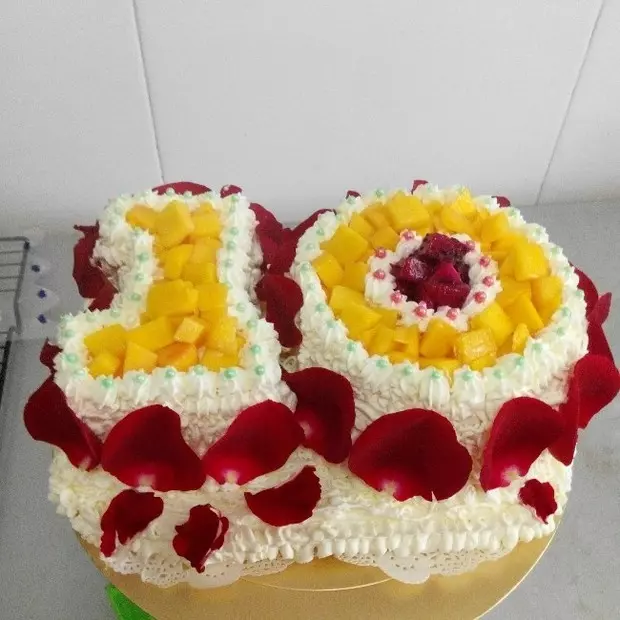
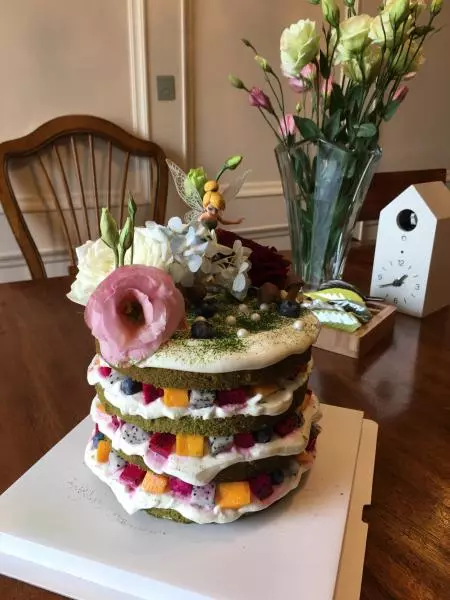
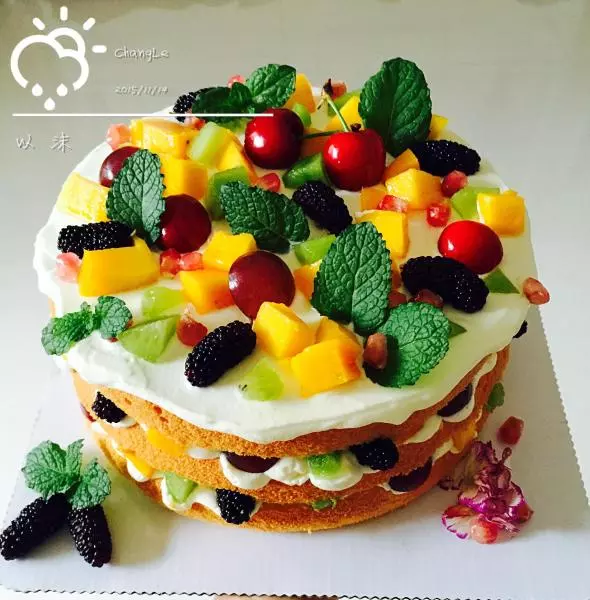
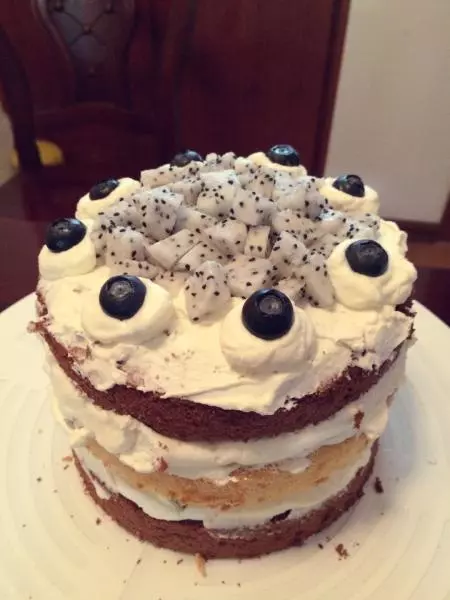
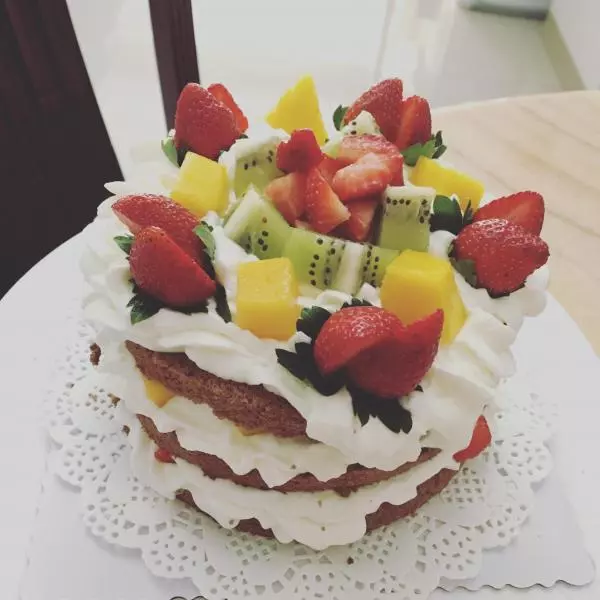
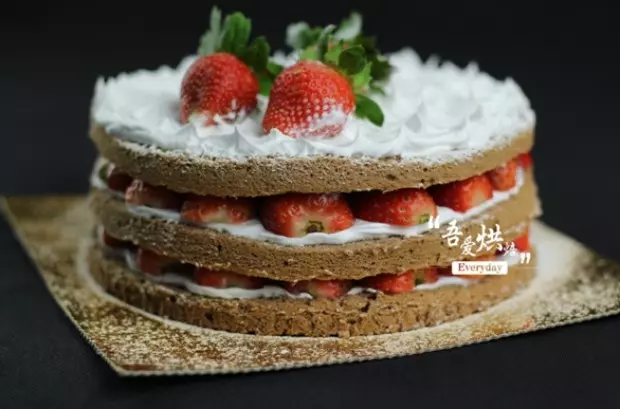
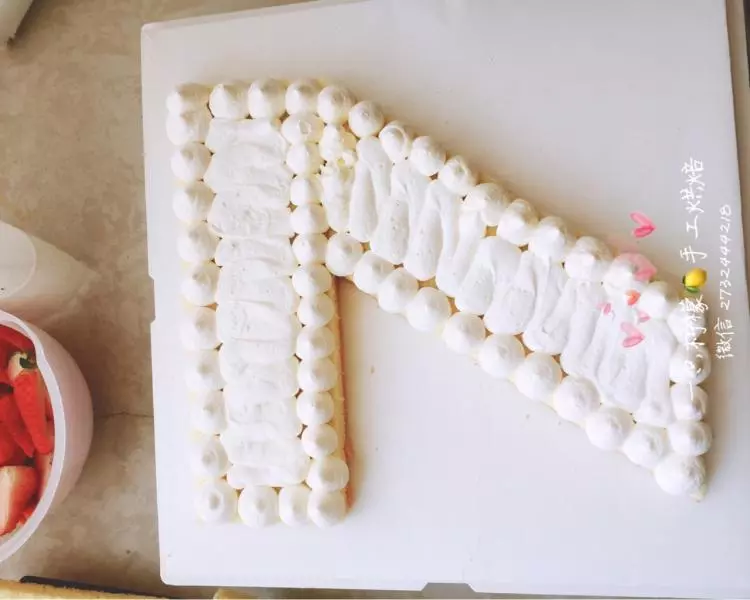
16我的蛋糕坯烤好比較厚,分3片。每一層都這樣擠奶油,再鋪你喜歡的水果
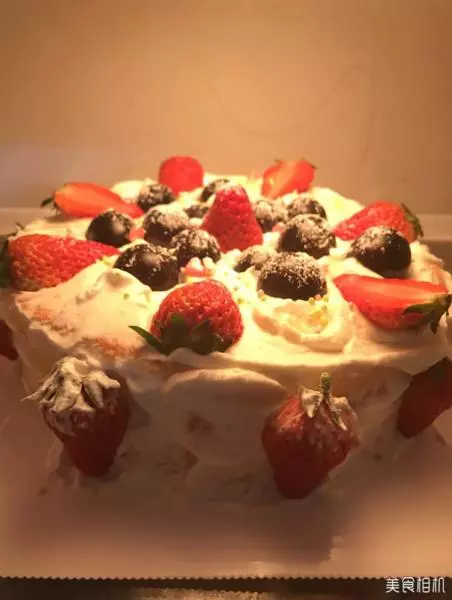
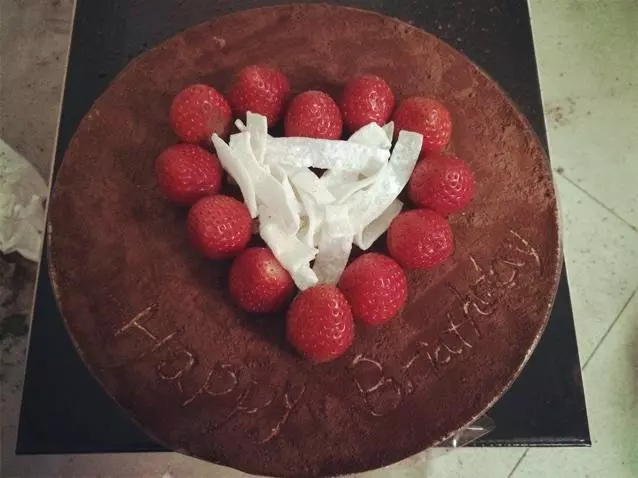
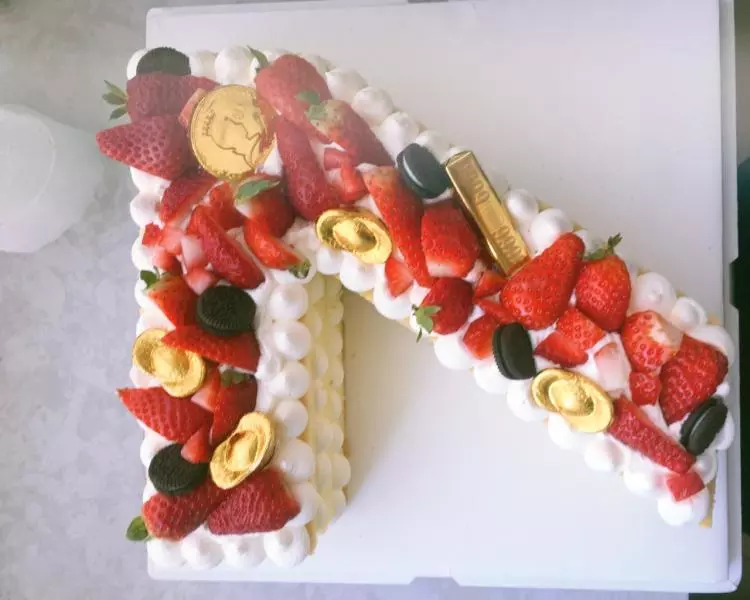
17表面裝飾水果和徐福記的巧克力,奧利奧? 大功告成,
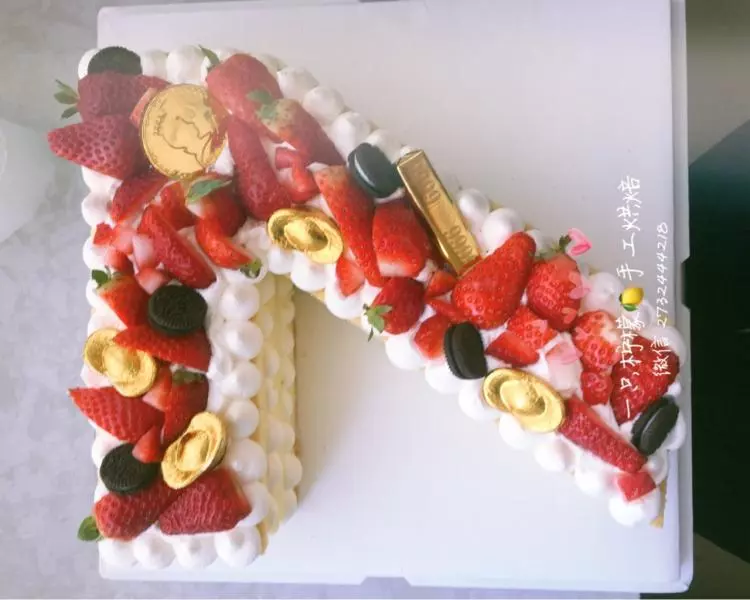
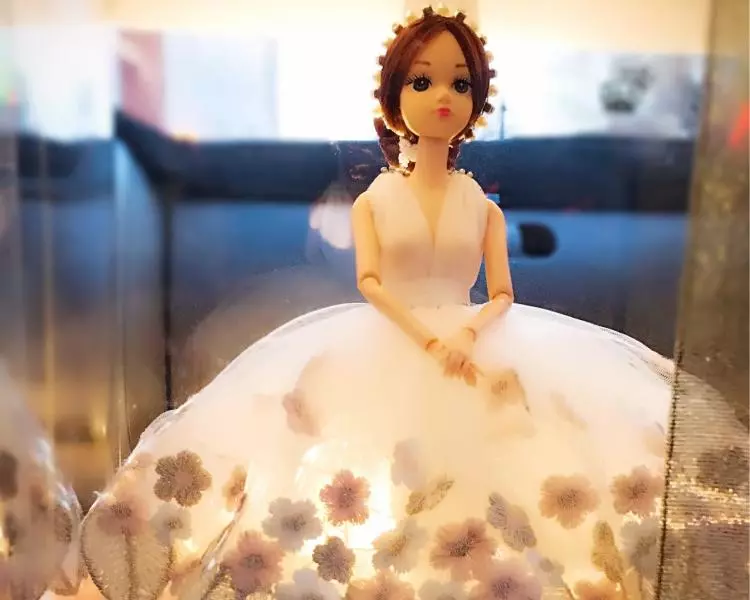
18點蠟燭,金色紅色搭配,超級漂亮
小技巧
蛋白不要打的太硬,容易爆頭,裂出大峽谷。 淡奶油我覺得鐵塔和安佳都要比藍風車更好吃呢,藍風車吃多了會膩。