原料
蛋撻皮: 6隻, 雞蛋: 2隻, 鮮牛奶: 45ml, 淡奶油: 60ml, 白糖: 20g
步驟
1把所需材料準備好

2稱取白糖20g

3將鮮牛奶和白糖混合

4攪拌均勻

5取蛋黃一個、全蛋一個,打勻。

6將雞蛋和牛奶糊攪拌均勻。

7混合好的蛋撻液過篩。

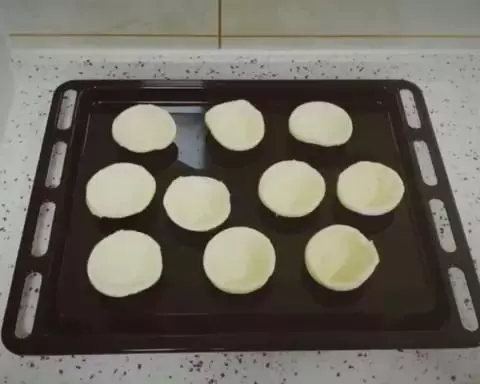
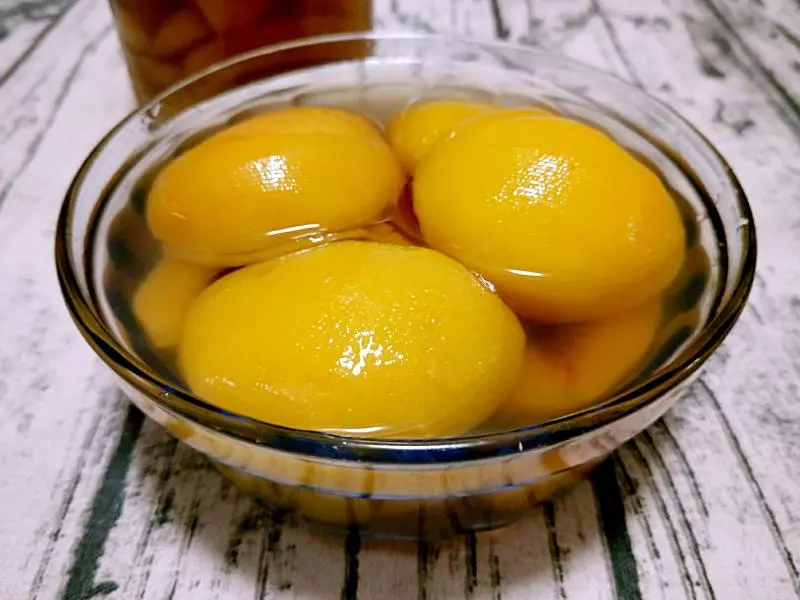
8蛋撻皮擺放好,加入自己喜歡的輔料,我加了黃桃和松子。

9蛋撻液到8成滿。

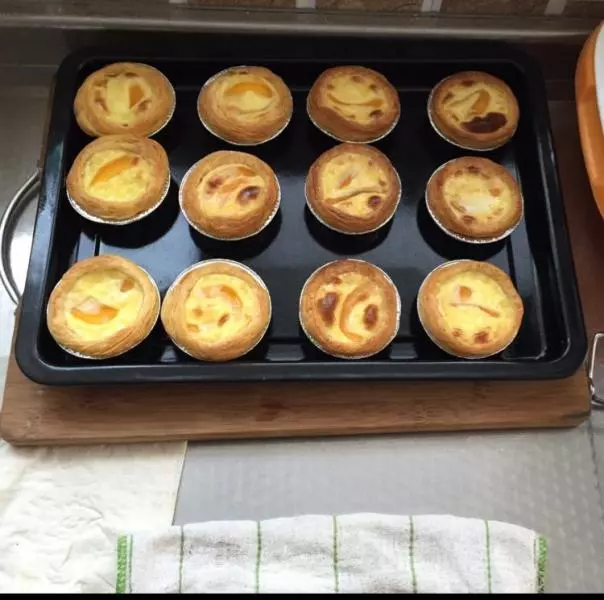
10預約烤箱。 我把烤盤放在靠下面的第二次,先下管180度加熱10分鐘,再上下管200度加熱15分鐘。 香噴噴出爐啦。

小技巧
蛋撻液不要倒太多,否則容易溢出。 合適的烤制時間以及所放位置,可能因烤箱不同而變化。