原料
黃瓜: 1根, 胡蘿蔔: 1根
步驟
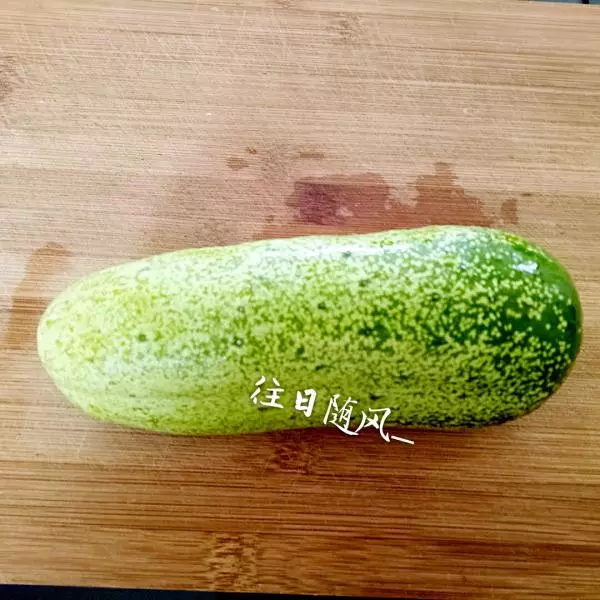
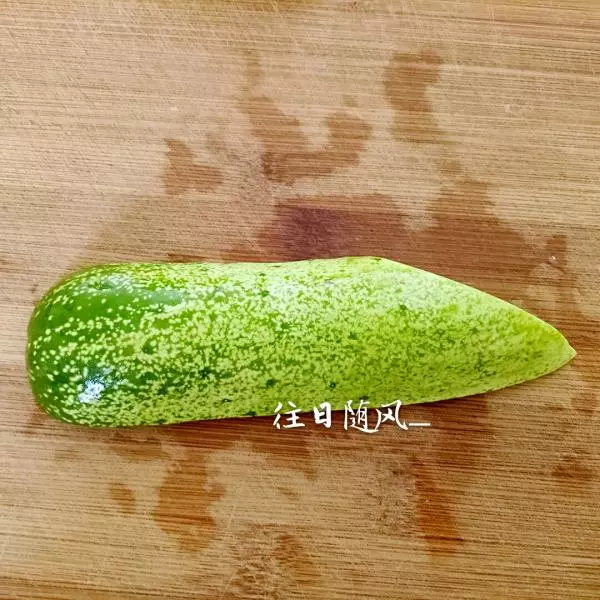
1黃瓜洗凈,用深色黃瓜更好看,家裡沒有深色的,用這個代替了。
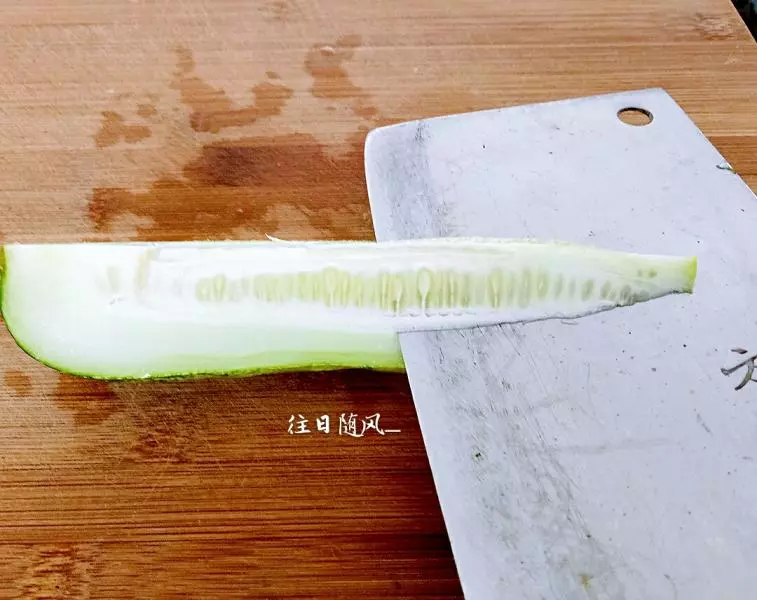
2切成四半

3去掉瓜瓤
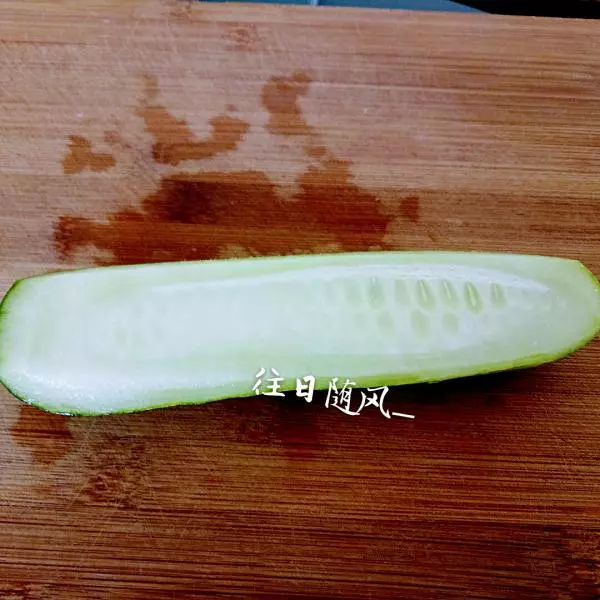
4去掉後的樣子
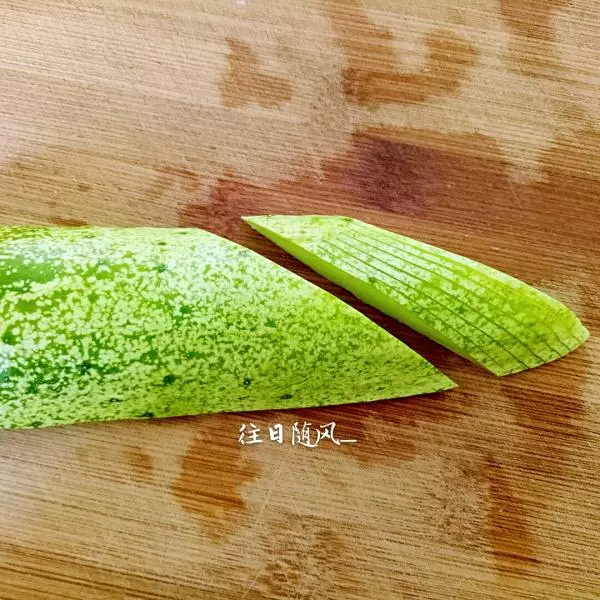
5翻過來切一刀大斜刀
6然後連切幾刀,我切了七刀,上面不要切斷。
7在連著的一面用刀去皮,不要去到頭,留一塊連著。
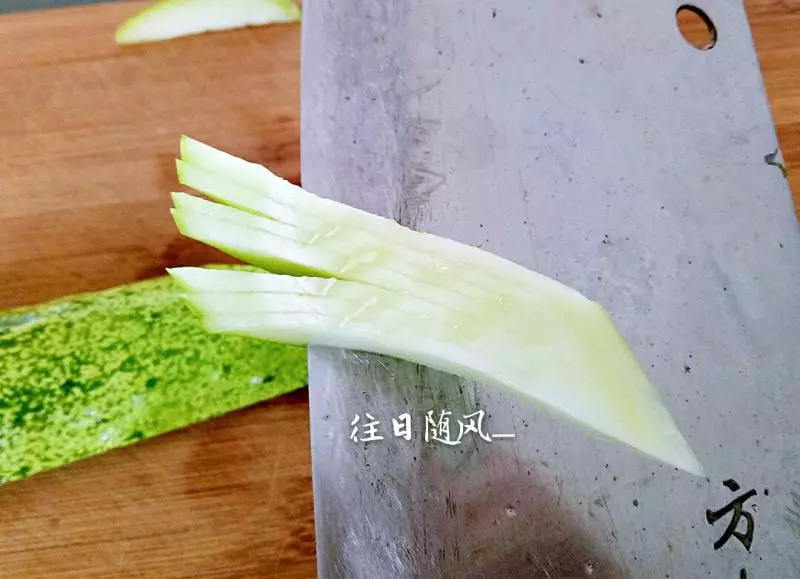
8怕上一步看不清楚,換個角度,上一步完成後的樣子。
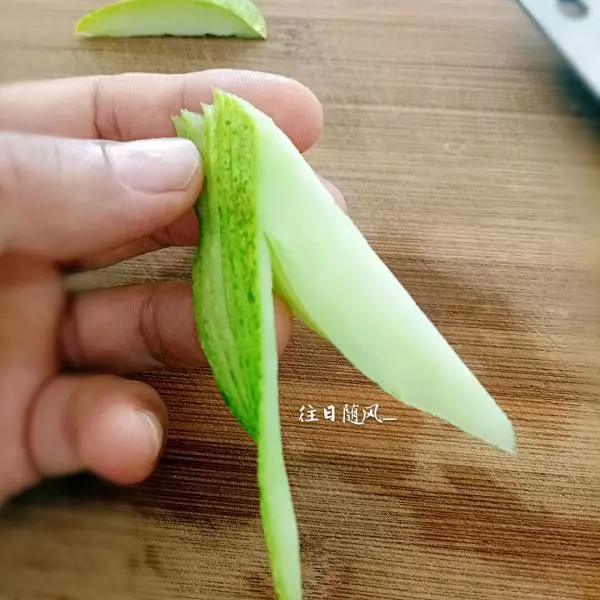
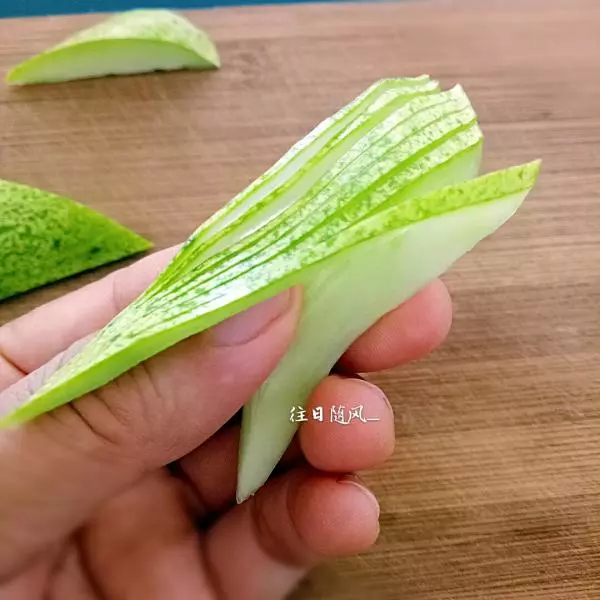
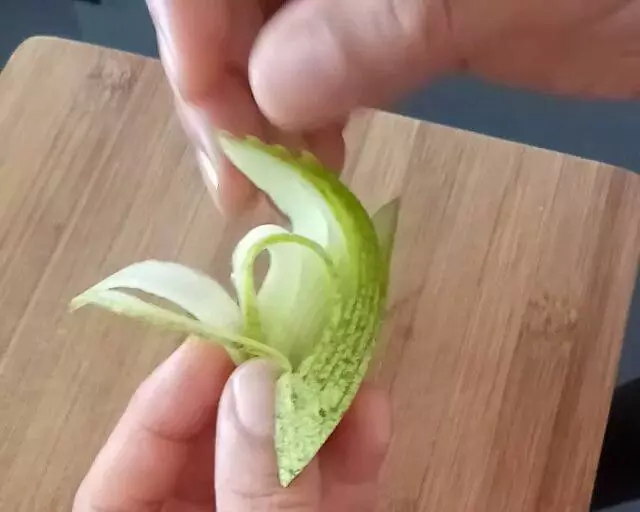
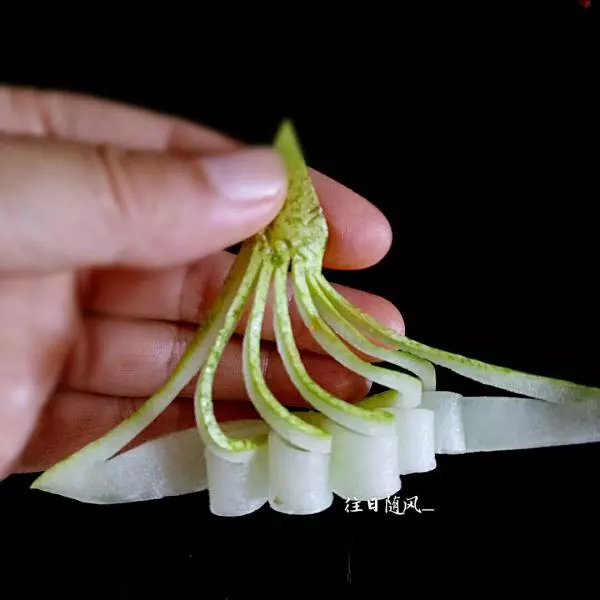
9大拇指放在皮下面,把中間的瓜片逐片彎過去,邊往裡彎邊用拇指和食指捏住彎好的頭部,好固定住花型。
10動圖
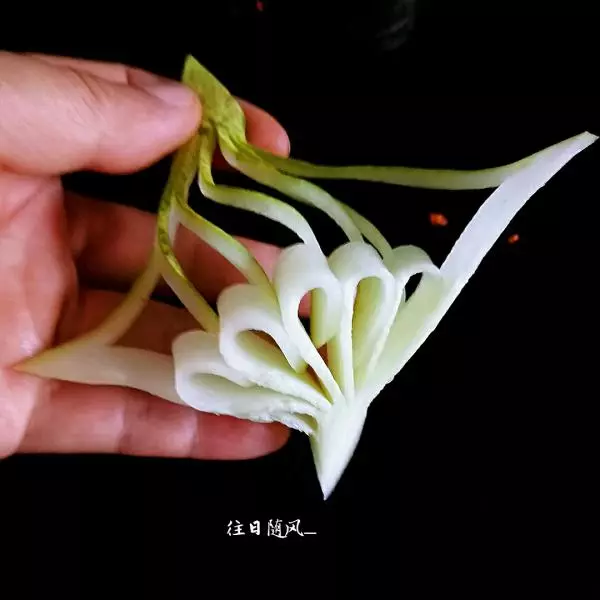
11完成(如果想要我手捏的部分翹起更高,做好後放涼水裡泡一小會兒,約十幾秒鐘即可)
12反面
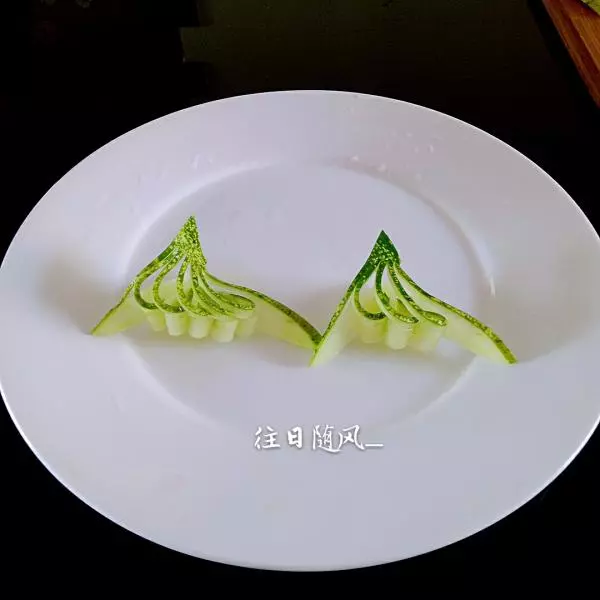
13左邊是七刀的,右邊是五刀的。做好可以隨意搭配做盤飾,使菜品更加有檔次。
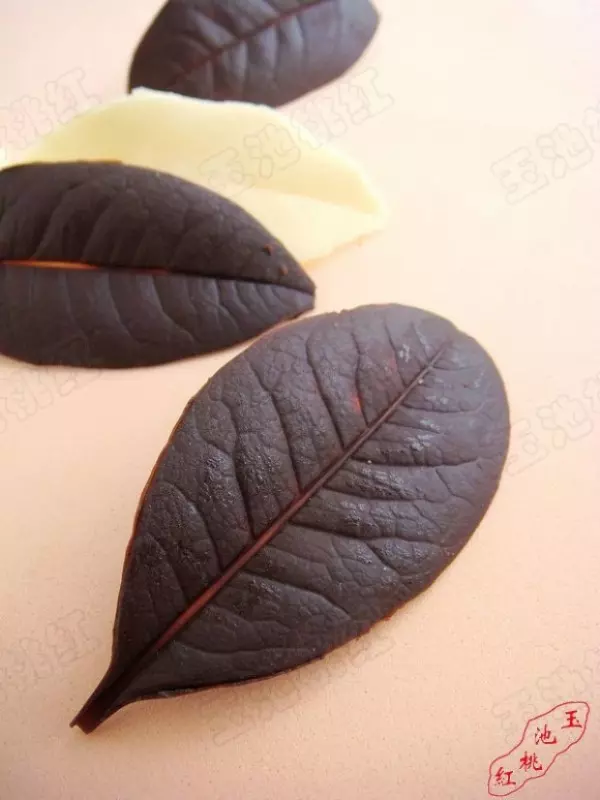
14把胡蘿蔔一側切成平面。
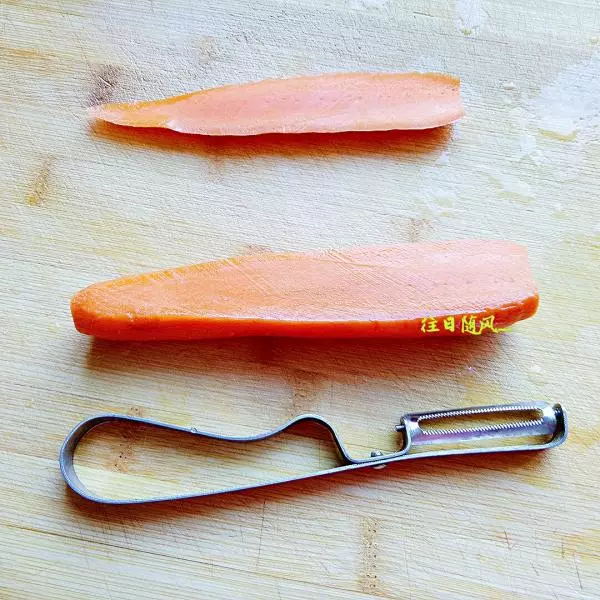
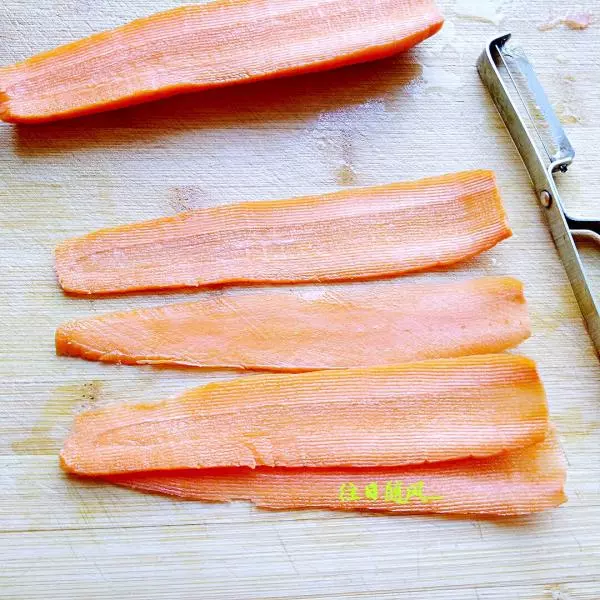
15用土豆皮刀削成薄片。
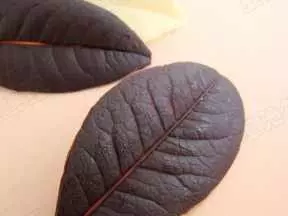
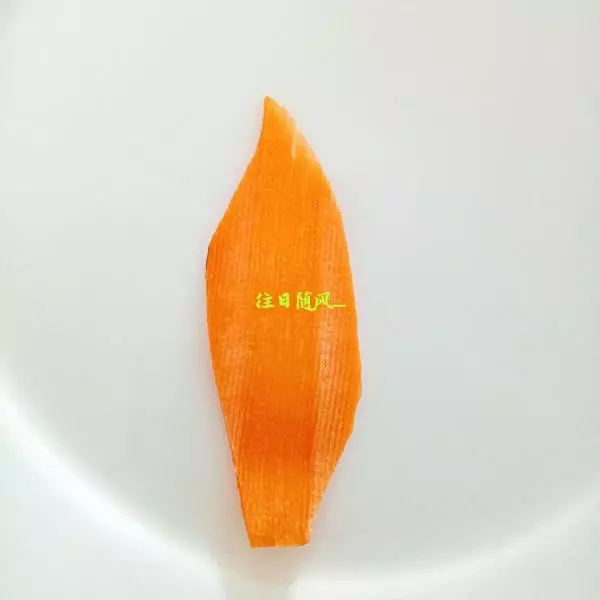
16用刀把外面修成樹葉形狀。
17用尖刀在里側刻出長形的小眼兒。
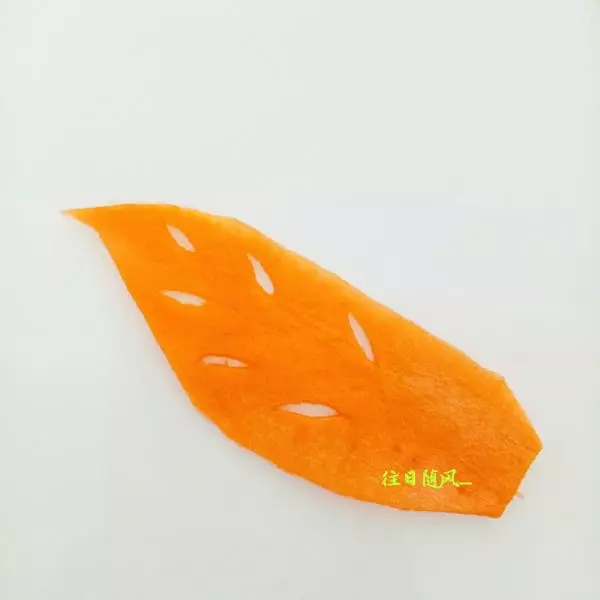
18然後在外邊兩個小眼兒之間刻出小豁口,一片葉子就完成了。
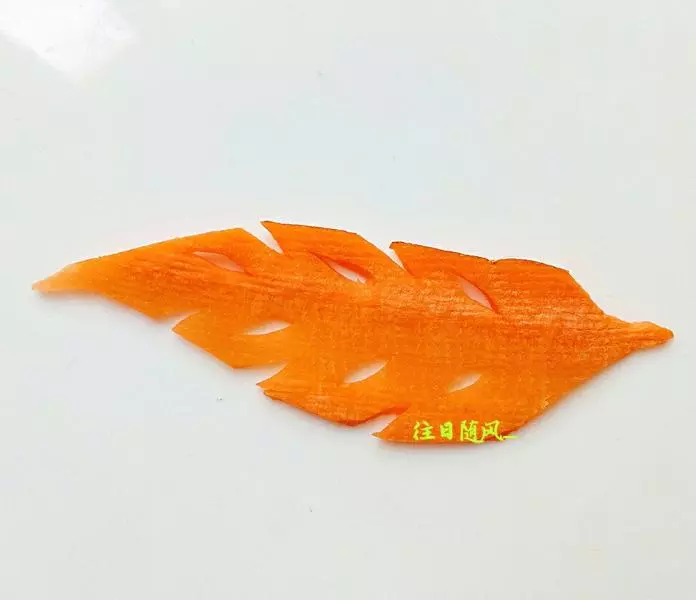
19多做幾片隨意擺
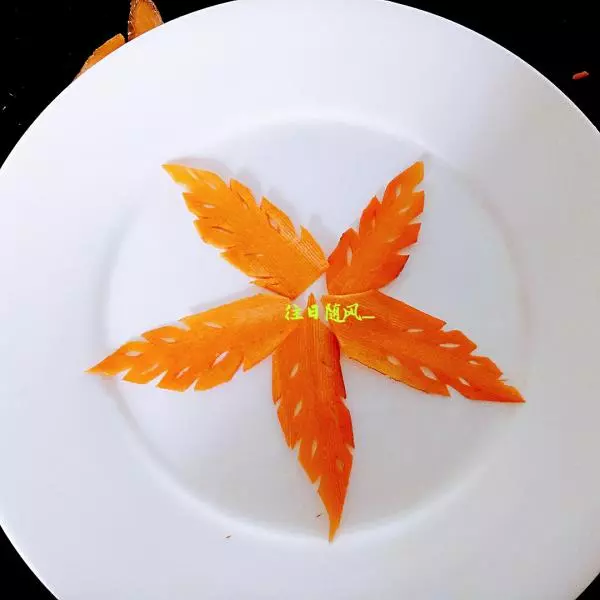
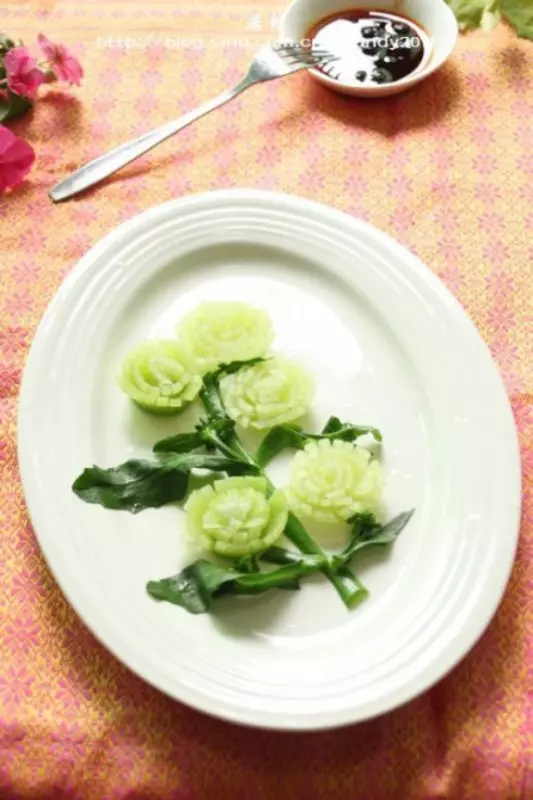
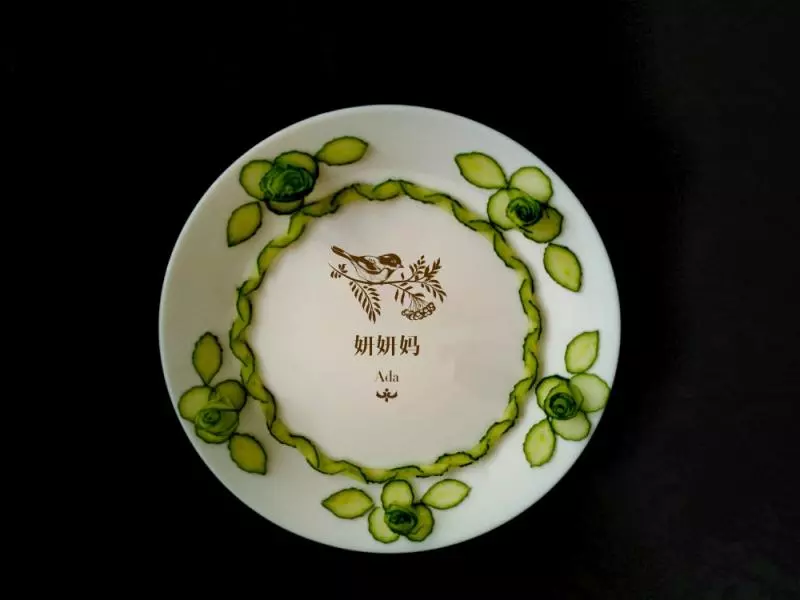
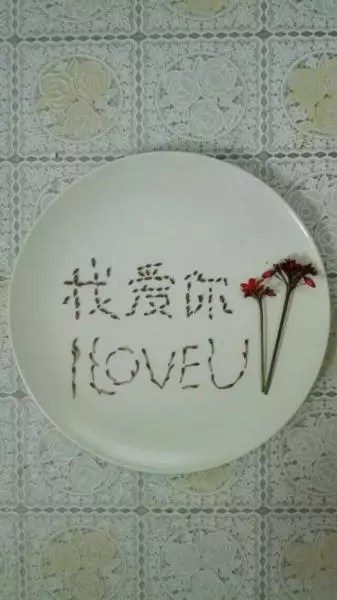
20成品

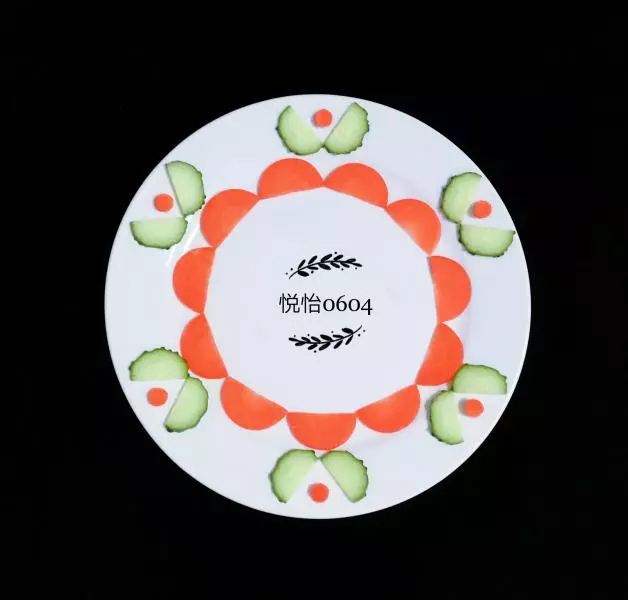
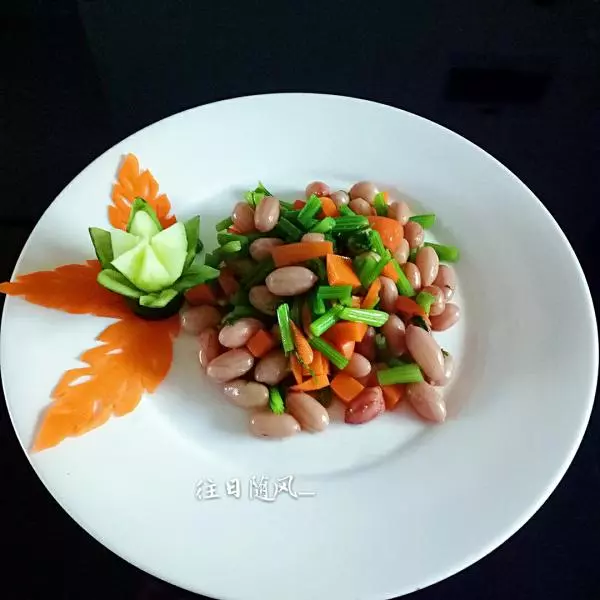
21成品擺盤
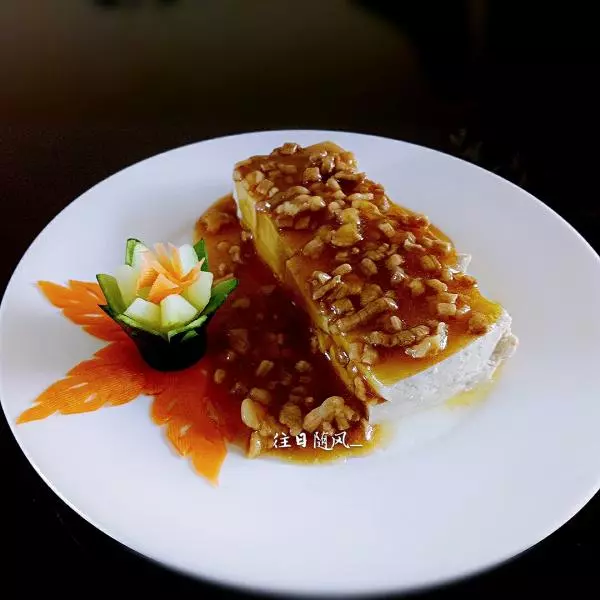
22擺盤
小技巧
黃瓜連切多刀不太好操作,可以把兩邊的兩片切稍厚一點,動圖那個邊上切的有點薄,來回拍視頻,邊上那片有點要斷了。