原料
戚風蛋糕杯: , 雞蛋: 3個, 糖: 45g, 植物油: 35g, 牛奶: 1/4杯, 低筋麵粉: 75g, 香草精: 1 tsp, 鹽: 1/8 tsp, 卡仕達醬: , 蛋黃: 2個, 牛奶: 3/4杯, 糖: 20g, 玉米澱粉: 1 tsp, 普通麵粉: 1 tbsp, 香草精: 1 tsp, 淡奶油: 120ml, 糖粉: 適量
步驟
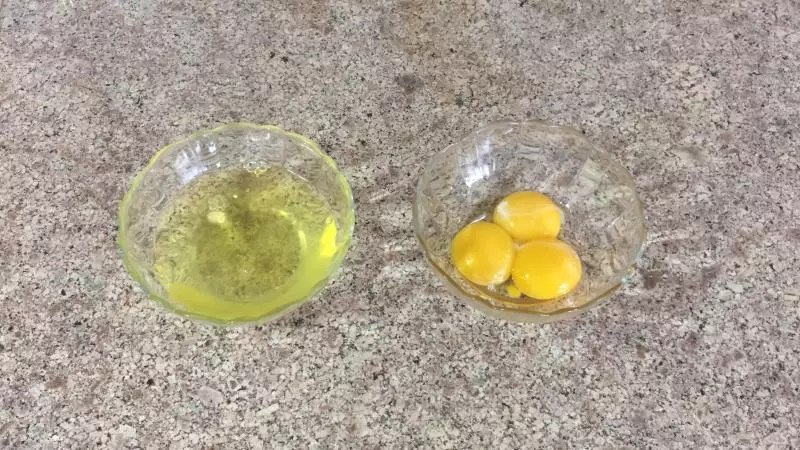
1把蛋白和蛋黃分開
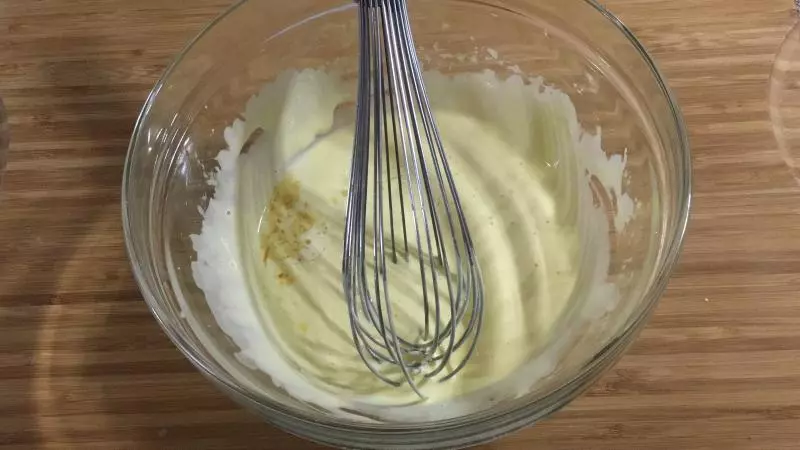
2蛋黃加入糖,攪勻
3加入植物油,牛奶,和香草精,攪勻
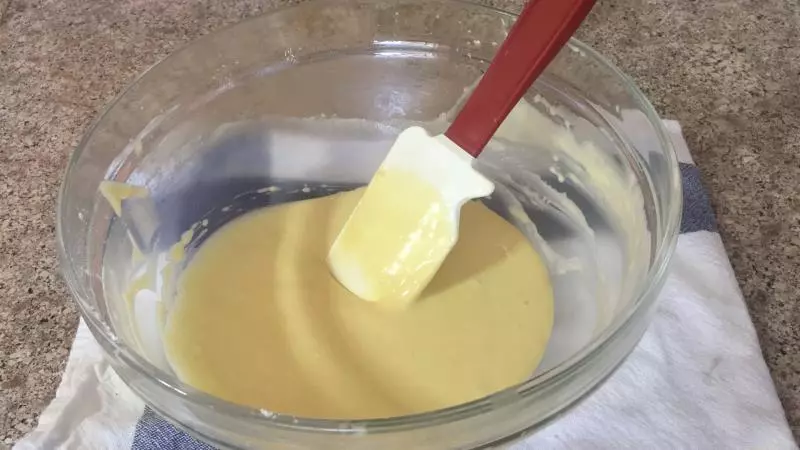
4分批篩入低筋麵粉和鹽

5攪勻,麵糊後備用
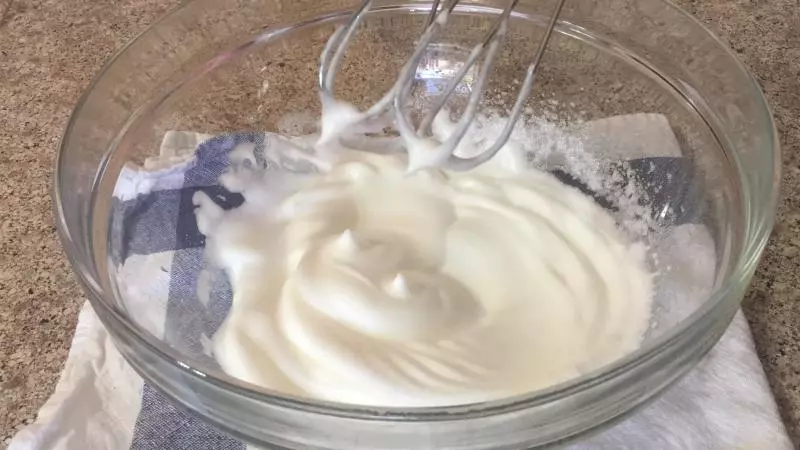
6打發蛋白霜:把蛋白打發至粗氣泡
7分批加入糖,攪勻後再加下一次的糖 打發至硬性發泡
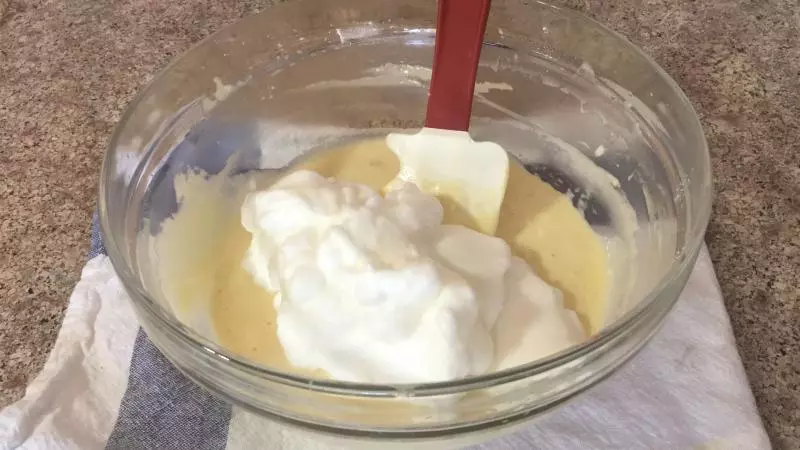
8把蛋白霜像翻書一樣拌入麵糊中。先加入1/3的蛋白霜,拌勻後,再加入剩餘的蛋白霜
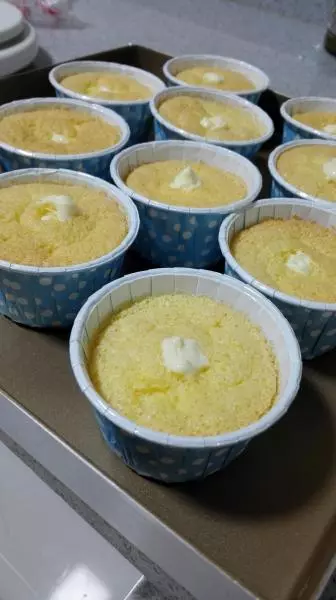
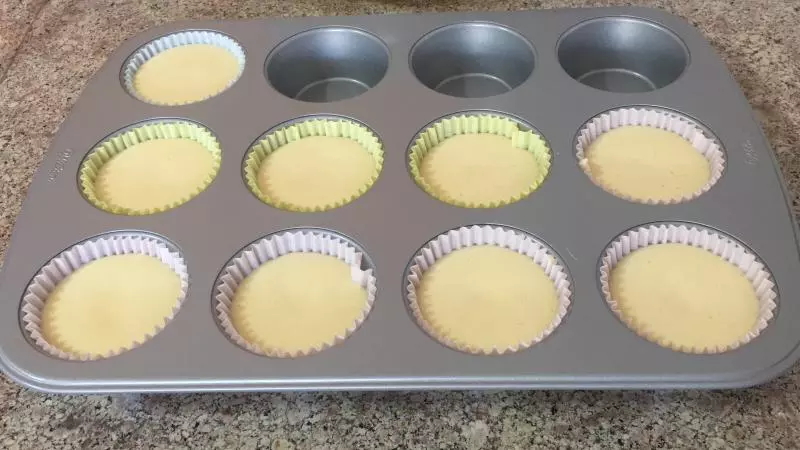
9拌勻後,把麵糊要入紙杯中,大約3/4滿就可以了。 把烤盤在桌子上震幾下,把大氣泡震出
10放入預熱好的烤箱325F (160C) 烤 20-25分鐘
11在烤蛋糕杯時,來準備卡仕達醬:
12把蛋黃打散。加入糖,玉米澱粉,和麵粉,攪勻
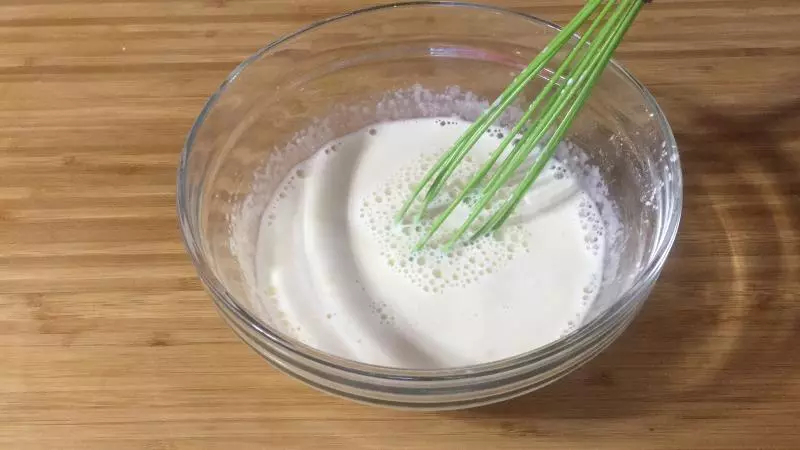
13加入牛奶,攪勻
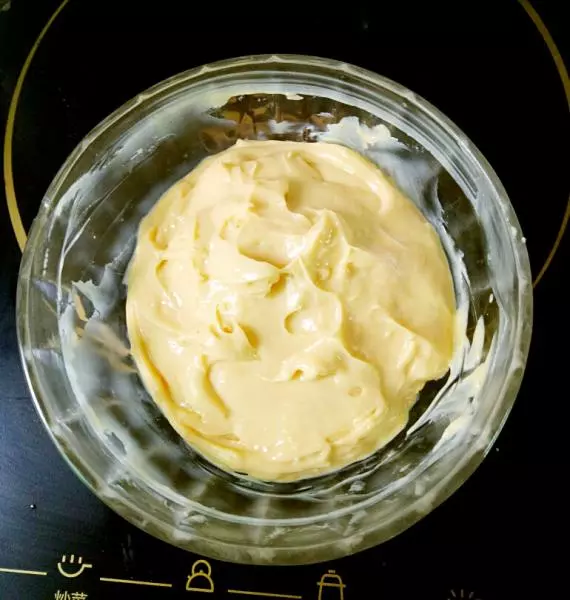
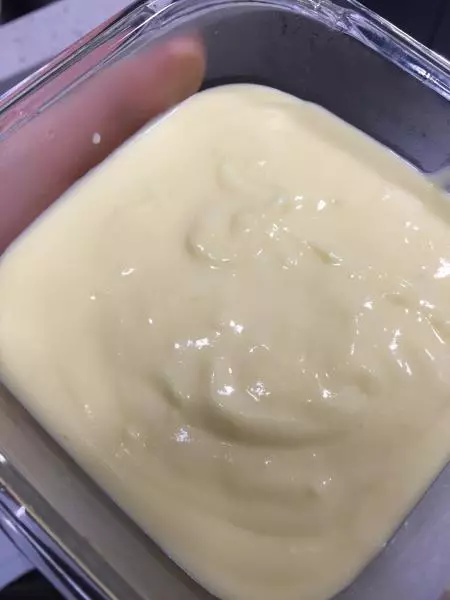
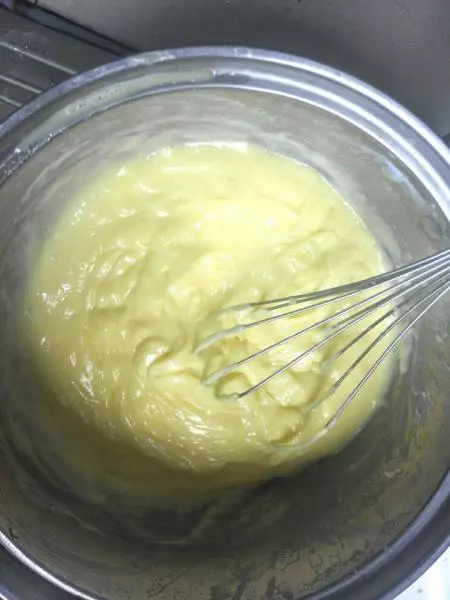
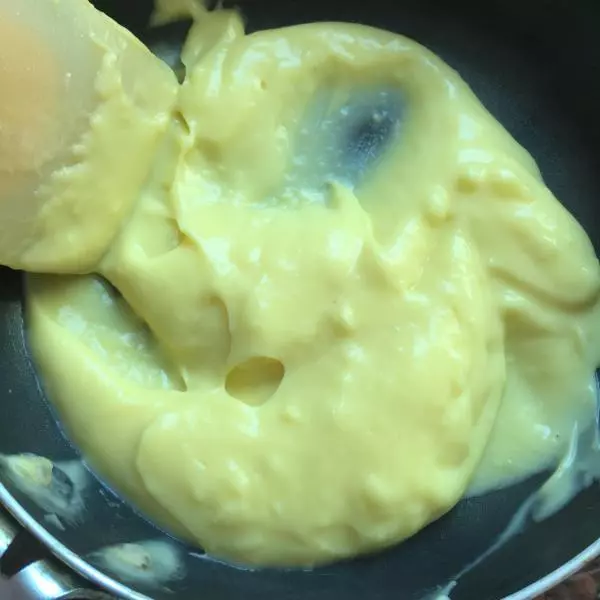
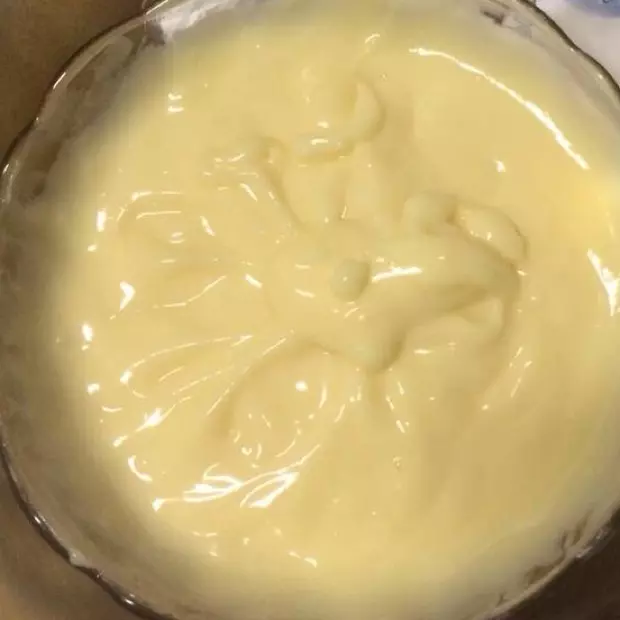
14混合好後倒入小鍋中。 中小火加熱,不停的攪拌
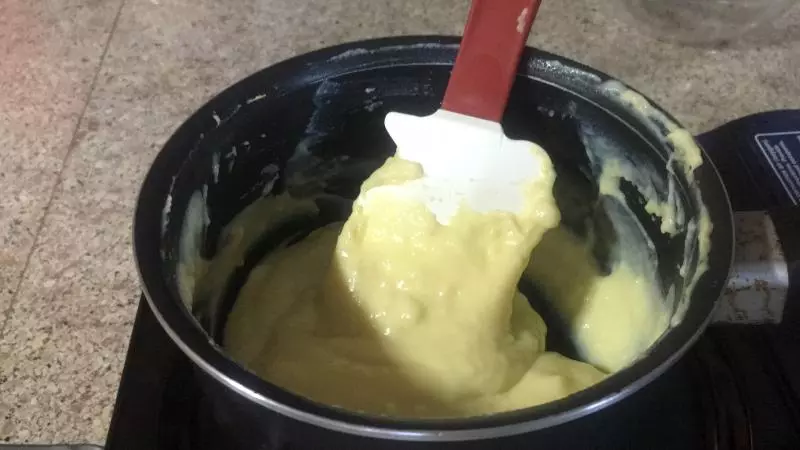
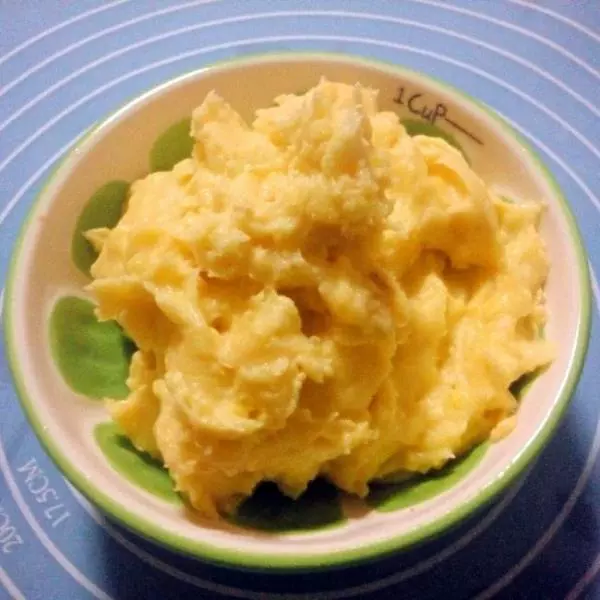
15煮至粘稠,馬上關火,倒出。 加入香草精,拌勻
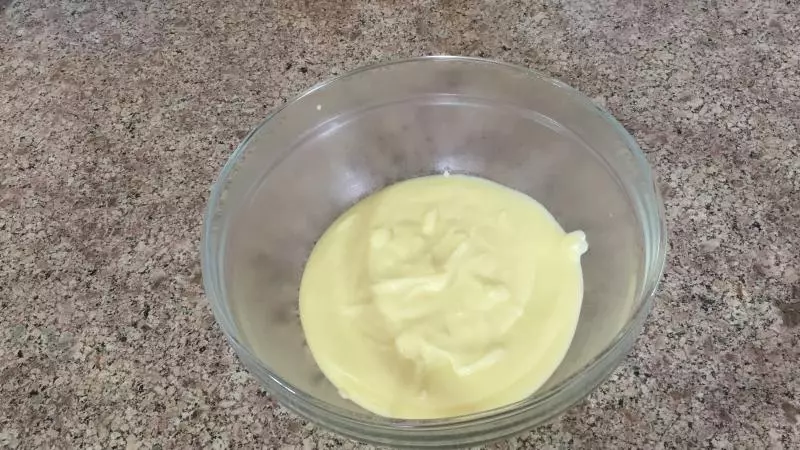
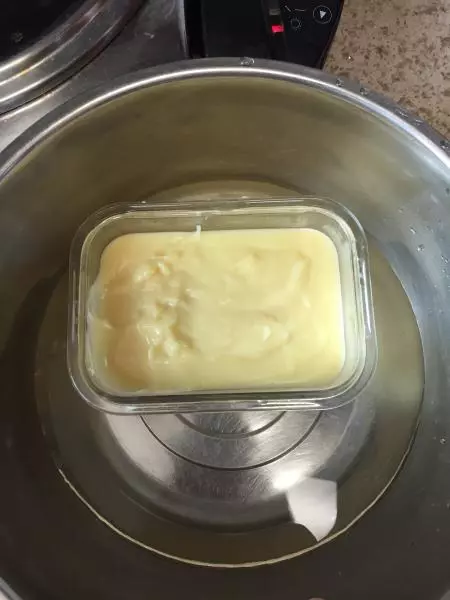
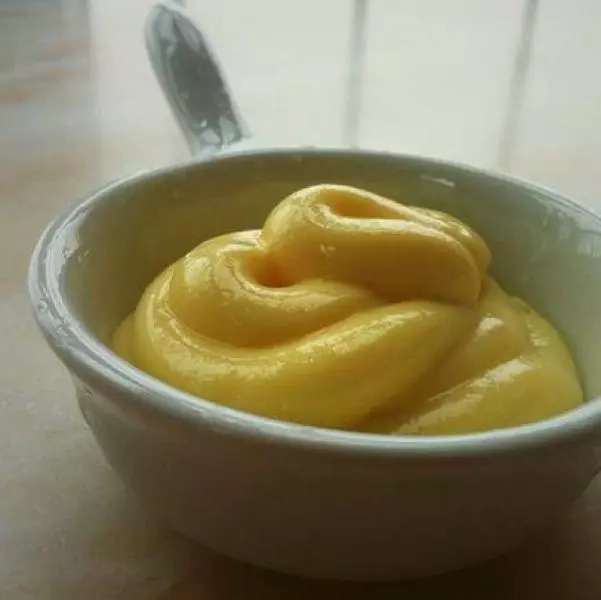
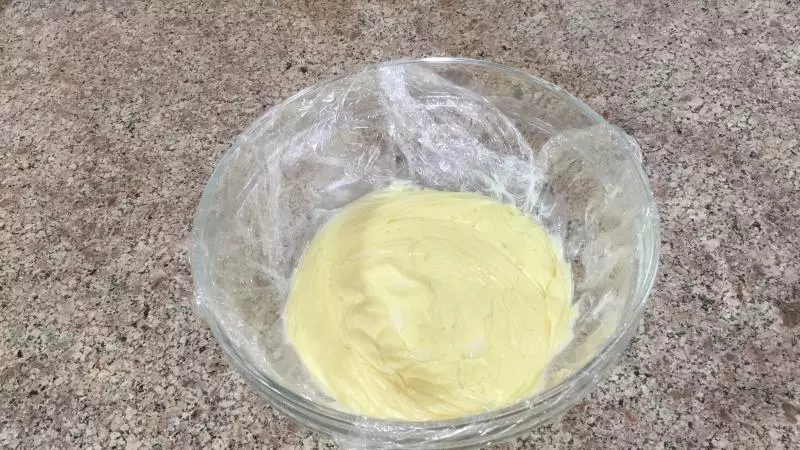
16在做好的卡仕達醬上緊貼蓋上一層保鮮膜,放入冰箱放涼
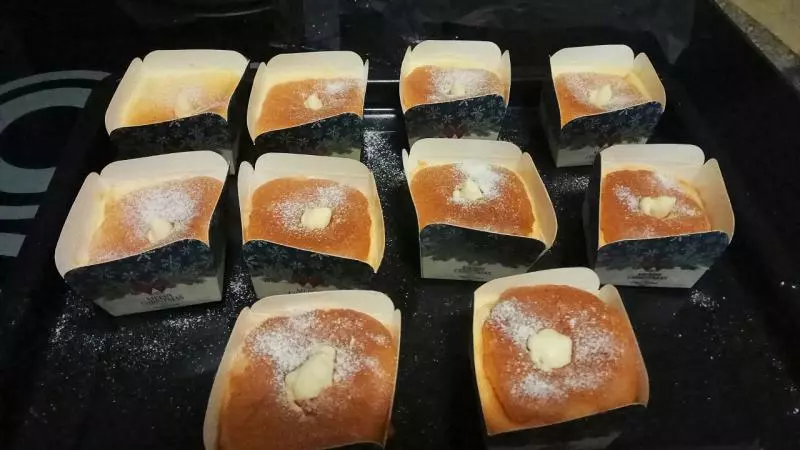
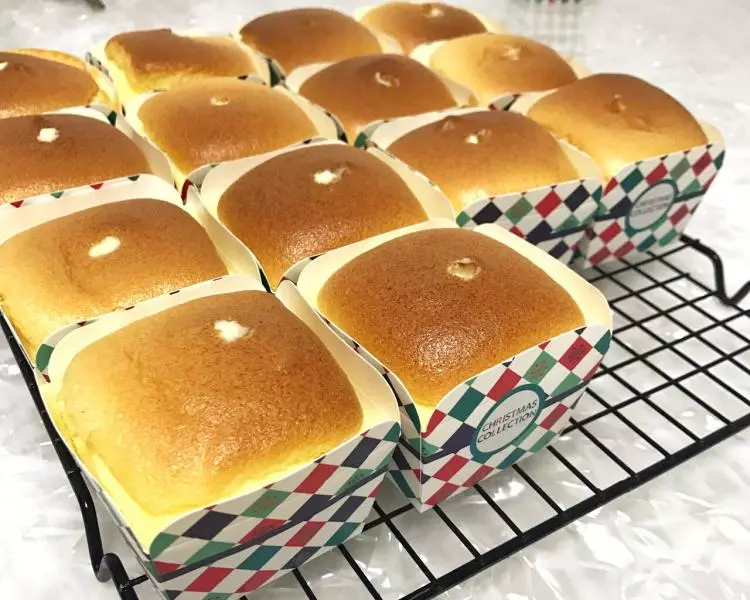
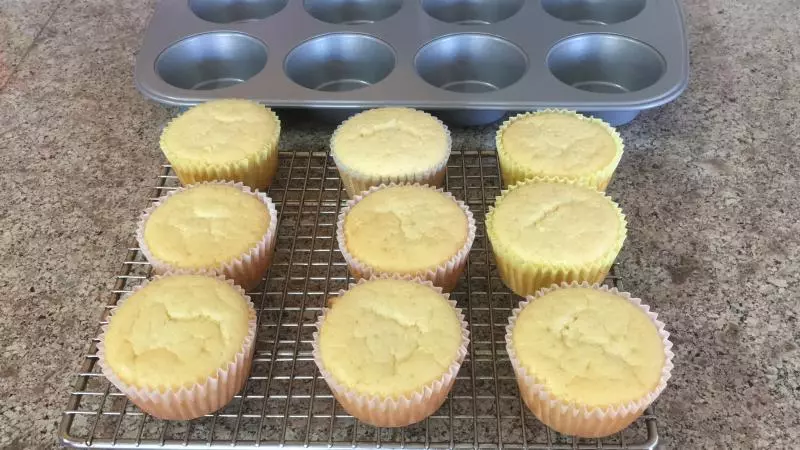
17烤好的蛋糕杯,放到烤架上放涼。
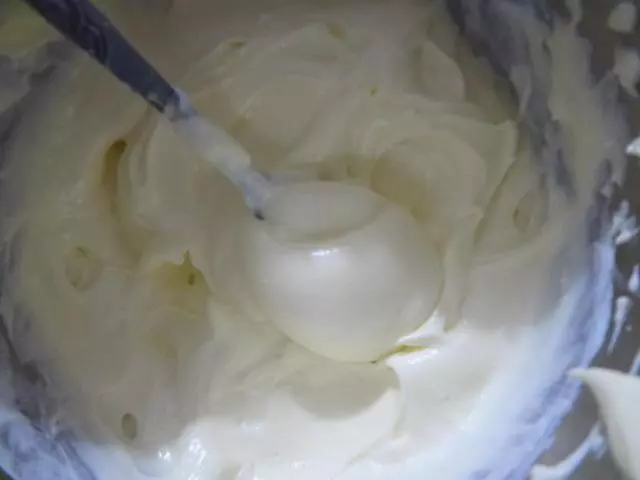
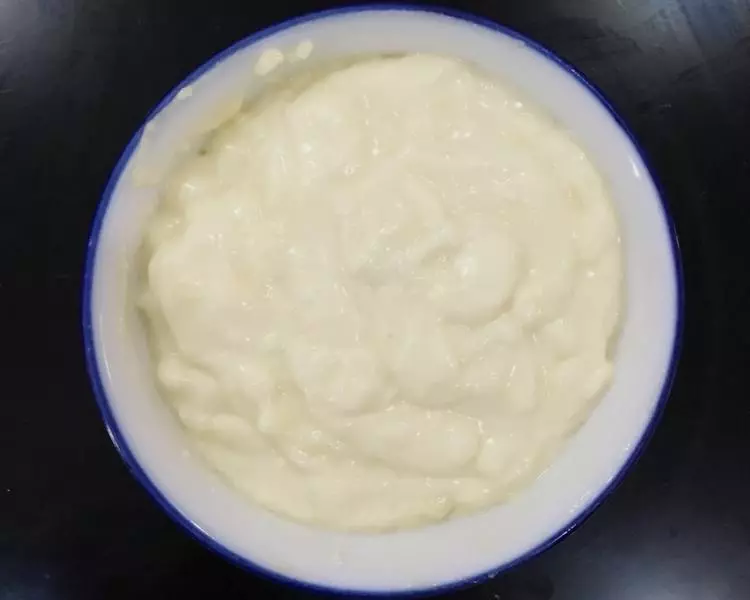
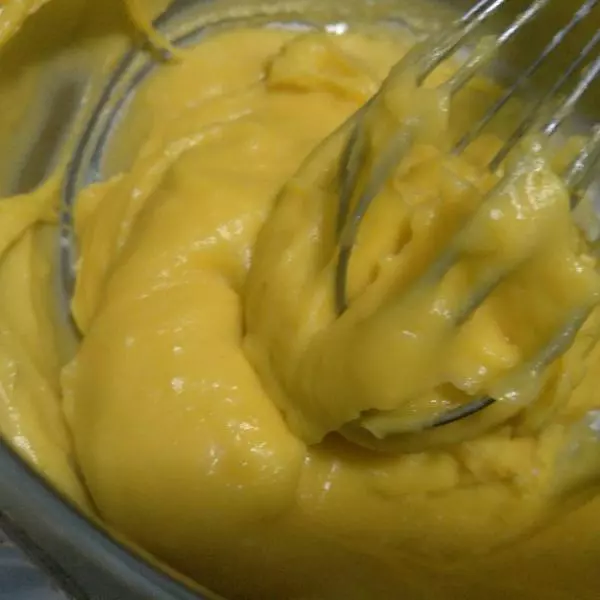
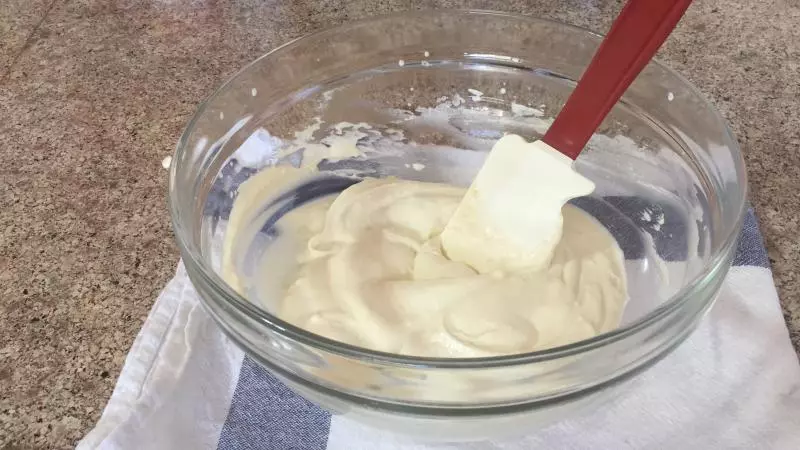
18蛋糕杯和卡仕達醬都完全涼了以後,開始打發淡奶油。 把淡奶油打發至硬性發泡
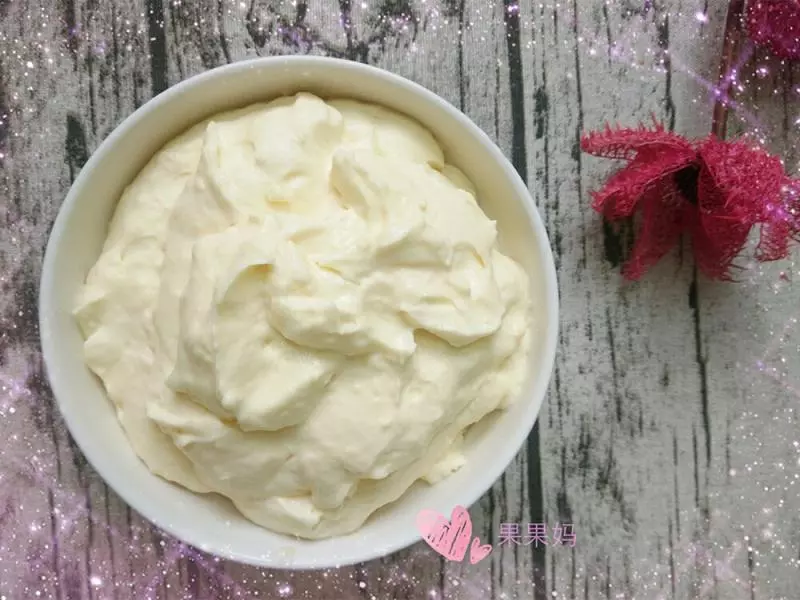
19加入卡仕達醬,攪勻
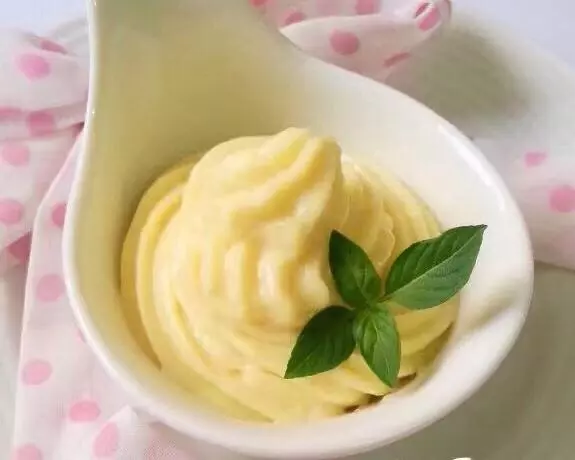
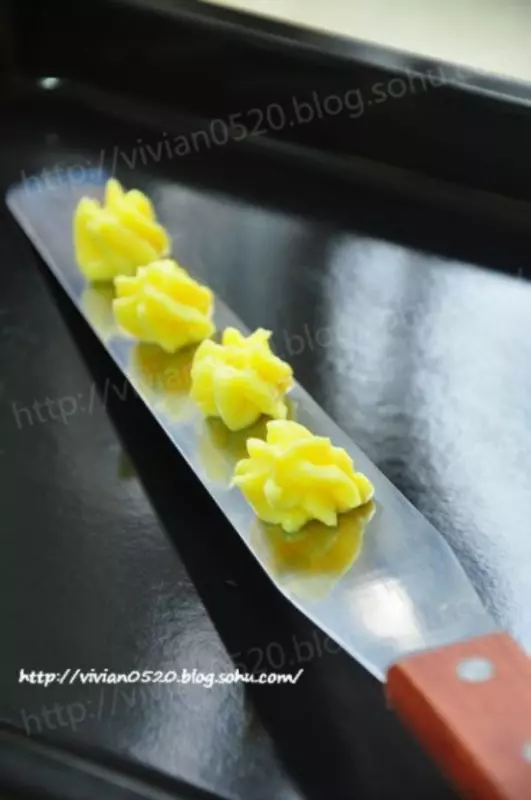
20裝入裱花袋中
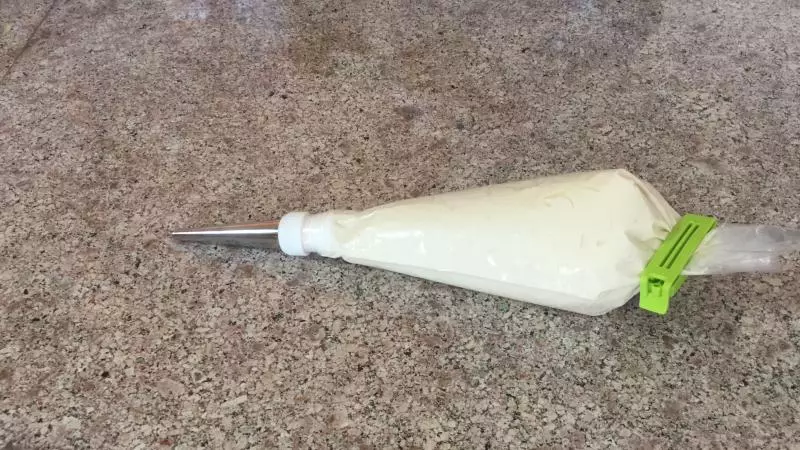
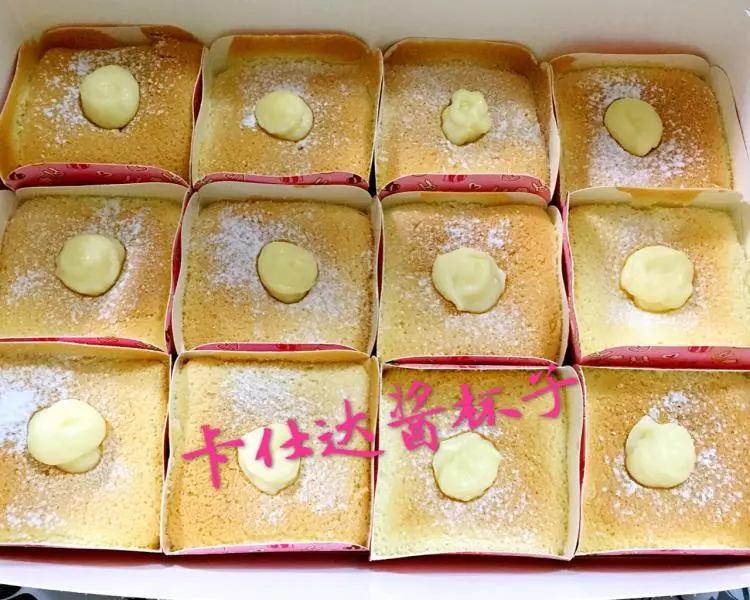
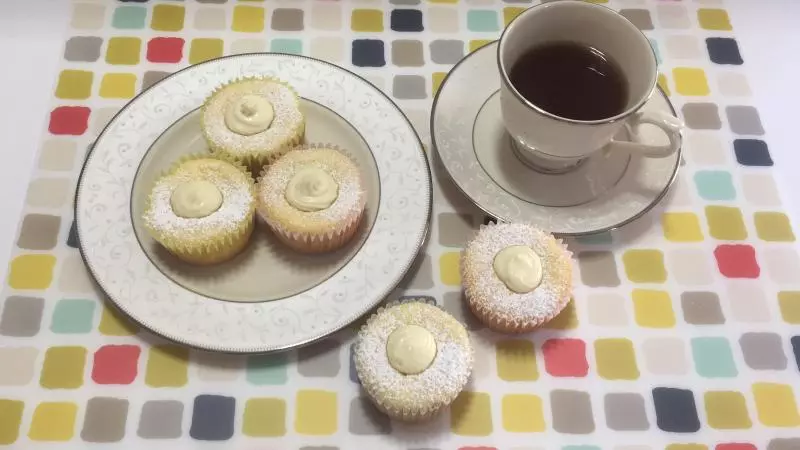
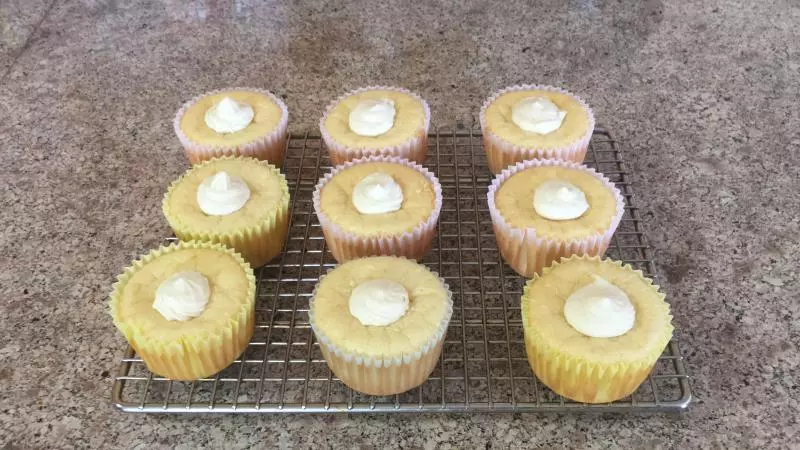
21把卡仕達醬擠入蛋糕杯中
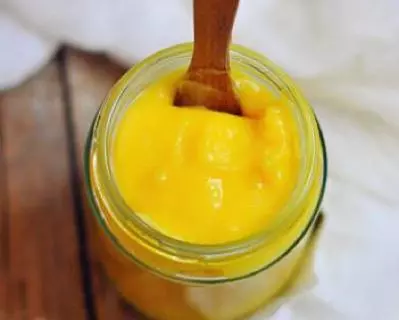
22灑上糖粉
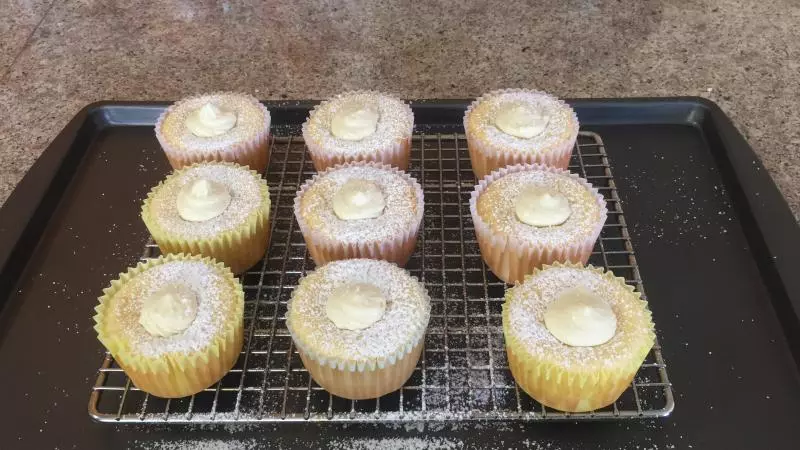
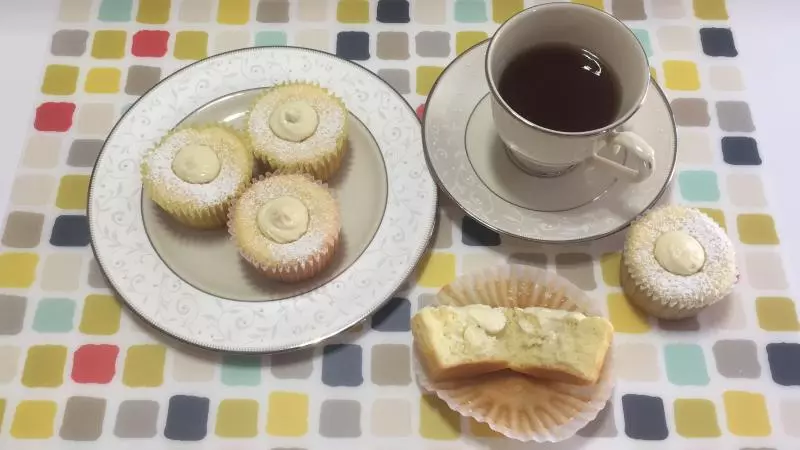
23就可以食用了!
小技巧
雞蛋和奶牛一定要提前放置室溫! 打發淡奶油時,可以下面墊一盆冰塊,比較容易打發! 烤箱要提前預熱好,烤時不要中途打開烤箱門!